This document describes how to use CFS Turbo on Linux clients. The standard login method, i.e., login via WebShell, is used in the example below.
For other login methods, see Logging In to Linux Instance.
There is a compute instance that can communicate with the storage system and, in the VPC where CFS Turbo is located in CCN, port 988 of all IP addresses is opened bidirectionally.
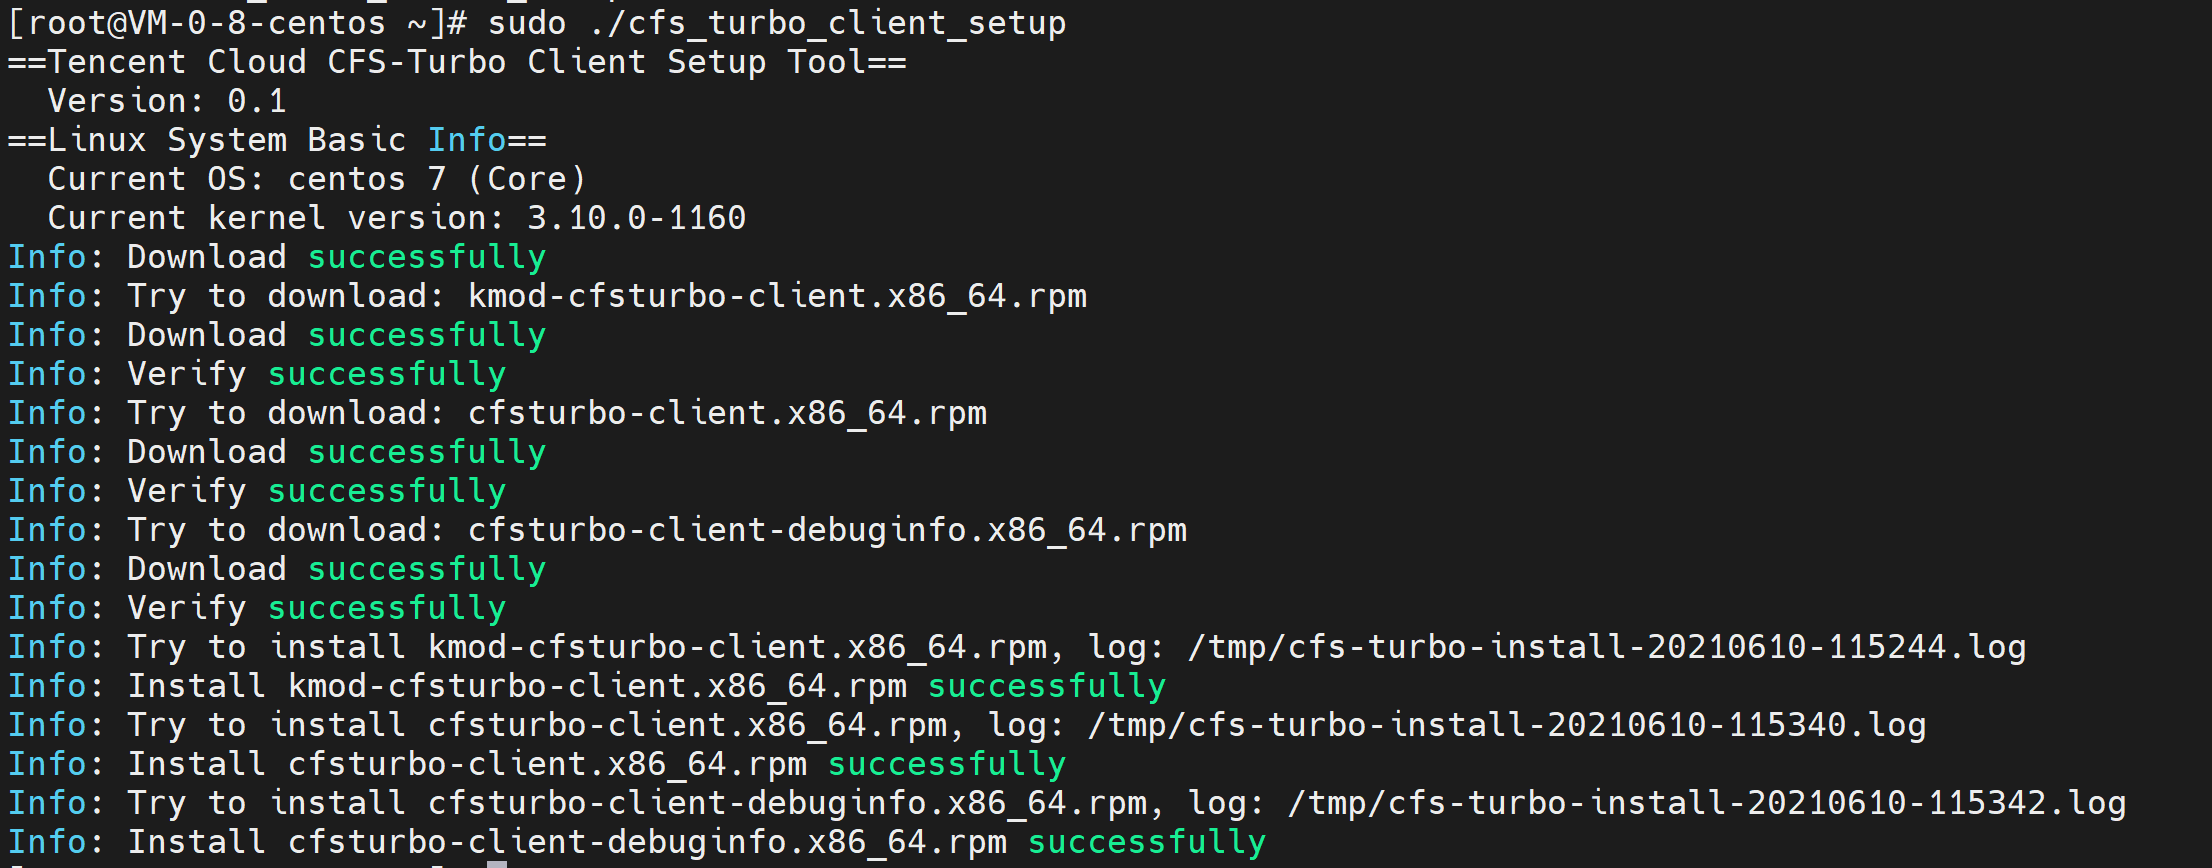
If the information similar to the following is returned, installation is successful.
If the information similar to the following is returned, the kernel version is not supported. In this case, please submit a ticket.
Compatibility
OS Type
OS Version
CentOS
7.9
7.8
7.7
7.6
7.5
7.4
7.3
7.2
Ubuntu
20.04
18.04
16.04
TencentOS Server
3.1 (TK4)
2.4 (TK4)
Note:
The client version is not only related to the OS version, but more importantly, has a mapping with the kernel. Currently, CFS Turbo supports the kernels of the default cloud public images in the compatibility list. If there is a need for a special kernel, please submit a ticket.
6. Log in to the CFS console and go to the File System page.
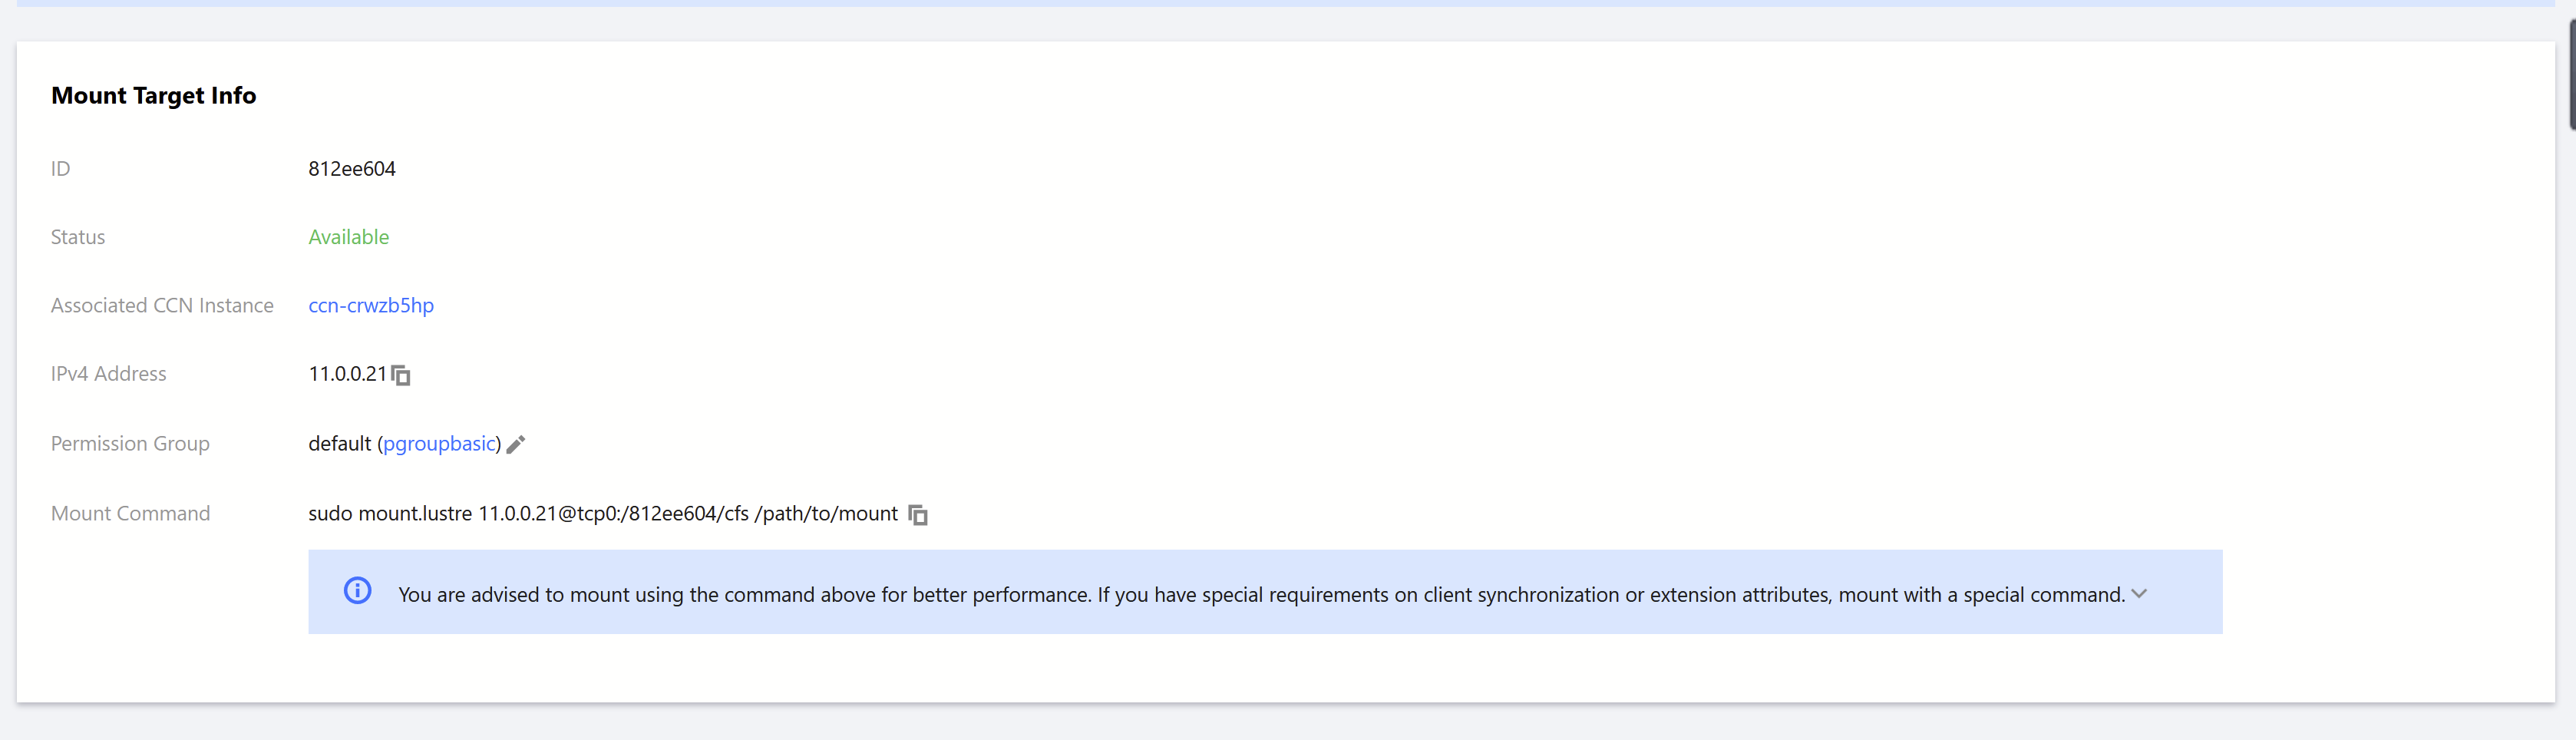
7. Click the ID/name of the target Turbo file system and then select the Mount Target Info tab.
8. Click
to copy the command you need.
9. Switch to the CVM instance to run the mount command copied.
The mount commands are described as follows. You can select one to fit your business needs.
If you want to support extended attributes and all operations to be executed synchronously by default (data will not be lost due to instance reboots, but the performance will be affected), copy and run the following command:
Example:
If you want to support extended attributes but don't need operations to be executed synchronously (some data cached in memory may be lost due to instance reboots, but the performance is good), copy and run the following command:
Example:
If you do not want to support extended attributes or the operations to be executed synchronously (some data cached in memory may be lost due to instance reboots, but the performance is good), copy and run the following command:
Example:
sudo mount.lustre XXXXXXXXXXXXXXXXXXX
Note:
If you want to mount the file system read-only, add the -o ro option when mounting.
You can mount a subdirectory of the file system by modifying the corresponding path in the mount command.
The unmount method is the same as that for a file system that uses the NFS protocol: Run umount /path/to/unmount.


 はい
はい
 いいえ
いいえ
この記事はお役に立ちましたか?