Contact management is used to centrally manage and set the recipients and recipient groups of the health report email push, and supports the management of contacts and contact groups.
2. In the left sidebar, choose Performance Optimization.
3. At the top of the page, select the database type, and then select the instance ID or the shard ID.
4. Click Recipient Management in the top-right corner of the page.
5. The following operations are supported on the contact management page.
Recipient
The Contact page is used to manage and set email recipients.
Enter the Recipient page or select the Recipient tab to create, view, edit, and delete contacts.
Create Recipient: Click Create Recipient, fill in the contact name and email, and optionally add the contact to a group, then click OK to create the contact.
View contacts: The contact list displays a contact's basic information, including contact name, email, associated contact group, and operations. You can edit or delete existing contacts and search for contacts by name, email, or group.
Edit contact: In the Operation column of a contact, click Edit. Modify the contact name, email, or group, then click OK.
Delete contact: In the Operation column of a contact, click Delete. In the pop-up dialog box, click OK.
Note:
Once deleted, the contact will no longer receive the bound health reports.
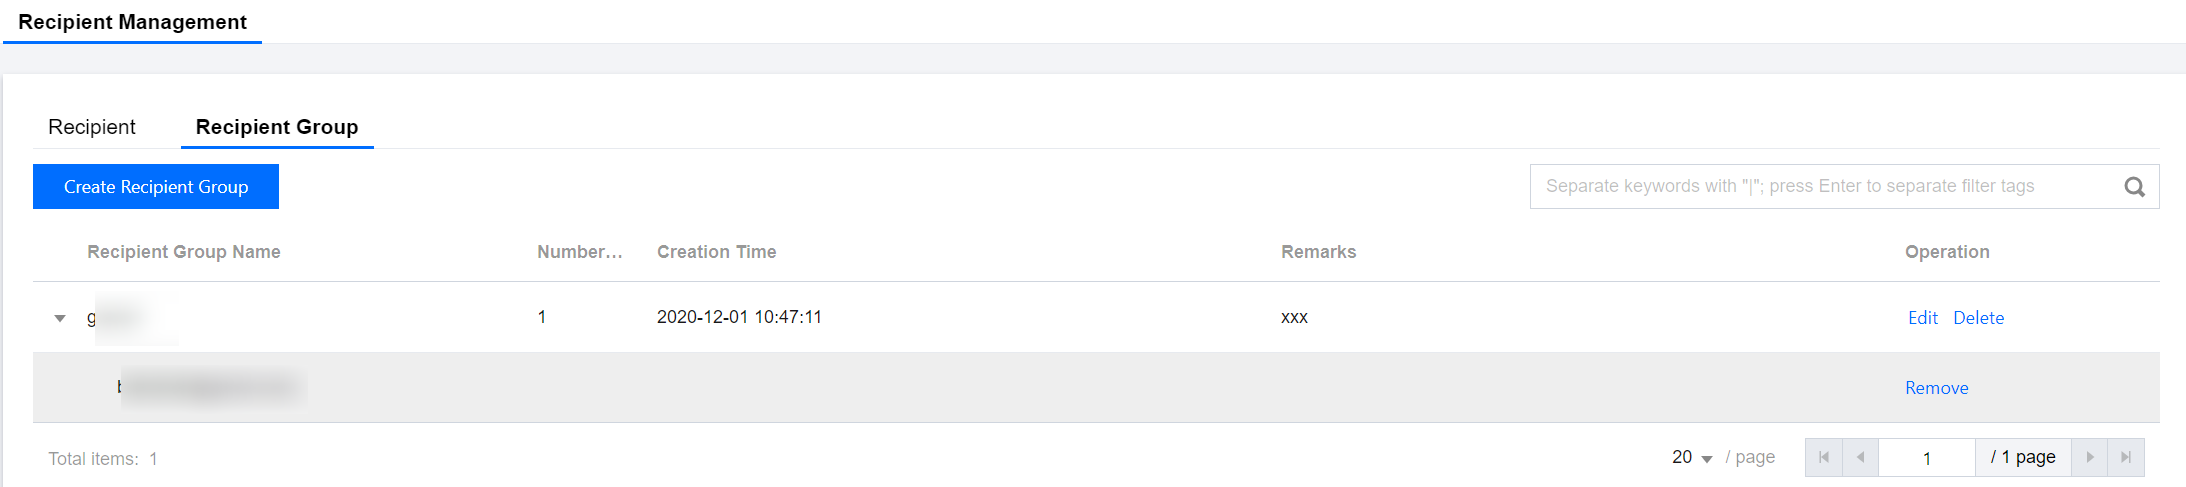
Recipient Group
The Contact Group page is used for managing and setting email recipient groups.
Enter the Recipient Group page or select Recipient Group tab to create, view, edit, and delete contact groups or remove contacts from a contact group.
Create Recipient Group: Click Create Recipient Group, enter the contact group name and notes (optional), and click OK to create a contact group.
Edit a contact group: In the Operation column of a contact group, click Edit. Modify the contact group name and the contacts in the group, and click OK.
Note:
A contact group can contain up to 10 contacts.
View contact group: The contact group list displays the basic information of a contact group, including group name, number of members, creation time, remarks, and operations. You can edit and delete the existing contact groups.
Click the
to the left of the contact group name to view the contact information included in the group.
Delete contact group: In the Operation column of a contact group, click Delete. In the pop-up dialog box, click OK.
Note:
Once a contact group is deleted, the contacts in the group will no longer receive the health reports bound to the group.
Remove contacts from a contact group: Click the
to the left of a contact group name. In the Operation column of the corresponding contact, click Remove. In the pop-up dialog box, click OK to remove the contact from the group.
Note:
Once removed, the contact will no longer receive the bound health reports.