This document describes how to collect origin server resources from AWS international website using the Offline Collection Tool. This operation guide is for reference only, providing users with a clear guide. Some materials come from third-party public information. For specific details, refer to the relevant pages of the third party.
Note:
If the cloud resource region is outside Mainland China, download the Offline Collection Tool to nodes outside the Chinese mainland and scan them. This can reduce API call failures caused by network issues.
Preparations
1. Confirm the region where the resource is located, such as cn-shanghai and cn-beijing, based on the actual circumstances of the source.
2. Obtain cloud resource access keys (AccessKeyID and AccessKeySecret);
3. Clarify the tool's runtime environment. The Offline Collection Tool needs to be installed and run on servers with network connectivity from the Internet to enable relevant API calls for resource collection. The tool requires at least a 2-core 4G machine specification, with mainstream Linux distribution (CentOS7 recommended) or MacOS system as the operating system requirements.
Note:
The MacOS system requires security authorization for the file. Path: System Preferences > Privacy and Security.
Step 1: Obtain the Offline Collection Tool
You can download locally and upload to the deployable server to execute, or directly download and unzip by command on the server:
The directory structure after decompressing is as follows:
mspcli
├── ReadMe.txt # Tool instructions file
├── config.yaml # Parameter configuration file
├── aws-scanner # Collection agent file
Step 2: Configure the Parameter File
Write the access key, region, and research product information to the config.yaml file. You can prepare multiple parameter files in advance, but only the configuration file located at the same directory level as aws-scanner and named config.yaml will take effect.
# SecretId
SecretId:*********
# SecretKey
SecretKey:*****************
# Region to be scanned, multiple regions are separated by commas. region can be not specified, and all regions of the current product will be automatically obtained for scanning.
# List of region names: https://docs.aws.amazon.com/zh_cn/AWSEC2/latest/UserGuide/using-regions-availability-zones.html#concepts-available-regions
Regions:
# Multiple products are separated by commas. Product support: do not fill in, and automatically obtain all products for scanning.
Fill in the correct key information. The key will only be used to verify during API calls and will not be saved by the tool.
Enter a space after the configuration item colon, then input the corresponding value. Multiple values should be separated by commas.
Regions and Products configuration items can be empty. At this time, all regions and scannable products will be scanned by default.
The configuration file needs to be in the same-level directory as the scanning program (for example, aws-scanner).
Step 3: Executing the Offline Tool for Collection
Run aws-scanner to collect data. The execution command and result are as follows:
# Authorize the tool
chmod +x aws-scanner
# startup command
./aws-scanner
#console output
Switched to the directory of the executable file: /home/ec2-user
load configuration file: config.yaml
Generating research configuration in progress...
Generate research configuration for product ec2
Research configuration generation completed.
Start researching cloud resources
Resource research completed. Product: ec2. Region: ap-southeast-1. Number of scanned resources: 1.
Resource list exported successfully: aws_scan_20241008084938.xlsx
Note:
When the platform is MacOS, please go to: System Preferences > Privacy and Security > Security. Under the "xxx has been blocked to protect MacOS" notification, select "Open Anyway" to authorize the file.
Step 4: View Result File
Collection completed will generate the following files in the same directory:
mspcli
├── ReadMe.txt # Tool instructions file
config.yaml # Parameter configuration file
├── aws-scanner # Collection program file
aws_scan_20241008084938.xlsx # Scanning result data
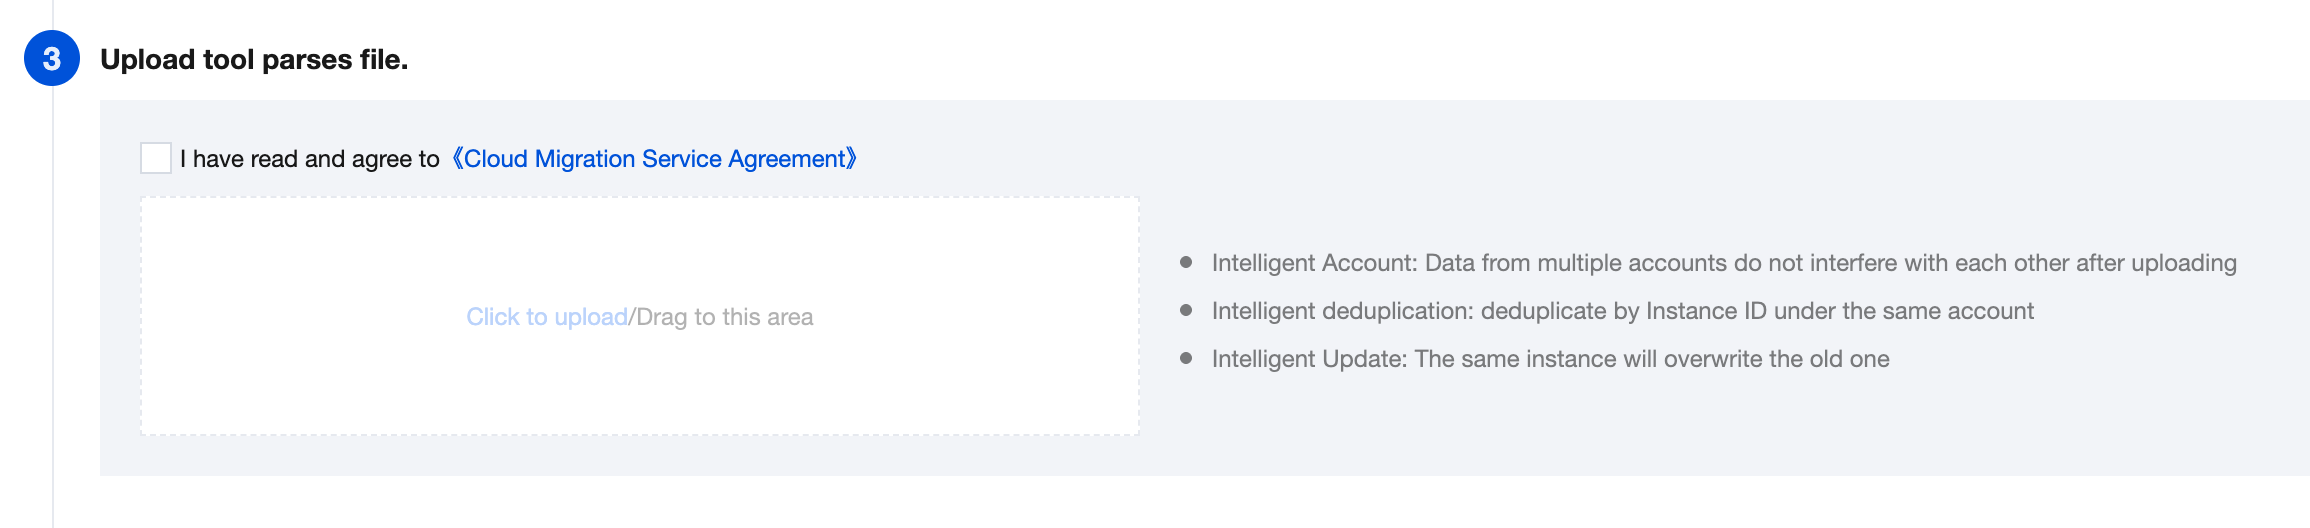
Enter Cloud Migration console > Origin Server Collection > AWS Tool Research > Upload Tool File Parsing, upload the result file in .xlsx format (such as aws_scan_20241008084938.xlsx).
Note:
To correctly parse the data content, do not modify the result file.
Step 6: View Survey Results
After the file is parsed, click to go to the resource list to view the imported data.