Managing the Queue
During the use of queues, you may need to perform management operations such as unbinding relationships or deleting unnecessary queues. This document introduces how to manage queues in the console.
Viewing Queue Information
1. Log in to the TDMQ for RabbitMQ console.
2. In the left sidebar, choose Cluster > Queue. Select a vhost, locate the target queue, and click View Binding in the Operation column. Click the ID of the queue to view its details.
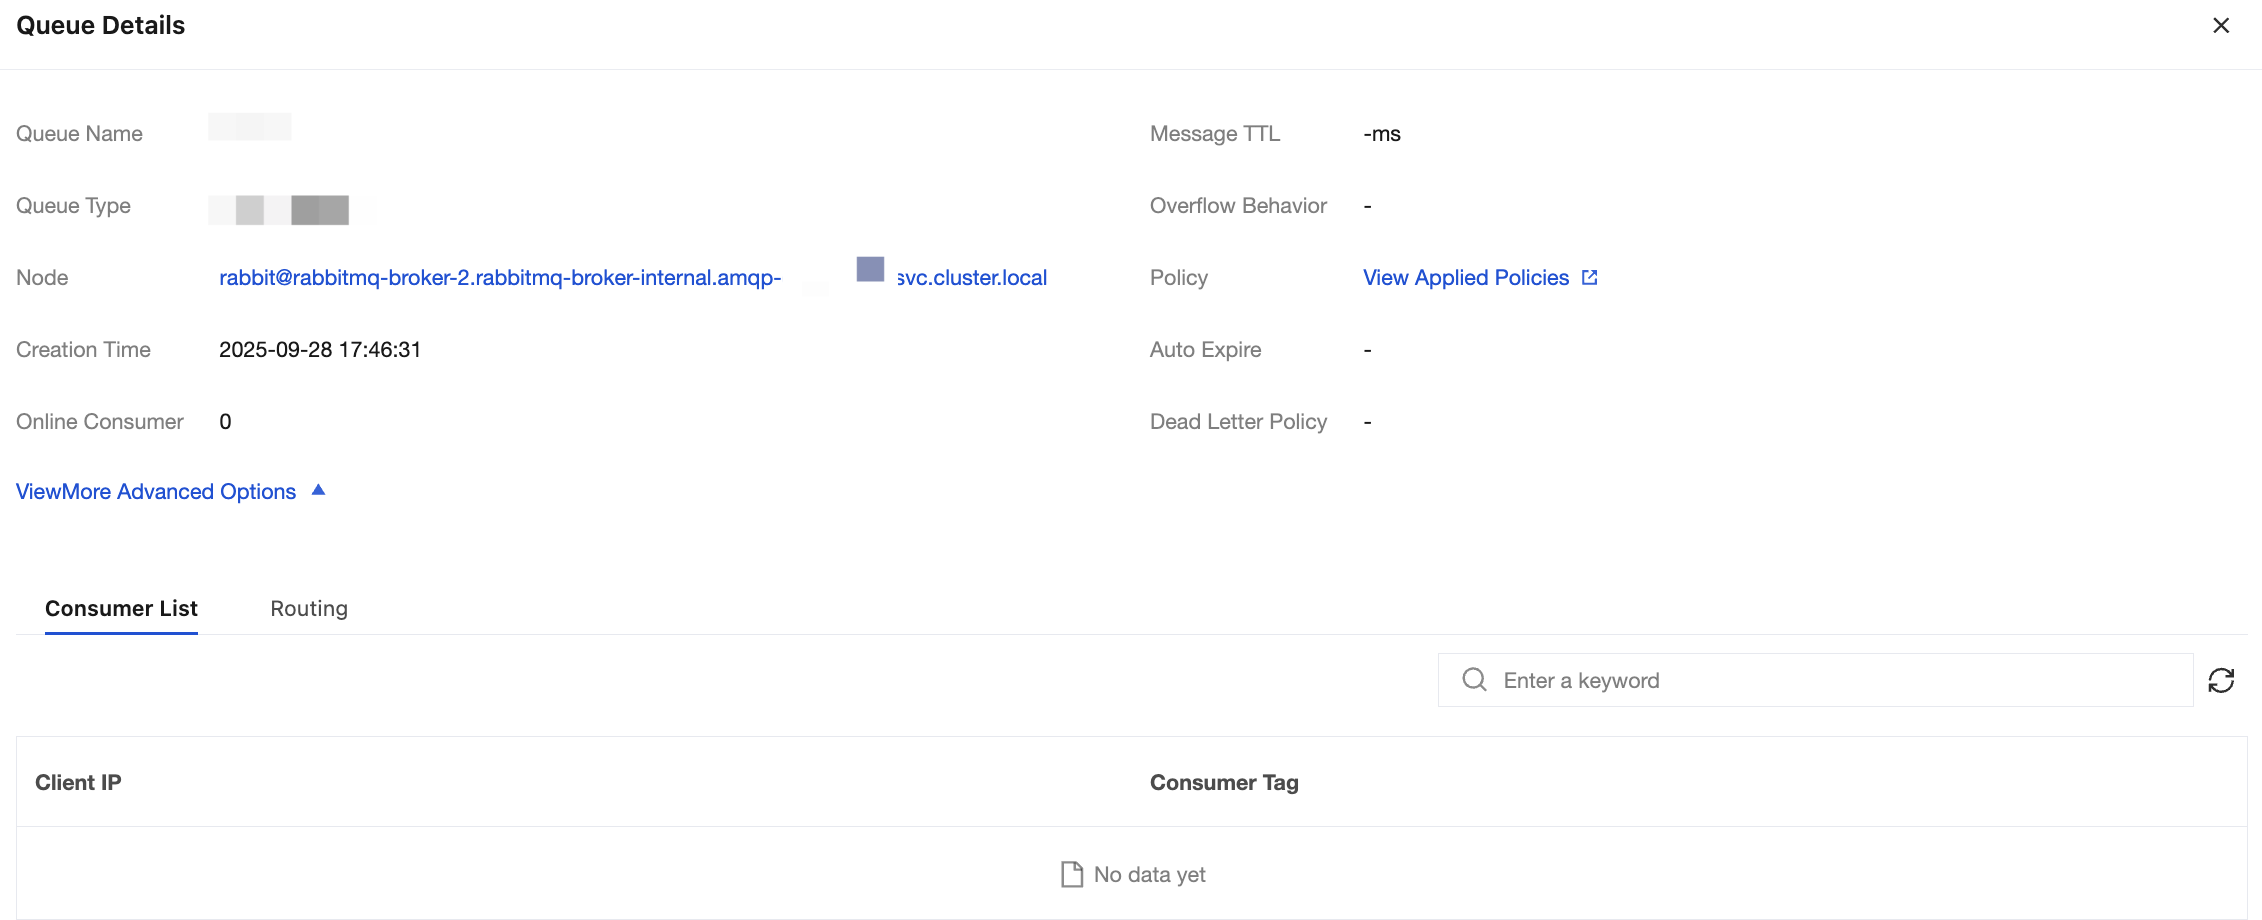
You can view:
Queue Details: displays the queue parameter information.
Consumer List: displays the information of consumers who have subscribed to this queue.
Routing: displays the routing relationships bound to this queue.
Unbinding a Queue
Note:
After the exchange is unbound, the corresponding route will no longer provide services and cannot be recovered. Proceed with caution.
1. Log in to the TDMQ for RabbitMQ console.
2. In the left sidebar, choose Cluster > Queue. Select a vhost, locate the target queue, and click View Binding in the Operation column.
3. In the pop-up right sidebar, you can view the details of the queue. Select the Routing tab to view the binding relationships of the queue, and click Unbind in the Operation column.
4. After you click Delete for confirmation in the pop-up window, the binding relationships of the queue will be unbound.
Editing a Queue
Note:
After a queue is created, only its description can be modified. Other configuration properties cannot be manually changed. If you are using a Managed Edition cluster, you can dynamically adjust certain properties of the queue in batches by customizing the vhost policy. For detailed steps, see Configuring a Vhost Policy.
1. In the queue list, click Edit in the Operation column of the target queue.
2. In the pop-up window, edit the queue information.
3. Click Submit to complete the modification.
Deleting a Queue
Note:
After a queue is deleted, all configurations under it (including binding relationships between exchanges and queues) will be cleared and cannot be recovered.
1. In the queue list, locate the target queue and click Delete in the Operation column.
2. In the pop-up dialog box, click Delete to complete the deletion.
Help and Support
Was this page helpful?
You can also Contact sales or Submit a Ticket for help.
Help us improve! Rate your documentation experience in 5 mins.
Feedback