After activating VM, you can directly call VM APIs to batch recognize video stream content (such as live rooms and video meetings).
Note:
Before calling the API, make sure that the current account has at least the access permission of VM. For more information on how to configure the permission, see CAM Authorization Guide.
If you cannot access the service, you will need to activate the service/check the billing information (for root account) or request the corresponding permission from the admin or root account (for sub-account/collaborator).
Step 1. Configure a policy (optional)
We recommend you configure a recognition policy based on your business needs for a personalized user experience.
Note:
You can skip this step if you use the preset default policy of Tencent Cloud CMS.
The default policy is developed by TenDI based on models for multiple industries. It is suitable for most content security requirements.
1. Log in to the CMS console and select VM > Policy Management on the left sidebar.
2. On the Policy Management page, click Create Policy to enter the Create Policy page.
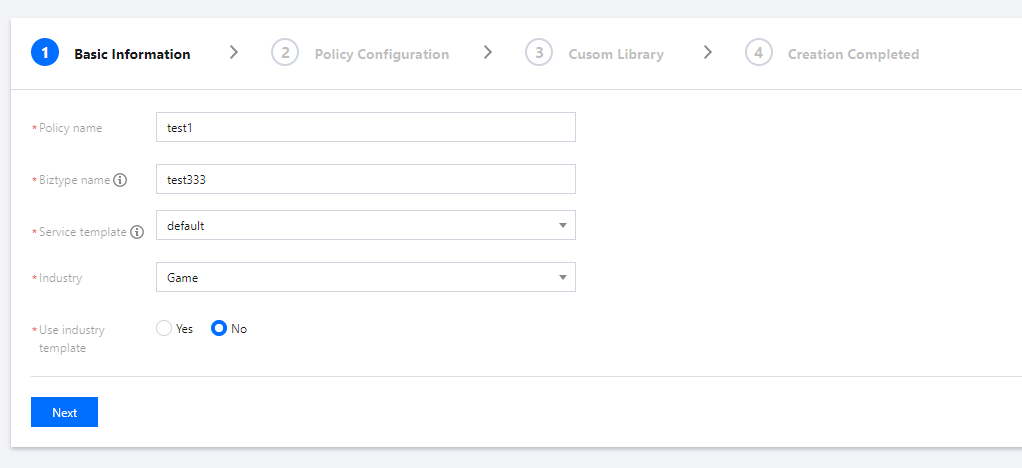
3. On the Policy Configuration page, enter the relevant information of the policy and click Next.
Parameter description:
Parameter
Description
Policy Name
Text description of the policy, which can contain up to 30 letters, digits, and underscores.
Biztype Name
Specific policy number used for API calls, which can contain 3–32 letters, digits, and underscores and must be unique.
Associate Service Template
Currently, only the default template can be used for configuration.
Industry Category
Category of the industry scenario involved in the policy.
Use Industry Template
It will be displayed only when Industry Category is set. You can select whether to use Tencent Cloud's preset industry templates for recognition.
4. On the Recognition Policy Configuration page, configure recognition policies for audio and captured images, select whether to recognize different types of content based on your business needs, and click Next.
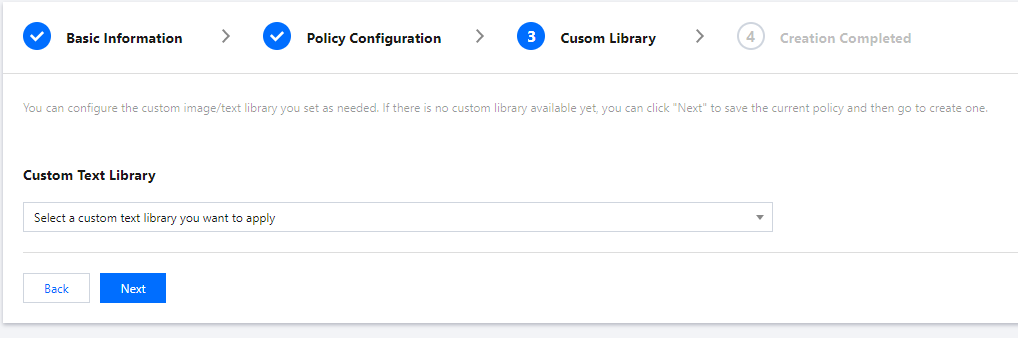
5. On the Custom Library Configuration page, select a custom dictionary for content recognition in the Custom Dictionary drop-down list. If there are no custom libraries, you can click Next or save the current policy and go to Step 3. Configure a custom dictionary.
6. On the Creation Completion page, you can view the policy configuration information. After confirming it, click Complete.
7. The policy just created will be displayed in the list on the right of the Policy Management page.
Step 2. Configure a global task template (optional)
Task templates are used to manage how files are processed for recognition tasks.
Note:
You can skip this step if the default template is used.
1. Log in to the CMS console and select VM > Service Management on the left sidebar.
2. On the service management page, click View Details to enter the template details page.
Note:
Currently, only the default template can be edited for template configuration.
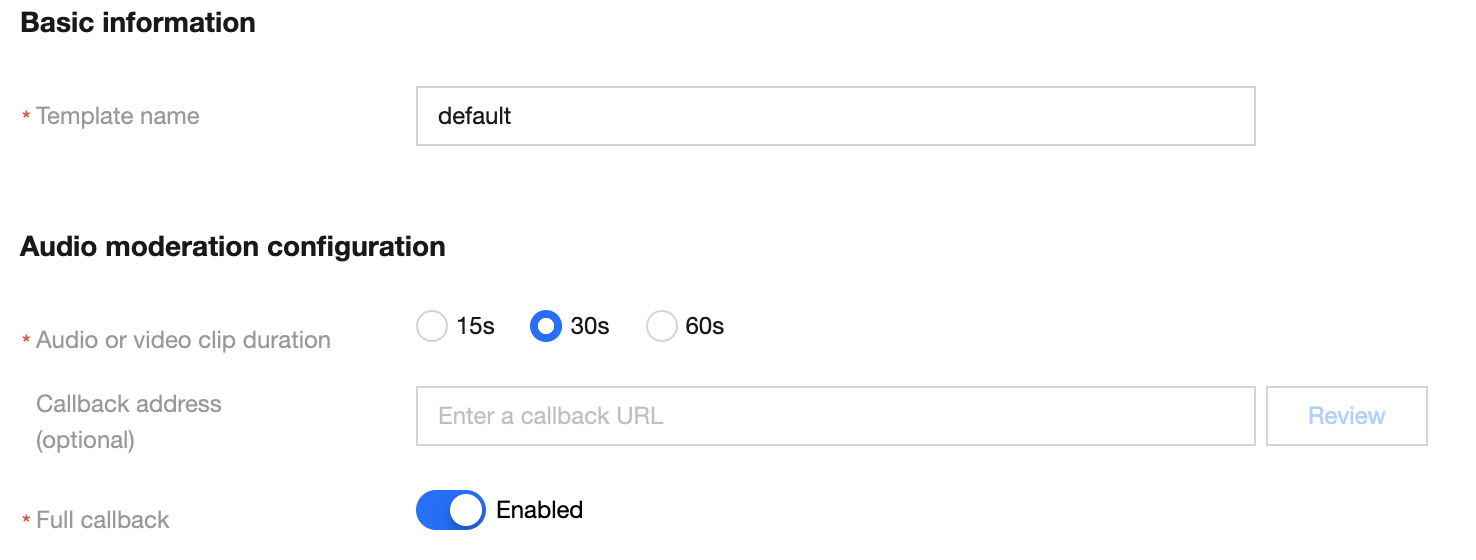
3. On the template details page, click Edit in the top-right corner to modify parameters.
Parameter description:
Parameter
Description
Template Name
Text description of the template, which can contain up to 30 letters, digits, and underscores.
Screencapture Interval
Set the time interval for screencapturing the video file, which can be 1s, 5s, 10s, 15s, or 30s (default).
Service Status
Select whether to recognize audio at the same time.
Enable: yes.
Disable: no.
Audio Stream or Large File Segment Duration
Set the time length for audio stream or large file segmentation, which can be 15s, 30s (default), or 60s.
Callback Address
The risky content can be returned to this optional address (if entered).
Enable Full Callback for Live Streaming
Set whether to enable full callback for live streaming.
Enable: both normal and non-compliant video content will be returned to the callback address.
Disable: only the non-compliant video content will be returned to the callback address.
4.Click Save to save the current template, which will take effect immediately for all VM services under the account.
Step 3. Configure a custom dictionary (optional)
You can configure a custom dictionary.
Note:
You can skip this step if you don't need to configure a custom dictionary.
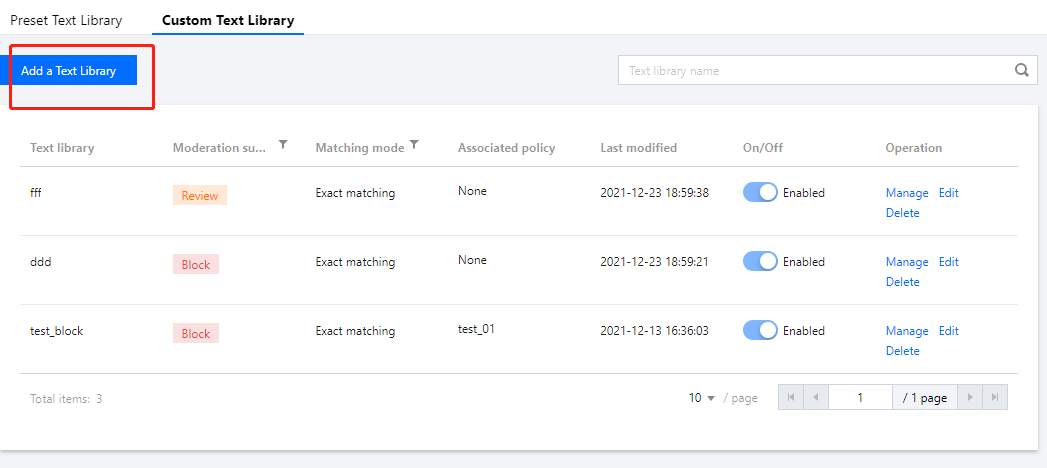
1. Log in to the CMS console and select VM > Custom Library Management > Custom Dictionary on the left sidebar.
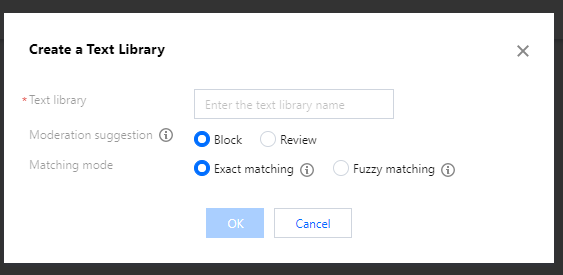
2. On the Custom Dictionary page, click Add Dictionary to pop up the Create Dictionary window.
3. In the Create Dictionary pop-up window, configure a custom library based on your business needs.
Parameter description:
Parameter
Description
Dictionary Name
Text description of the dictionary, which can contain up to 32 letters, digits, and underscores.
Handling Suggestion
You can select Non-compliant or Suspected.
Non-compliant: the information is identified as non-compliant information
Suspected: the information may be non-compliant and requires manual recognition
Match Mode
You can select Exact match or Fuzzy match.
Exact match: it exactly matches the entered text
Fuzzy match: it detects variants of the entered keyword to fuzzily match similar words such as split words, homographs, homophones, upper and lower cases, and numbers in words
4. Click OK.
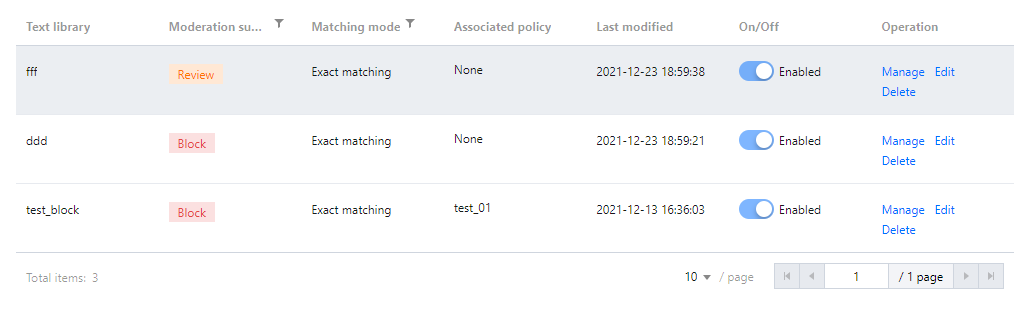
5. The dictionary just created will be displayed in the list below the Custom Dictionary tab.
Note:
Different colors in a custom dictionary represent different blocking logics, where red represents "non-compliant", and orange represents "suspected".
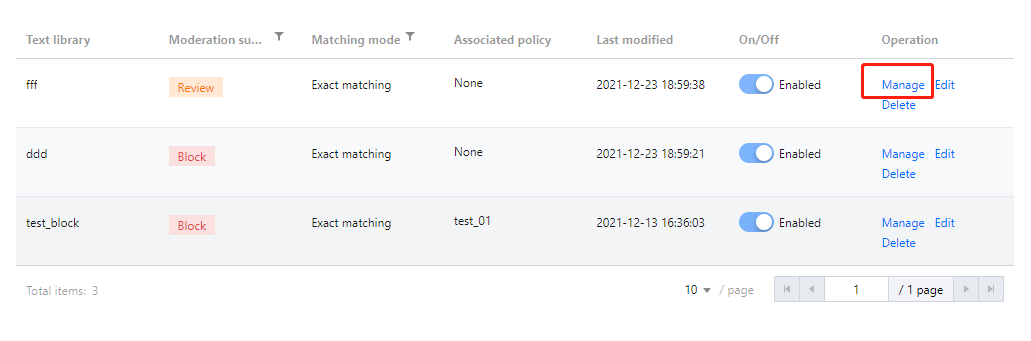
6. On the Custom Dictionary page, select the dictionary just created and click Manage in the Operation column to enter the dictionary management page.
7. On the dictionary management page, click Add Sample to pop up the Add Sample window.
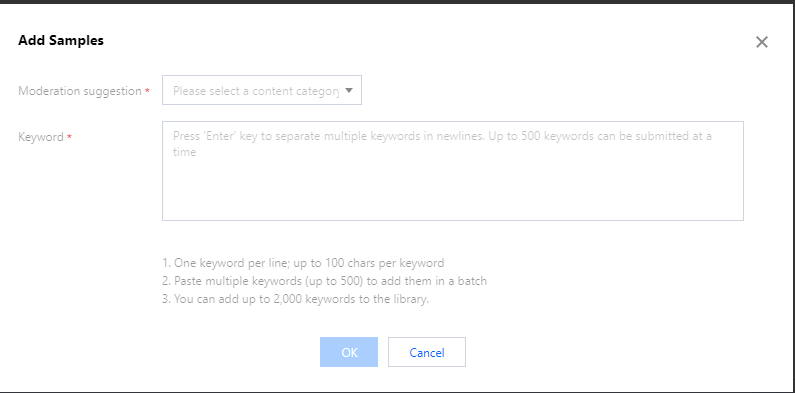
8. In the Add Sample pop-up window, select the handling suggestion, enter keywords, and click OK.
Parameter description:
Parameter
Description
Handling Suggestion
Violation type that corresponds to the recognition model.
Keyword
Keywords are separated by line breaks, and each keyword can contain up to 20 letters.
You can add up to 500 keywords at a time.
You can add up to 2,000 keywords in total.
Note:
After configuring the custom dictionary, you can associate it with the policy created in Step 1. Configure a policy.
Step 4. Create a VM task
After completing the above steps, you can call the CreateVideoModerationTask API to create a video live room recognition task as instructed below:
If the task is created successfully, you can use the task query API to query task details, and you can refer to the example of creating video recognition task for more information on sample response parameters. If task creation fails, the API will return an error code, and you can refer to Business Error Codes and Common Error Codes for troubleshooting.
Note:
When connecting to the service, you can use API Explorer for online debugging.
Step 5. Get the VM task result
After creating the video recognition task, you can call the DescribeTaskDetail API to query the details of the task as instructed below:
If the API call is successful, you will receive the response output from the API, including the task details. You can refer to the example of viewing task details for more information on sample response parameters.


 Yes
Yes
 No
No
Was this page helpful?