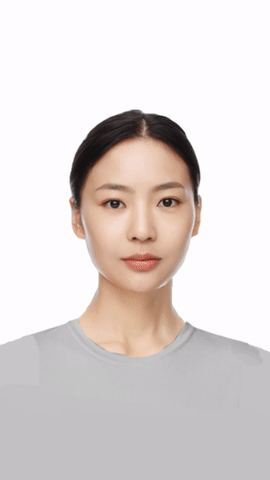
Makeup feature means that the designer uploads the created PNG makeup materials to the console based on the standard reference model PSD template, thereby achieving a full-face makeup beautification effect.
Common materials include eyebrows, eyes, pupils, lips, blush, or facial contouring.
Material Specification
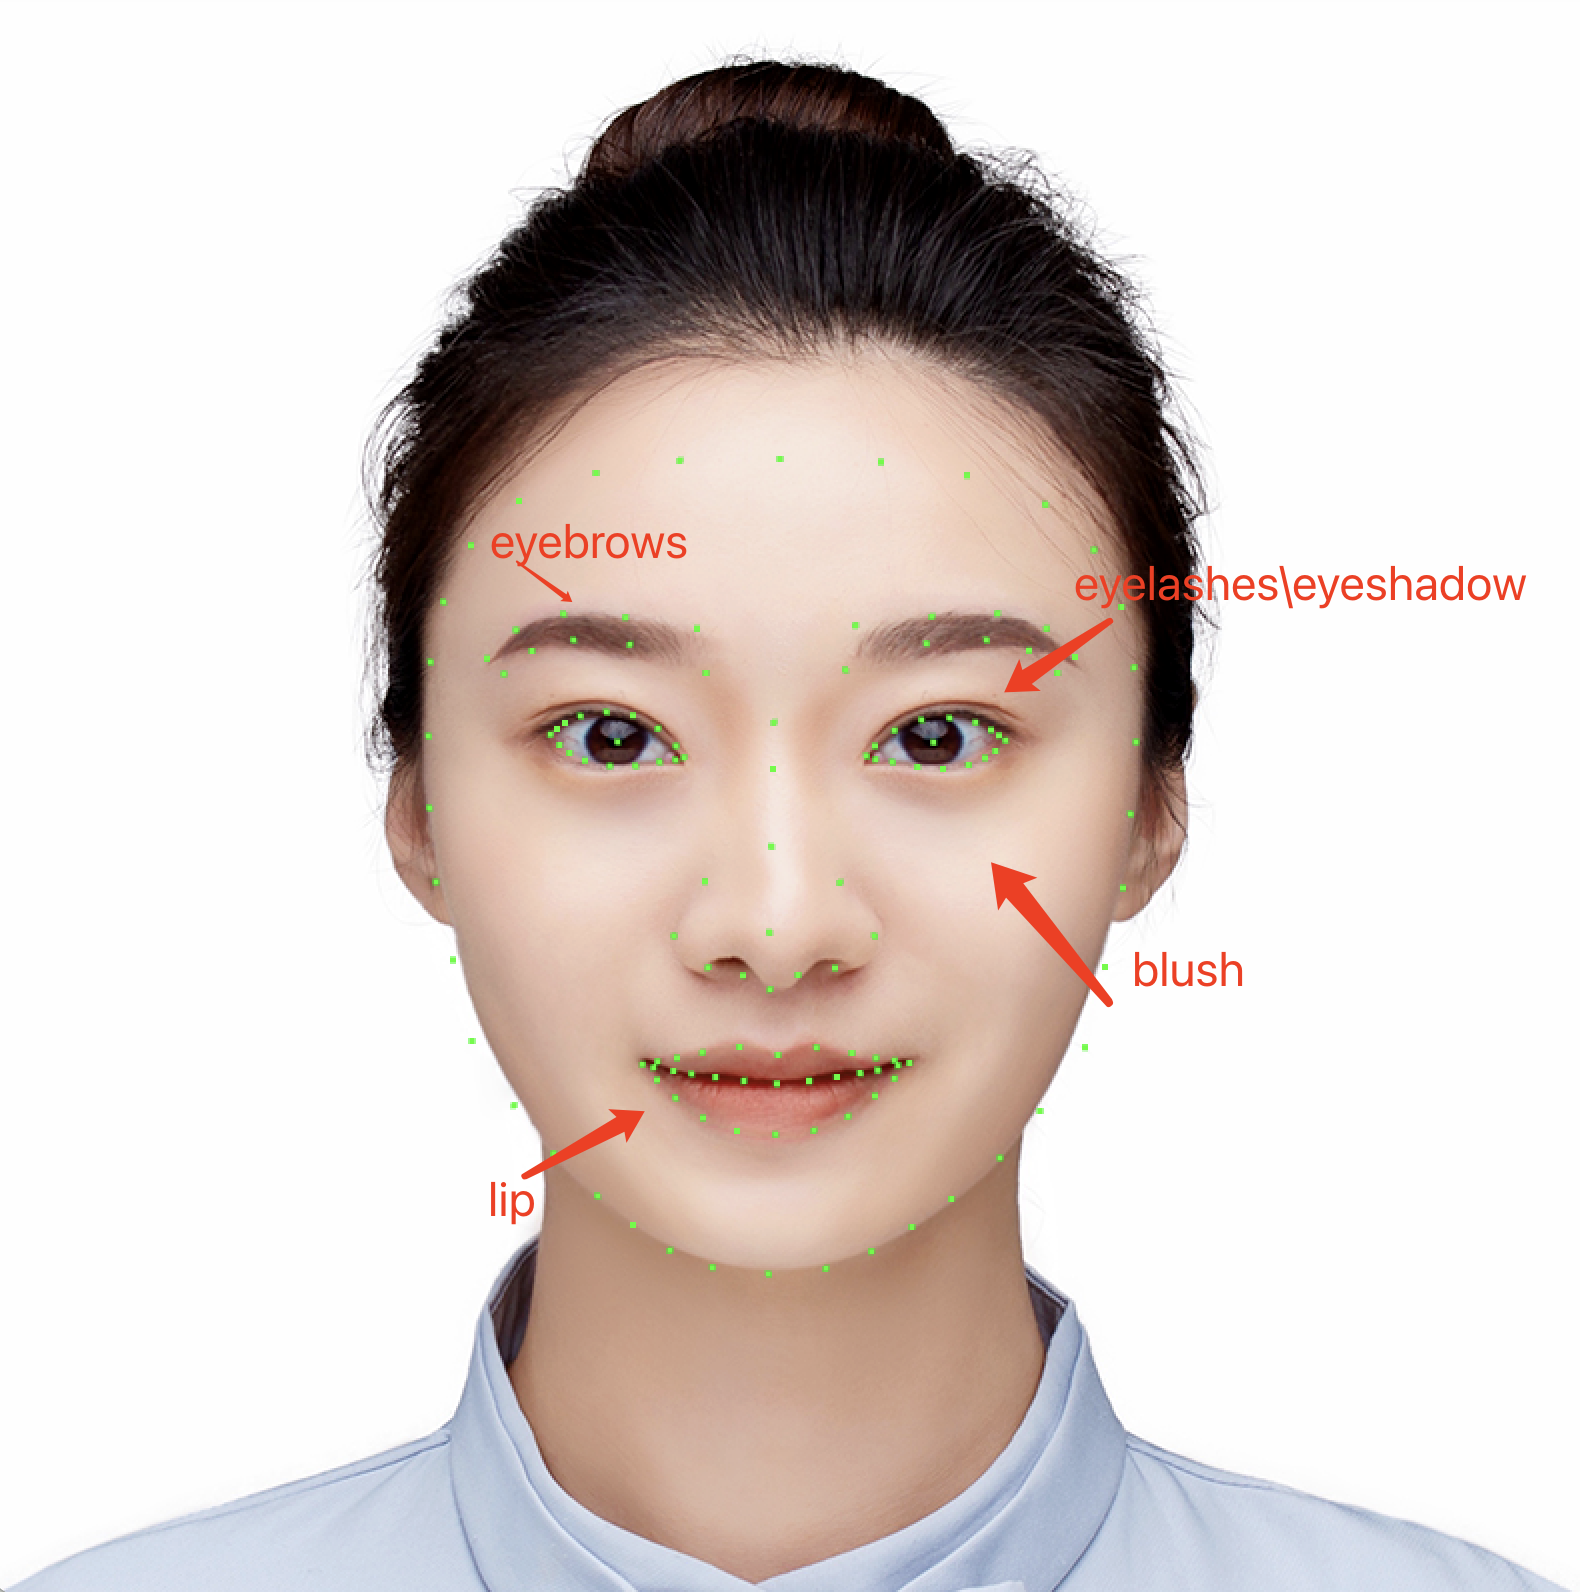
All materials must be created according to the standard model template. There is a separate PSD template for materials related to eye color. Various materials need to meet the following specifications:
|
Format | Transparent background PNG image |
Dimensions | Standard 800 800 square. Materials related to eye color only need to be square, with no dimensional limit. It is recommended to be less than 150 150. |
Size | A single image material shall not exceed 1 M. |
Directions
Step 1: Creating Materials
1. After the standard template is downloaded, open it with PS to see the facial features and contours marked with key facial recognition points.
2. Create a new layer. After the parts of the material to be drawn are determined, draw the relevant material along the key points, such as eyebrow makeup and eye makeup, with each material on a separate layer.
3. Hide other layers including the template face, keep only the layer where the current material is located, and export a PNG image that meets the above Material Specification. Note:
When exporting the material, restore the Blending Mode to Normal, set the transparency to 100%, and then export the PNG material for use in the console. This is because the blending mode and transparency of the final material are uniformly set in the console.
Material creation requires a high level of PS skill usage. It is recommended that professional designers create the materials.
Step 2: Importing into the Console
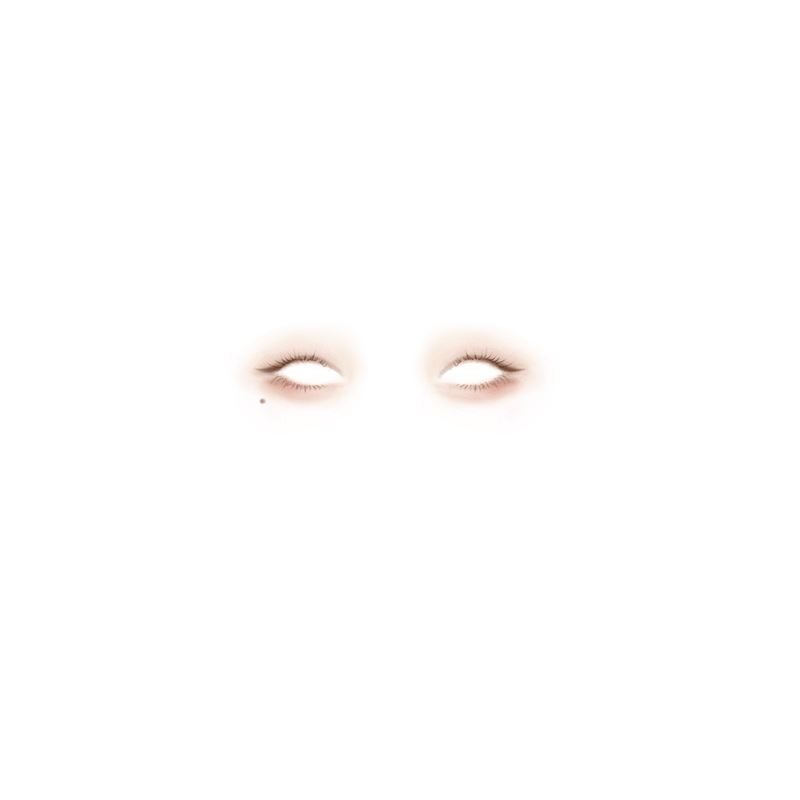
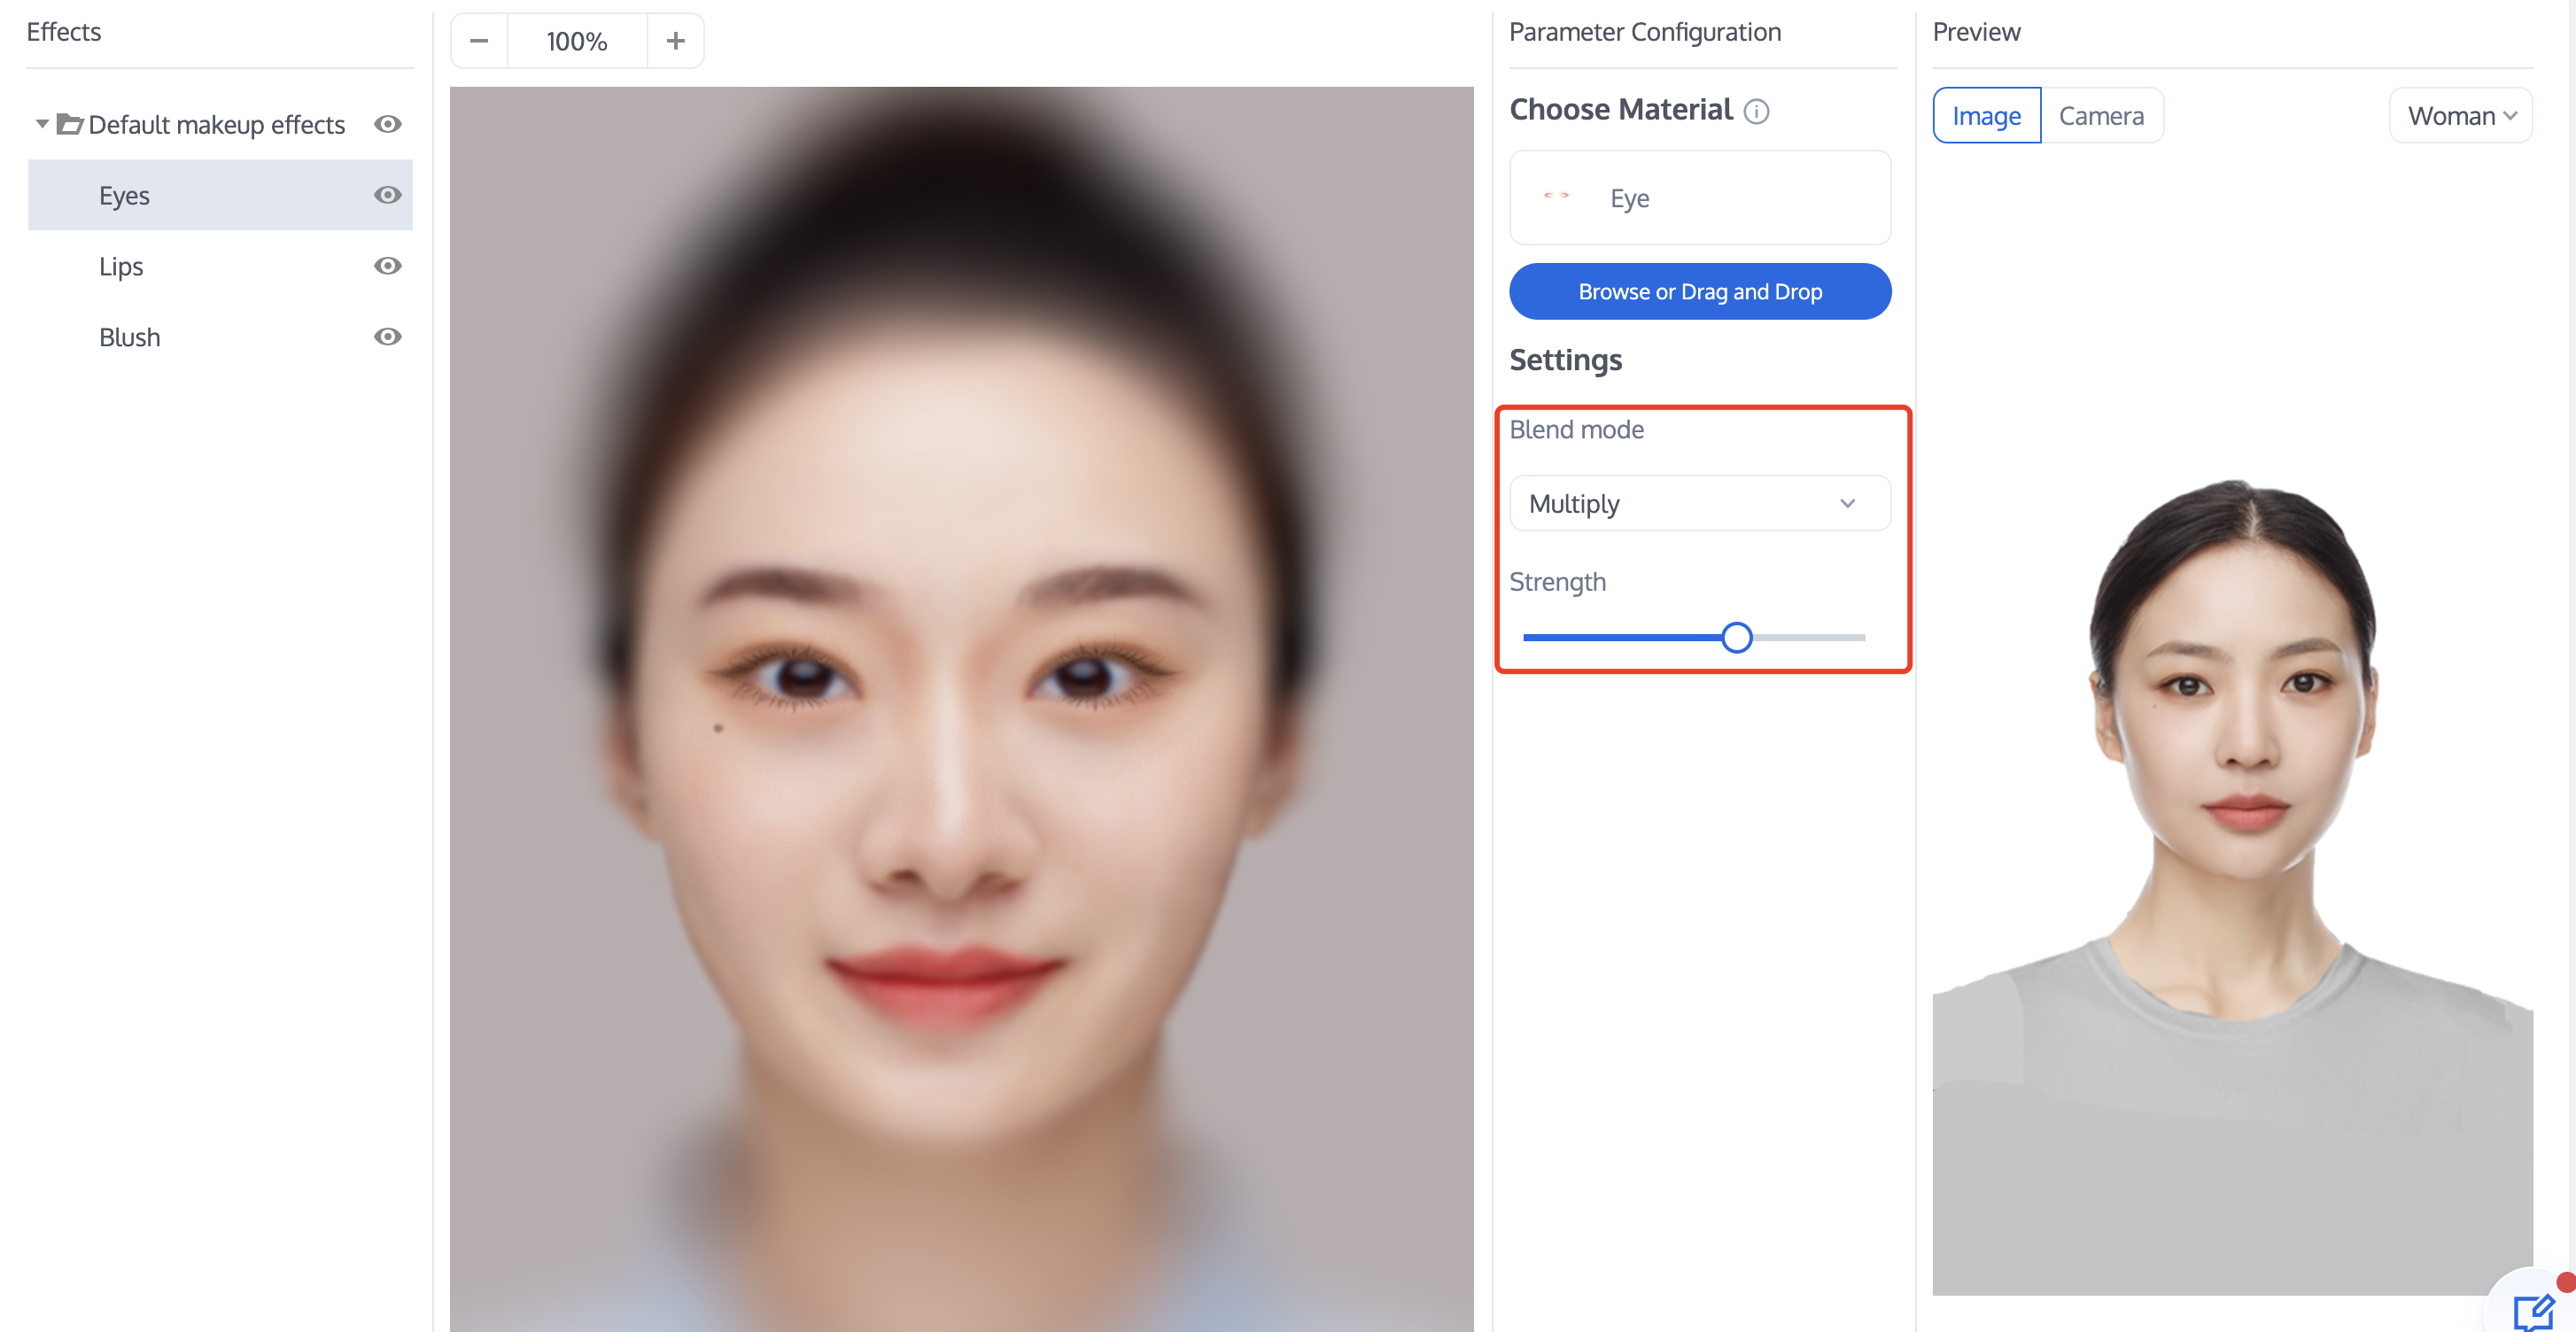
Taking Makeup - Eye Makeup as an example, a created eye makeup material is shown below:
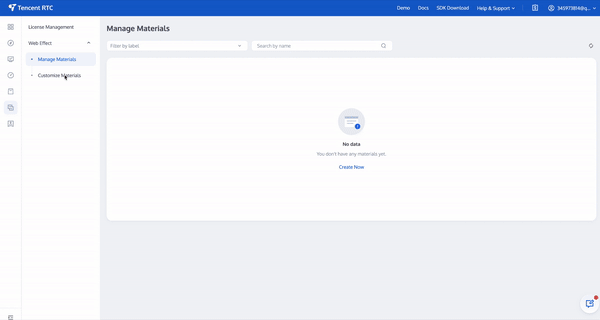
1. Open the Material Creation page on the console, and select Eye Makeup in the Material Information area on the left.
2. In the Material Resources section of the Parameter Panel on the right, drag in or click Select to upload the PNG material image you created and import it into the console.
Note:
If the mask sticker involves the mouth, there is no effect of opening or closing the mouth. If you want to achieve the effect of opening or closing the mouth, the mask has a similar action effect, such as an animal mask, and you need to use the Lip Makeup effect to achieve it. The method of creating materials does not change. Just choose Lip Makeup when importing the material.
Step 3: Adjusting Material Parameters
You can adjust the material's Blending Mode and Intensity (Transparency) parameters in the Parameter Panel area to achieve the desired effect.
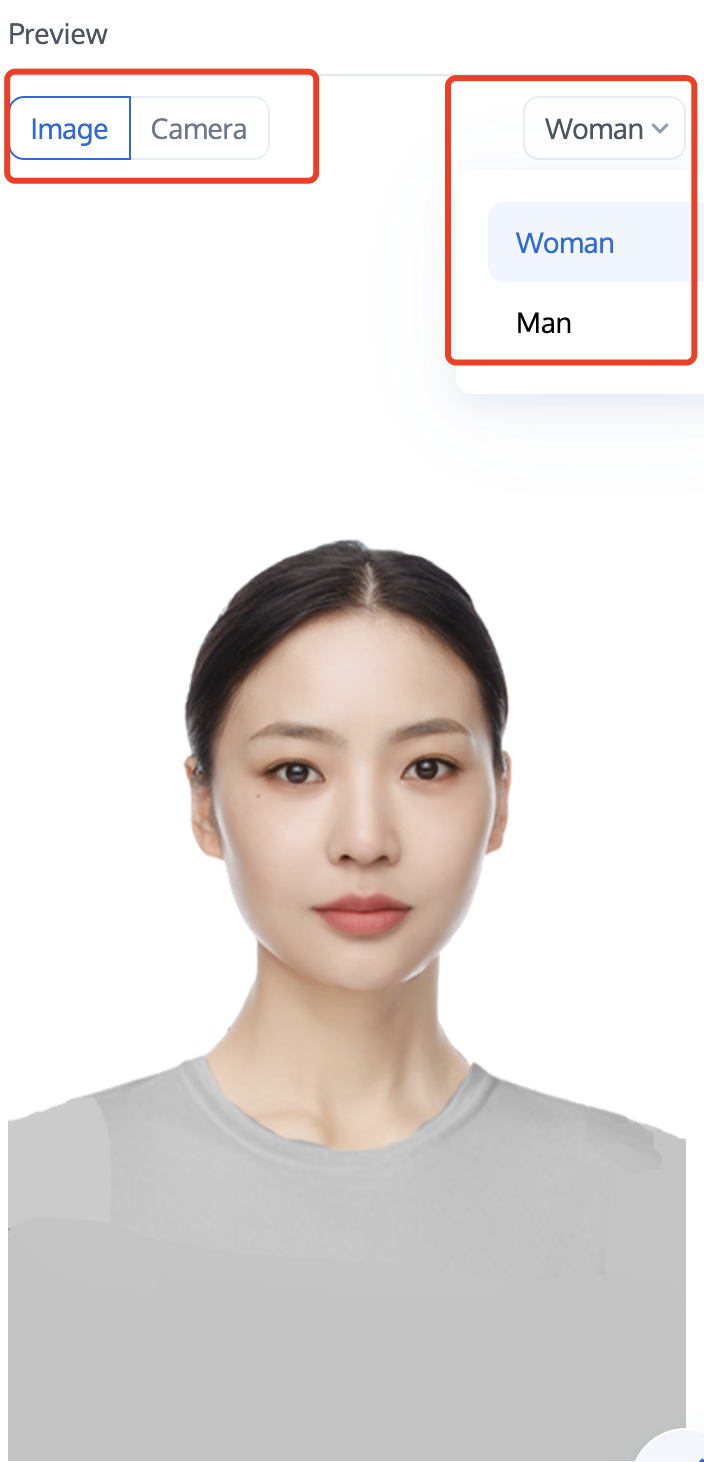
Step 4: Previewing the Effect
In the preview window on the right, you can preview the effect of materials overlaid on the built-in model face, and you can also switch to the computer camera to view the effect on your own face.