1. To initialize the mini program SDK, first obtain the SDK configuration file from the mini program console. Log in to the console, and click Create superapp.
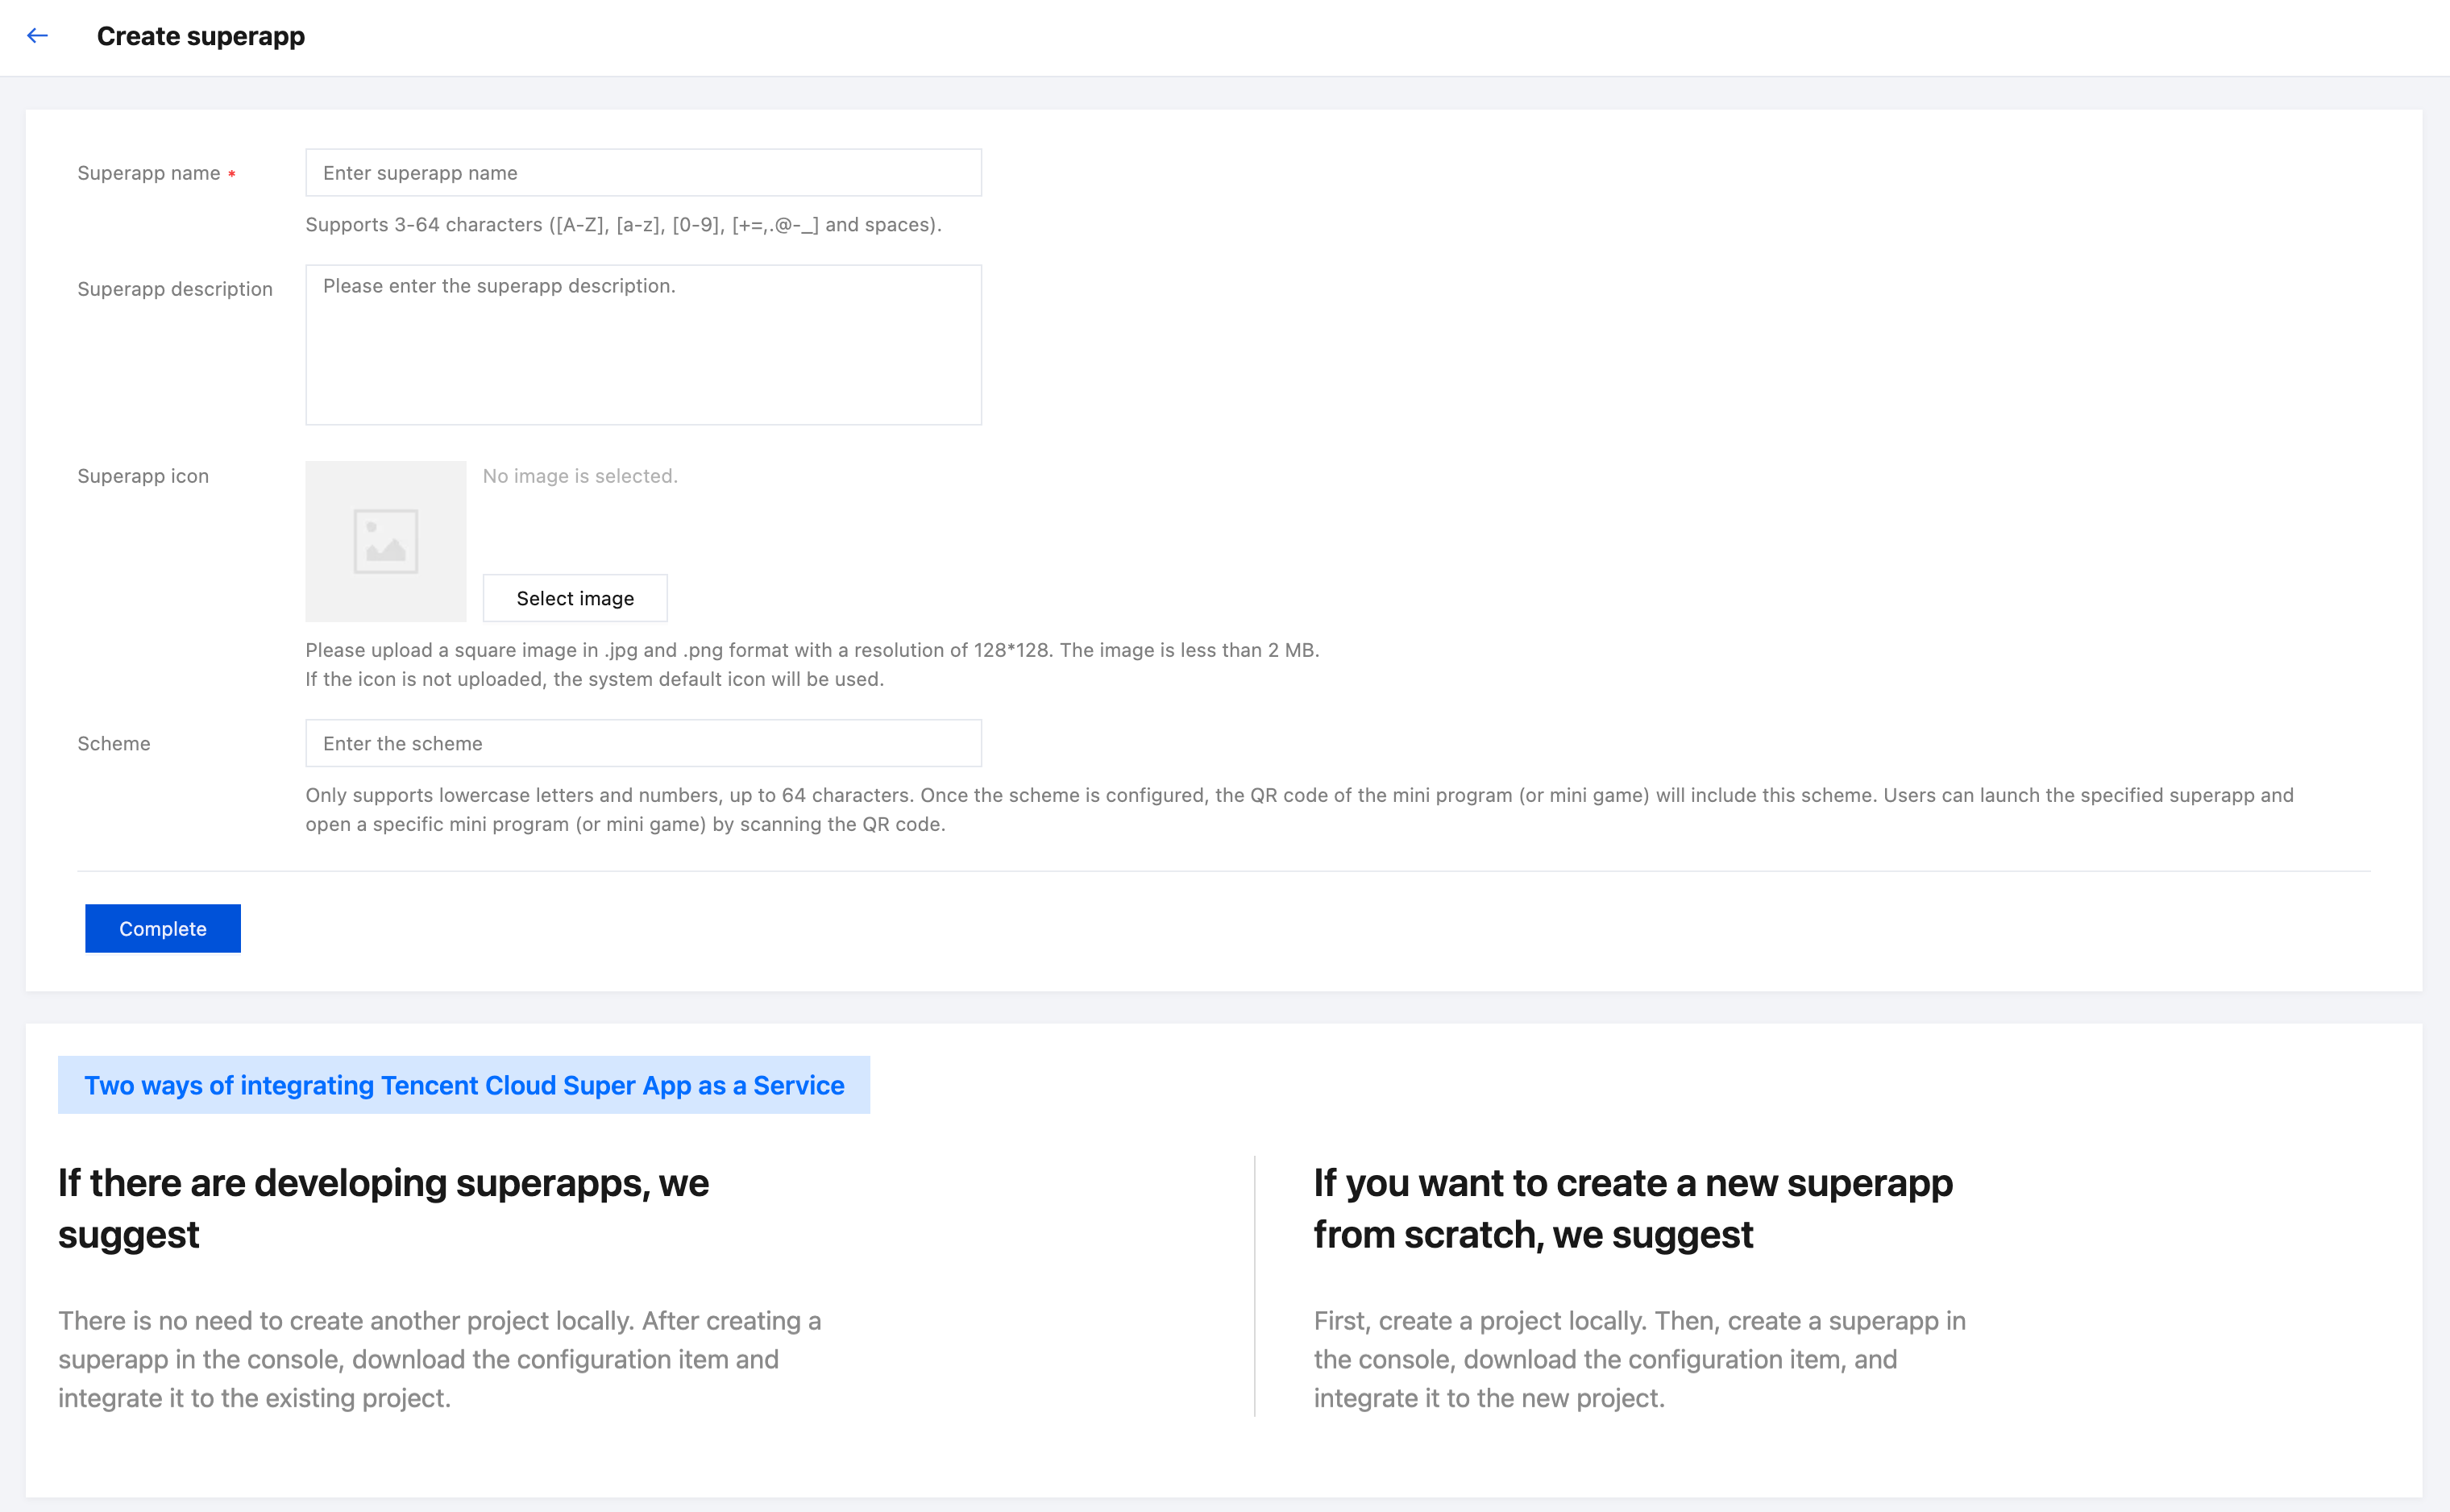
2. Fill in the superapp information.
Required information:
Superapp name: Supports 3-64 characters including a-z, A-Z, 0-9, spaces and some special symbols ("+", "=", ",", ".", "@", "-", "_").
Optional information:
Superapp description: Brief introduction of the superapp, primarily for internal reference.
Superapp icon: Supports uploading square images in .jpg or .png format, with a resolution of 128 × 128 and a file size under 2 MB. If the icon is not uploaded, the system default icon will be used.
Scheme: Only supports lowercase letters and numbers, up to 64 characters. Once the scheme is configured, the QR code of the mini program (or mini game) will include this scheme. Using the phone system’s built-in scanning function, users can directly launch superapp and open the mini program (or mini game).
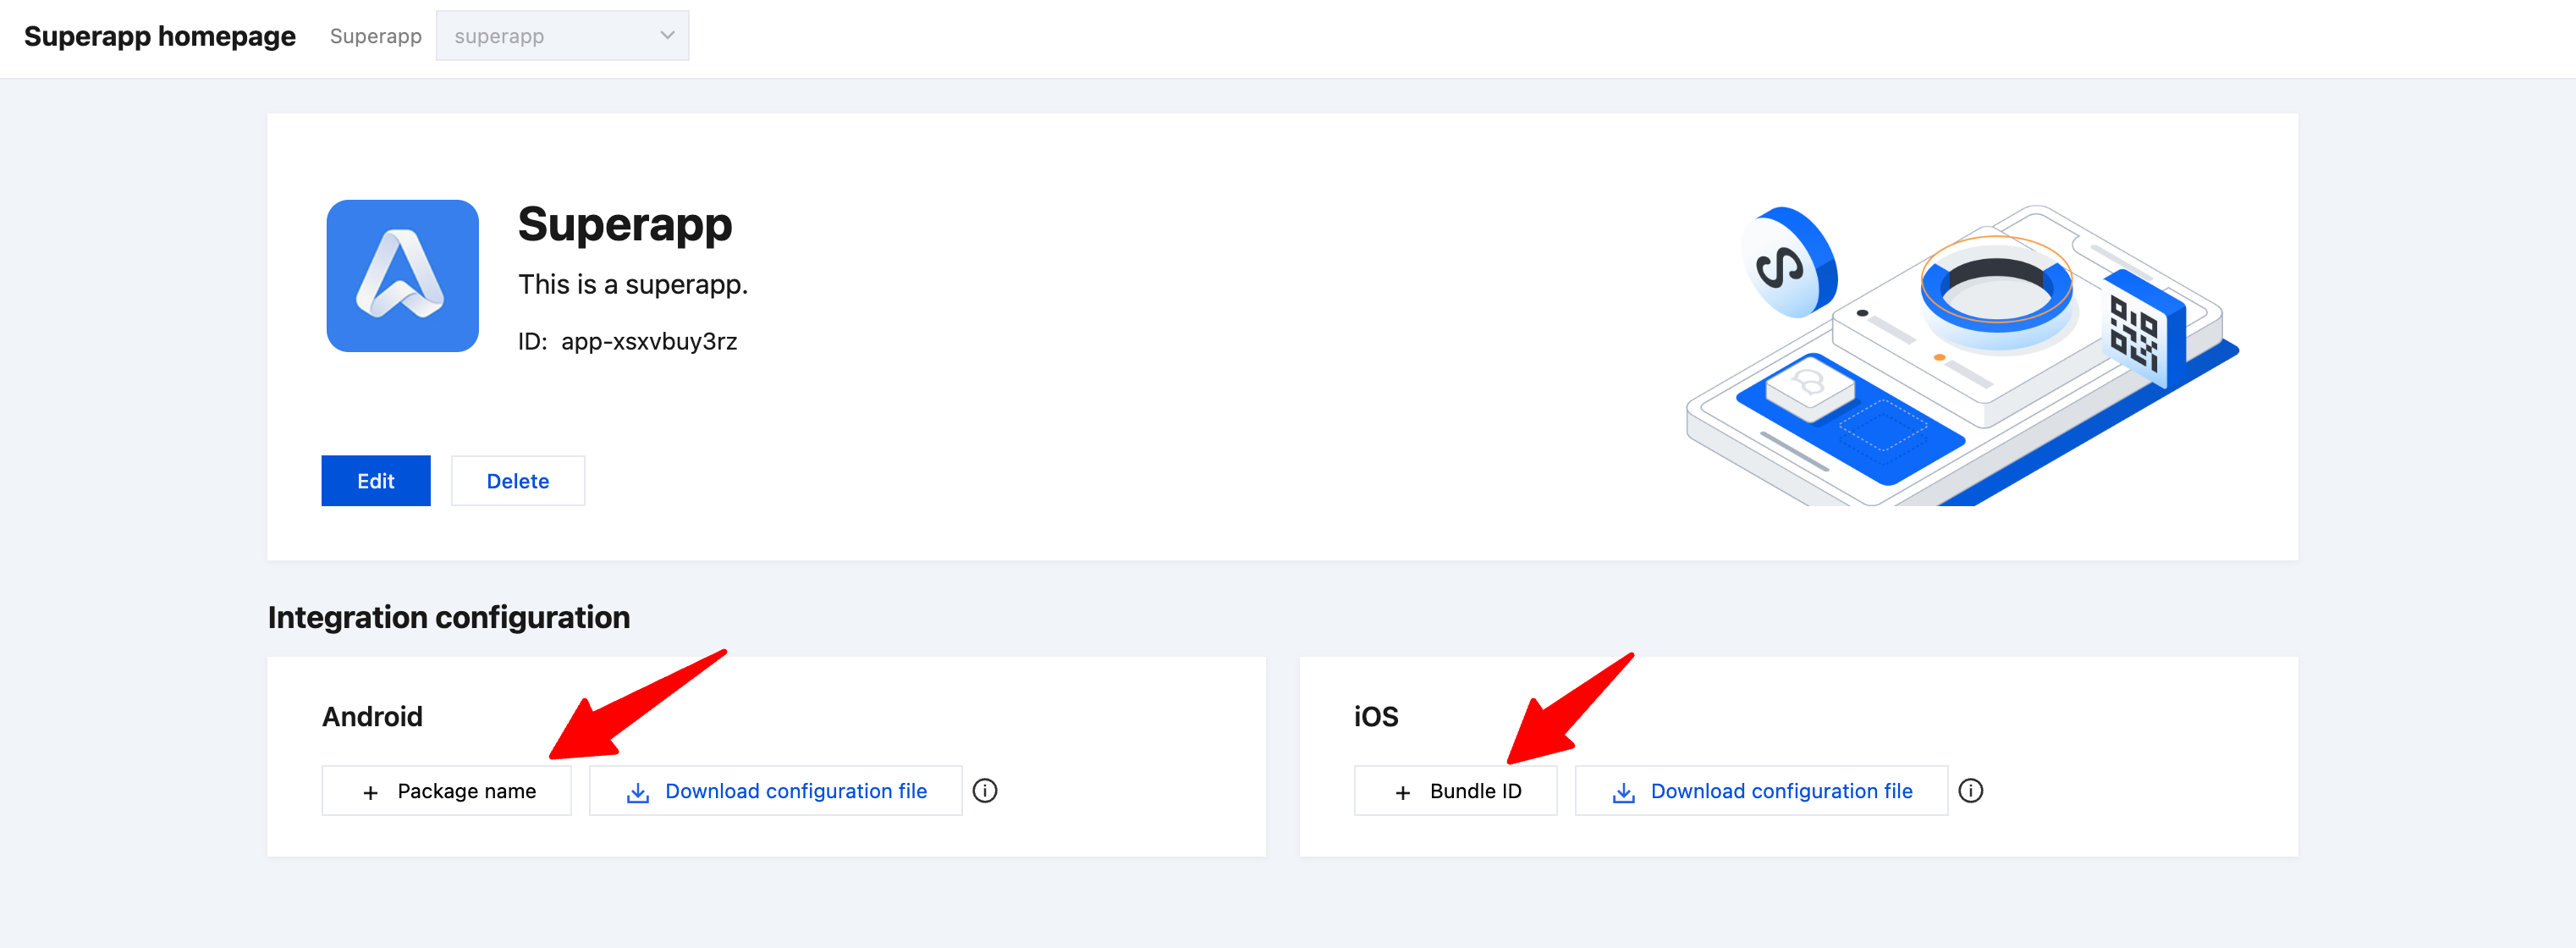
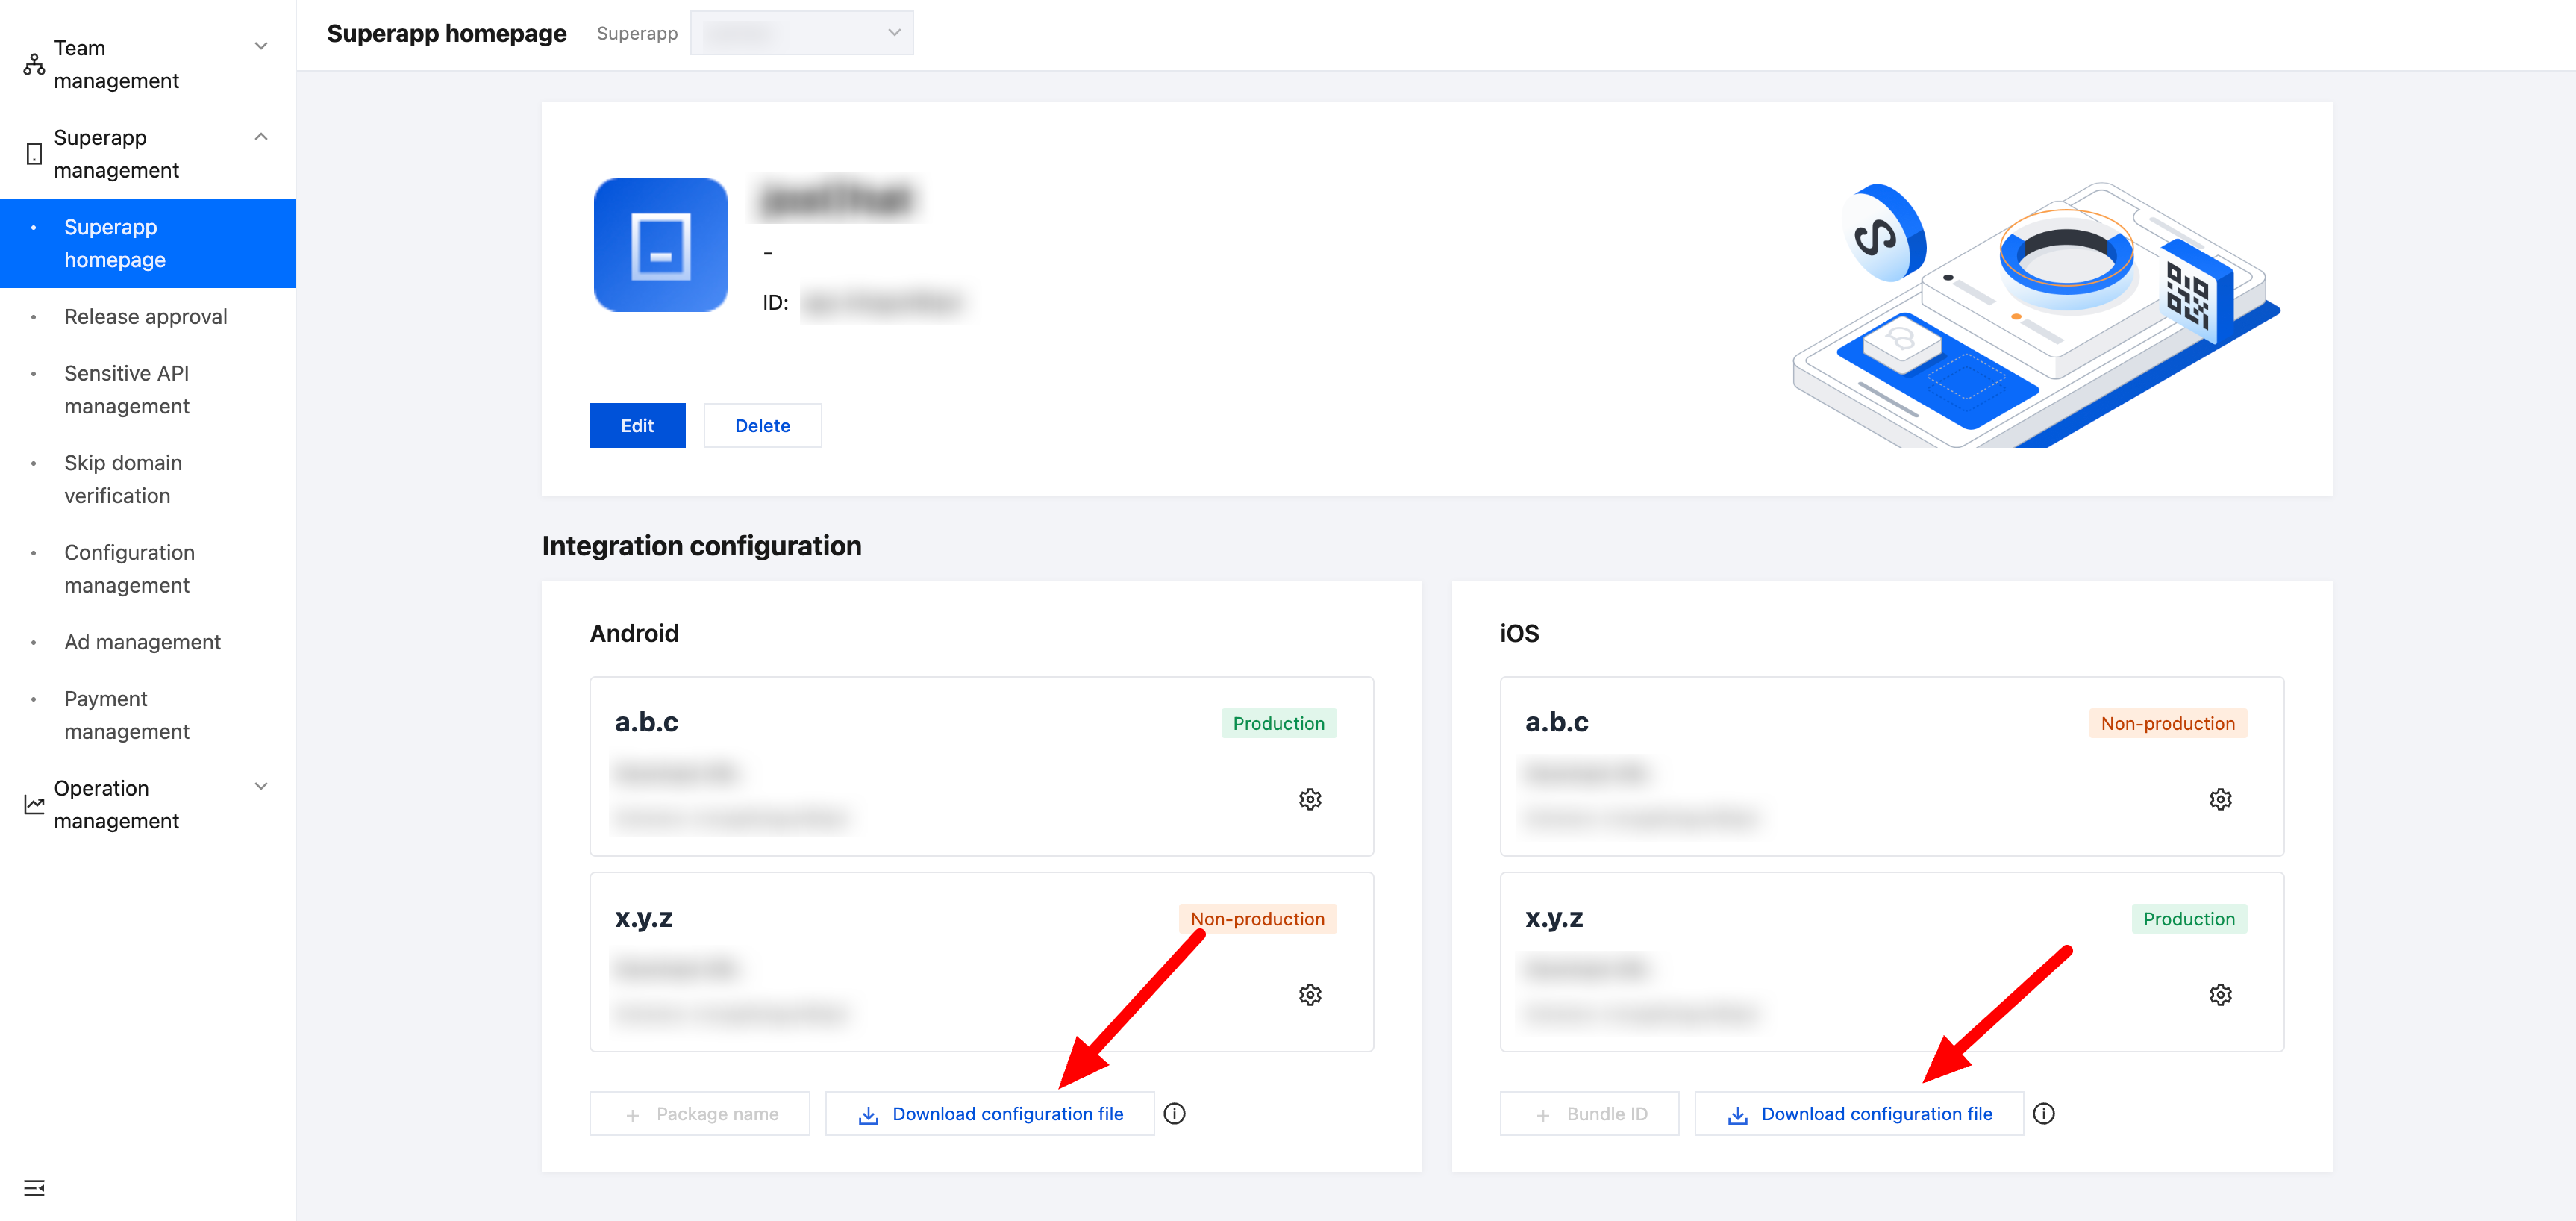
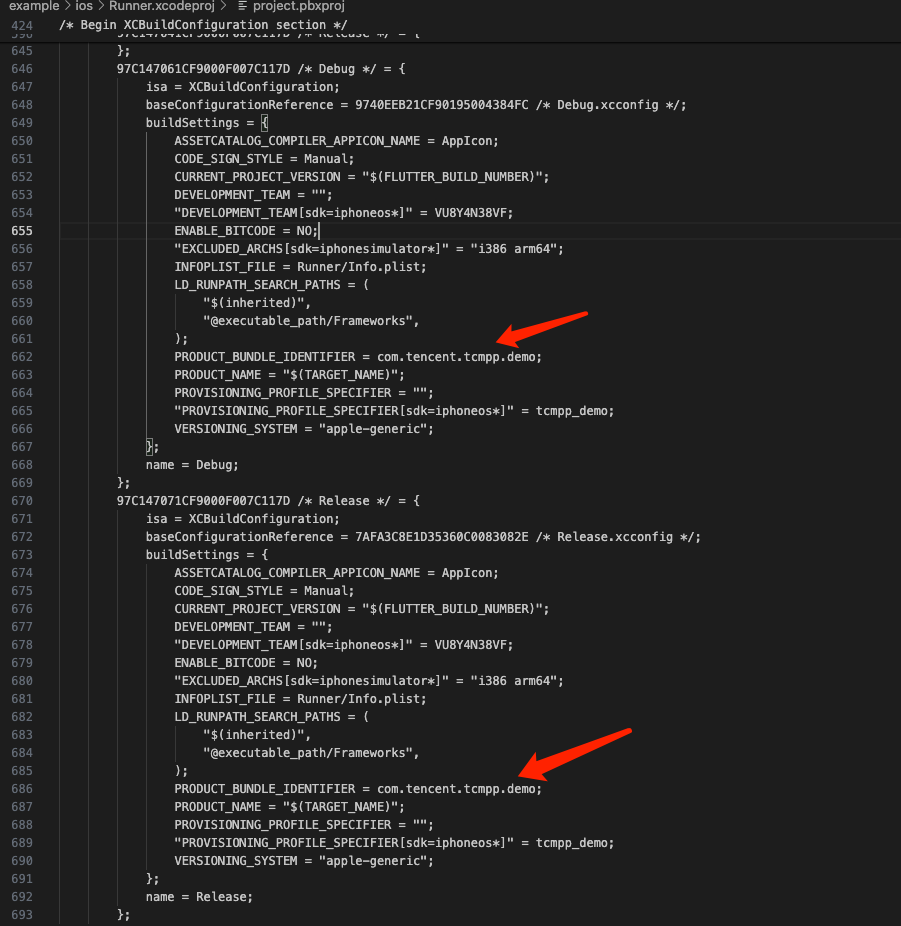
3. Add Package name.
The following fields need to be filled in when adding the package name/bundle ID:
Type: Once selected, the type cannot be changed. Package names for non-production types are only used for superapp test versions and have a monthly device usage limit (up to 500 devices).
Package name/bundle ID: Only supports lowercase letters (a-z), numbers (0-9), dots (.), and hyphens (-), up to 255 characters. It is recommended to use reverse domain name notation, such as com.example.myapp.
Download URL: Only supports uppercase letters (A-Z), lowercase letters (a-z), numbers (0-9), dots (.), hyphens (-), and slashes (/), up to 2,048 characters.
4. Download the configuration file.
Note:
The default name of the downloaded configuration file is tcsas-android-configurations.json.
Add the configuration file
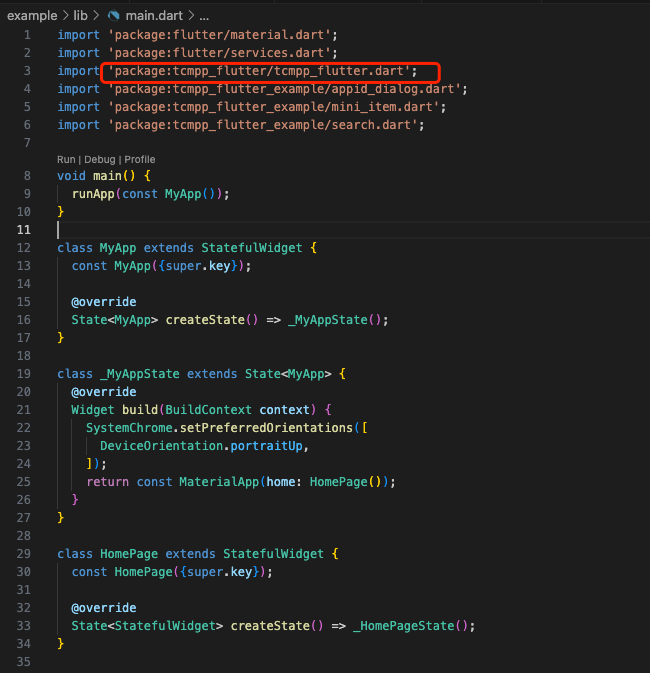
1. Place the configuration file in the Flutter project.
2. Add a file named tcsas-plugin-settings.json in the root directory of the project.
3. Edit the pubspec.yaml file to include the above files as a Flutter resource.
In the tcsas-plugin-settings.json file, you can configure the SDK settings as needed.
Android:
Field
Type
Description
configAssetsName
string
Path to the configuration file in Android
debug
bool
Enable SDK debugging and logging
iOS:
Field
Type
Description
configAssetsName
string
Path to the configuration file in iOS
debug
bool
Enable SDK debugging
logEnable
bool
Enable SDK logging
inspectableEnabled
bool
Enable inspectable feature for iOS 16.4 and later, allowing mini program debugging via Safari
General:
Field
Type
Description
appName
string
Host app name, mainly for copyright notices in the mini programs
appVersion
string
Host app version, mainly for copyright notices in the mini programs
assetPathOfPresets
string
Directory for preloaded offline mini programs, requires a relative path under Flutter assets