Overview
Microsoft Remote Desktop (MRD) is a remote desktop software developed by Microsoft. This document describes how to use it on macOS to upload files to a Tencent Cloud CVM with Windows Server 2012 R2 installed.
Prerequisites
You have downloaded and installed MRD on your local computer. The following operations use Microsoft Remote Desktop for Mac as an example. Microsoft stopped providing a link to download the Remote Desktop client in 2017. Currently, its subsidiary HockeyApp is responsible for releasing the beta client. Go to Microsoft Remote Desktop Beta to download a Beta version. MRD supports macOS 10.10 and later versions. Make sure your operating system is compatible.
You have purchased a Windows CVM.
Directions
Obtaining a public IP
Log in to the CVM console, navigate to the Instances page, and record the public IP of the CVM to which you want to upload files, as shown below: Uploading files
1. Start MRD and click Add Desktop, as shown below:
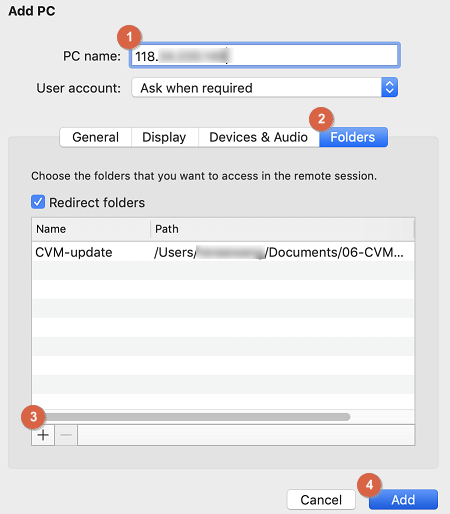
2. In the Add Desktop pop-up window, follow the steps below to select the folder to upload and establish a connection with your Windows CVM.
2.1 In the PC name text field, enter the public IP address of your CVM.
2.2 Click Folders to redirect to the folder list.
2.3 Click in the lower-left corner and select the folder to be uploaded in the pop-up window. 2.4 Check your list of folders to upload and click Add.
2.5 Retain the default settings for the other options and establish the connection.
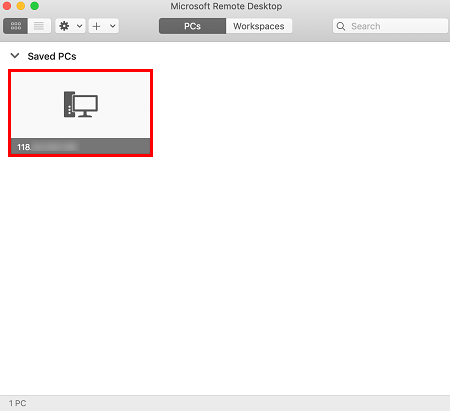
Your entry has now been saved, as shown below:
3. Double-click the new entry. Input your username and password for CVM and click Continue.
Note:
The default account for the Windows CVM is Administrator.
If you use a system default password to log in to the instance, go to the Message Center to obtain the password first. 4. In the pop-up window, click Continue to establish the connection, as shown below:
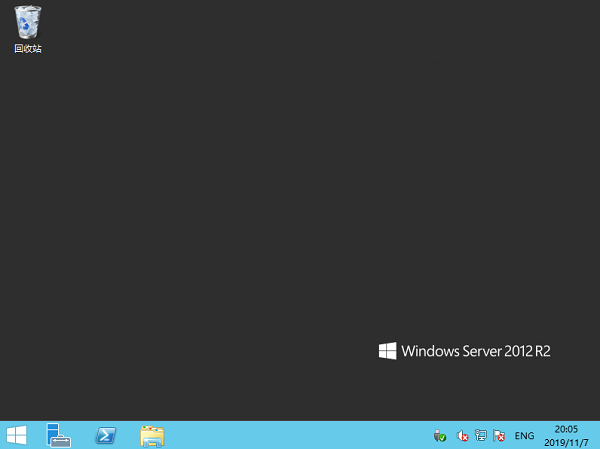
If the connection is successful, the following page will appear:
5. Click in the lower-left corner and select My Computer to see a list of shared folders. 6. Double click a shared folder to open it. Copy desired local files to another drive of the Windows CVM.
For example, copy the A file under the folder to the C drive of Windows CVM.
Downloading files
To download files from the Windows CVM to your computer, you only need to copy desired files from the CVM to a shared folder.