Promoting Secondary Node to Primary Node
Download
フォーカスモード
フォントサイズ
Overview
A TencentDB for MongoDB replica set instance can have one primary node and multiple secondary nodes. If you find that the primary node is abnormal, you can actively promote a secondary node to primary node to ensure normal business operations. In a sharded cluster instance, all shard nodes are grouped into one primary node group, and all secondary nodes are grouped into multiple secondary node groups. If some shard nodes in the primary node group are abnormal, you can actively promote all nodes in a secondary node group to the primary node group.
Version description
TencentDB for MongoDB v3.6 and later support promoting secondary node to primary node.
Notes
When a node is promoted to primary node, existing TCP connections to the database will be closed. Therefore, before performing this operation, make sure that your business has an automatic reconnection mechanism; otherwise, you need to manually reconnect to the database.
Prerequisites
The instance is in Running status.
Directions
1. Log in to the TencentDB for MongoDB console.
2. In the MongoDB drop-down list on the left sidebar, select Replica Set Instance or Sharded Cluster Instance. The directions for the two types of instances are similar.
3. Above the Instance List on the right, select the region.
4. In the instance list, find the target instance.
5. Click the Instance ID to enter the Instance Details page and click the Node Management tab.
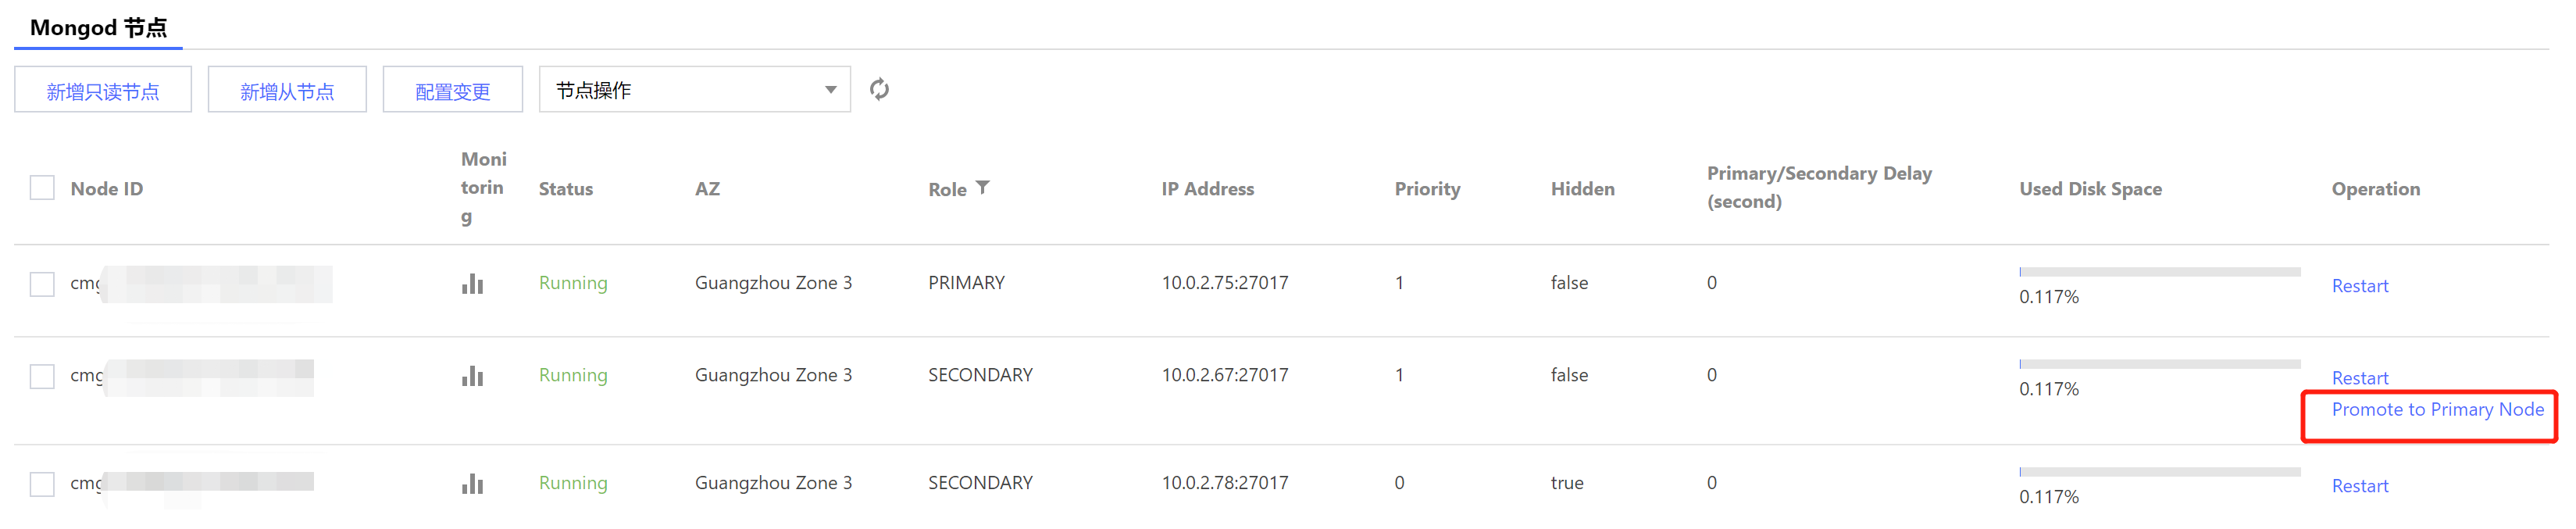
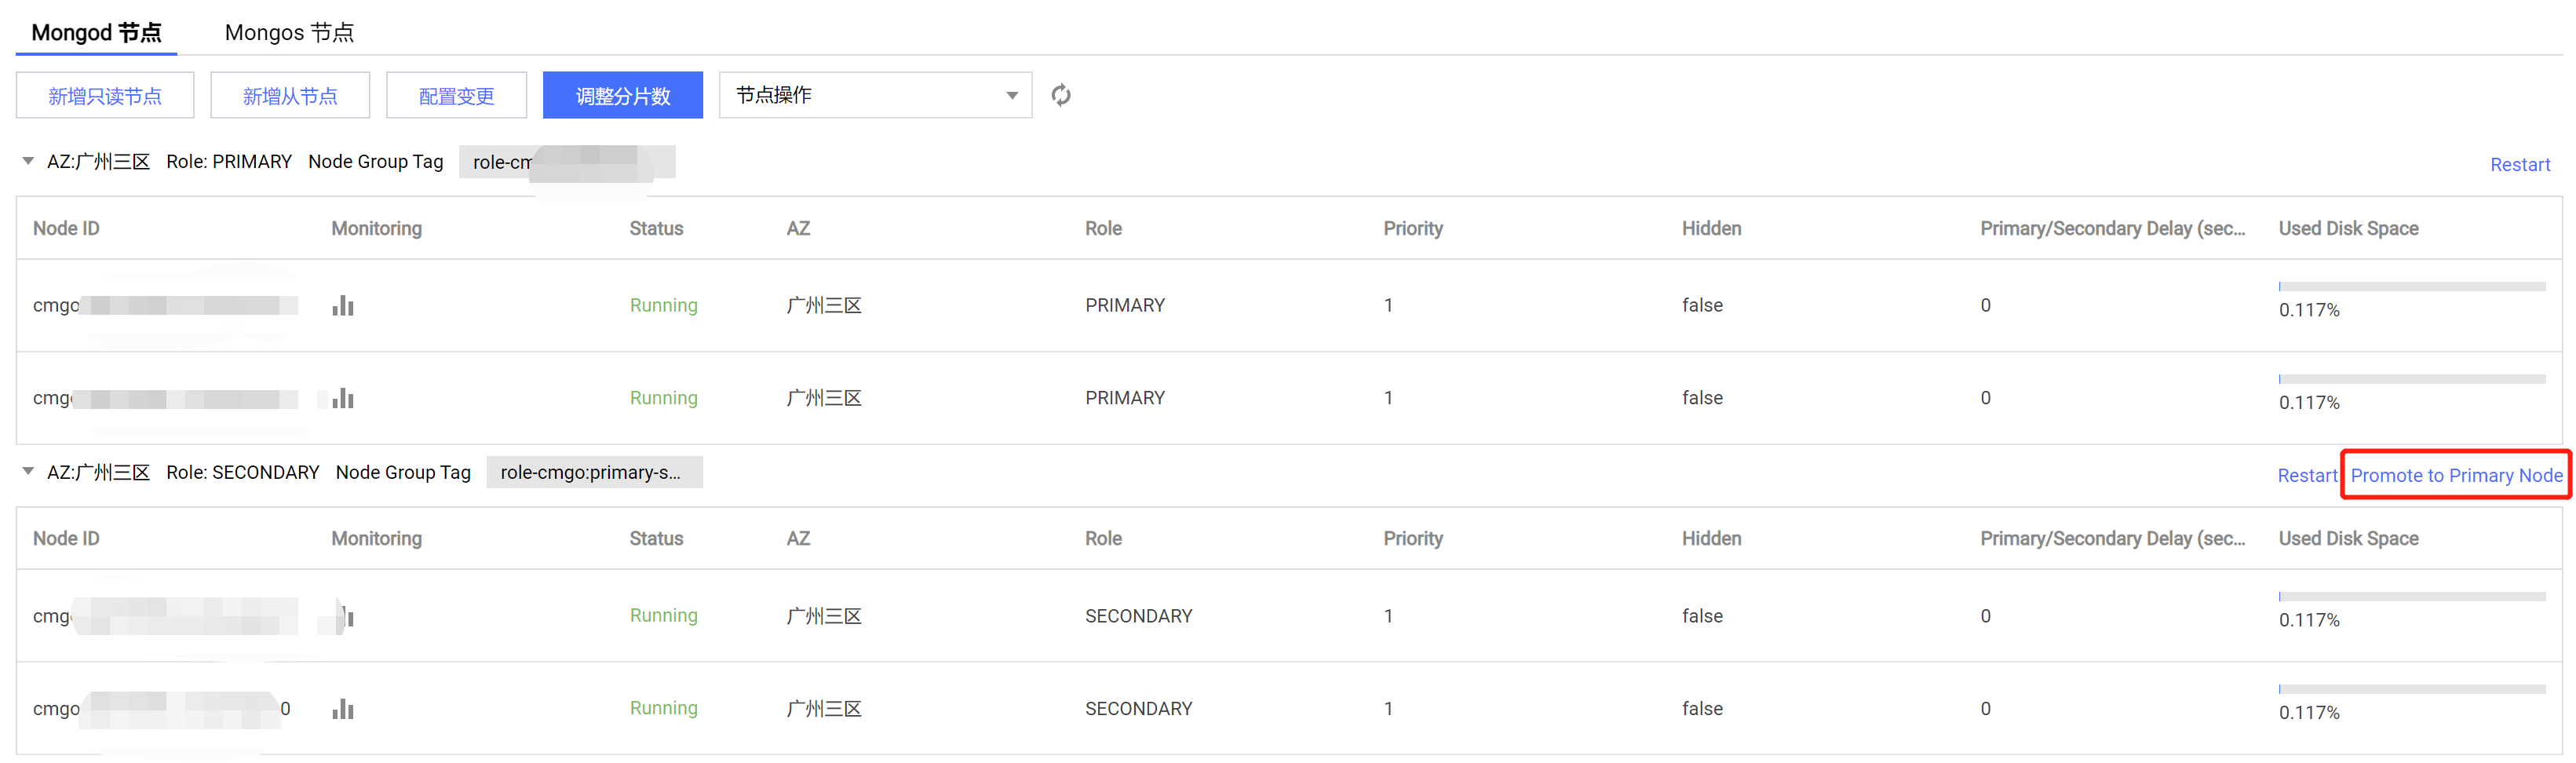
6. On the Mongod Node tab on the Node Management tab, find the target secondary node in the node list.
Replica set instance: In the node list, find the target secondary node and click Promote to Primary Node in the Operation column.
Sharded cluster instance: In the node list, find the target secondary node group and click Promote to Primary Node in the top-right corner.
7. In the Promote to Primary Node window, select Confirm the risk of the promotion to primary node and click OK.
Note:
When a node is promoted to primary node, existing TCP connections to the database will be closed. Therefore, before performing this operation, make sure that your business has an automatic reconnection mechanism; otherwise, you need to manually reconnect to the database.
8. Return to the Instance Details page, you can see that Instance Status is Promoting to Primary Node. After this status disappears, the task is completed. On the Node Management tab, you can see that the Role of the original secondary node becomes PRIMARY.
フィードバック