Migration Assistant
Download
Modo Foco
Tamanho da Fonte
Scenarios
Migration Assistant supports importing and exporting tasks, project parameters, functions, events, Data Integration objects, and abstracts common business processes, making it easy to quickly copy operations. With development and production clusters completely isolated, you can customize export to implement operations similar to publishing tasks. This document introduces how to export tasks from the source project and import them into the target project.
Preparations
Note:
Note: The Migration Assistant feature is currently in the testing phase. You can submit a ticket to apply.
Joining a Project and Becoming a Project Administrator
Only the root account and sub-accounts as project administrators can import and export. Other roles' members can only view the import and export task list with no operation permissions. If you need to become an administrator, other project administrators must add you as an administrator in the Project Management page under Member and Role Management in WeData.
Operation Steps
1. log in to WeData console.
2. Click **Project List** in the left menu, find the target project that requires task development functionality.
3. After selecting a project, click in the upper right corner to enter the Project Management page.
4. On the Projects page, select export task or import task from the left list. The migration assistant includes export and import features, corresponding to exporting tasks from a project as a compressed package and uploading the package to projects to generate tasks respectively.

Export Task
1. Select Create Export Task in the top-left corner, then fill in the export task name and description in the pop-up dialog box.
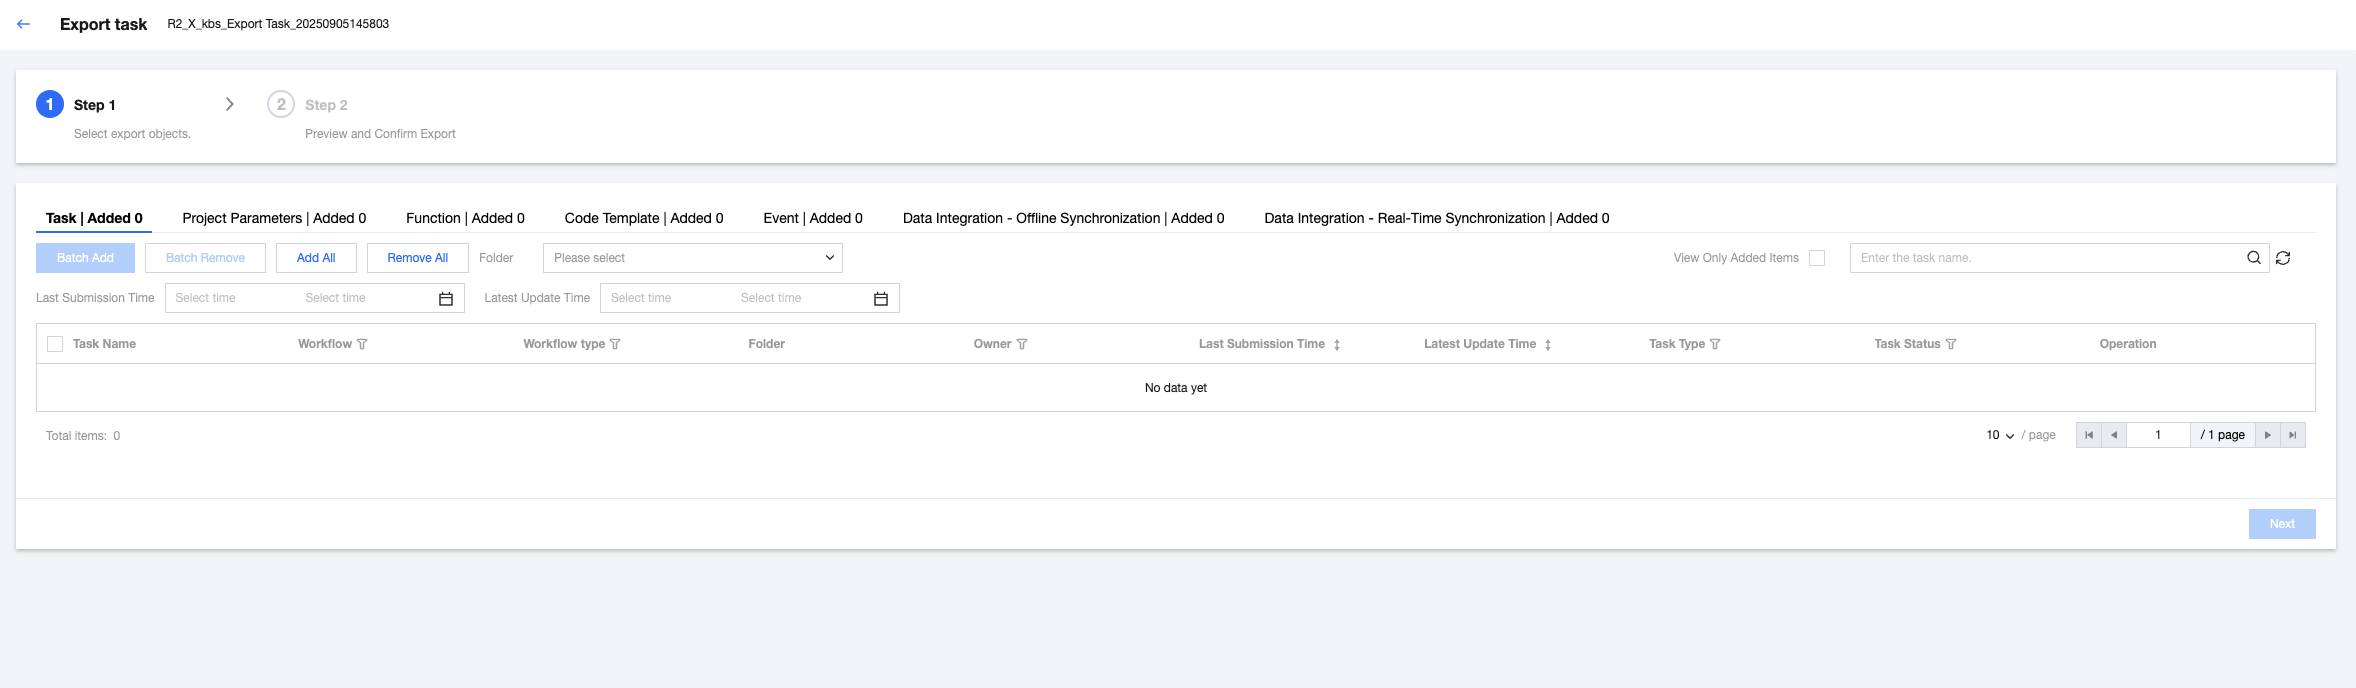
2. Select export objects. Export objects include tasks in the orchestration space, project parameters, functions, events, Data Integration - offline synchronization task, and Data Integration - real-time synchronization tasks. After completing the selection, click Next at the bottom of page.
3. Select the version of the export task, including two options: latest saved version and scheduling in progress precedence.
Latest saved version: export the latest saved task content.
Version under scheduling first: export the version under scheduling (production version) first. If no version is in scheduling, export the latest saved content.
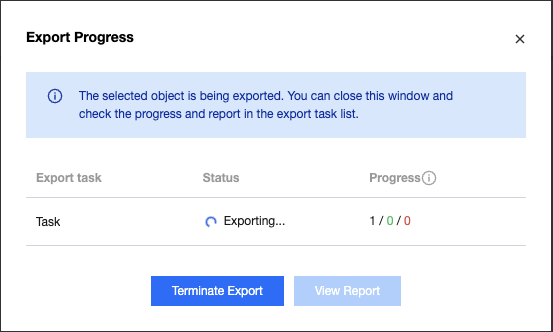
4. After confirming the preview is correct, click start exporting. The pop-up dialog box will show the export status.
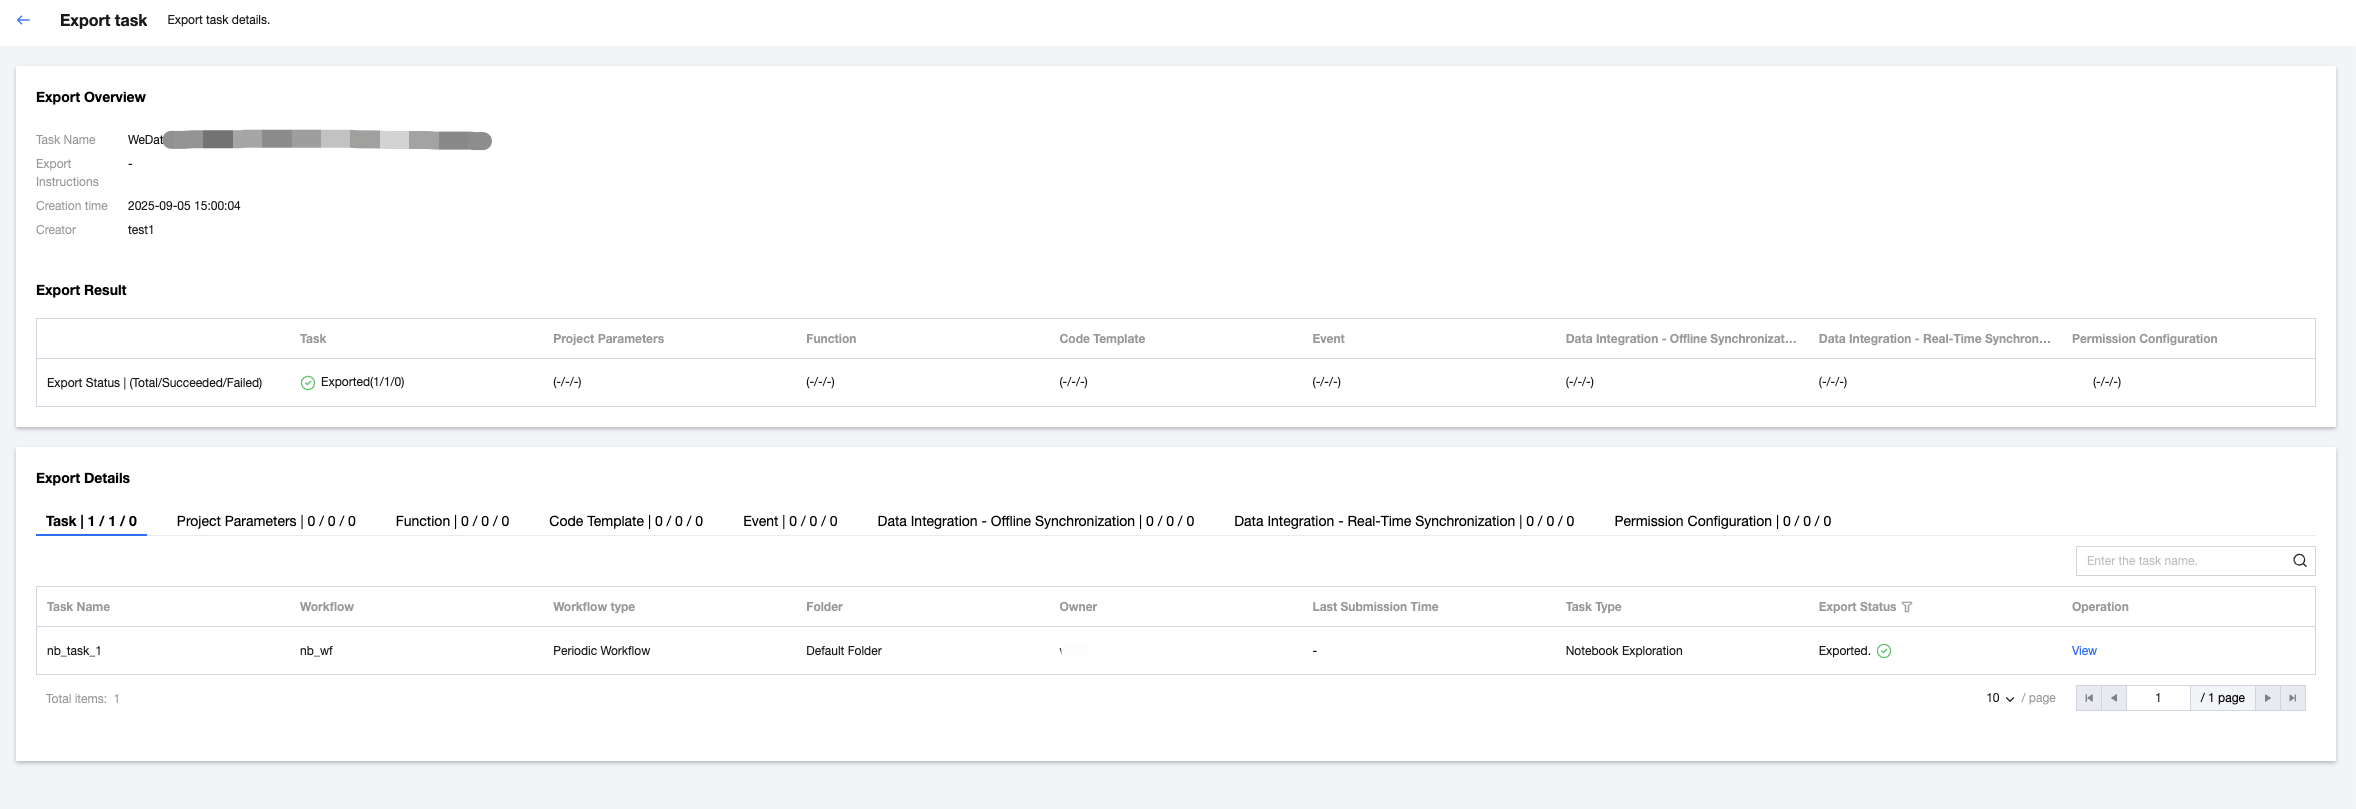
5. View the export report
View the export status in the export result, including export successful, export failure, and partially successful. You can view the total count, number of successes, and failure count separately.
Support viewing export details. If the export status is failed, you can view the failure reason.
6. After the export is complete, return to the list page and click "download export package" to save it to local.

Orchestration Space Task Supported Export Object Types
1. Supported workflow types: currently only support automated workflow, manual workflow is not supported.
2. Supported task types:
Task Classification | Task type | Whether Supported |
Data Integration | Offline Sync | Yes |
EMR | Hive SQL | Yes |
| Spark SQL | Yes |
| PySpark | Yes |
| Spark | Yes |
| MapReduce | Yes |
| Impala | Yes |
| Trino | Yes |
| StarRocks | Yes |
DLC | DLC SQL | Yes |
| DLC Spark | Yes |
| DLC PySpark | Yes |
TDSQL | TDSQL PostgreSQL | Yes |
TCHouse | TCHouse-P | Yes |
| TCHouse-X | Yes |
| TCHouse-X SQL | Yes |
common | Python | Yes |
| Shell | Yes |
| JDBC SQL | Yes |
| Kettle | Yes |
| branch node | No |
| merge node | No |
| Explore Notebook | No |
| For-each | No |
| SSH | Yes |
Cross-workflow | Cross-workflow node | Yes |
Import Task
1. Select Create Import Task in the top-left corner, upload the exported compression package in the pop-up dialog box, and click File Verification to validate the format and content of the import file. After successful verification, fill in the import instructions and click Start Importing.
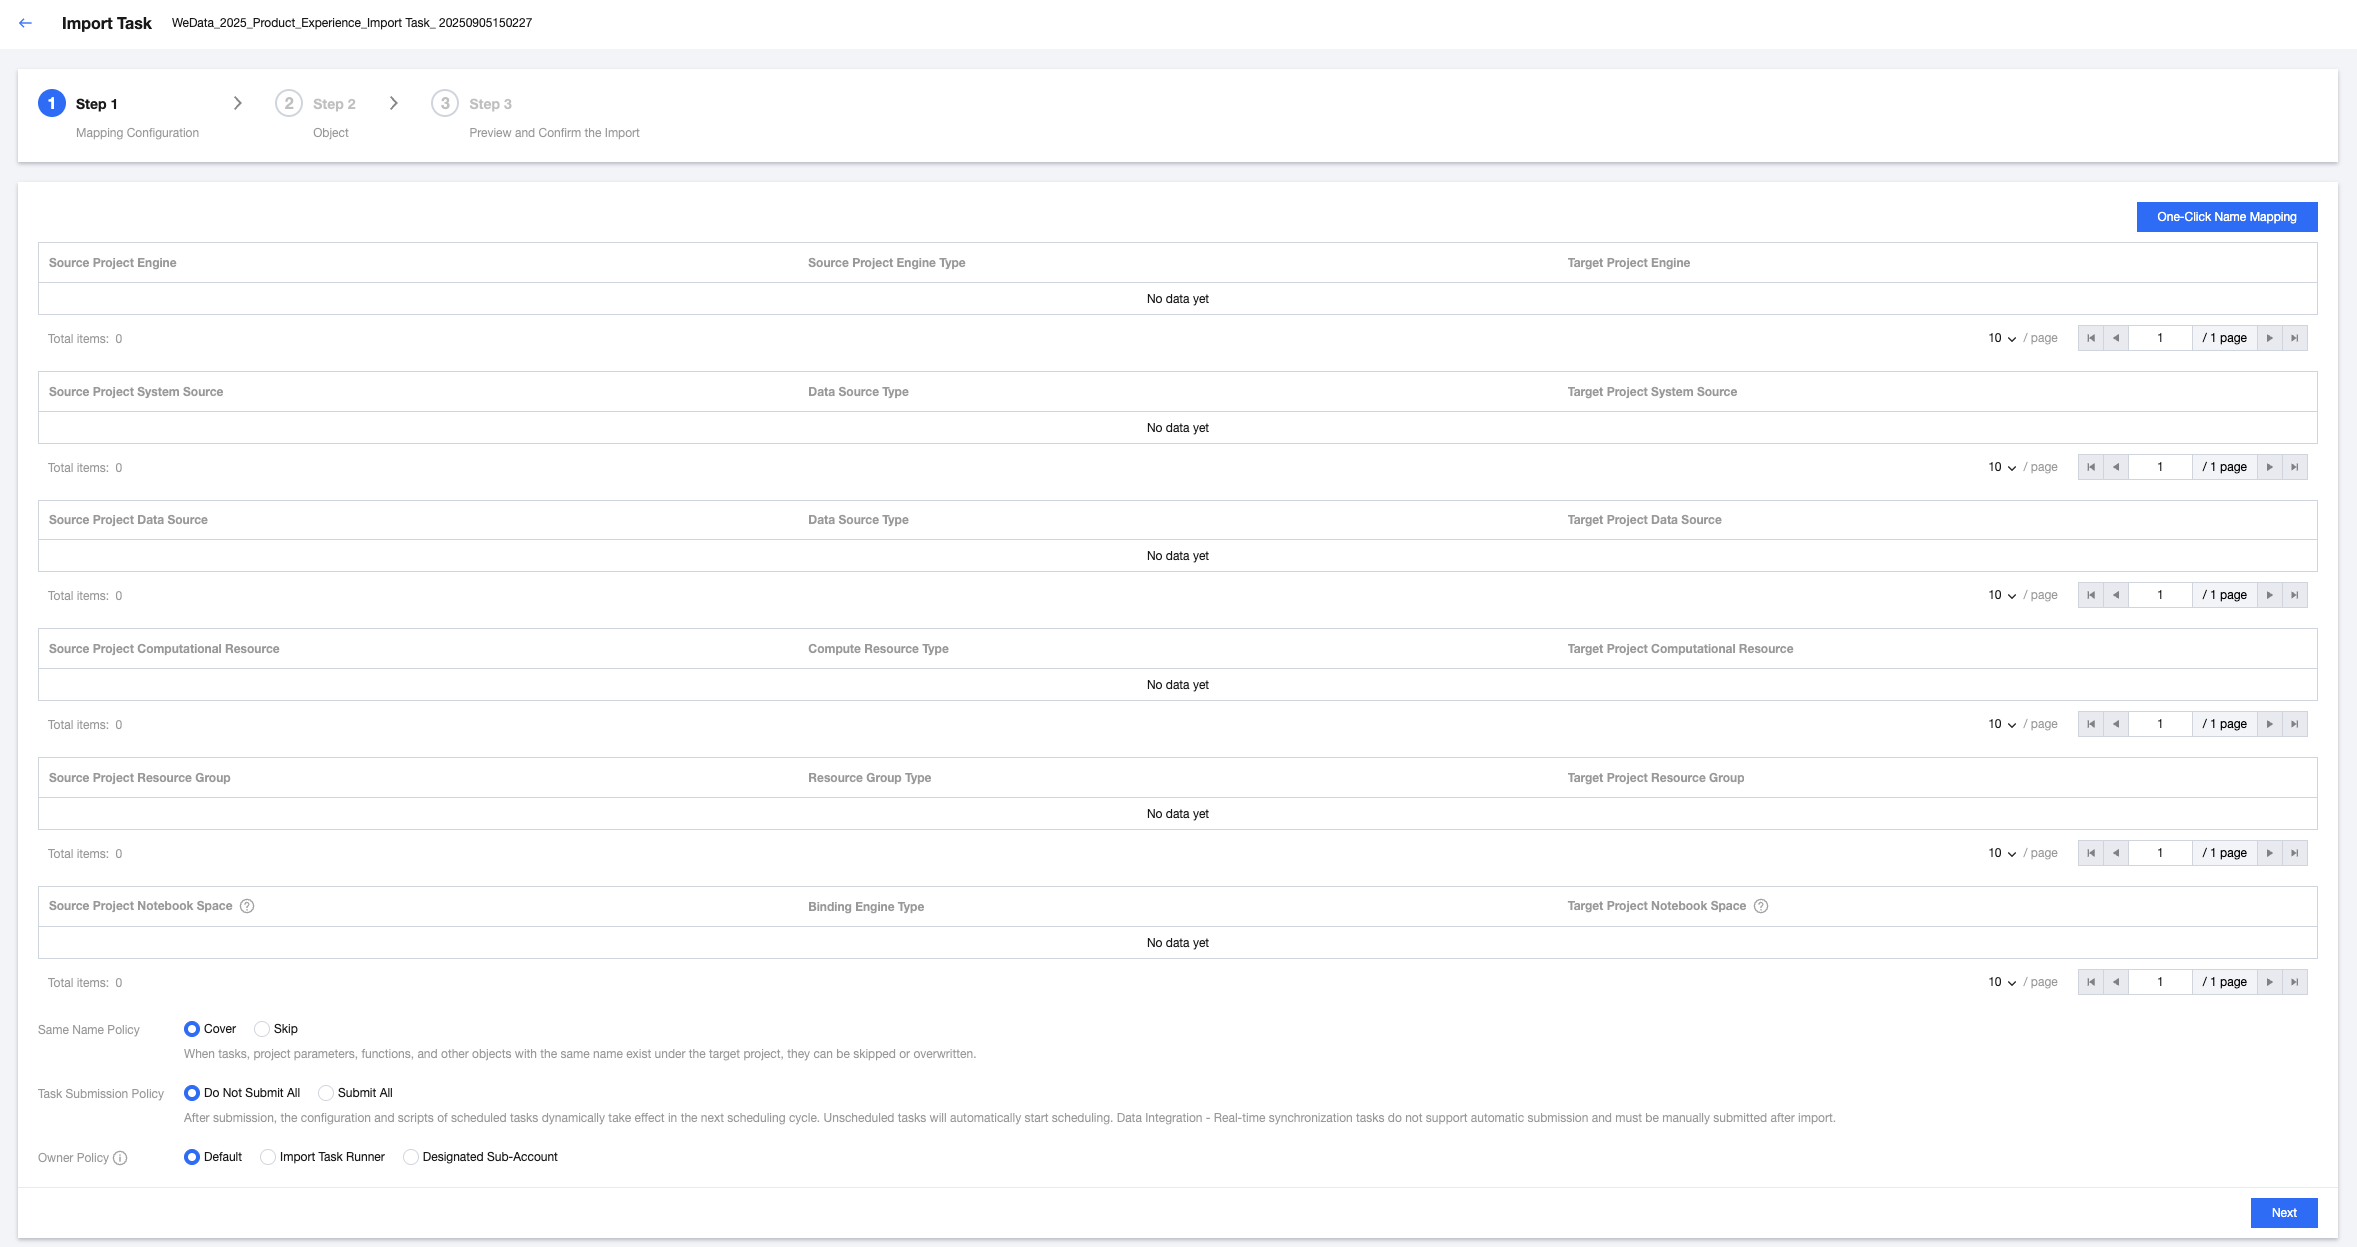
2. Map the configuration items required for tasks in the source project to the target project. The content to be configured includes the storage-compute engine, system source, custom definition source, queue information, and execution resource group. For example:
The configuration item for a certain PySpark task in the source project is the EMR engine, so select the corresponding EMR engine in the target project to map.
The configuration item for a certain Hive SQL task in the source project is a Hive data source, so select a corresponding Hive data source in the target project to map.
Optional parameters when importing include:
Parameter | Description |
Duplicated name policy | If a task, project parameter, functions and other objects with the same name exist in the target project, set a policy for each object by selecting "overwrite" or "skip". |
Task Submission Policy | Set the submission strategy for the import job Do not submit all: After importing a task, it is set to submit none by default, and the user must manually submit it. Submit all: After importing a task, scheduled tasks in the source project will take effect dynamically in the next scheduling cycle, and unscheduled tasks will automatically start scheduling. Note: Data Integration - Real-time synchronization tasks do not currently support autocommit. Tasks must be manually submitted after import. |
Owner Policy | Set the owner for the imported task: Default: Preferentially use the original owner of the import objects as the owner after import. If the original owner does not exist in the target project, use the task runner as the owner after import. Task runner: Use the task runner as the owner of the import objects. Designated sub-account: Assign a sub-account as the owner of the import objects. The sub-account needs to be a member of the current project. |
3. Choose to import objects and click Next.
4. After confirming the preview is correct, click "start importing". The pop-up dialog box will show the import status.
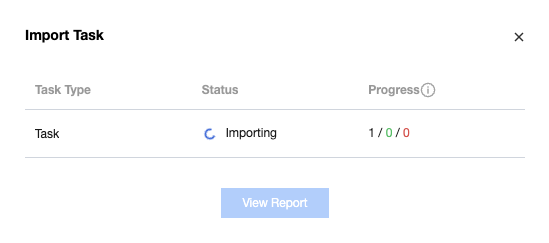
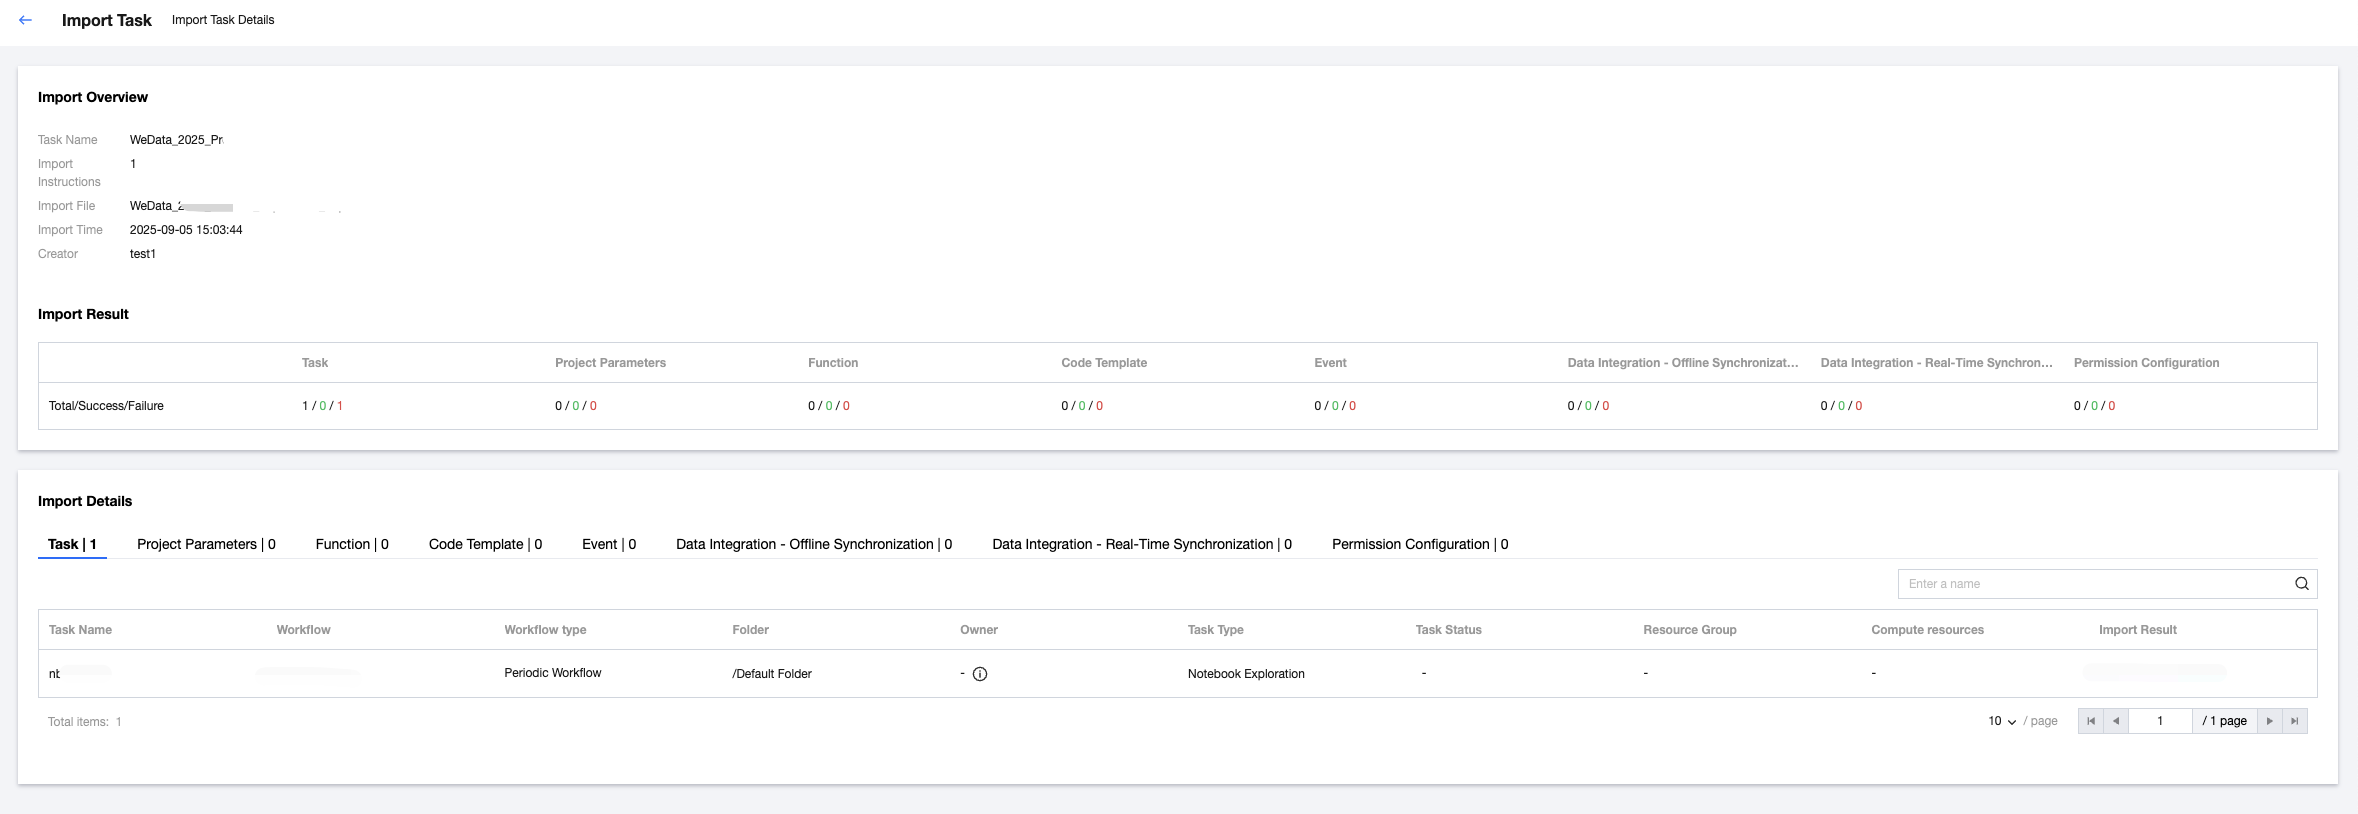
5. After the import is complete, you can view the import result:
View the import status in the import result, including successful import, import failure, and partially successful. You can view the total count, number of successes, and failure count separately.
Support viewing import details. If the import status is failed, you can view the failure reason.
Ajuda e Suporte
Esta página foi útil?
Você também pode entrar em contato com a Equipe de vendas ou Enviar um tíquete em caso de ajuda.
comentários