tencent cloud

Tencent Effect SDK

Release Notes and Announcements
Release Notes
Tencent Effect SDK V3.5 Version Released
Tencent Effects SDK V3.0 Version Related API and Material Changes
Product Introduction
Overview
Features
Basic Concepts
Strengths
Use Cases
Purchase Guide
Pricing Overview
Purchase Guide
Payment Overdue and Refund
Tutorial
Demos
Free Trial License
Licenses
Adding and Renewing a License (Mobile)
Adding and Renewing a License (Desktop)
Adding and Renewing a License (Web)
FAQs
SDK Download
Features
SDK Download
Version History
SDK Integration Guide(No UI)
General Integration of Tencent Effect
Integrating Capabilities
SDK Integration Guide(Including UI)
General Integration of Tencent Effect
Integrating Tencent Effect into MLVB SDK
Integrating Tencent Effect into TRTC SDK
Integrating Tencent Effect into UGSV SDK
Virtual Avatars
API Documentation
iOS
Android
Flutter
Web
Feature Guide
Reducing SDK Size
SDK Integration Issue Troubleshooting
Performance Fine-Tuning
Effect Fine-Tuning
Material Usage
Effect Parameters
Recommended Parameters in Beautification Scenarios
UGSV Enterprise Edition Migration Guide
Integrating Tencent Effect for Third-Party Publishers (Flutter)
Integrating Beauty AR Web into Mini Programs
Tencent Effect Studio Usage
Beauty AR Web
Overview
Quick Start
SDK Integration
Parameters and APIs
Console Guide
Demos
Preset Effect List
Practical Tutorial
FAQs
FAQs
General
Technical
License
Legacy Documentation
Recommended Parameters in Beautification Scenarios
Beauty Parameters Table
One-Minute Integration of TRTC
One-Minute Integration of Live Streaming
TE SDK Policy
Privacy Policy
Data Processing And Security Agreement
Contact Us

Head Segmentation

PDF
Focus Mode
Font Size
Last updated: 2026-03-30 18:03:42

Introduction

Head segmentation is an image processing feature that isolates a person's head from the rest of an image or video, creating a clear outline around the head. With Tencent Effect, the head segmentation function accurately detects both the position and rotation angle of the head, providing real-time, high-precision segmentation results.

Basic Usage

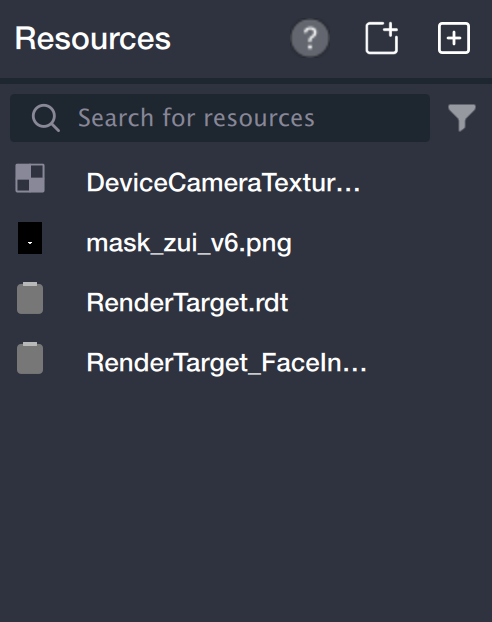
Step 1: Import Assets

Drag files directly into the asset panel, or click + to import them.


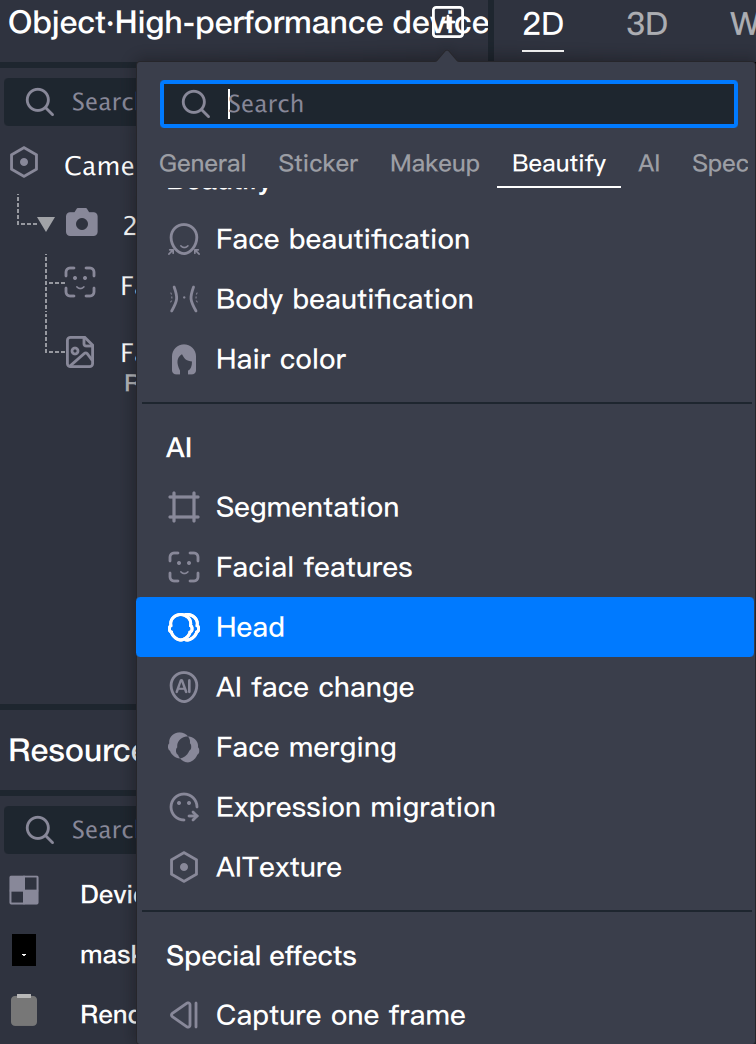
Step 2: Create Head Segmentation Object

1. In the object panel, add a head segmentation object.


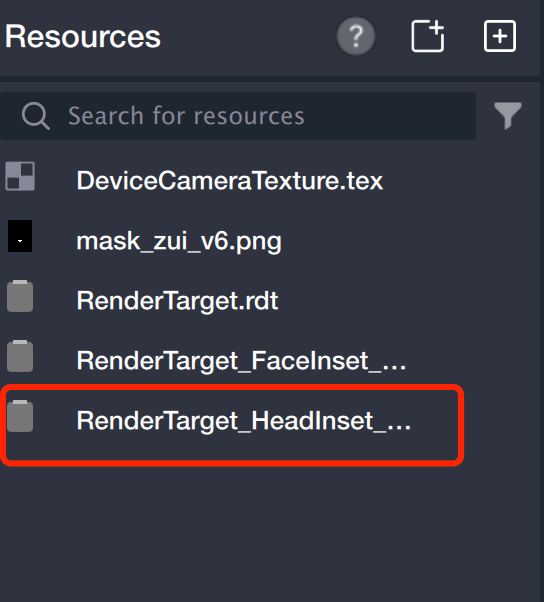
2. Once head segmentation is enabled, the asset panel displays a file named RenderTarget_HeadInset_1.rdt. This file contains the segmented head image output, which you can use later as a sticker.


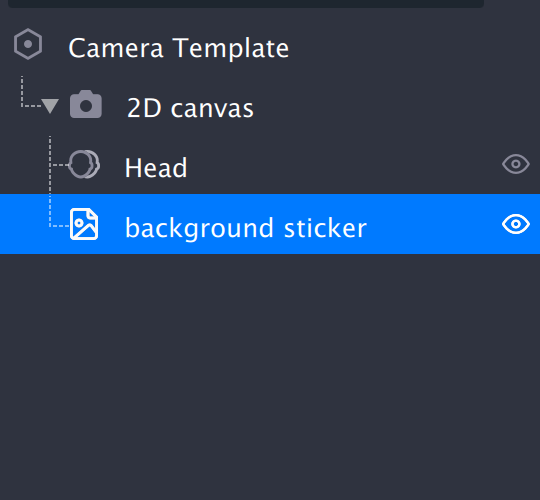
Step 3: Add Background

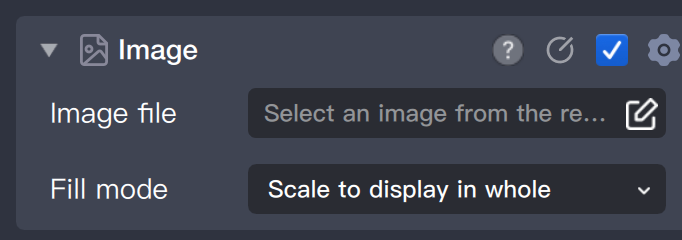
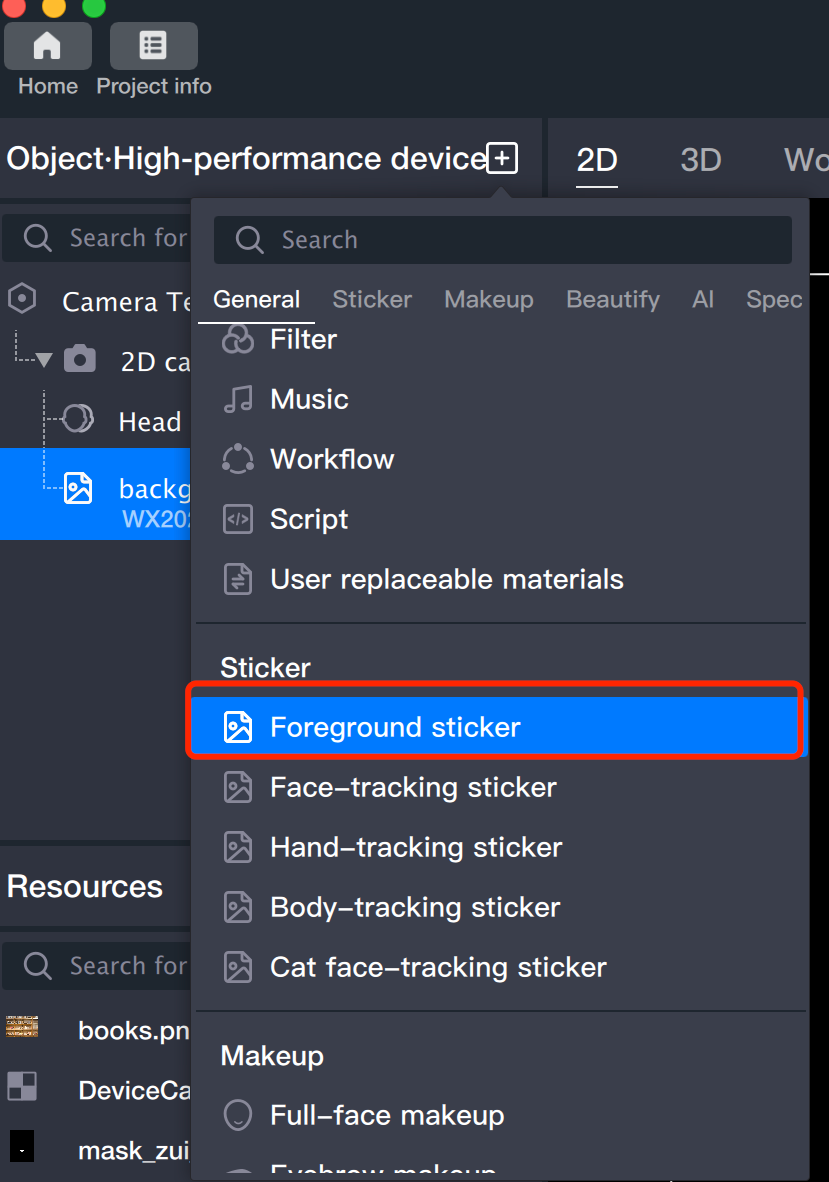
1. Click + to add a foreground sticker, which will act as your new background layer. (In this step, the foreground sticker is used to replace the background.)


2. Rename the foreground sticker to "Background Image" to distinguish it from any other foreground stickers you add later.


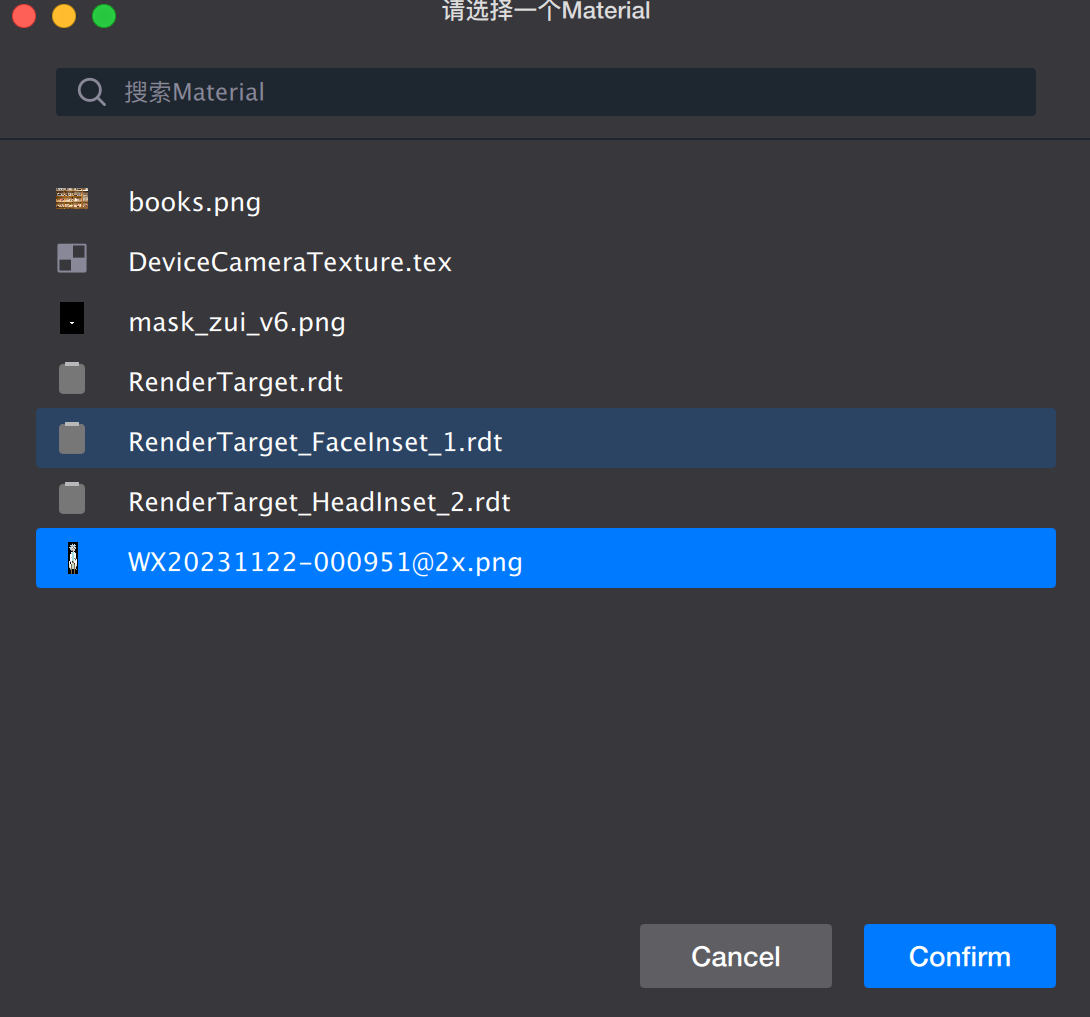
3. Select your desired image file.


4. Adjust the position and size of the background image as needed.


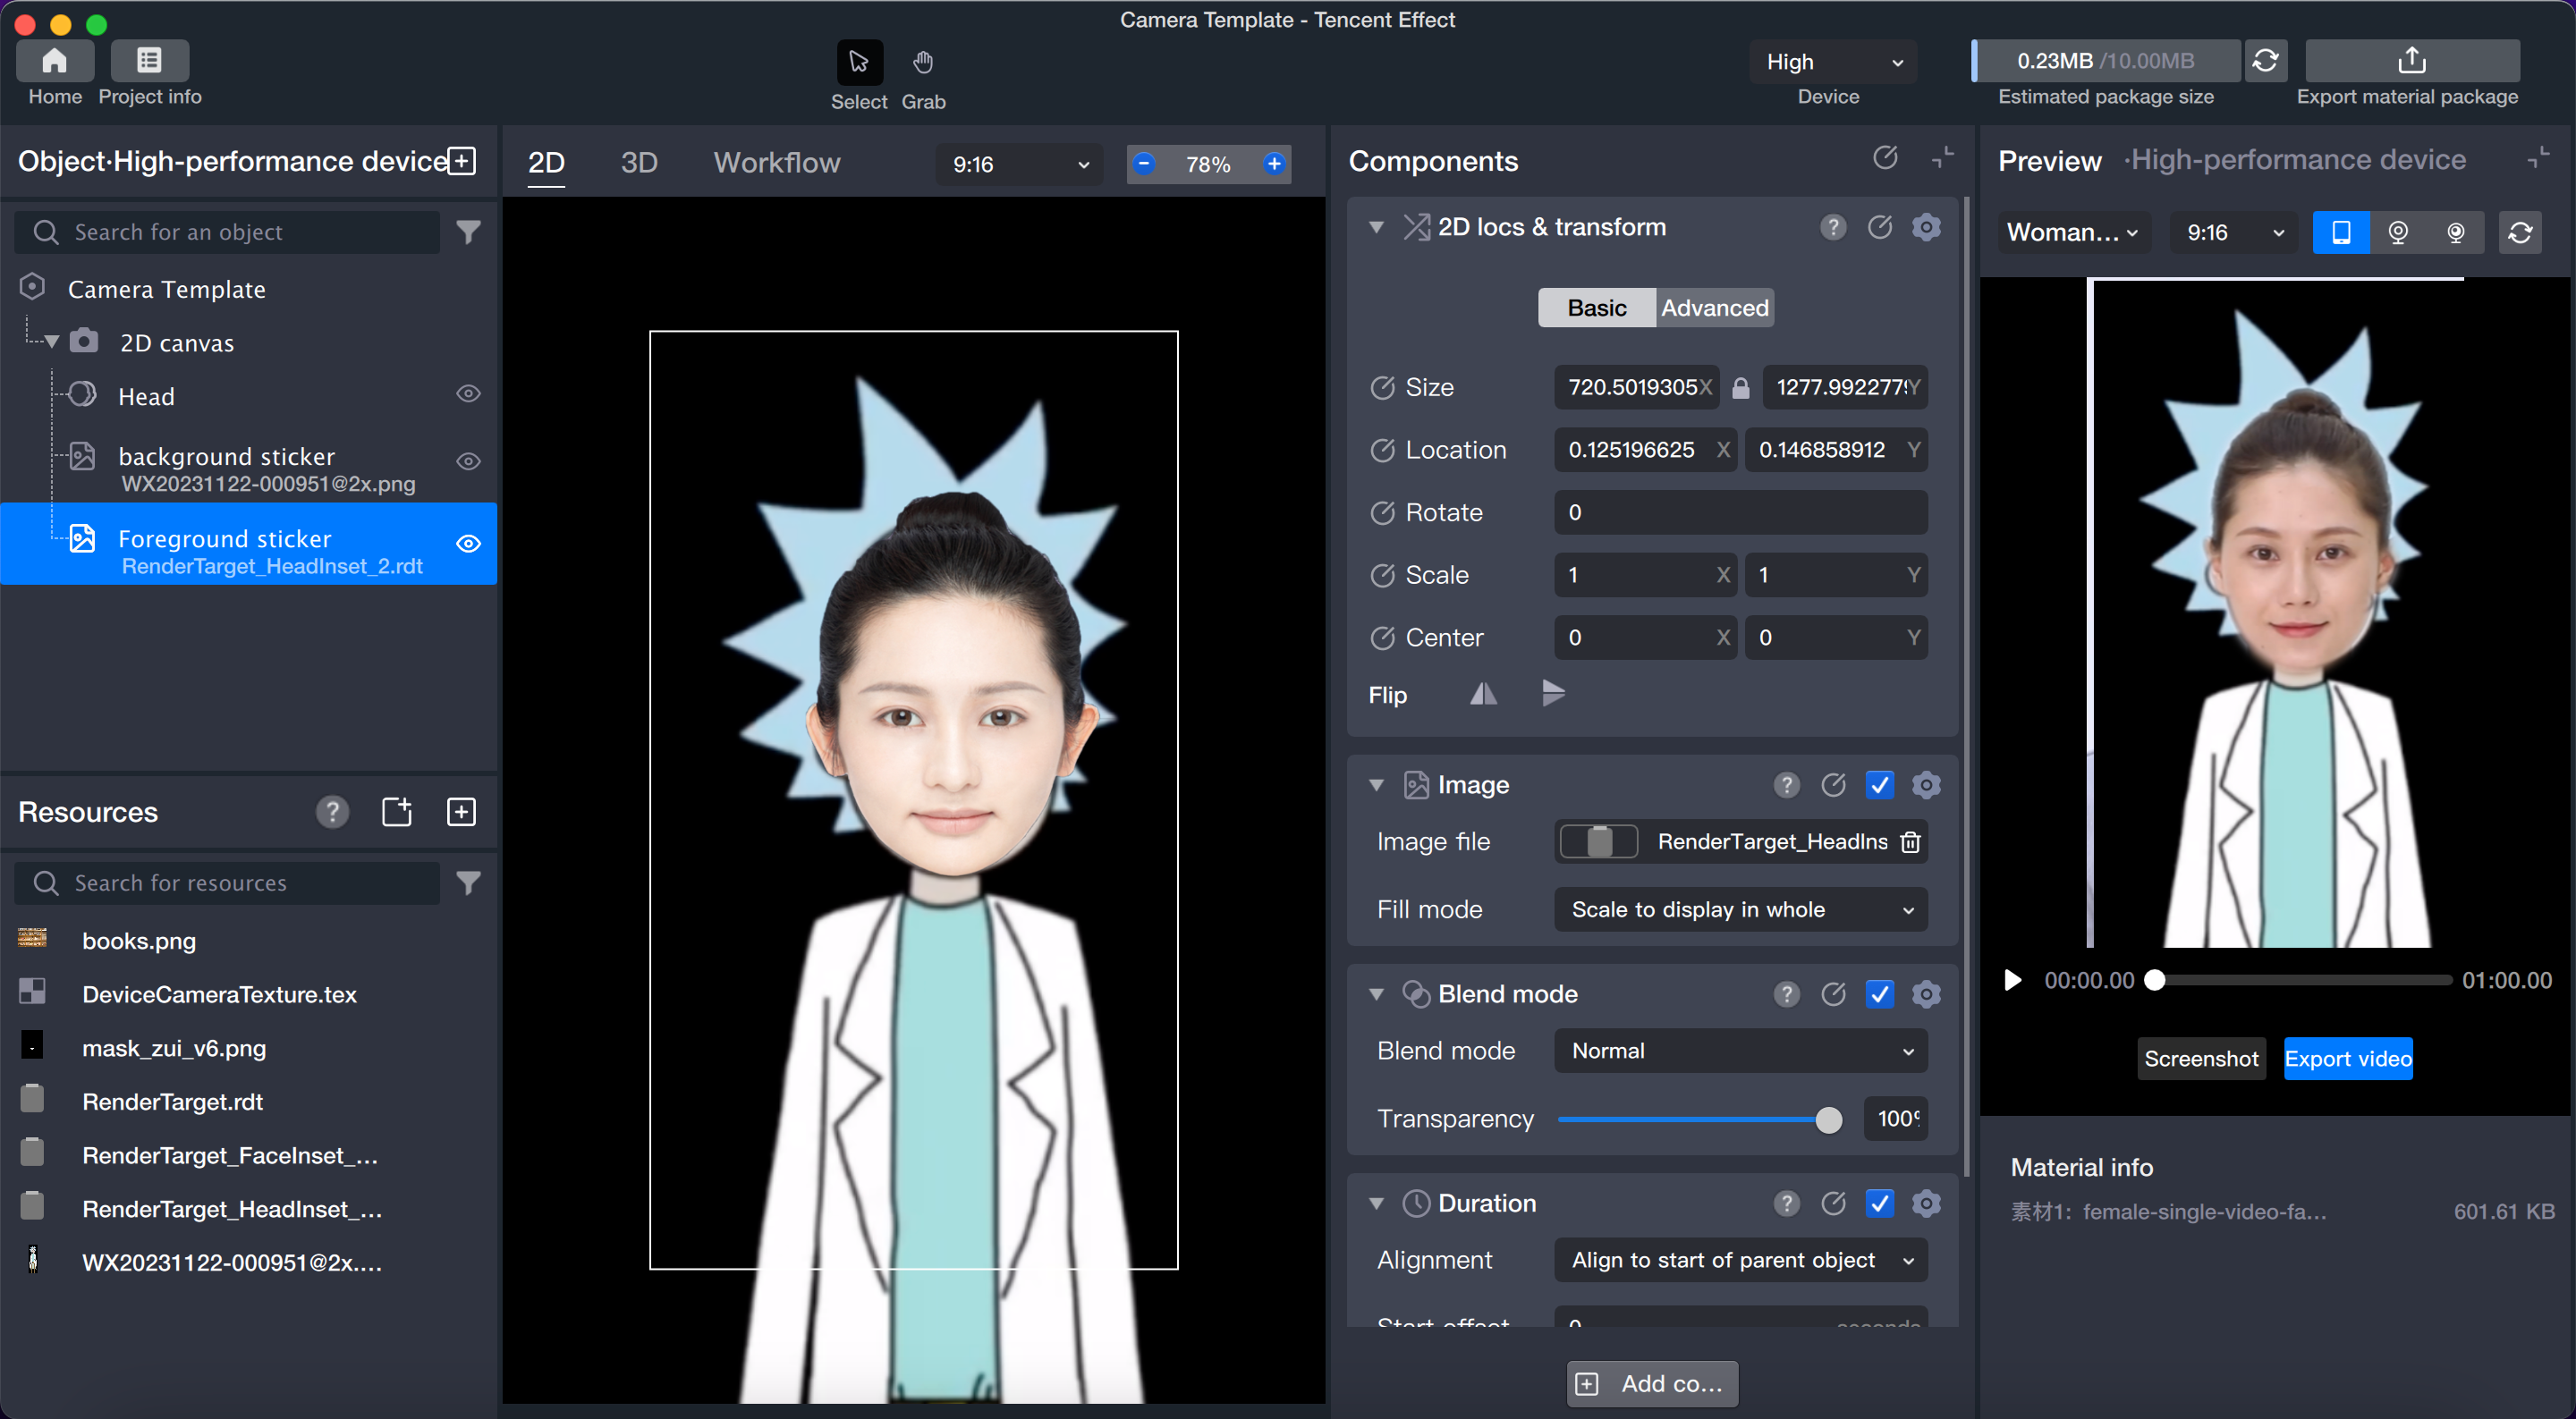
Step 4: Add Foreground Sticker for Segmented Head

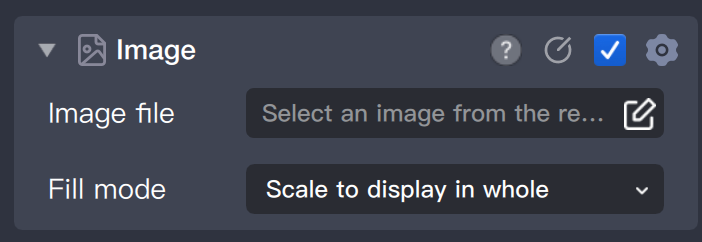
1. In the object panel, add a foreground sticker.


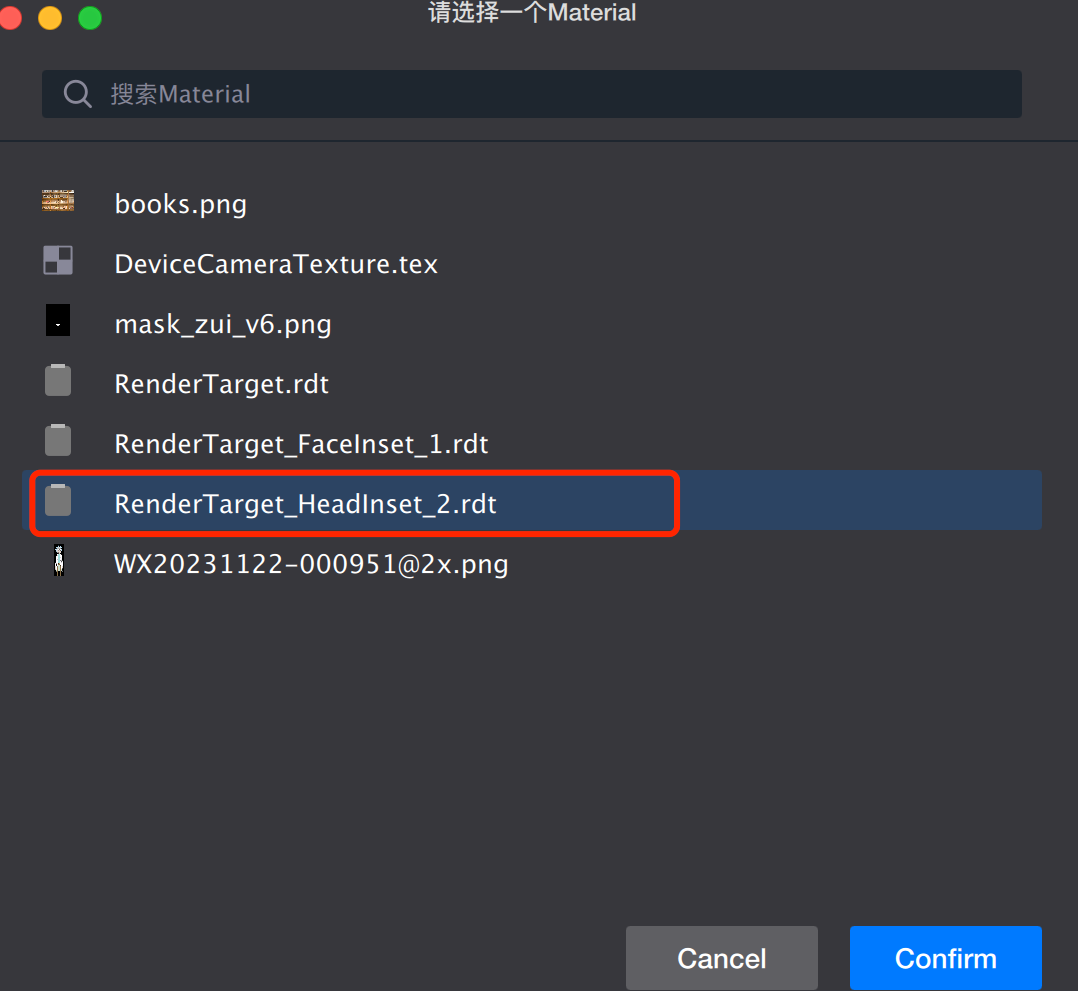
2. In the property panel, click the input box next to the image file. From the resource list that appears, select the RenderTarget_HeadInset_2.rdt file generated in Step 2 and assign it as the sticker's texture.


3. Adjust the position of the head sticker.


Step 5: Preview

Click

to preview the effect.


Help and Support

Was this page helpful?

Help us improve! Rate your documentation experience in 5 mins.

Feedback