Multi-frame allows you to capture multiple frames within a single screen, providing the foundation for a variety of shooting templates and creative effects.
Basic Usage
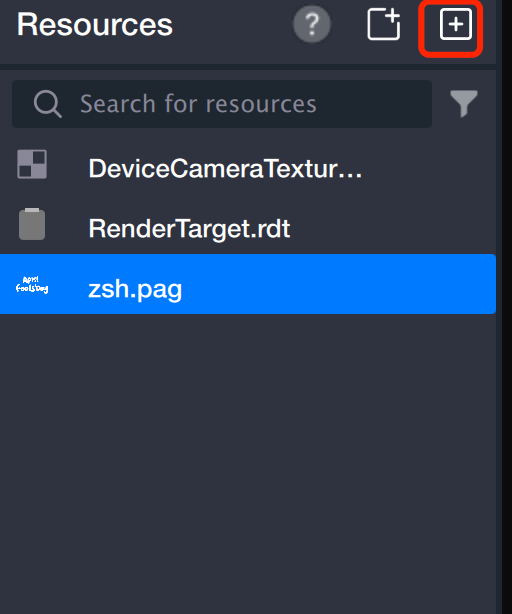
1. Import assets. Drag files directly into the asset panel, or click + to add assets.
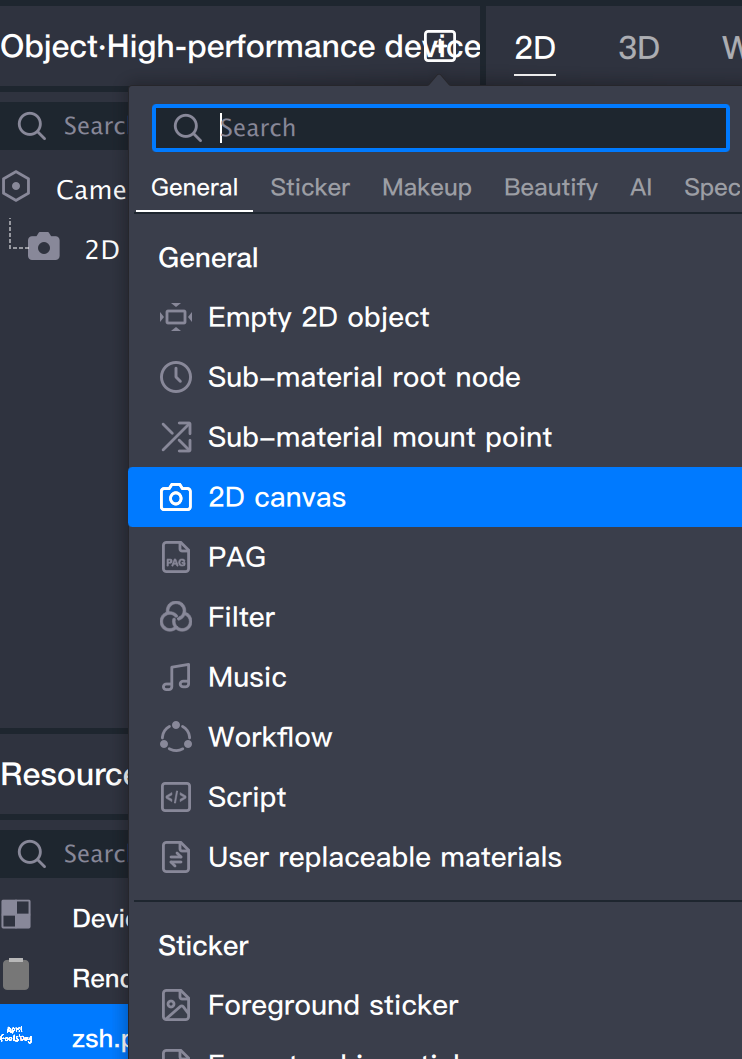
2. Create canvases.
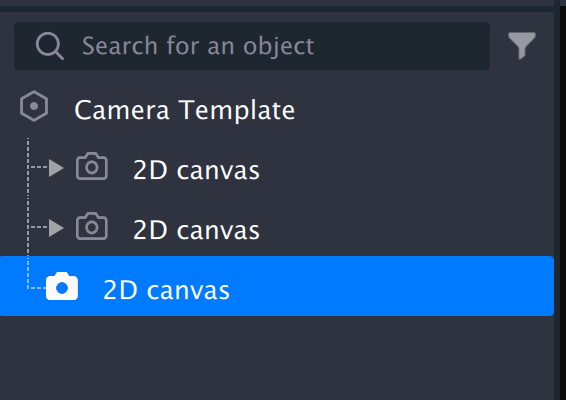
2.1 Add a 2D canvas in the object panel.
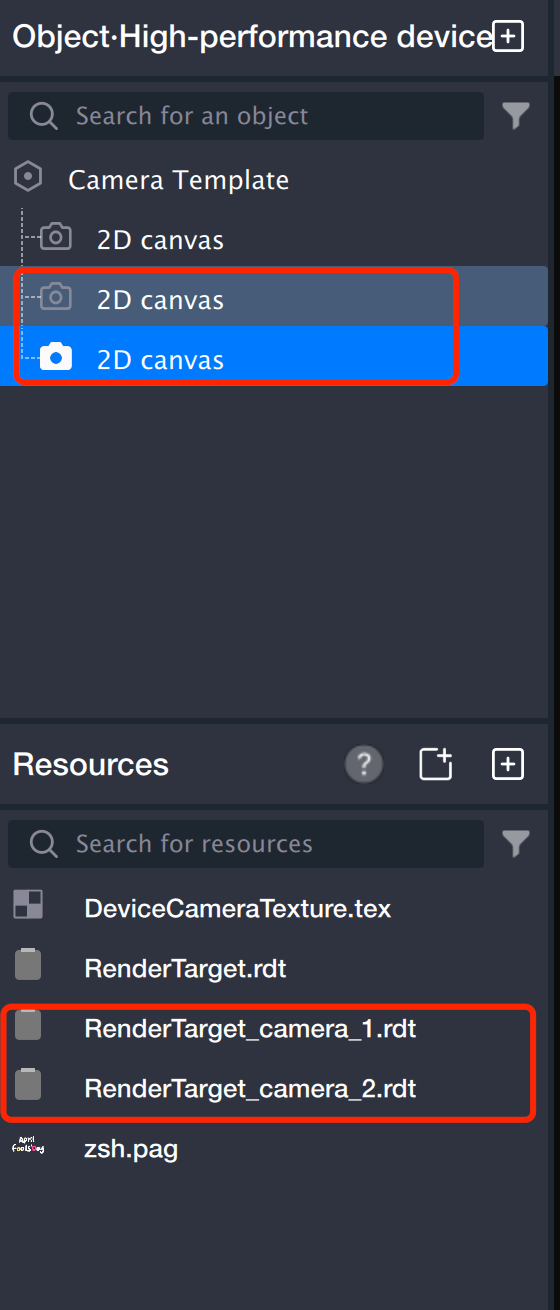
2.2 Add another 2D canvas using the same steps as above.
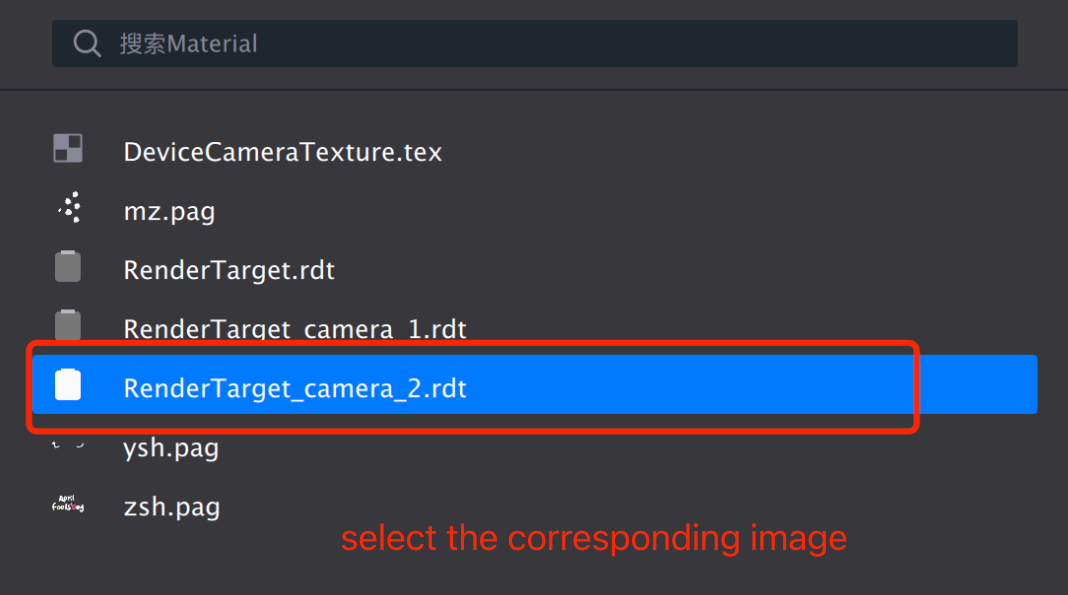
2.3 The asset panel now displays two new files: RenderTarget_camera_1.rdt and RenderTarget_camera_2.rdt.
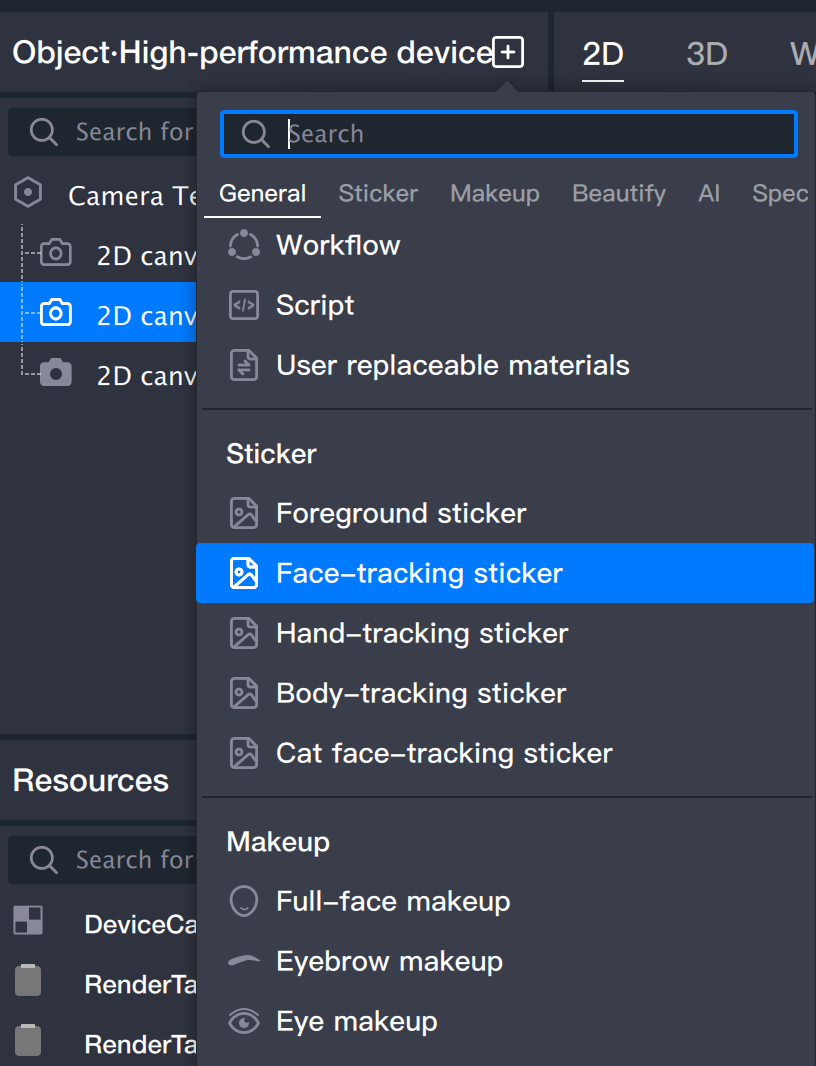
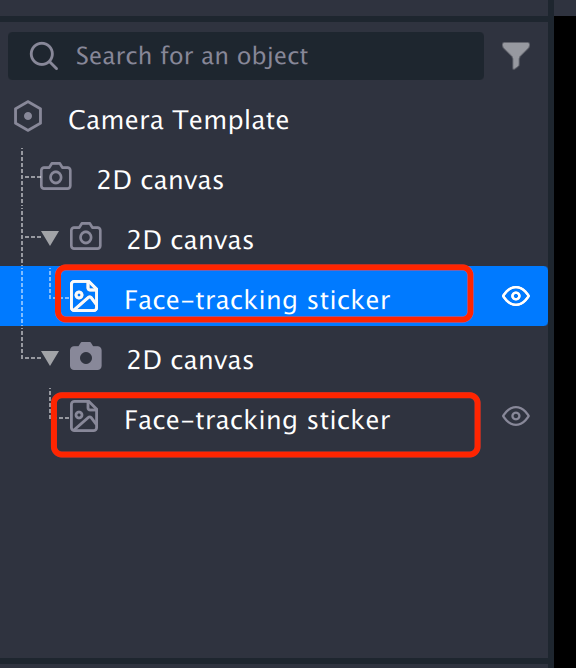
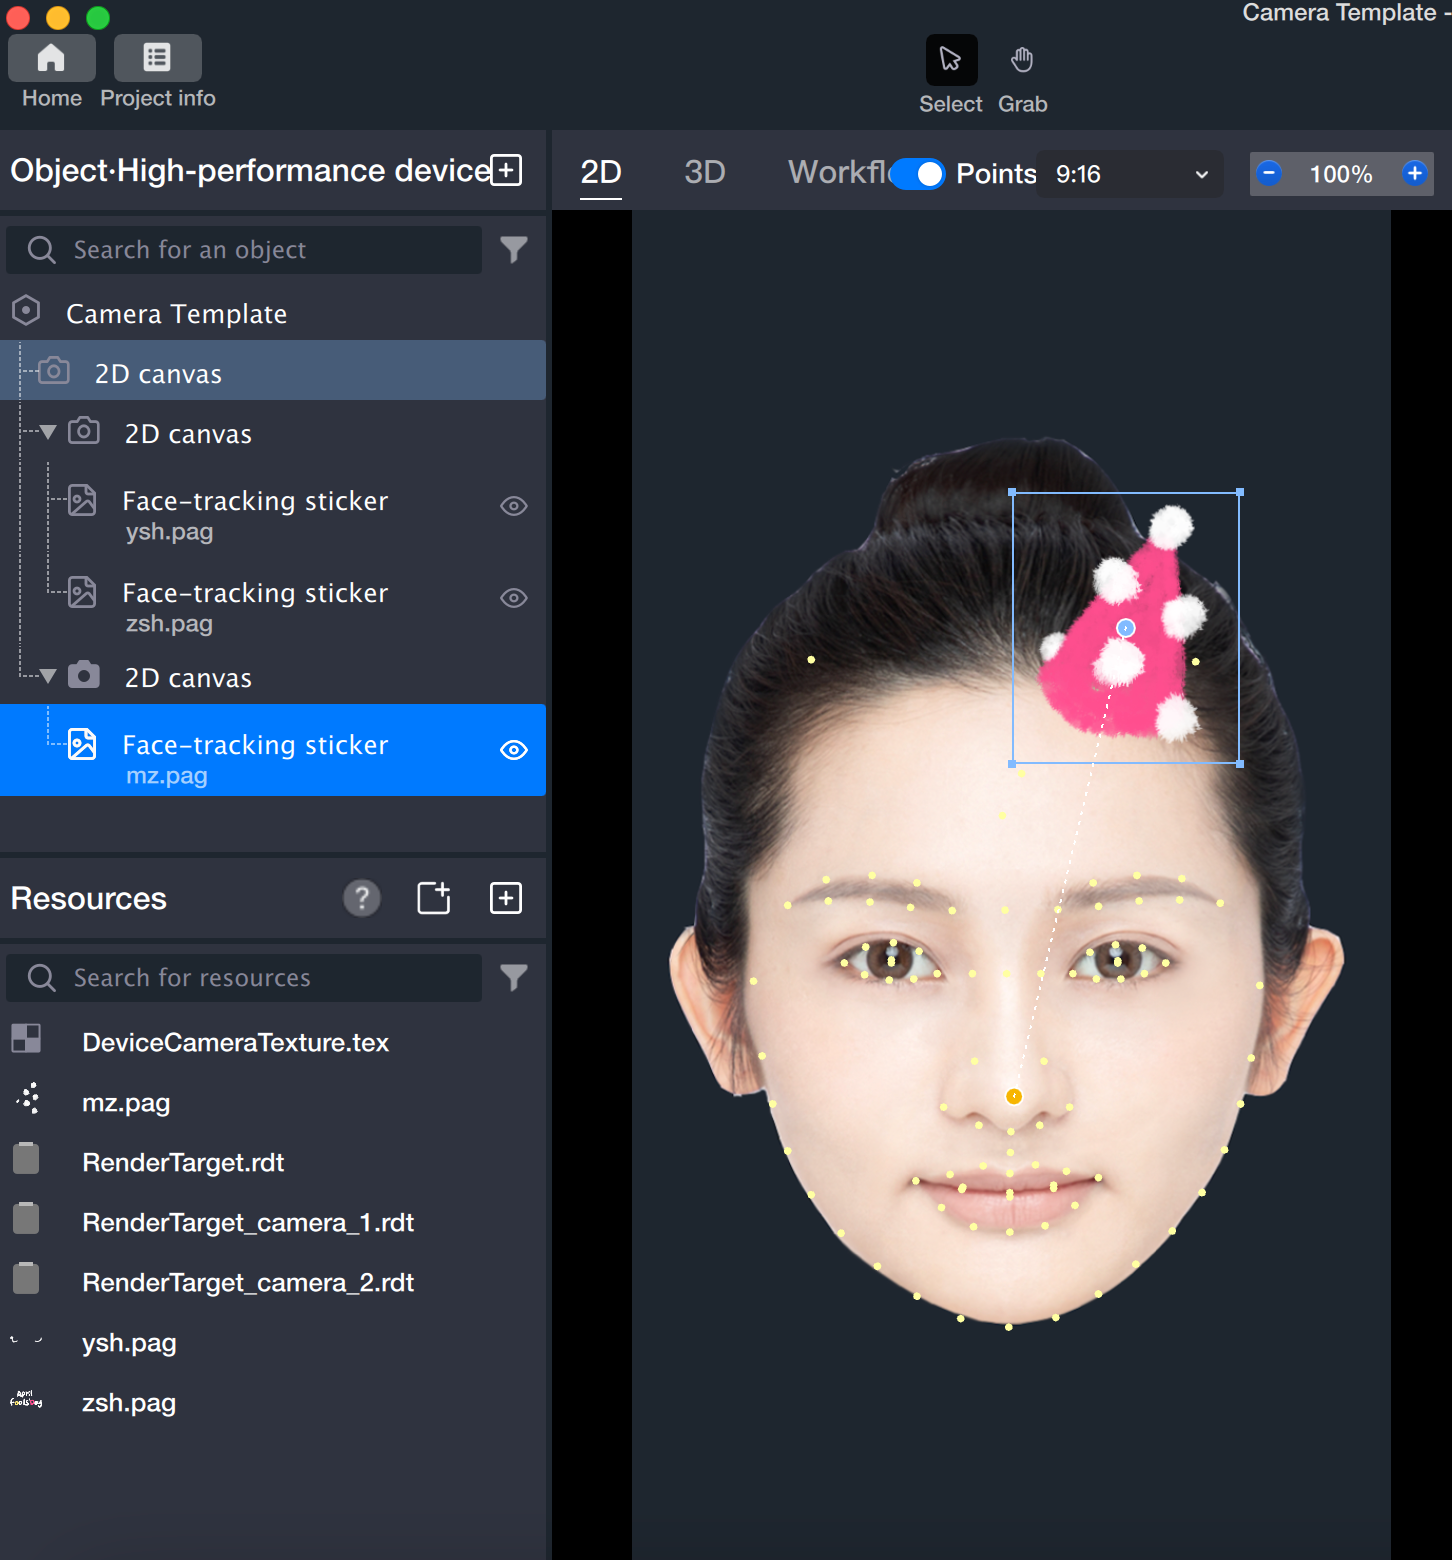
3. Add face-following stickers to the two 2D canvases and preview the effect.
3.1 Add a face-following sticker to each 2D canvas.
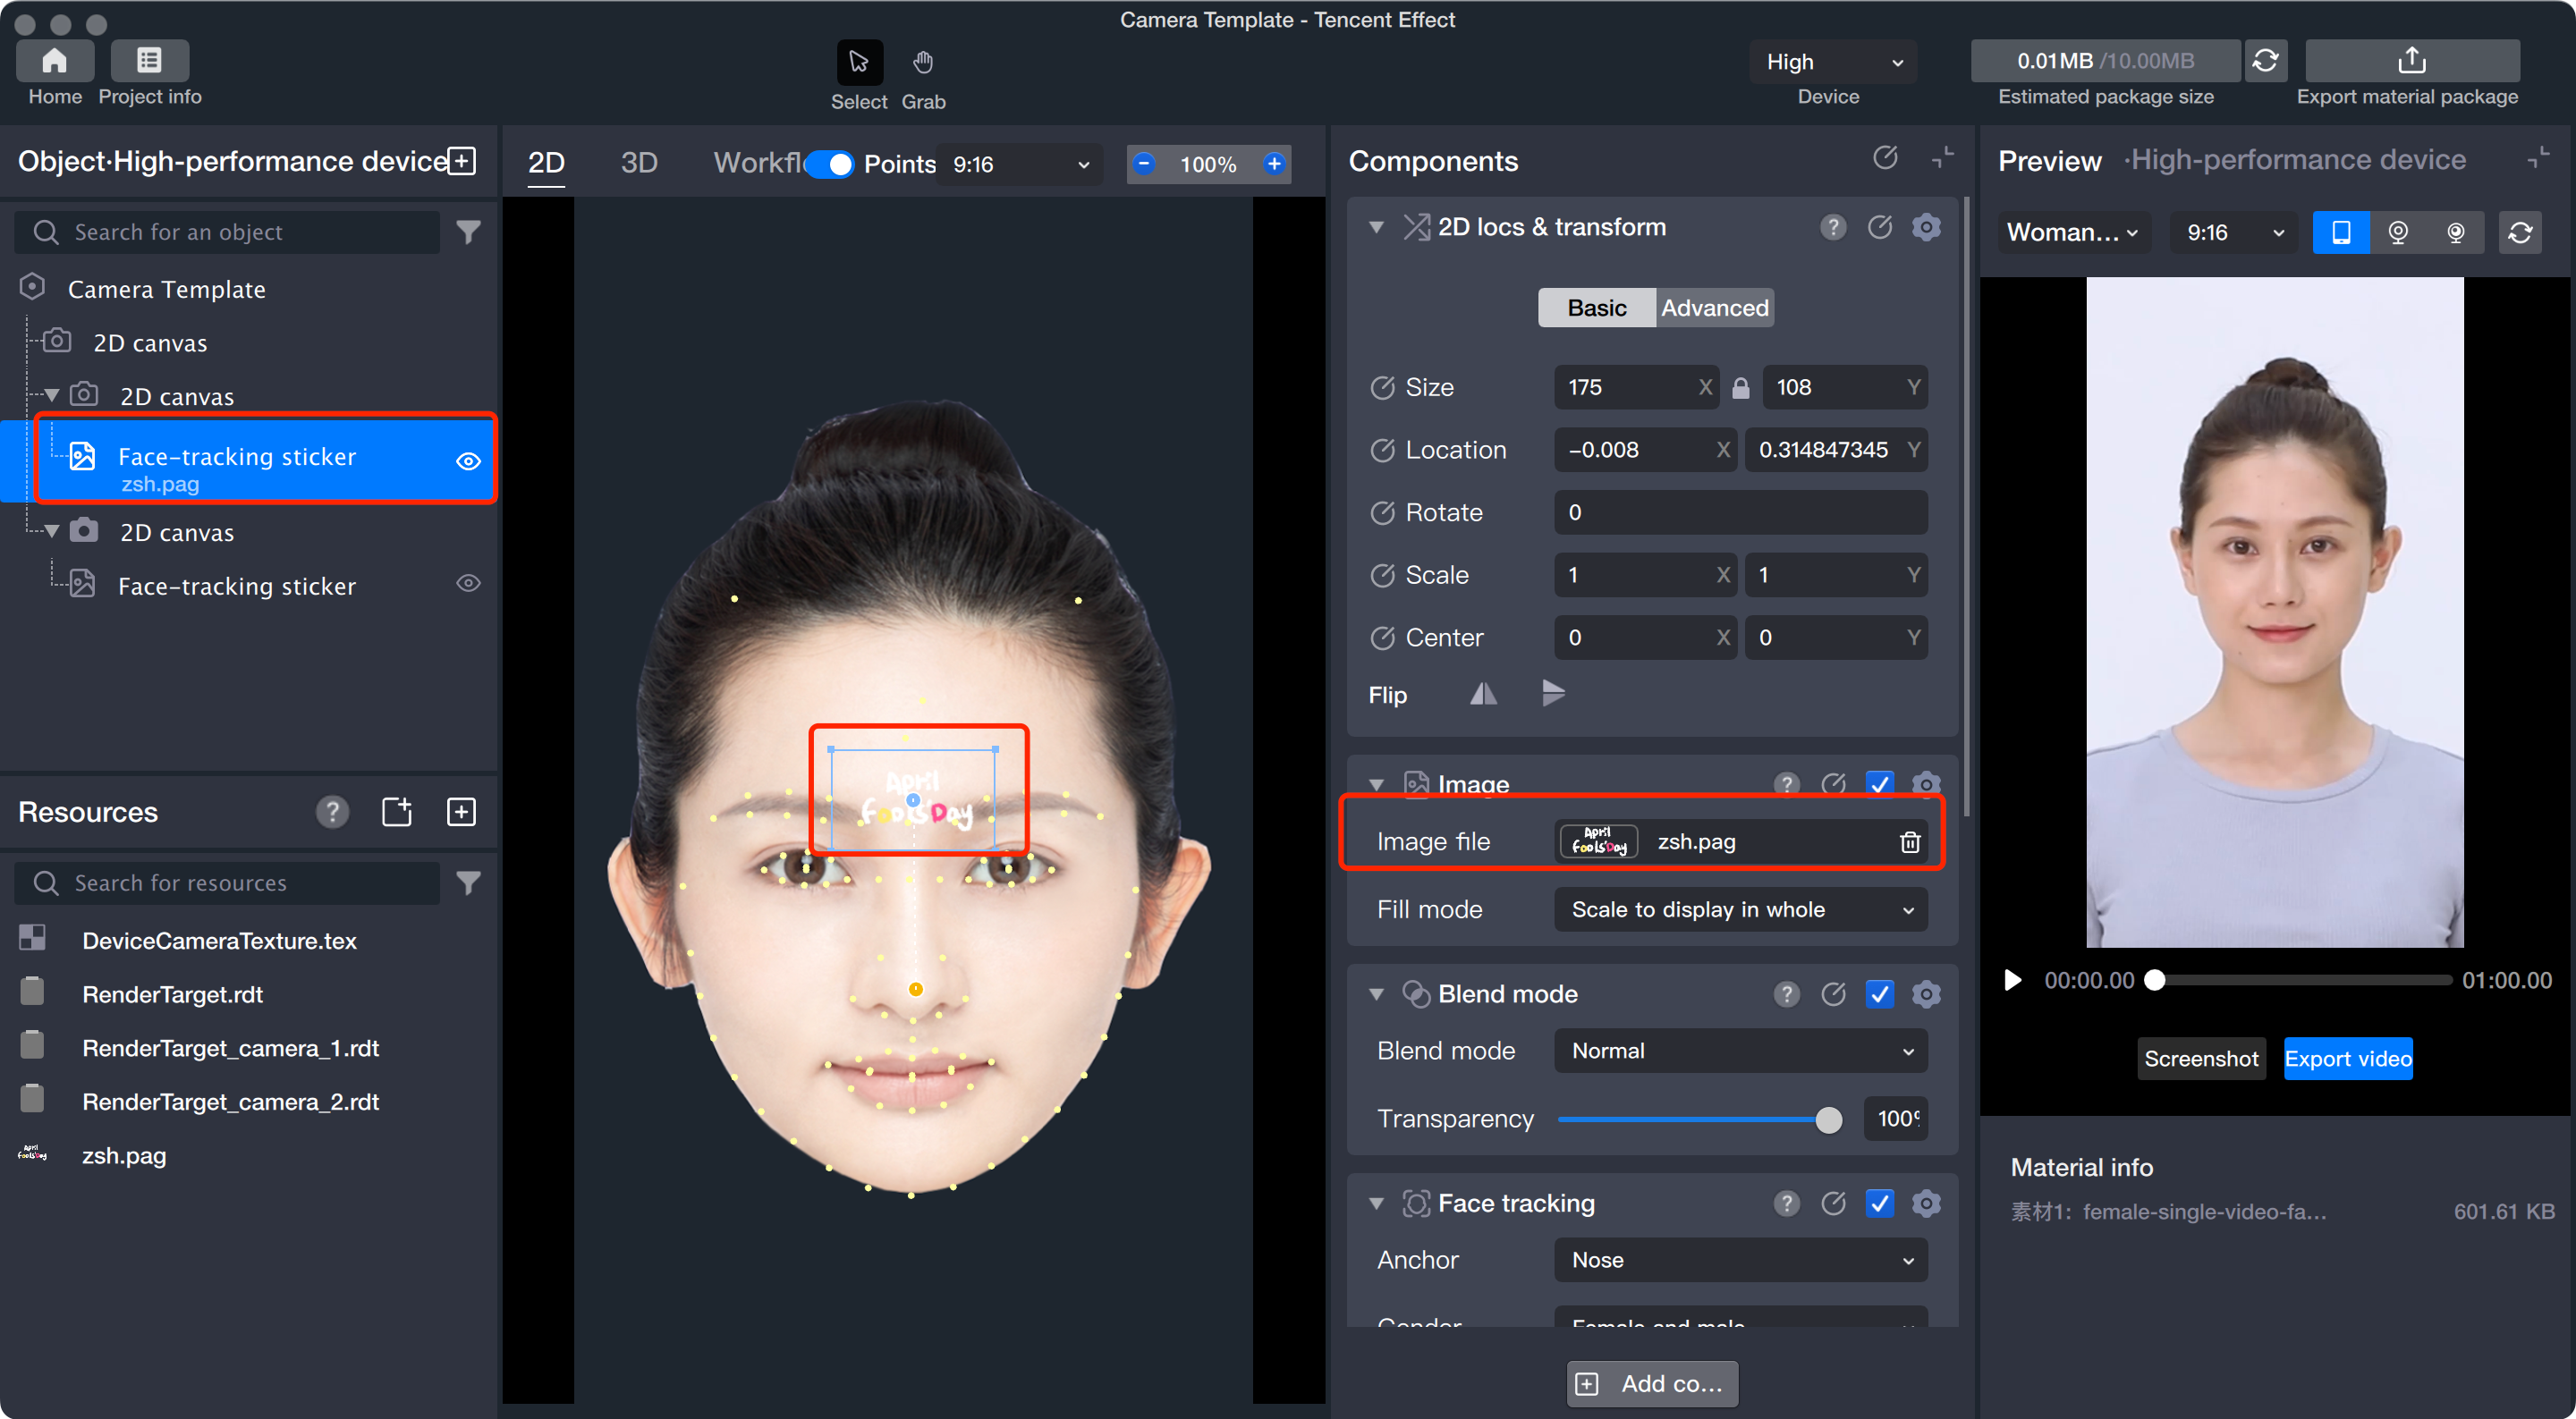
3.2 Add an image file to one of the face-following stickers.
3.3 Adjust the asset's position as needed to achieve the effect for the first canvas:
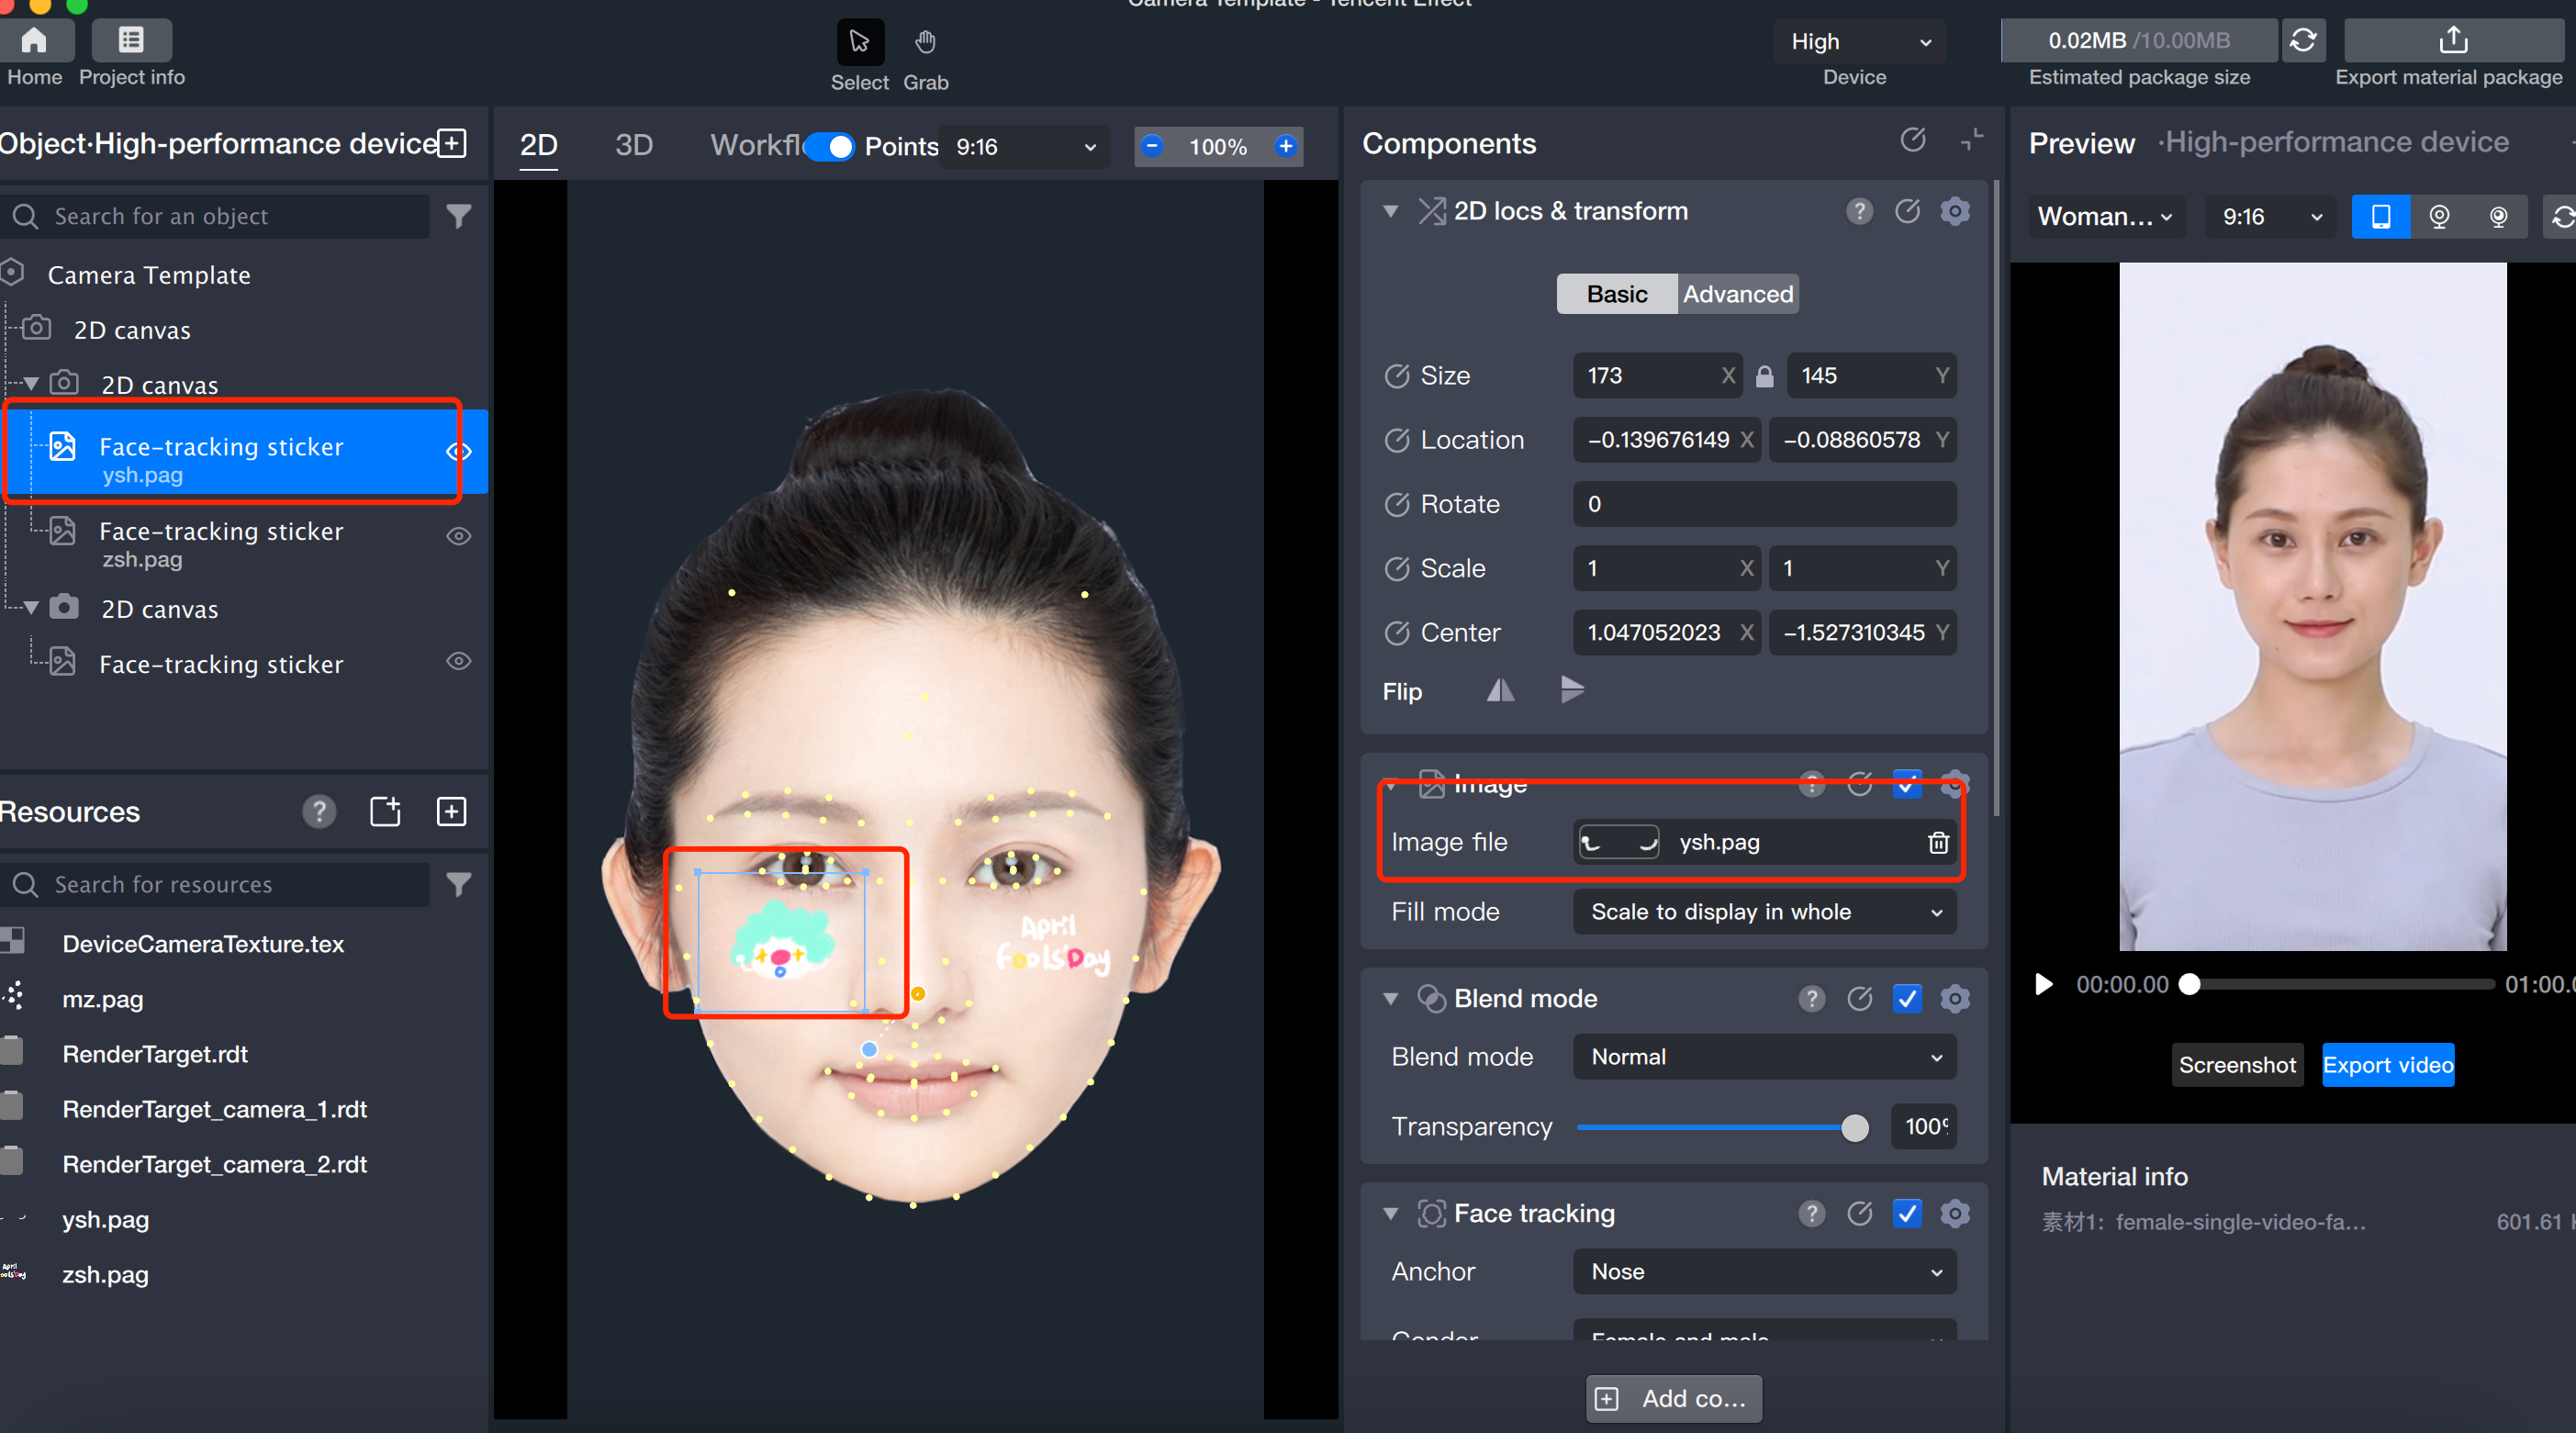
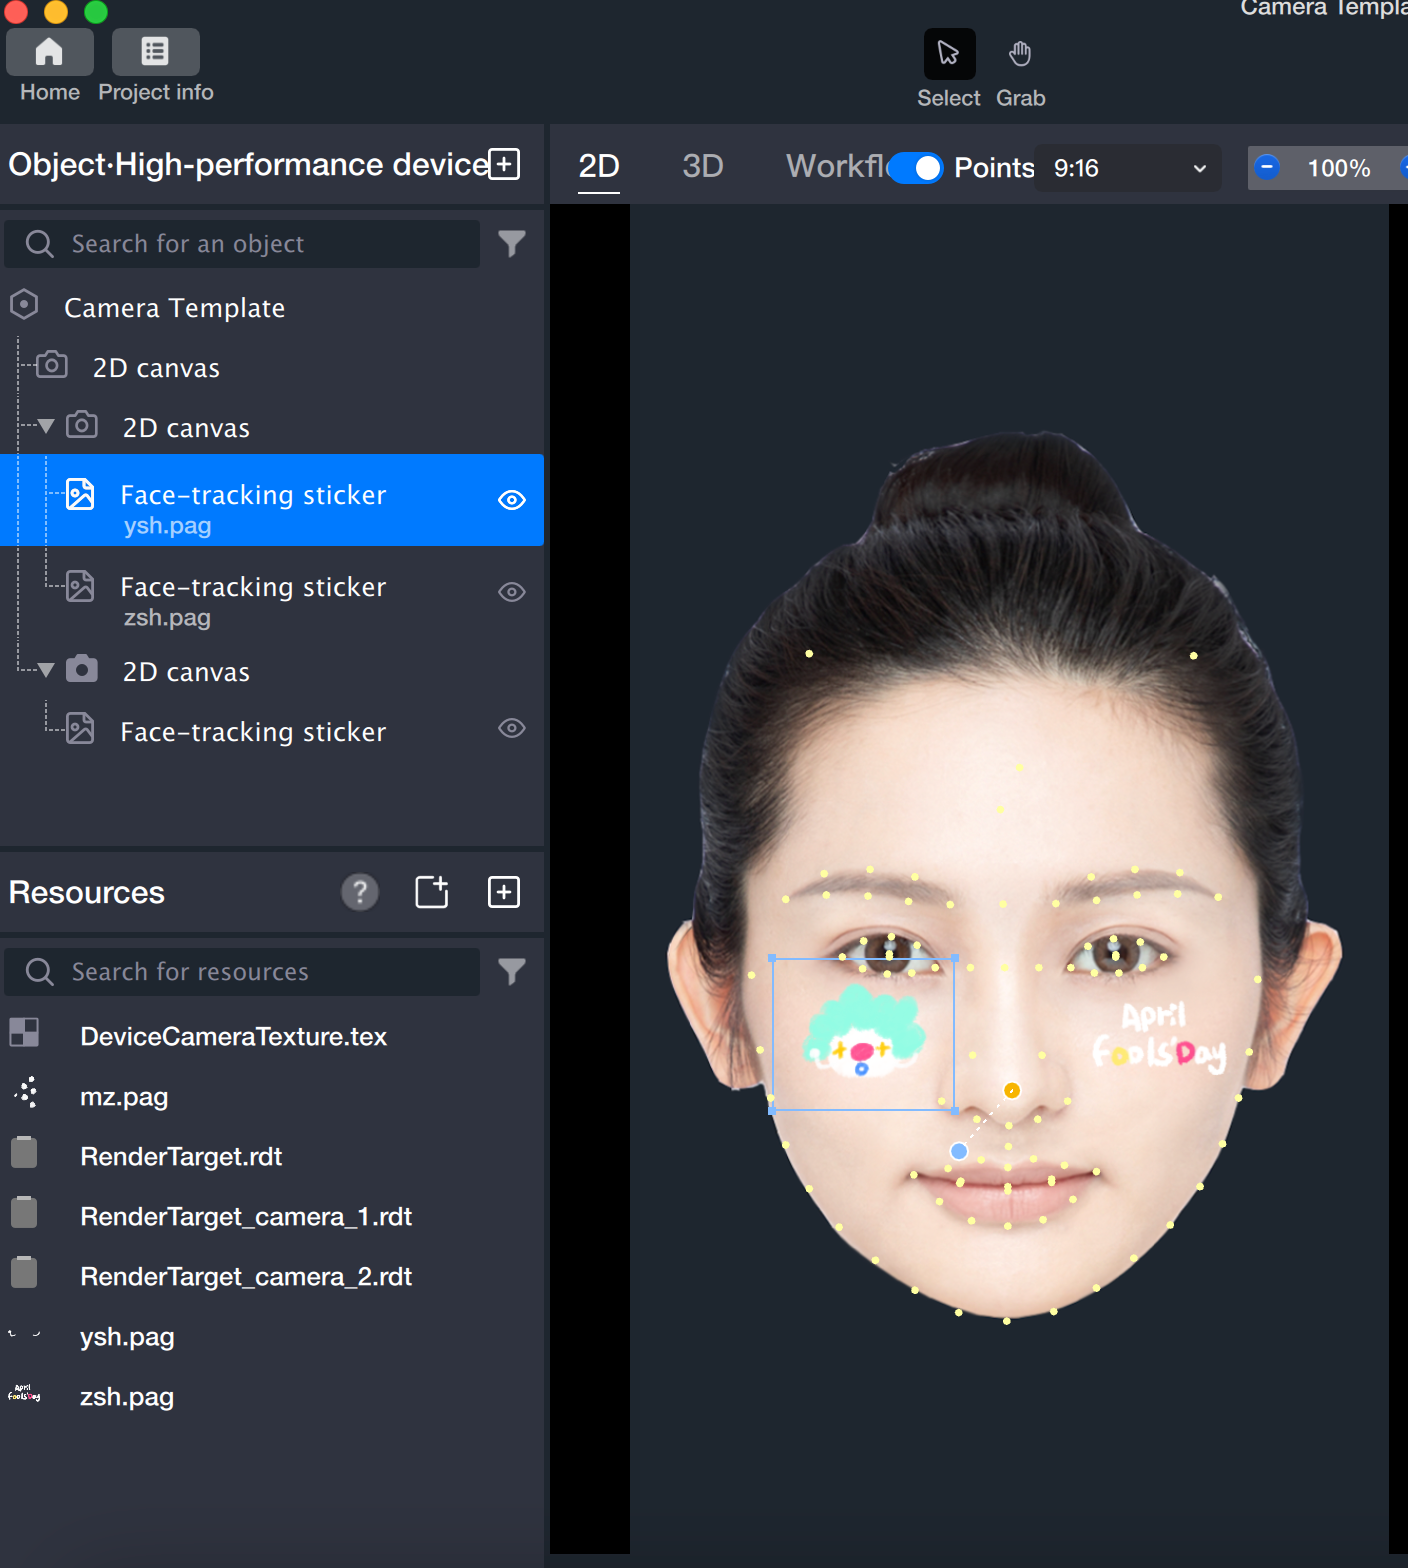
3.4 Repeat the same steps for the second 2D canvas to achieve the effect for the second canvas:
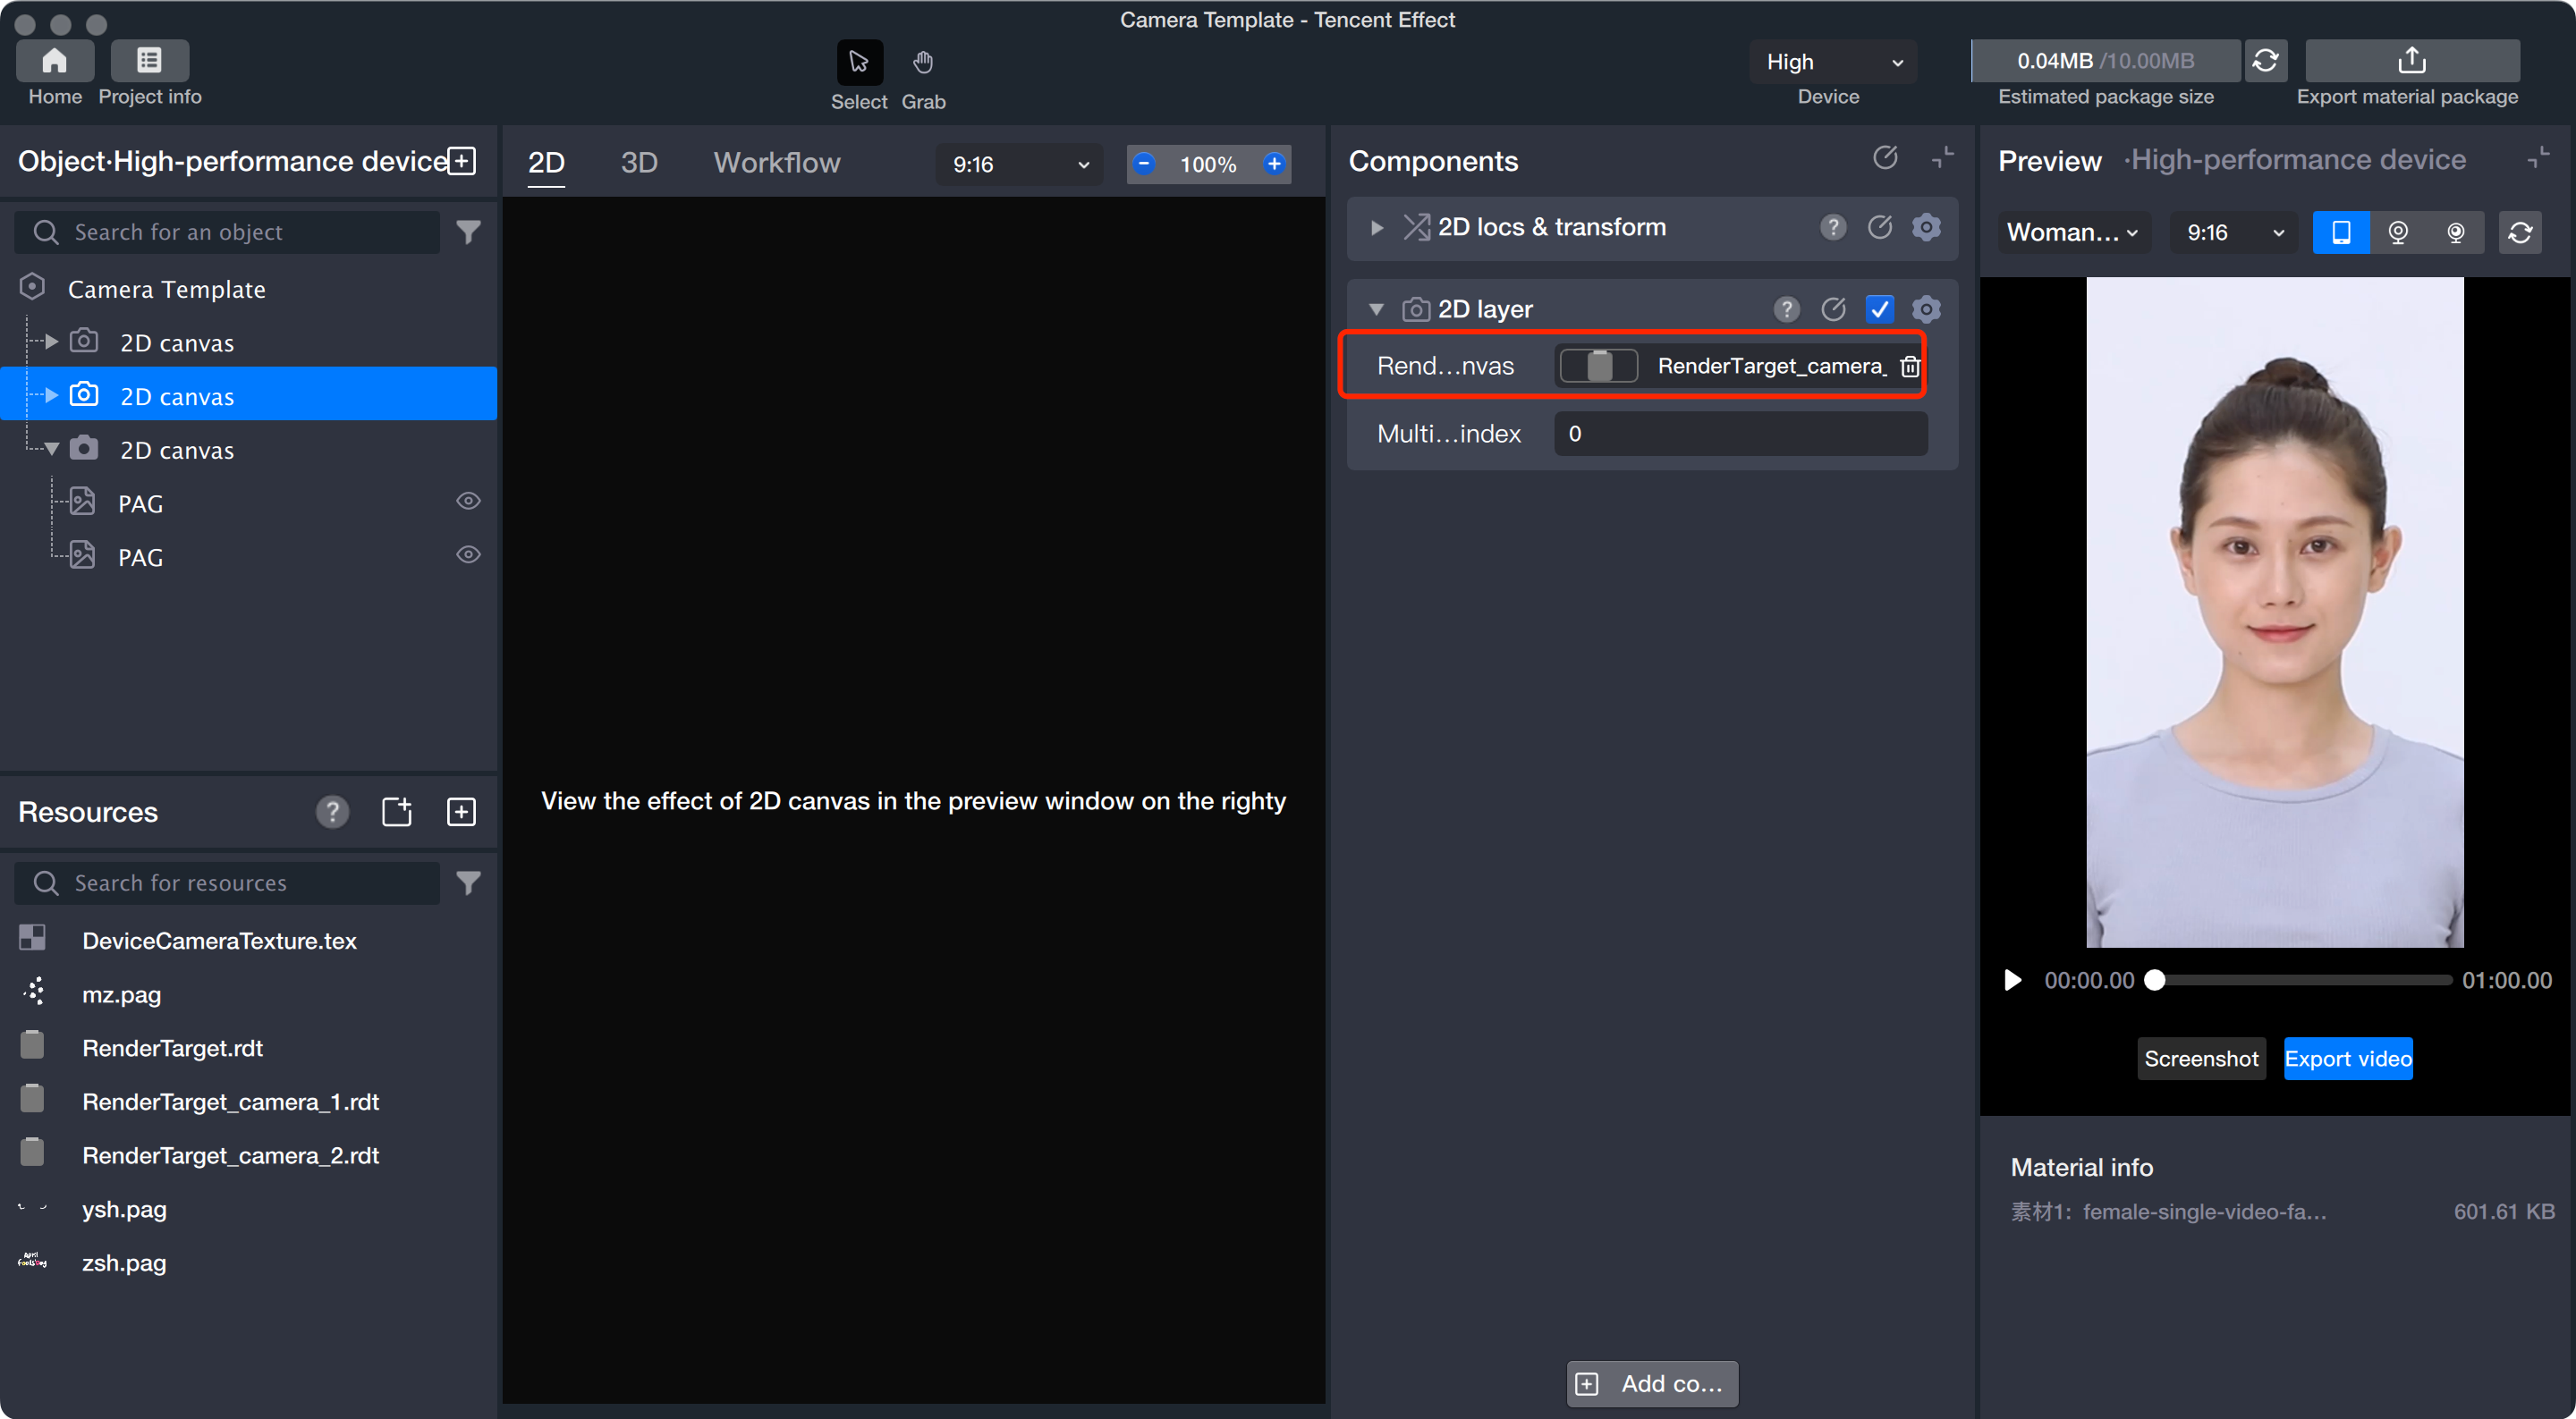
4. Combine the first two canvases into a third canvas in vertical order. Refer to step 2.1 to create another 2D canvas in the object panel, which will be used for the final composition.
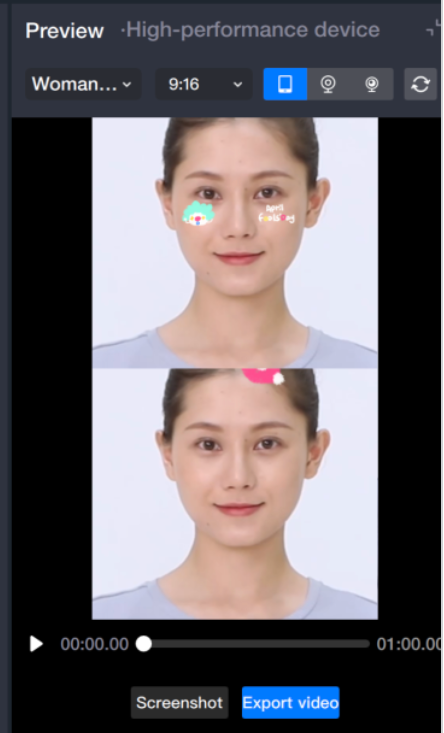
The Tencent Effect object panel renders objects in order: the topmost object is rendered first. This means content shown at the top of the screen appears at the bottom of the object panel.
For example, in a dual-frame shooting project, you need three 2D canvases: the bottom canvas holds the two upper canvases, and the third canvas acts as the final rendering layer. As shown below, the canvases are organized hierarchically, and the first two canvases should be added to the third canvas in vertical order.
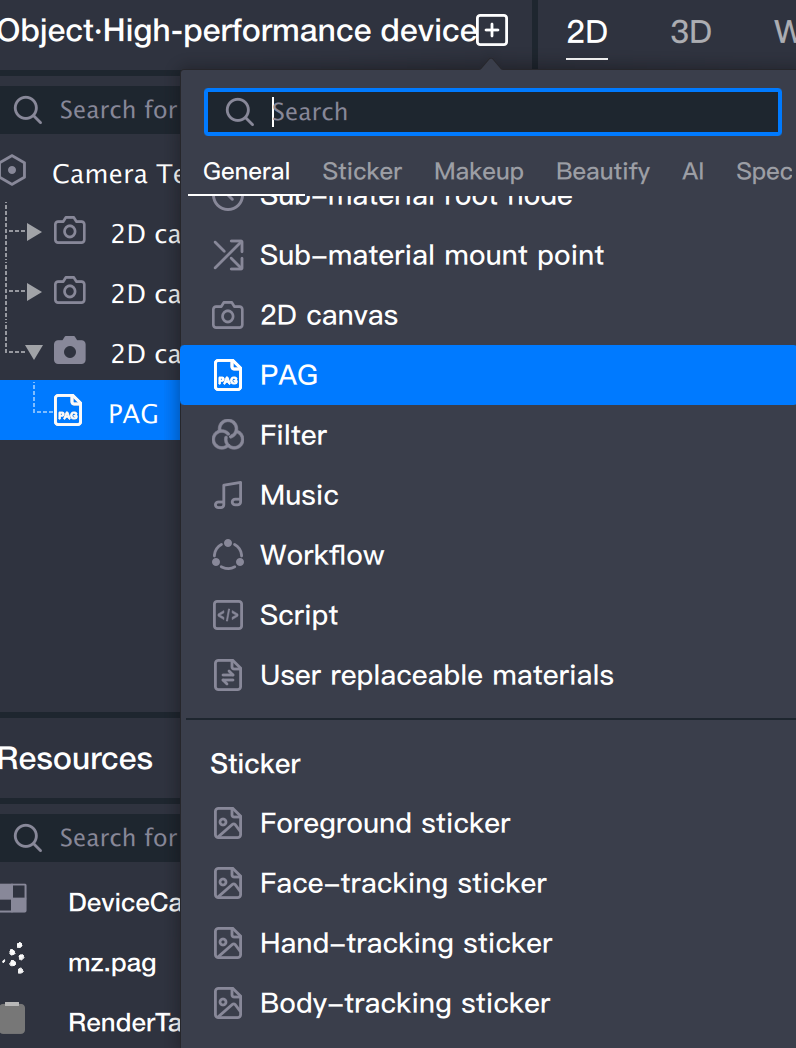
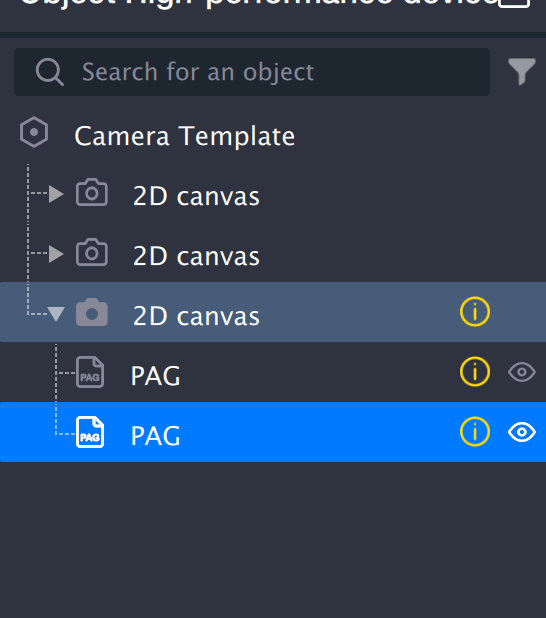
4.1 Add two PAG objects to the third 2D canvas.
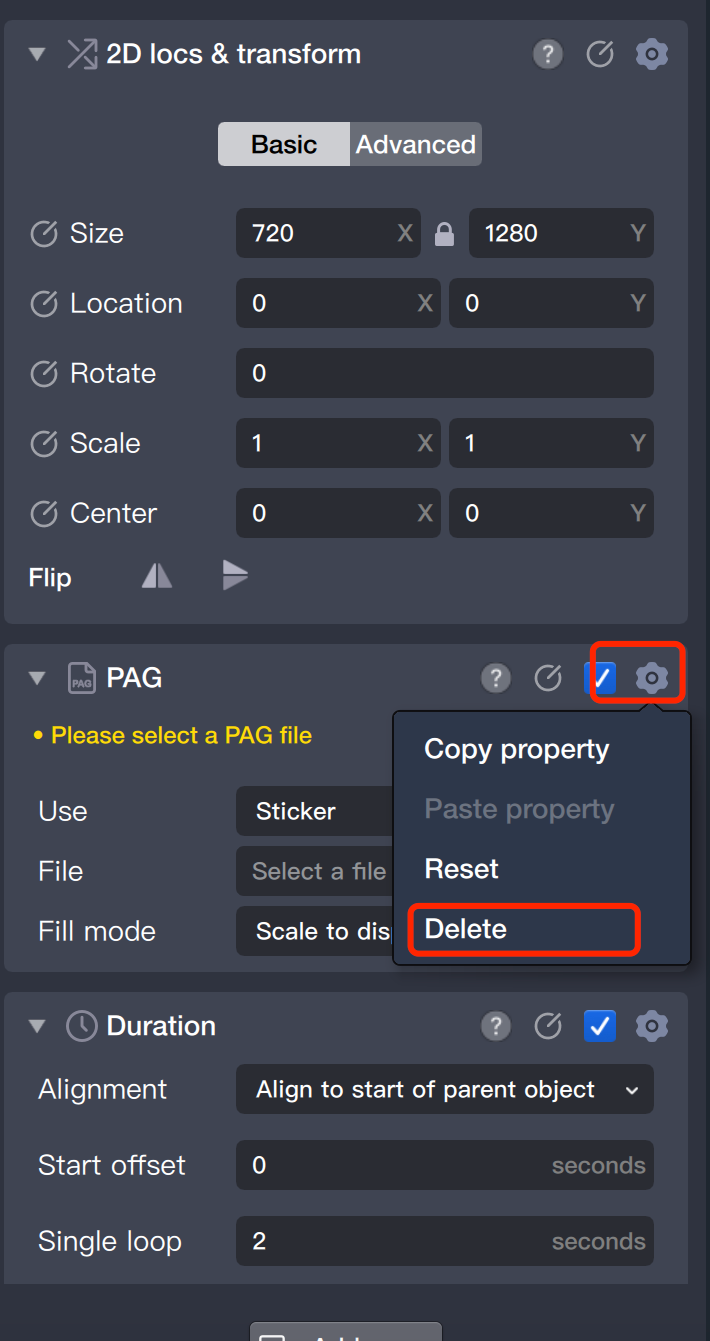
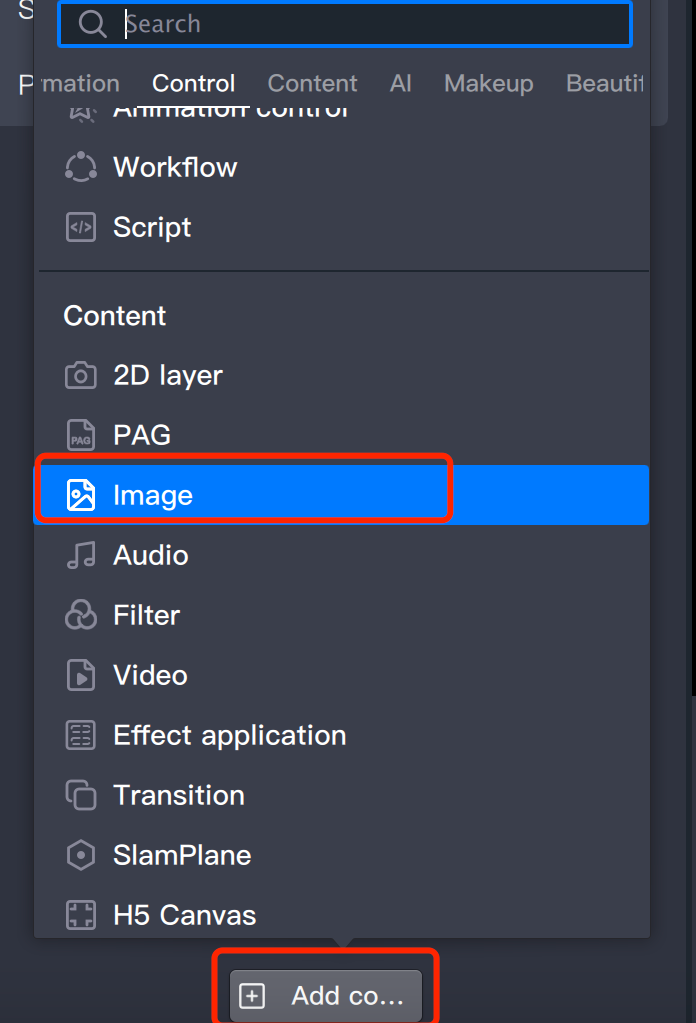
4.2 Replace the PAG component in both PAG objects with image components.
First, remove the PAG component, then add the image component.
4.3 Locate the render files for the first two 2D canvases (for example, find the file for the first canvas; repeat for the second).
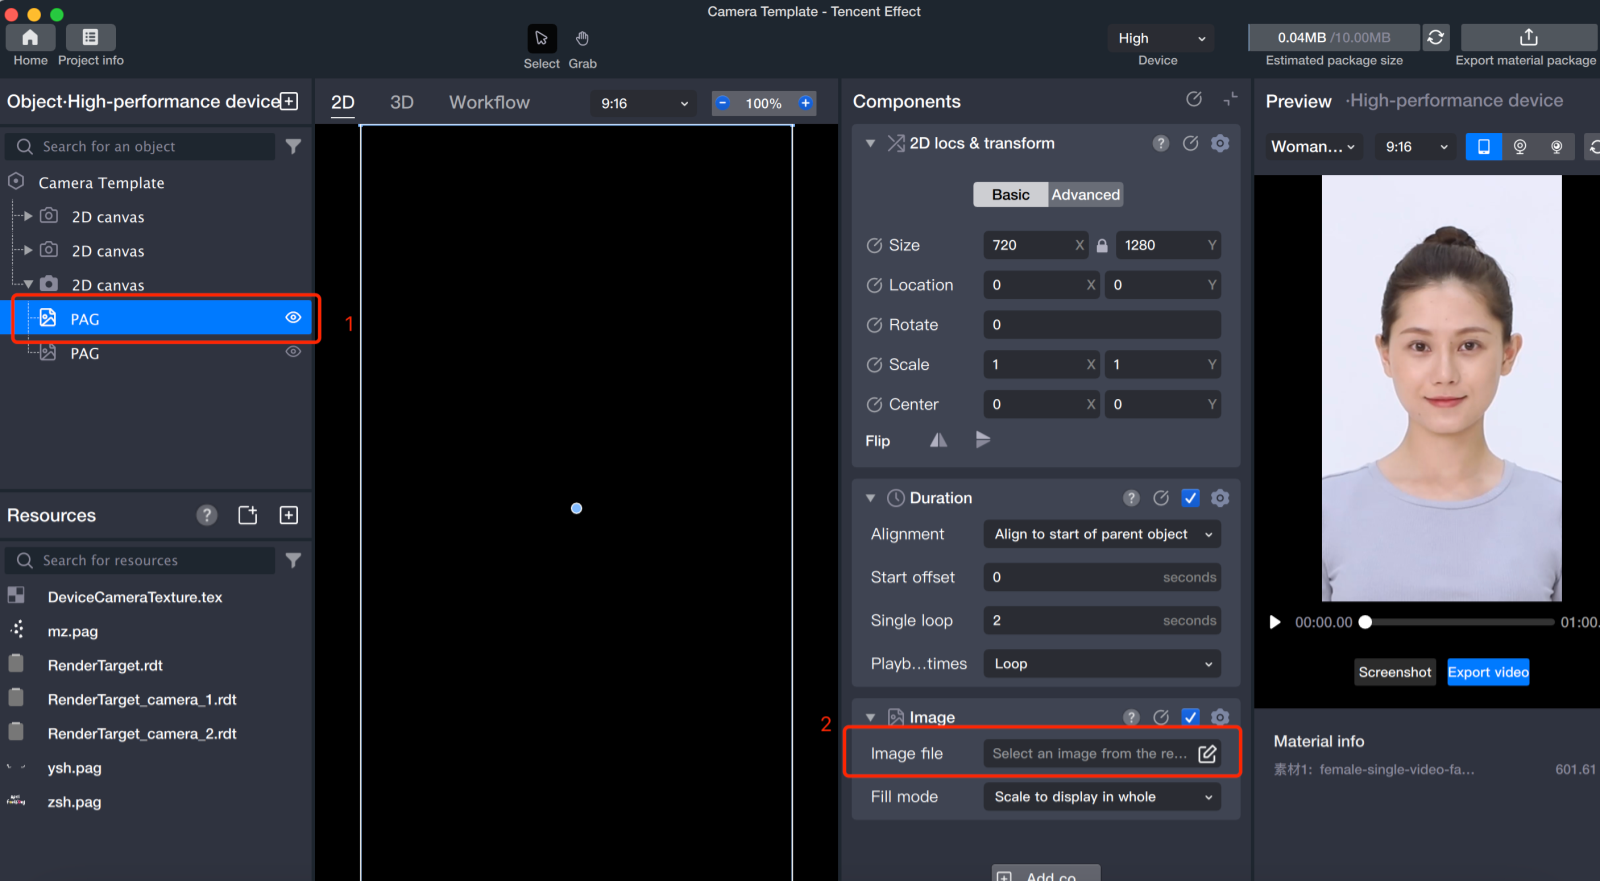
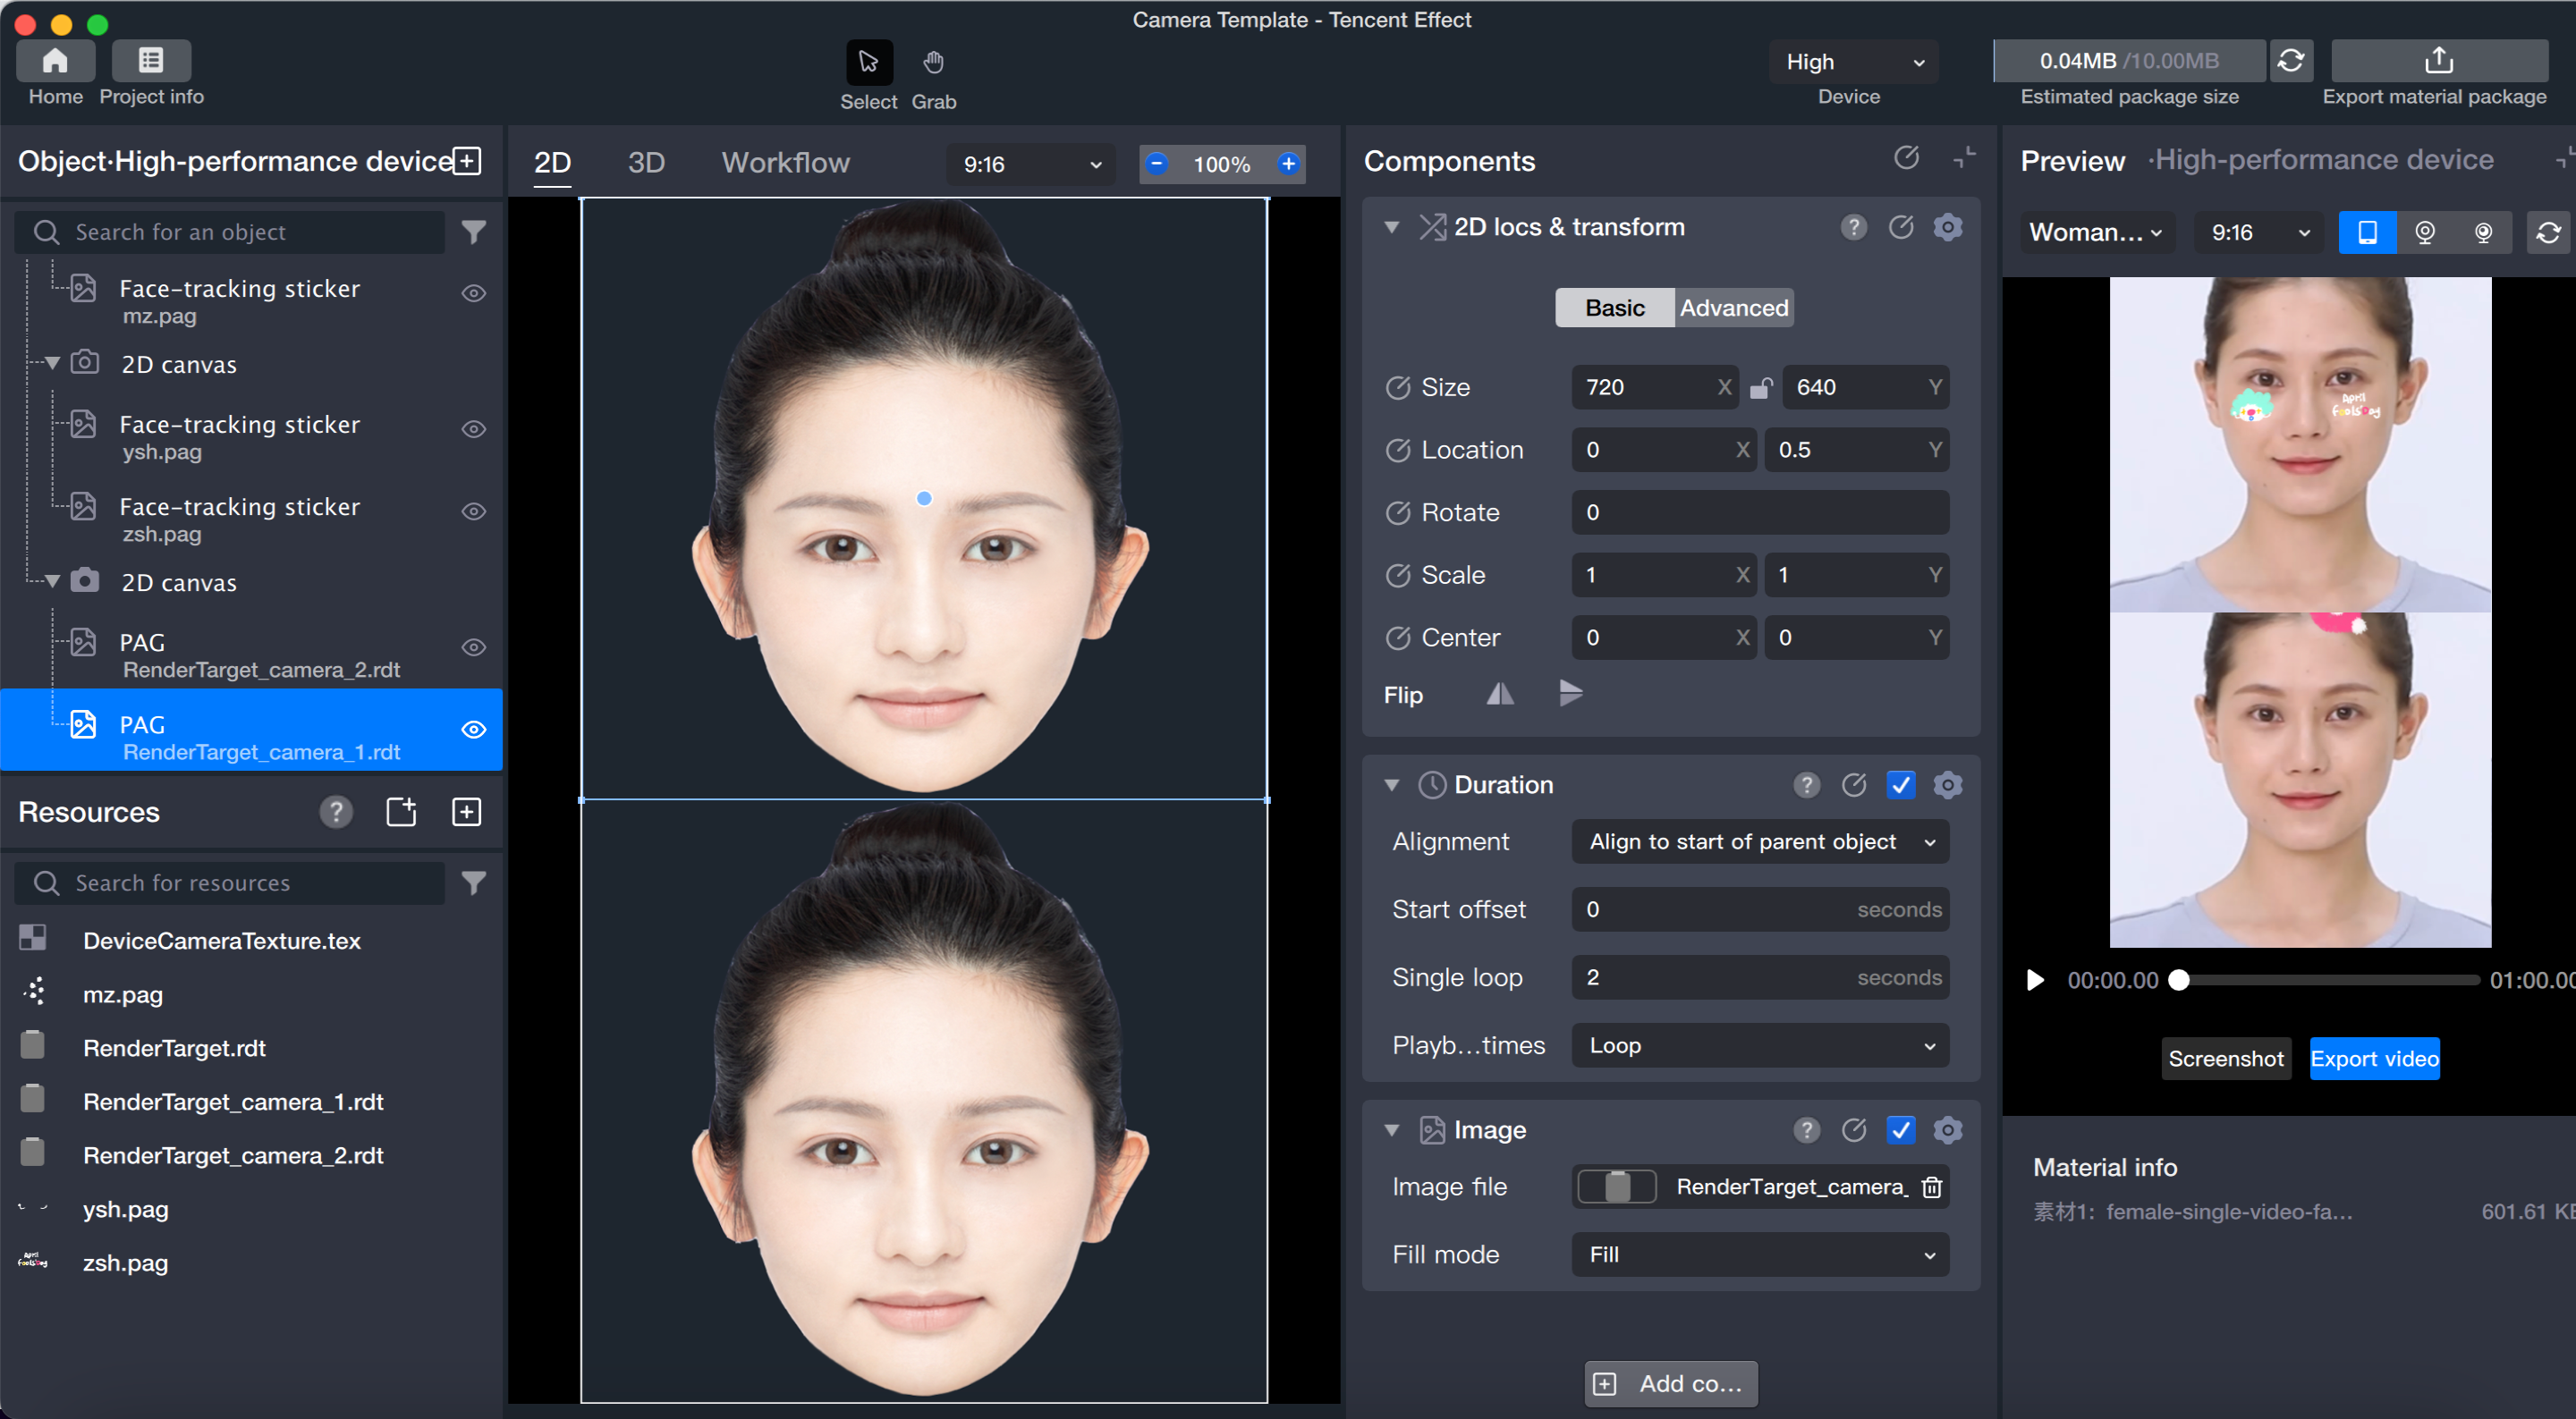
4.4 Assign the corresponding image files to the image components of the two PAG objects.
5. Adjust the size and position of the image components.
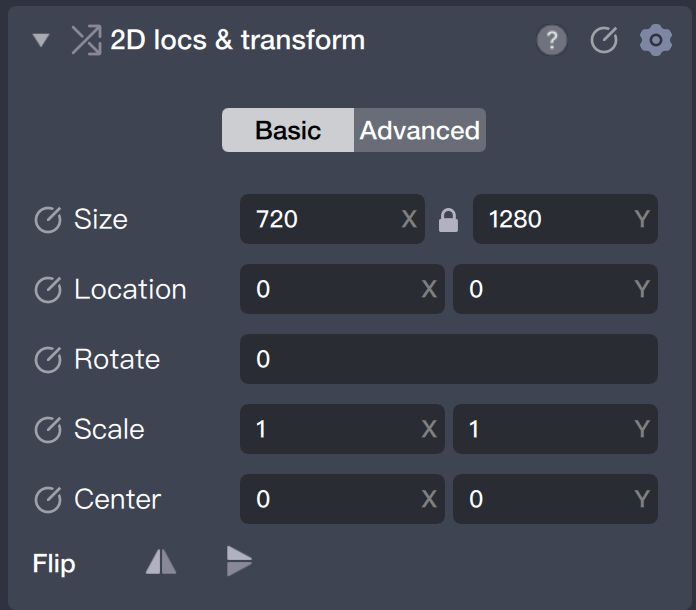
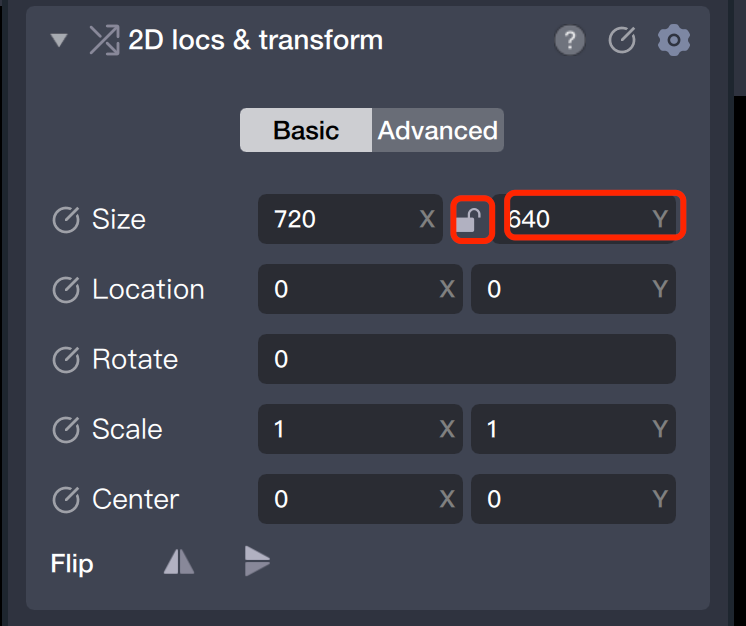
5.1 Select the first PAG object, open the component panel, and unlock the size parameter.
5.2 Set the H (Height) value to half the size, such as 640.
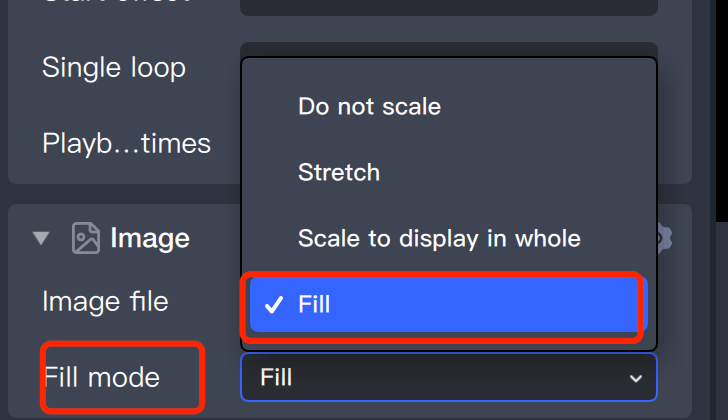
5.3 In the component panel, set the image fill mode to "Fill".
5.4 Move this image object to the top.
5.5 Repeat these steps to adjust the size of the second image object and drag it downward. The final result appears as follows: