Introduction
Azure Active Directory (Azure AD) is a cloud-based identity and access management service released by Microsoft. It can be used to help employees manage internal and external resources. Tencent Cloud supports identity federation with SAML 2.0 (Security Assertion Markup Language 2.0). SAML 2.0 is an open standard used by many identity providers (IdPs). You can use the SAML 2.0-based identity federation to integrate Azure Active Directory with Tencent Cloud, implementing single sign-on through the Azure AD account to log in to the Tencent Cloud console and manage Tencent Cloud resources without requiring the creation of a CAM sub-user for each employee of the enterprise or organization.
Directions
Creating Azure AD Enterprise Applications
Note:
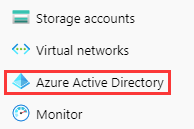
This step creates an Azure AD enterprise application. If you’re already using one, you can skip this step and go straight to configuring CAM. 1. Go to the Azure AD Portal and click Azure Active Directory in the left sidebar. This is shown in the following figure:
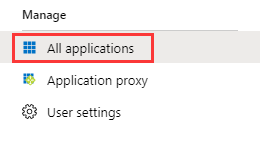
2. Click Enterprise Applications and select All Applications. This is shown in the following figure:
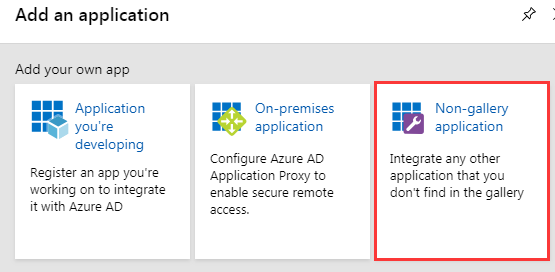
3. Click New Application to open the Add Application window. Select Non-gallery Application. This is shown in the following figure:
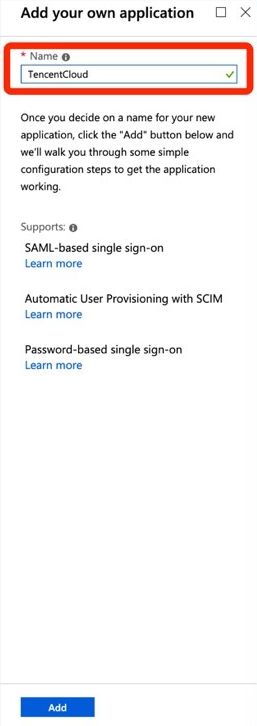
4. Enter Name and click Add to complete the creation of the Azure AD application. This is shown in the following figure:
Configuring CAM
Note:
This step configures the trust relationship between Azure AD and Tencent Cloud to make them trust each other.
1. In the left sidebar, go to Azure Active Directory > Enterprise Applications, and select the application you created to go to the application overview page.
2. Click Single Sign-On to open the Select a Single Sign-On Method page.
3. In the Select a Single Sign-On Method page, select SAML. This is shown in the following figure:
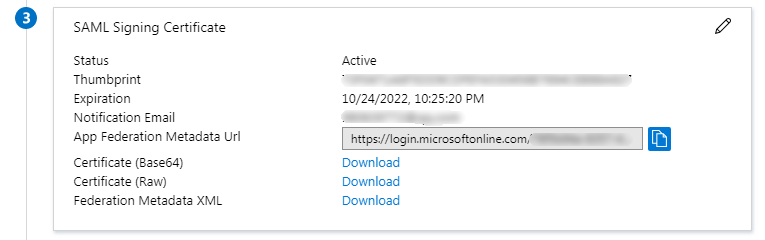
4. In the SAML Single Sign-On preview page, download the Federation Metadata XML file under SAML Signing Certificate. This is shown in the following figure:
5. Create the SAML identity provider and roles in Tencent Cloud. For more information, see Creating an IdP. Configuring the Azure AD Single Sign-On
Note:
This step maps Azure AD application attributes to Tencent Cloud attributes to create trust between the Azure AD application and Tencent Cloud.
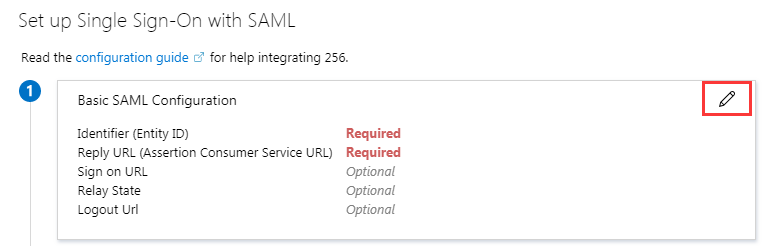
1. In the SAML Single Sign-On overview interface, click on the upper right of Basic SAML Configuration. This is shown in the following figure:
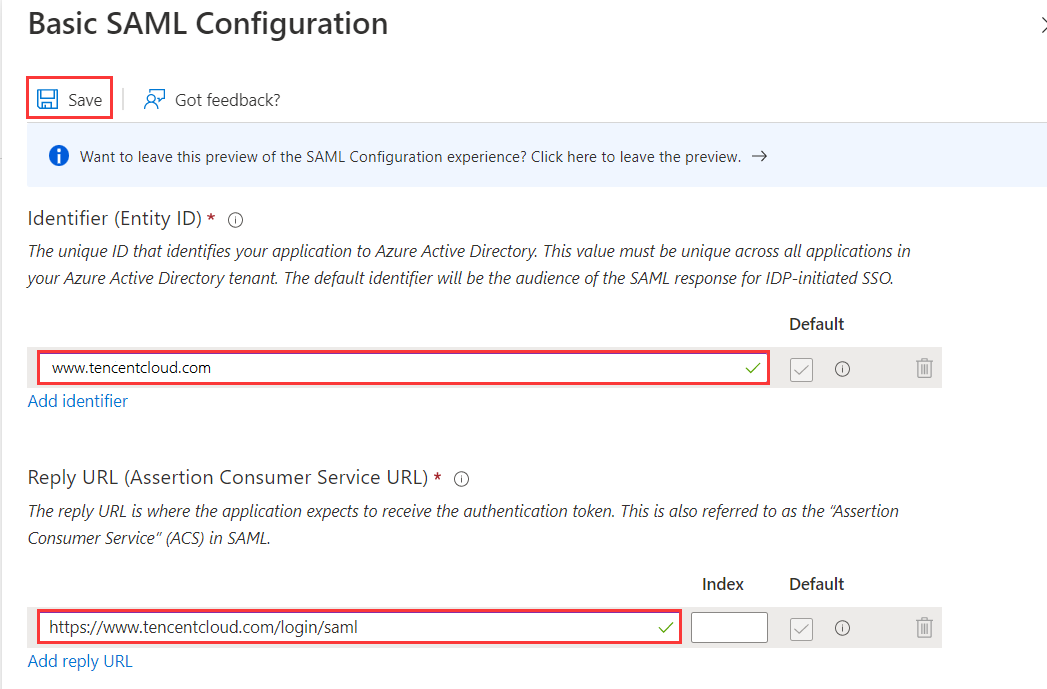
2. In the Basic SAML Configuration editing page, enter the following information and click Save. This is shown in the following figure:
You can configure it according to the site where your Tencent Cloud account is located |
| | https://cloud.tencent.com/login/saml |
| | https://www.tencentcloud.com/login/saml |
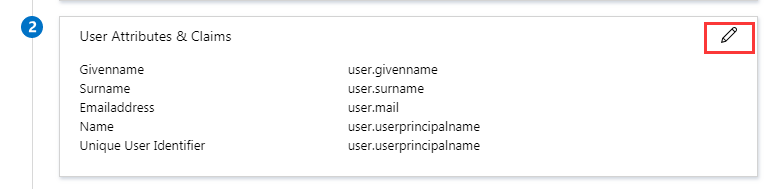
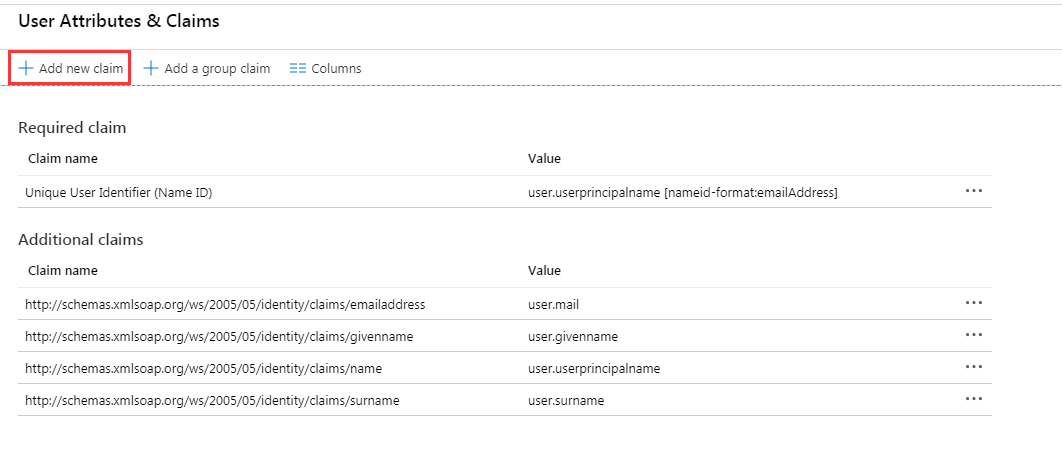
3. In the SAML Single Sign-On overview interface, click in the upper right corner of User Attributes and Claims to open the **User Attributes and Claims editor. This is shown in the following figure:
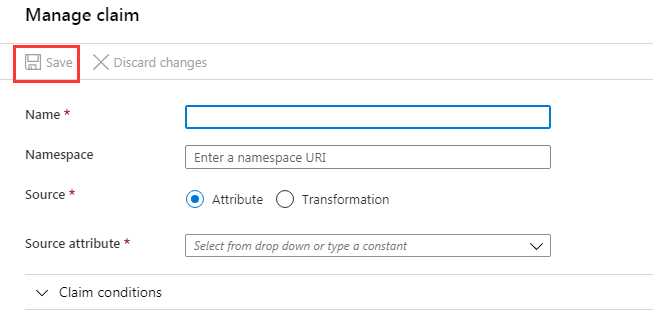
4. In the User Attributes and Claims editing page, click Add New Claim to go to the Manage User Claims page. This is shown in the following figure:
5. In the Manage User Claims page, add the following two claims, and click Save. This is shown in the following figure:
|
| https://cloud.tencent.com/SAML/Attributes | | qcs::cam::uin/{AccountID}:roleName/{RoleName},qcs::cam::uin/{AccountID}:saml-provider/{ProviderName} |
| https://cloud.tencent.com/SAML/Attributes | | |
Note:
Replace {AccountID}, {RoleName}, and {ProviderName} of the Role source attribute with the following content:
{RoleName}: Replace this with the role name you have created in Tencent Cloud for the identity provider. For more information, see Creating a Role. Role names can be viewed in Role - Console. If you need to add more, you can add them in this format: qcs::cam::uin/{AccountID}:roleName/{RoleName}. Separate them using semicolons (;). {ProviderName}: Replace this with the SAML identity provider name that you created on Tencent Cloud. You can view this at Identity Providers - Console. Configuring Azure AD Users
Note:
This step assigns Tencent Cloud SSO access permissions to Azure AD users.
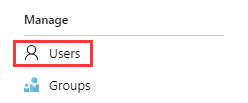
1. Click Azure Active Directory in the left sidebar. Click User to open All Users. This is shown in the following figure:
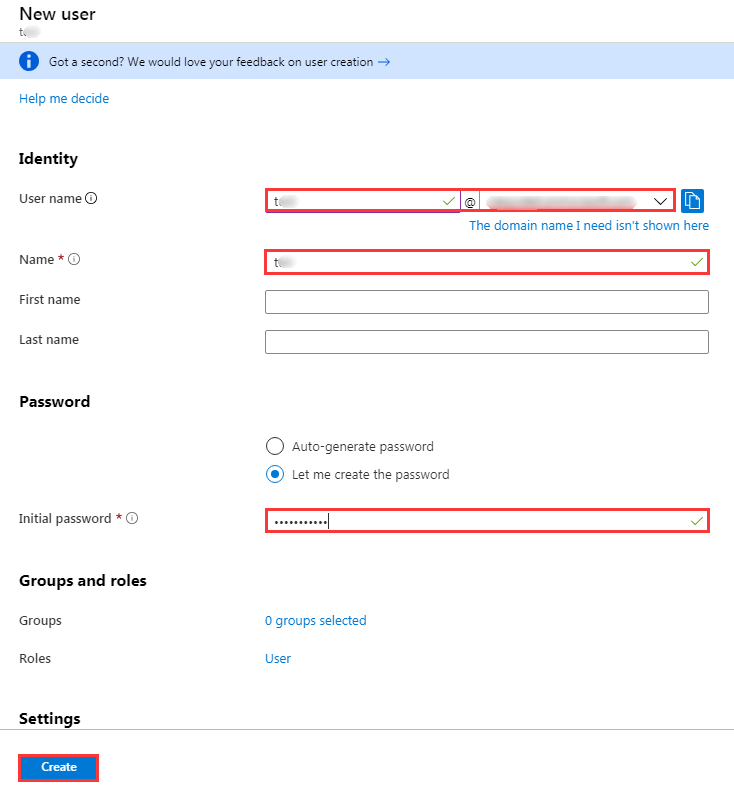
2. Click New u
ser in the upper left corner. In the User page, enter Name, User name, and selectShow Password to verify the password. Once the information is correct, click Create on the lower center to complete creation. This is shown in the following figure:
Note:
The username format is as follows: Username@domain name. Usernames can be customized. Click Azure Active Directory in the left sidebar to open the overview page. You can view previously configured Initial Domain Name here. You can copy and save the username and password for future use.
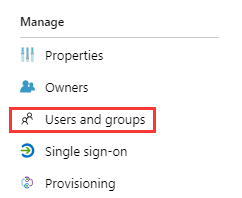
3. In the left sidebar, go to Azure Active Directory > Enterprise applications, and select the application you created to go to the application overview page, and then click Users and Groups. This is shown in the following figure:
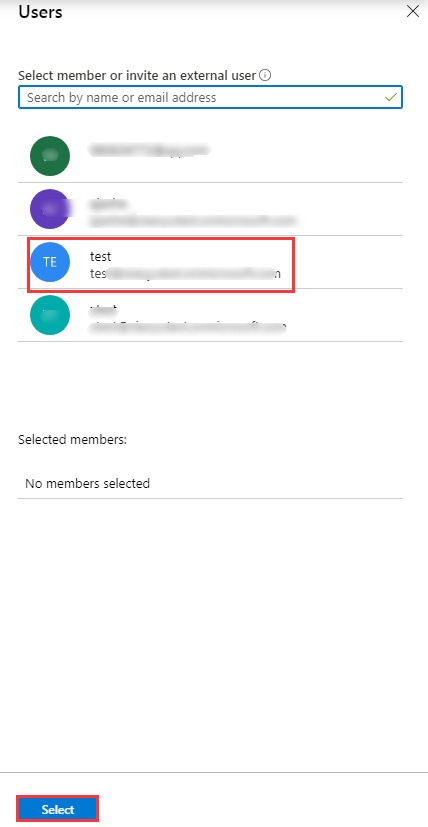
4. Click Add User to open Users and Groups. Select the user you created in Step 2 and click the Select button. This is shown in the following figure:
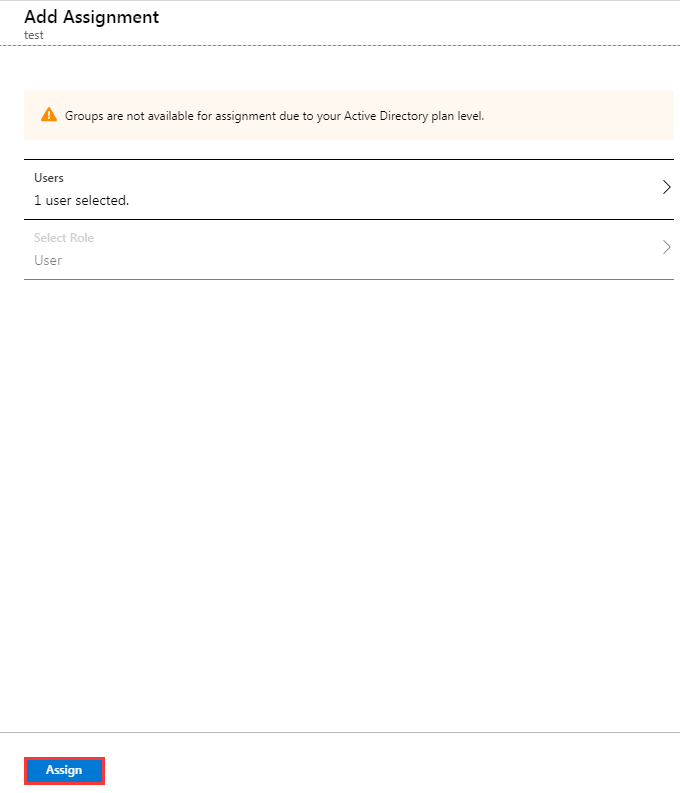
5. You will be redirected to the Add Assignment page. After confirming, click Assign. This is shown in the following figure:
6. In the left sidebar, go to Azure Active Directory > Enterprise Applications, and select the application you created to go to the application overview page.
7. Click Single Sign-On to open the SAML Single Sign-On overview page. Click Test. This is shown in the following figure:
8. In the Test Single Sign-on page, select Log in as Another User.
9. Enter the username and password you saved in Step 2 to log in to the Tencent Cloud console.