Overview
This document describes how to use COS Image Processing in the console, with the following two methods available for you. For more information on image processing, see Image Processing Overview. Adding parameters to an image URL: You can process an image by adding parameters after the object URL of the image.
Using an image style: You can save different processing results by creating styles, and use such styles to standardize your image processing. The style created is an assembled template designed to process parameters in real time when an image is downloaded.
Note:
Image Processing is available only in public cloud regions.
Image Processing is charged by CI. For detailed pricing, see Basic image processing fee in Billing and Pricing. Adding URL parameters
2. Locate the bucket that stores the image, and click the bucket name to enter the bucket management page.
3. Click Details in the Operation column for the image to enter its details page.
4. Copy the Object URL and paste it into the address bar of your browser.
5. In your address bar, add parameters after the object URL using the format below. For more image processing parameters and instructions, see the Cloud Infinite API documentation Basic Image Processing. Object URL?processing API name/processing operation name/processing parameter
Note:
If the access permission on the image file is private-read, you need to add image processing parameters to the signed address.
Example: scaling an image to 50% of its original size
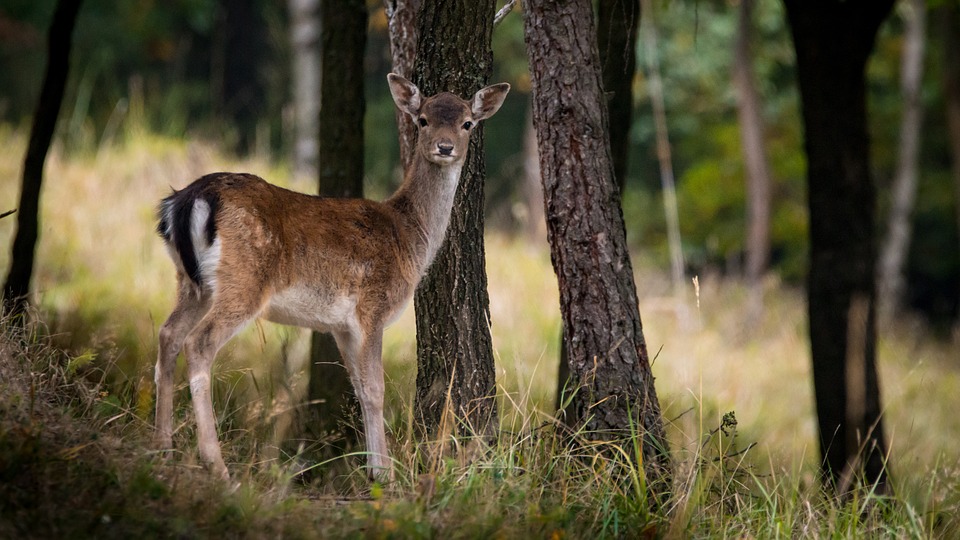
Suppose that the original image is displayed as below, the access permissions on the object are public read and private write, and the object URL is https://examplebucket-1250000000.cos.ap-chengdu.myqcloud.com/sample.jpeg.
Next, add the following parameters to the URL:
Scaling API: imageMogr2
Scaling operation name: thumbnail
Processing parameter: !50p
Now, you obtain a new URL with added parameters https://examplebucket-1250000000.cos.ap-chengdu.myqcloud.com/sample.jpeg?imageMogr2/thumbnail/!50p. Paste this URL to your address bar, press Enter, and you will see a scaled image as shown below:
Using an image style
Image Style can help you present different processing parameters in the format of template to standardize your image processing. The style created is an assembled template designed to process parameters in real time when an image is downloaded. Now, let’s take Image Style: width: 480px, height: 270px as an example, and introduce how to use this feature:
2. Locate the bucket that stores the image, and click the bucket name to enter the bucket management page.
3. In the left menu bar, click Data Processing > Image Processing to enter the Style Management section.
Separator: Style separators are symbols that separate filenames and processing styles, including -, _, /, and !. Select ! here and save.
4. Click Add Styles and set fields as follows:
Style Name: Enter your custom style name, such as “yunstyle”.
Note:
Note that style names are case-sensitive and cannot be modified once saved.
For the purpose of clarity, the separator you have enabled cannot appear in the style name.
Editing Mode: Select Basic.
Resize Mode: Select Scale-only.
Scaling: Select Fixed height and width.
Size: width: 480px, height: 270px.
Progressive Display: Once enabled, the images you access will be displayed progressively. It is disabled by default. Retain the default setting here.
Output: Choose a format of the output image. Retain the default value Original here.
5. Once your configuration is done, You can click the Preview button on the right for preview.
6. After the preview, click Save, and you will see that an image style named “yunstyle” has been added.
Note:
Up to 100 styles can be set for a single bucket.
The settings take effect in 30 minutes on average.
Changing a separator requires clearing the cache. It takes at least 24 hours for separator changes to take effect globally.
Canceling a separator used may cause product feature malfunctions.
7. Go to the object details page, copy the object URL, and enter your separator and style name after the URL in the following format:
Object URL + Separator + Processing style name
Now, you can obtain a final object URL https://examplebucket-1250000000.cos.ap-chengdu.myqcloud.com/sample.jpeg!yunstyle. Paste it to your address bar, press Enter, and you will see a scaled image shown as below:
If you need to set a signature for the styled image, change the URL to https://examplebucket-1250000000.cos.ap-chengdu.myqcloud.com/sample.jpeg!yunstyle?q-sign-algorithm=<signature>, and use /sample.jpg!yunstyle as the resource to calculate the signature <signature>.