Hue's Beeswax app provides user-friendly and convenient Hive query capabilities, enabling you to select different Hive databases, write HQL statements, submit query tasks, and view results with ease.
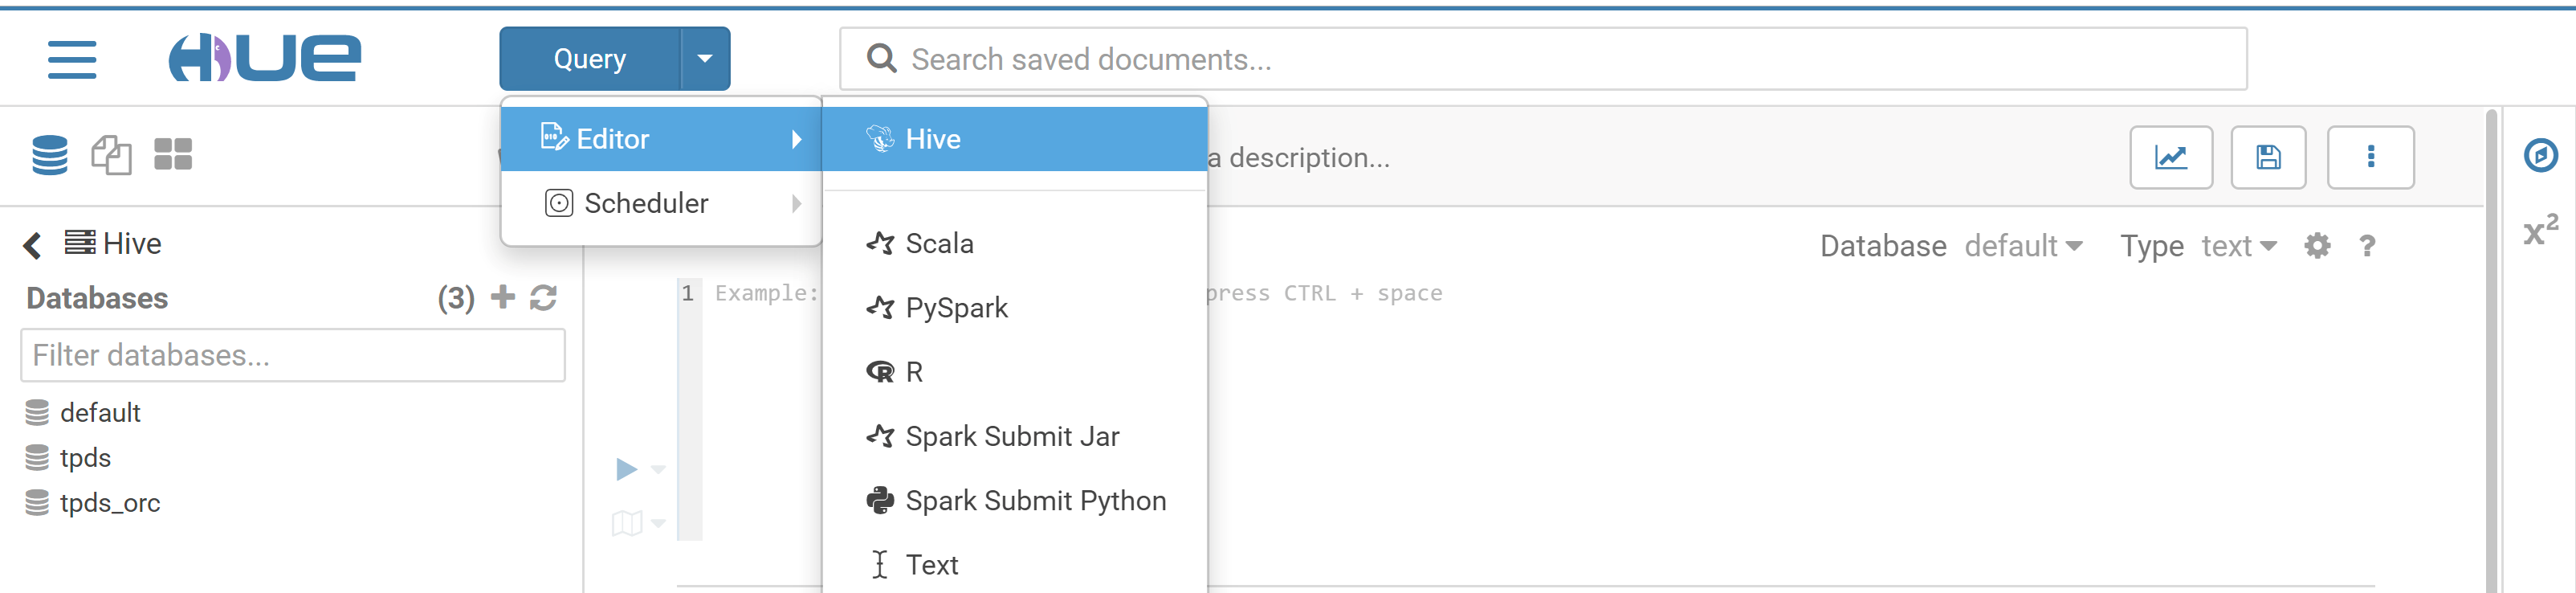
1. At the top of the Hue console, select Query > Editor > Hive.
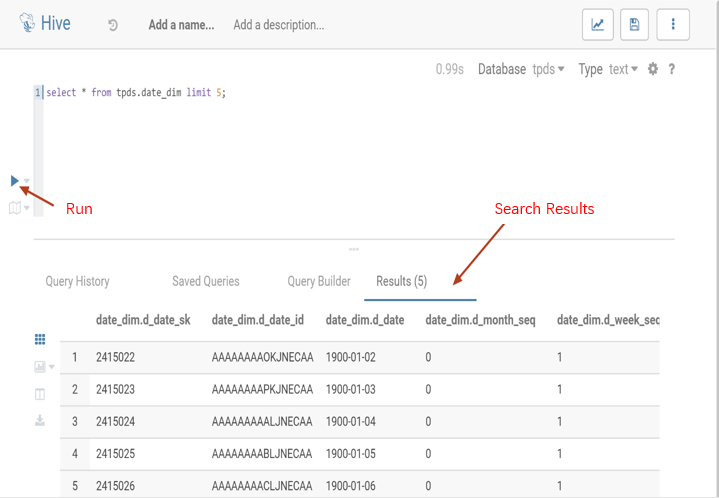
2. Enter the statement to be executed in the statement input box and click Run to run it.
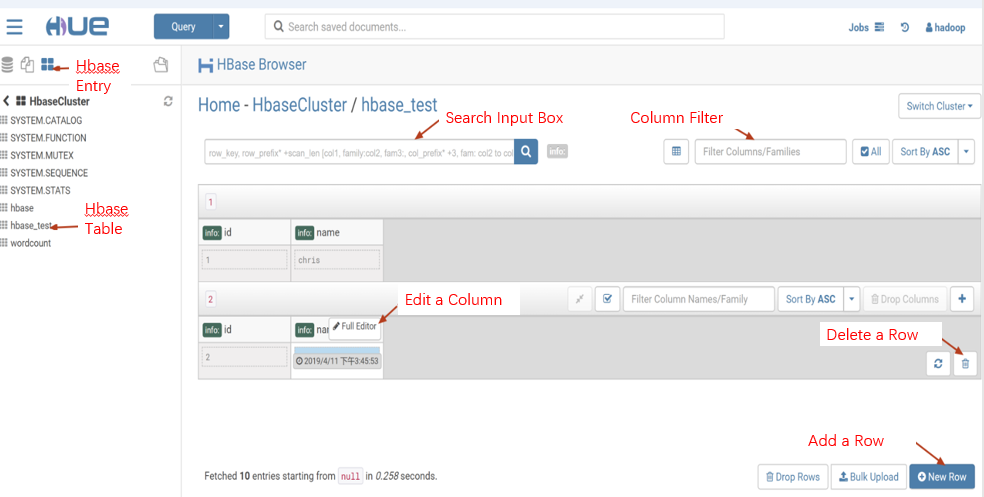
HBase Data Query, Modification, and Display
You can use HBase Browser to query, modify, and display data from tables in an HBase cluster.
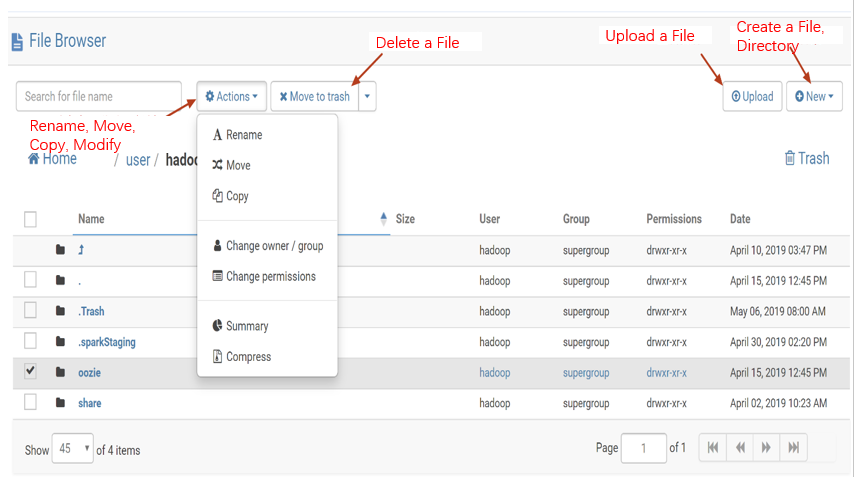
HDFS Access and File Browsing
Hue's web UI makes it easy to view files and folders in HDFS and perform operations such as creation, download, upload, copy, modification, and deletion.
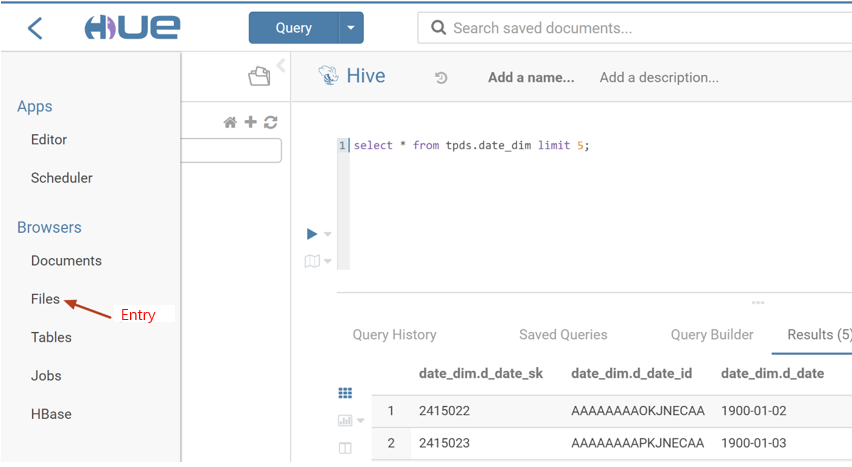
1. On the left sidebar in the Hue console, select Browsers > Files to browse HDFS files.
1.1
Perform various operations.
Oozie Job Development
1. Prepare workflow data: Hue's job scheduling is based on workflows. First, create a workflow containing a Hive script with the following content:
create database if not exists hive_sample;
show databases;
use hive_sample;
show tables;
create table if not exists hive_sample (a int, b string);
show tables;
insert into hive_sample select1, "a";
select * from hive_sample;
Save the above content as a file named hive_sample.sql. The Hive workflow also requires a hive-site.xml configuration file, which can be found on the cluster node where the Hive component is installed. The specific path is /usr/local/service/hive/conf/hive-site.xml. Copy the hive-site.xml file and then upload the Hive script file and hive-site.xml to a directory in HDFS, such as /user/hadoop.
2. Create a workflow.
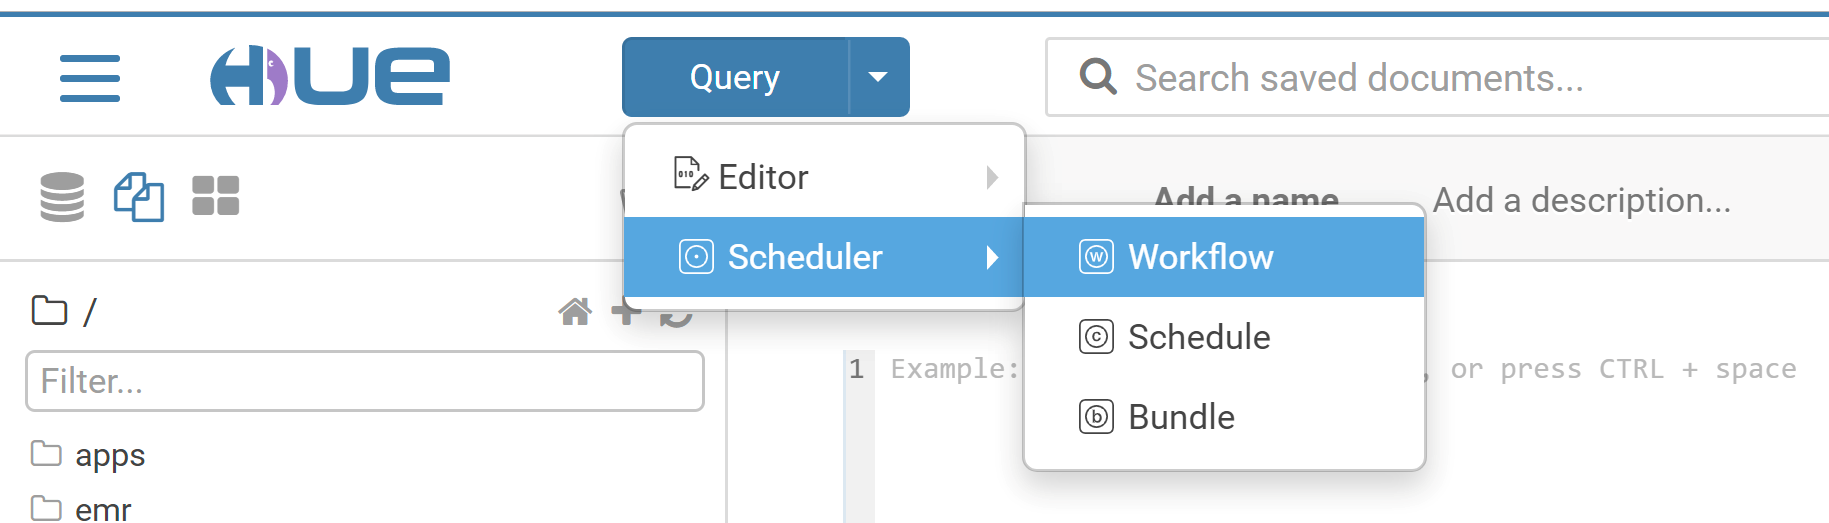
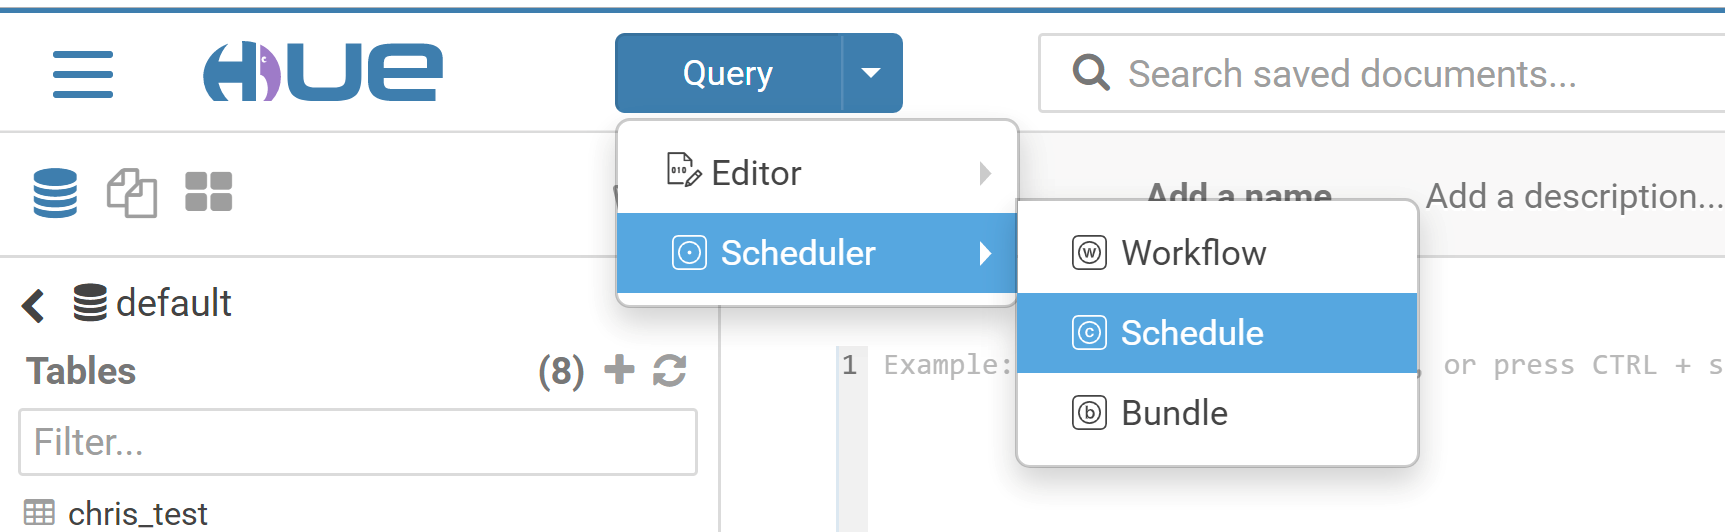
2.1 Switch to the hadoop user. At the top of the Hue console, select Query > Scheduler > Workflow.
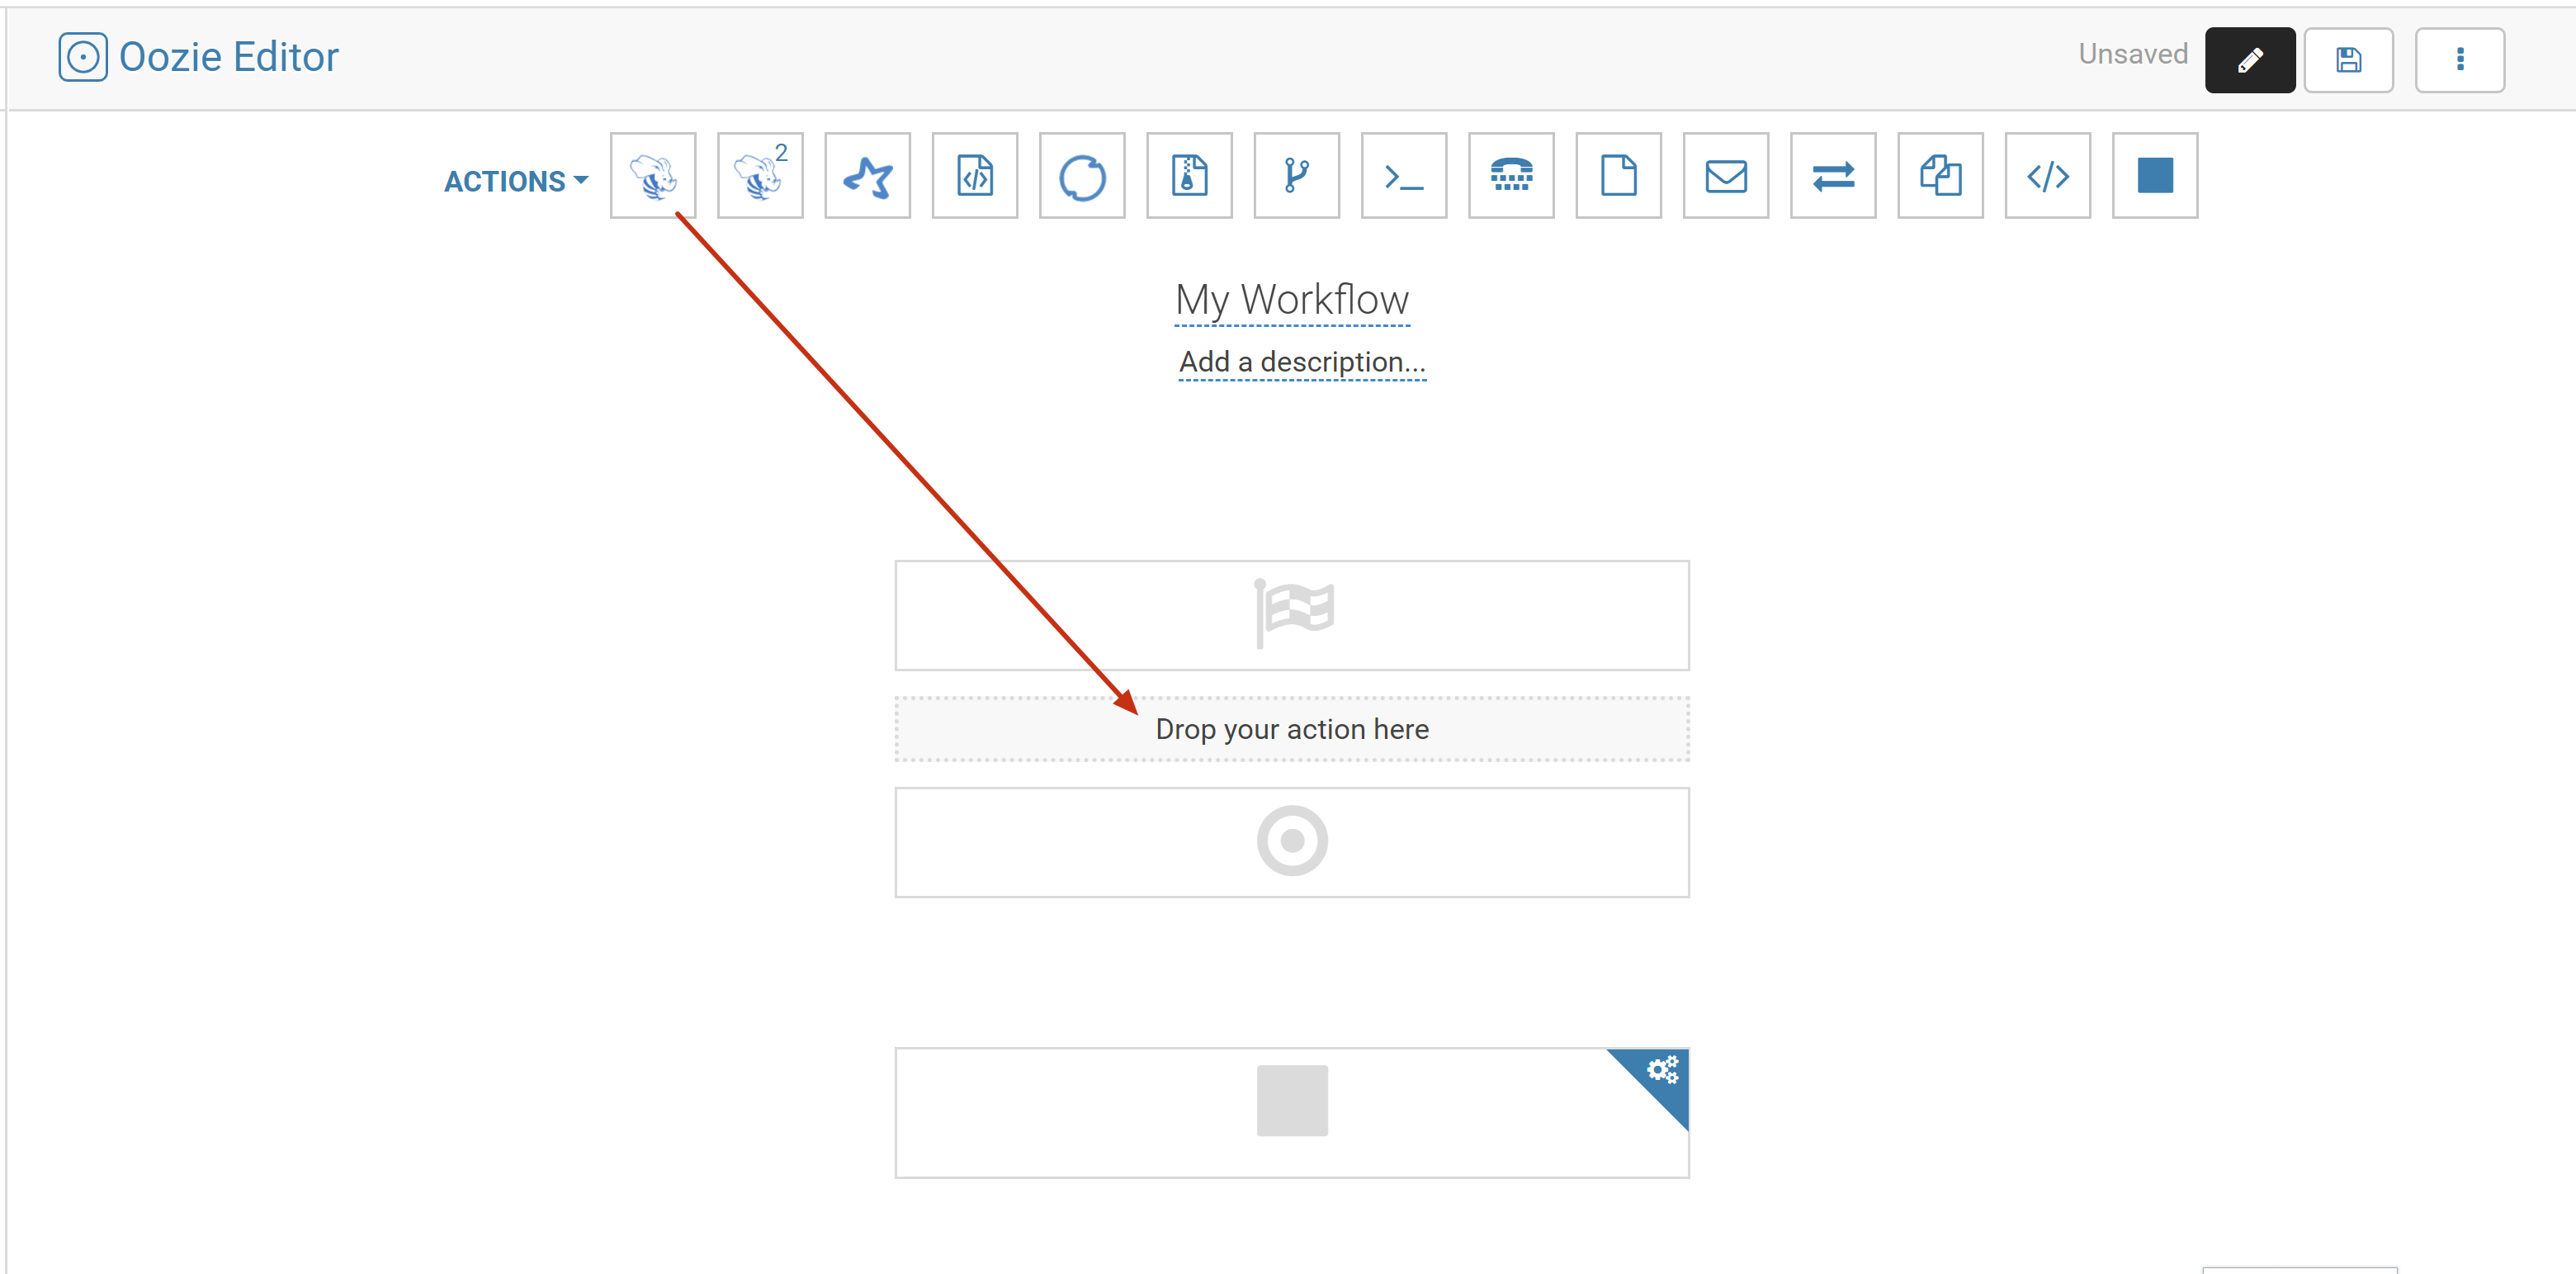
2.2 Drag a Hive script into the workflow editing page.
Caution
This document uses the installation of Hive v1 as an example, and the configuration parameter is HiveServer1. If it is deployed with other Hive versions (i.e., configuring configuration parameters of other versions), an error will be reported.
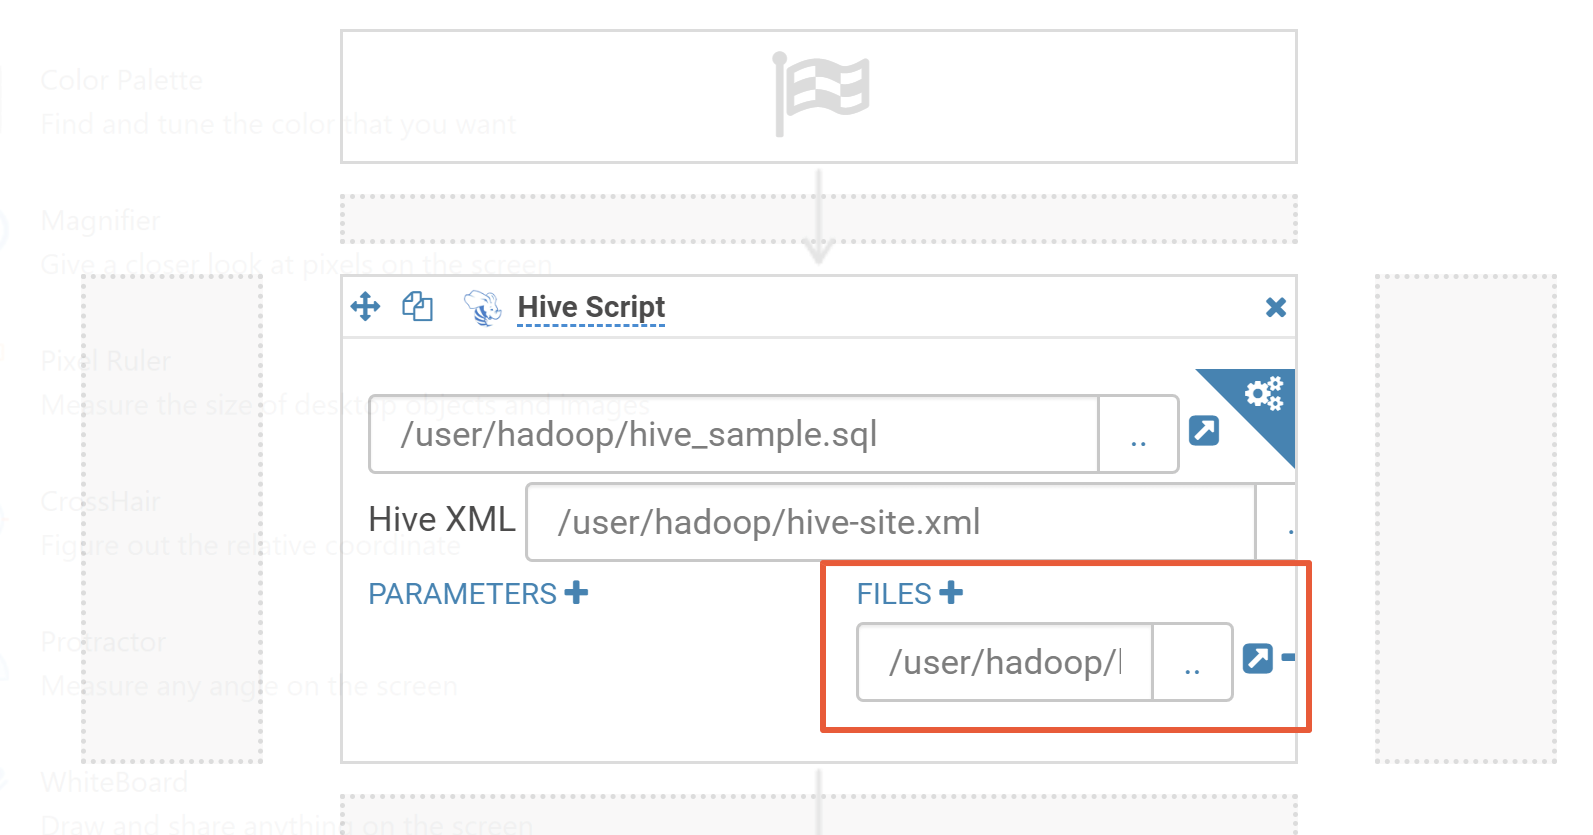
3. Select the Hive script and hive-site.xml files you just uploaded.
4. Click Add and specify the Hive script file in FILES.
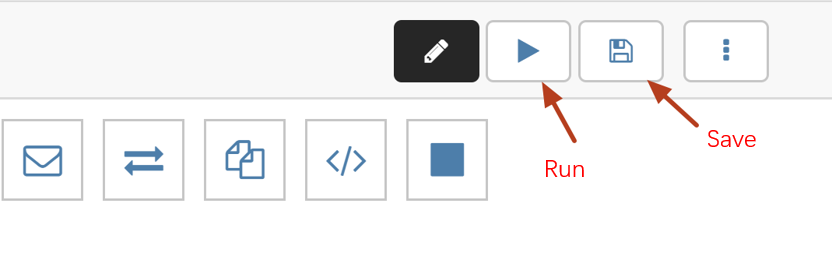
5. Click Save in the top-right corner and then click Run to run the workflow.
3. Create a scheduled job.
The scheduled job in Hive is "schedule", which is similar to the crontab in Linux. The supported scheduling granularity can be down to the minute level.
3.1 Select Query > Scheduler > Schedule to create a schedule.
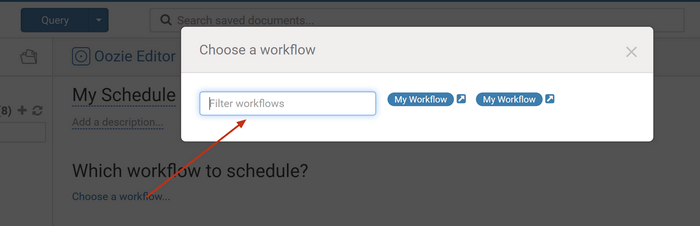
3.2 Click Choose a workflow to select a created workflow.
3.3 Select the execution time, frequency, time zone, start time, and end time of the schedule and click Save.
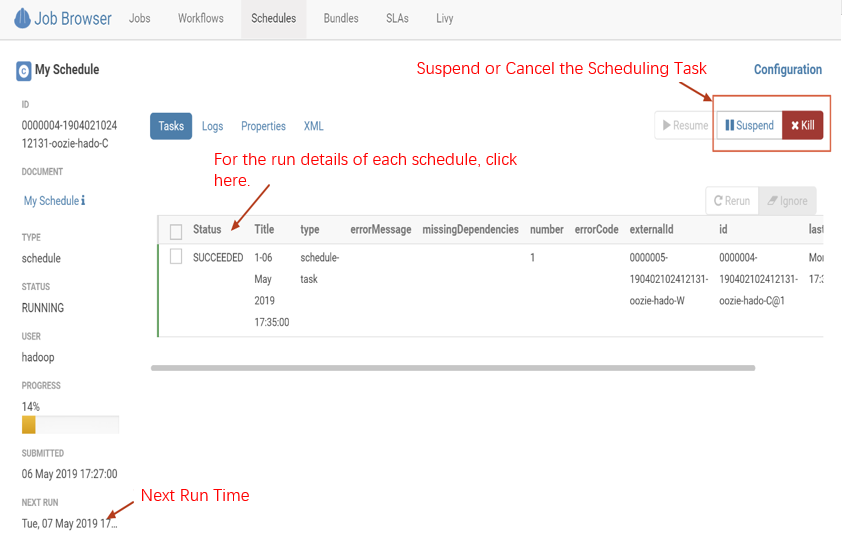
4. Create a scheduled job.
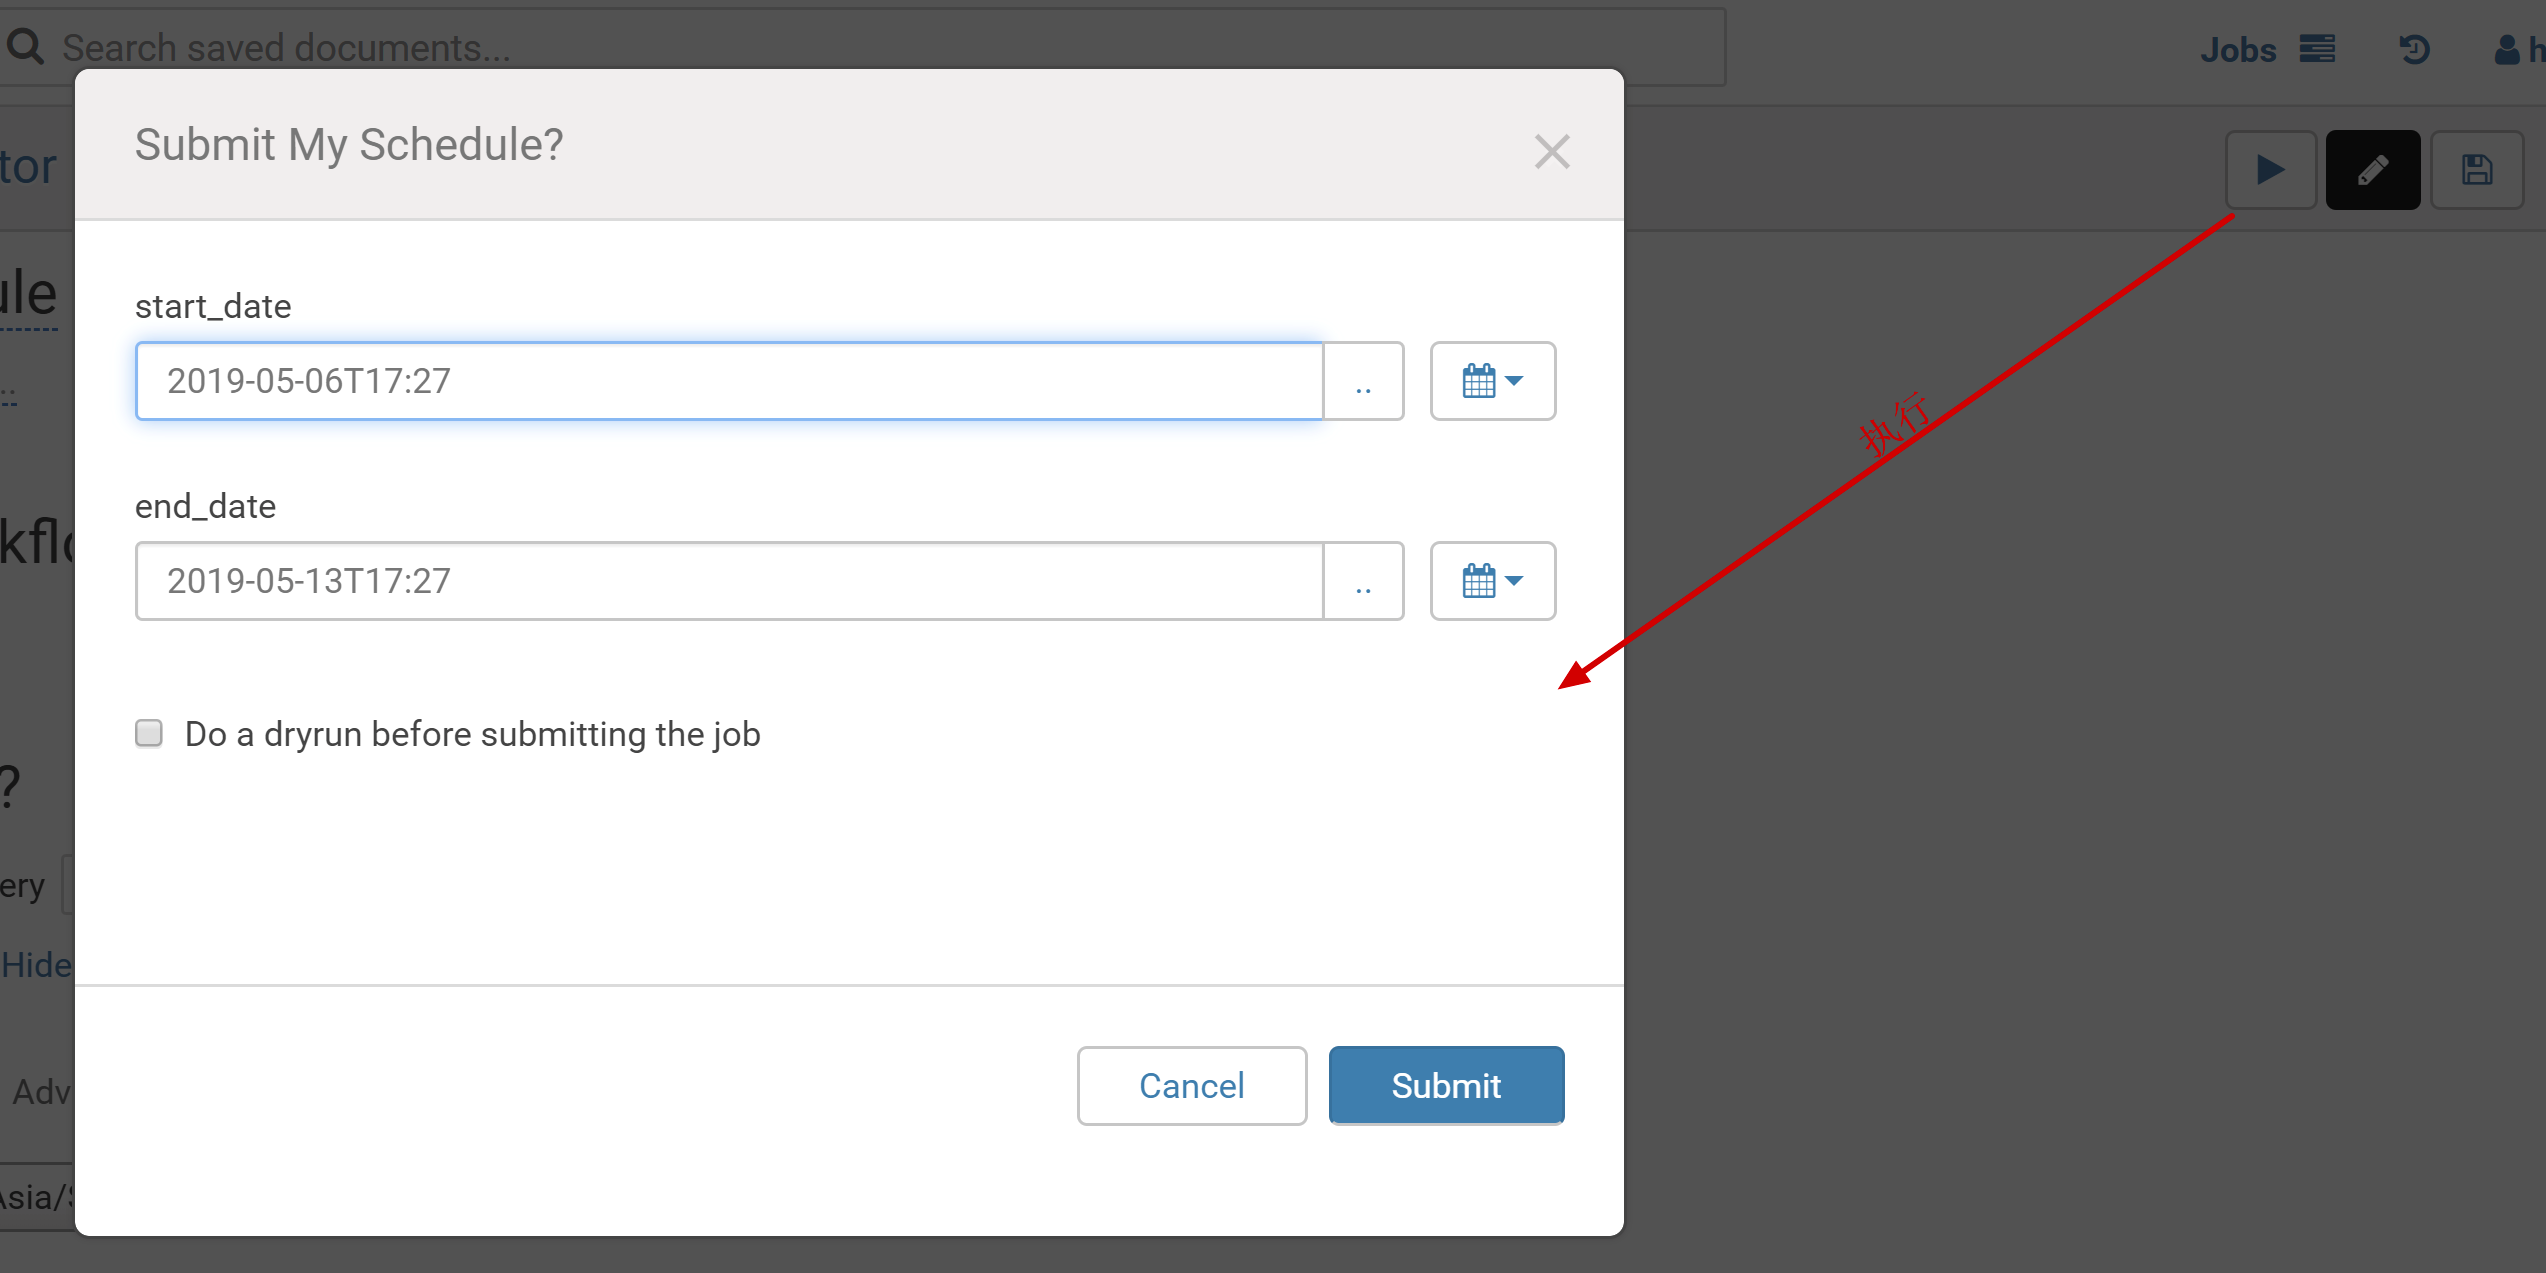
4.1 Click Submit in the top-right corner to submit the schedule.
4.2 You can view the scheduling status on the monitoring page of the schedulers.
Notebook Query and Comparative Analysis
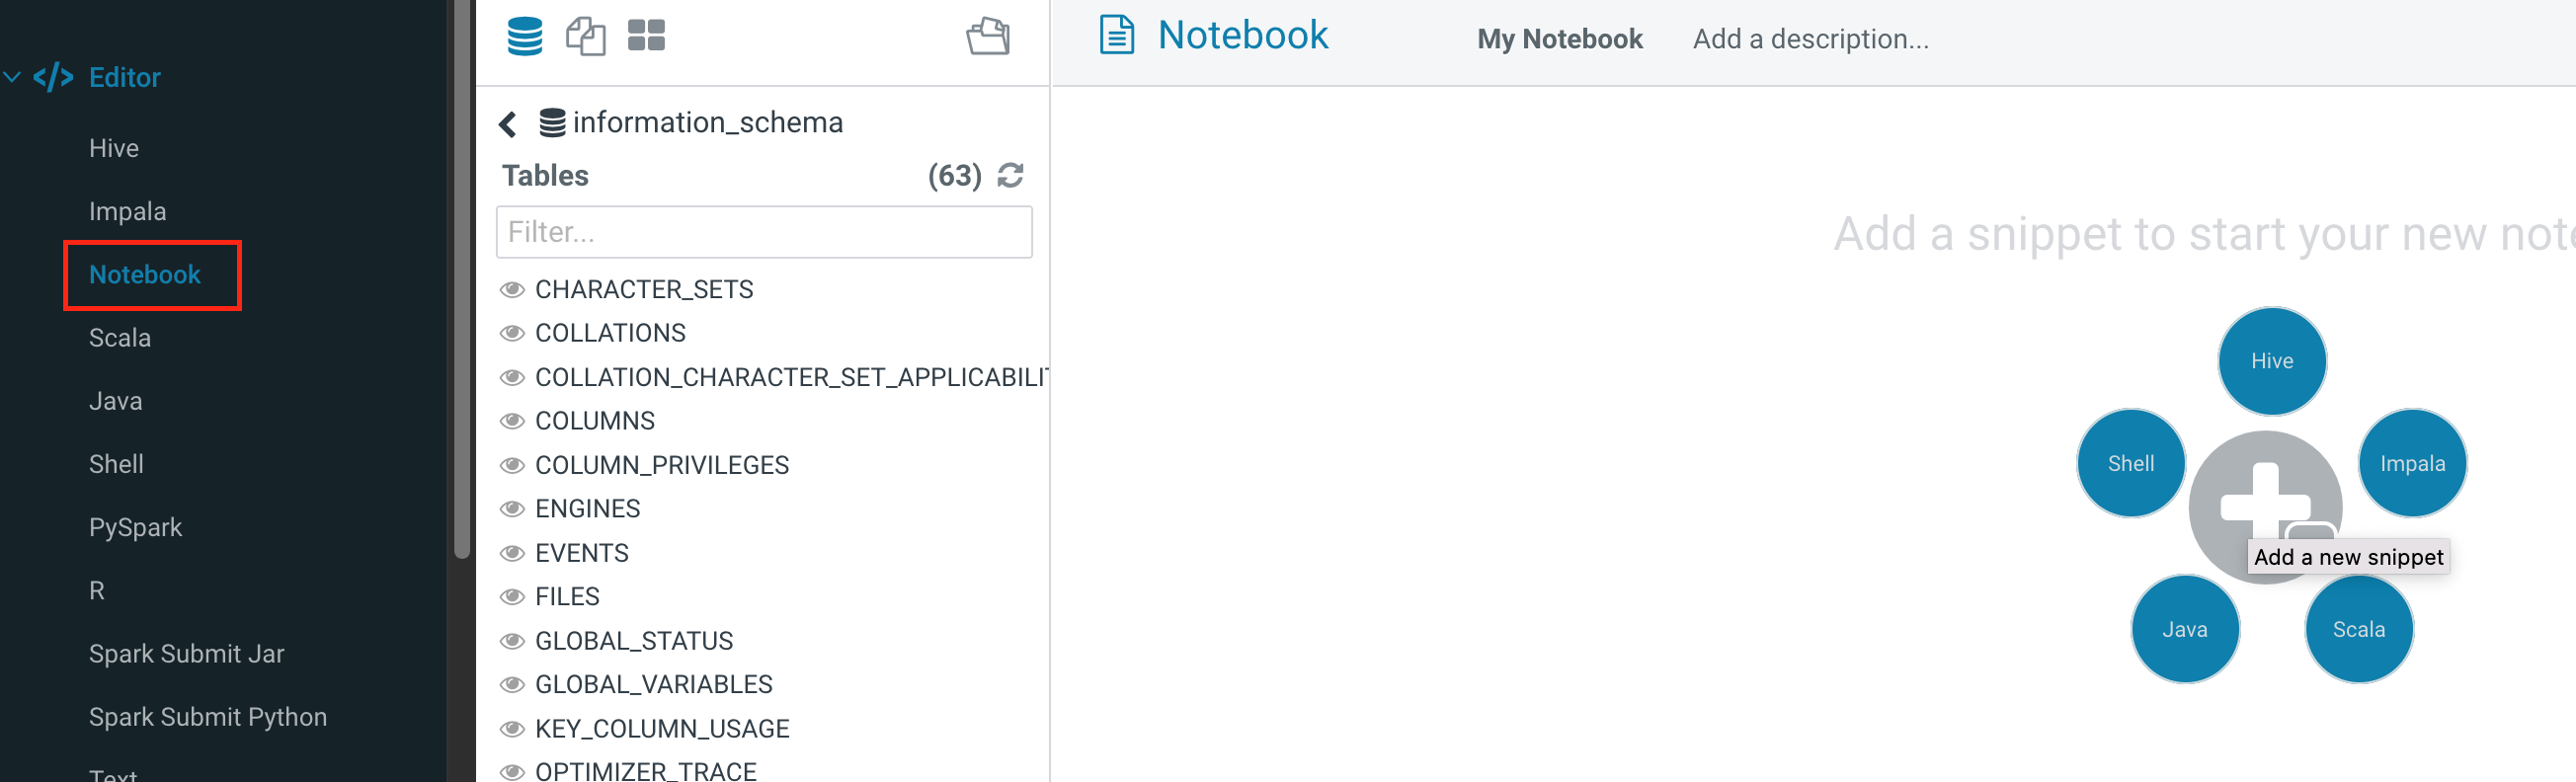
Notebooks can quickly build access requests and queries and put the query results together for comparative analysis. It supports five types: Hive, Impala, Spark, Java, and Shell.
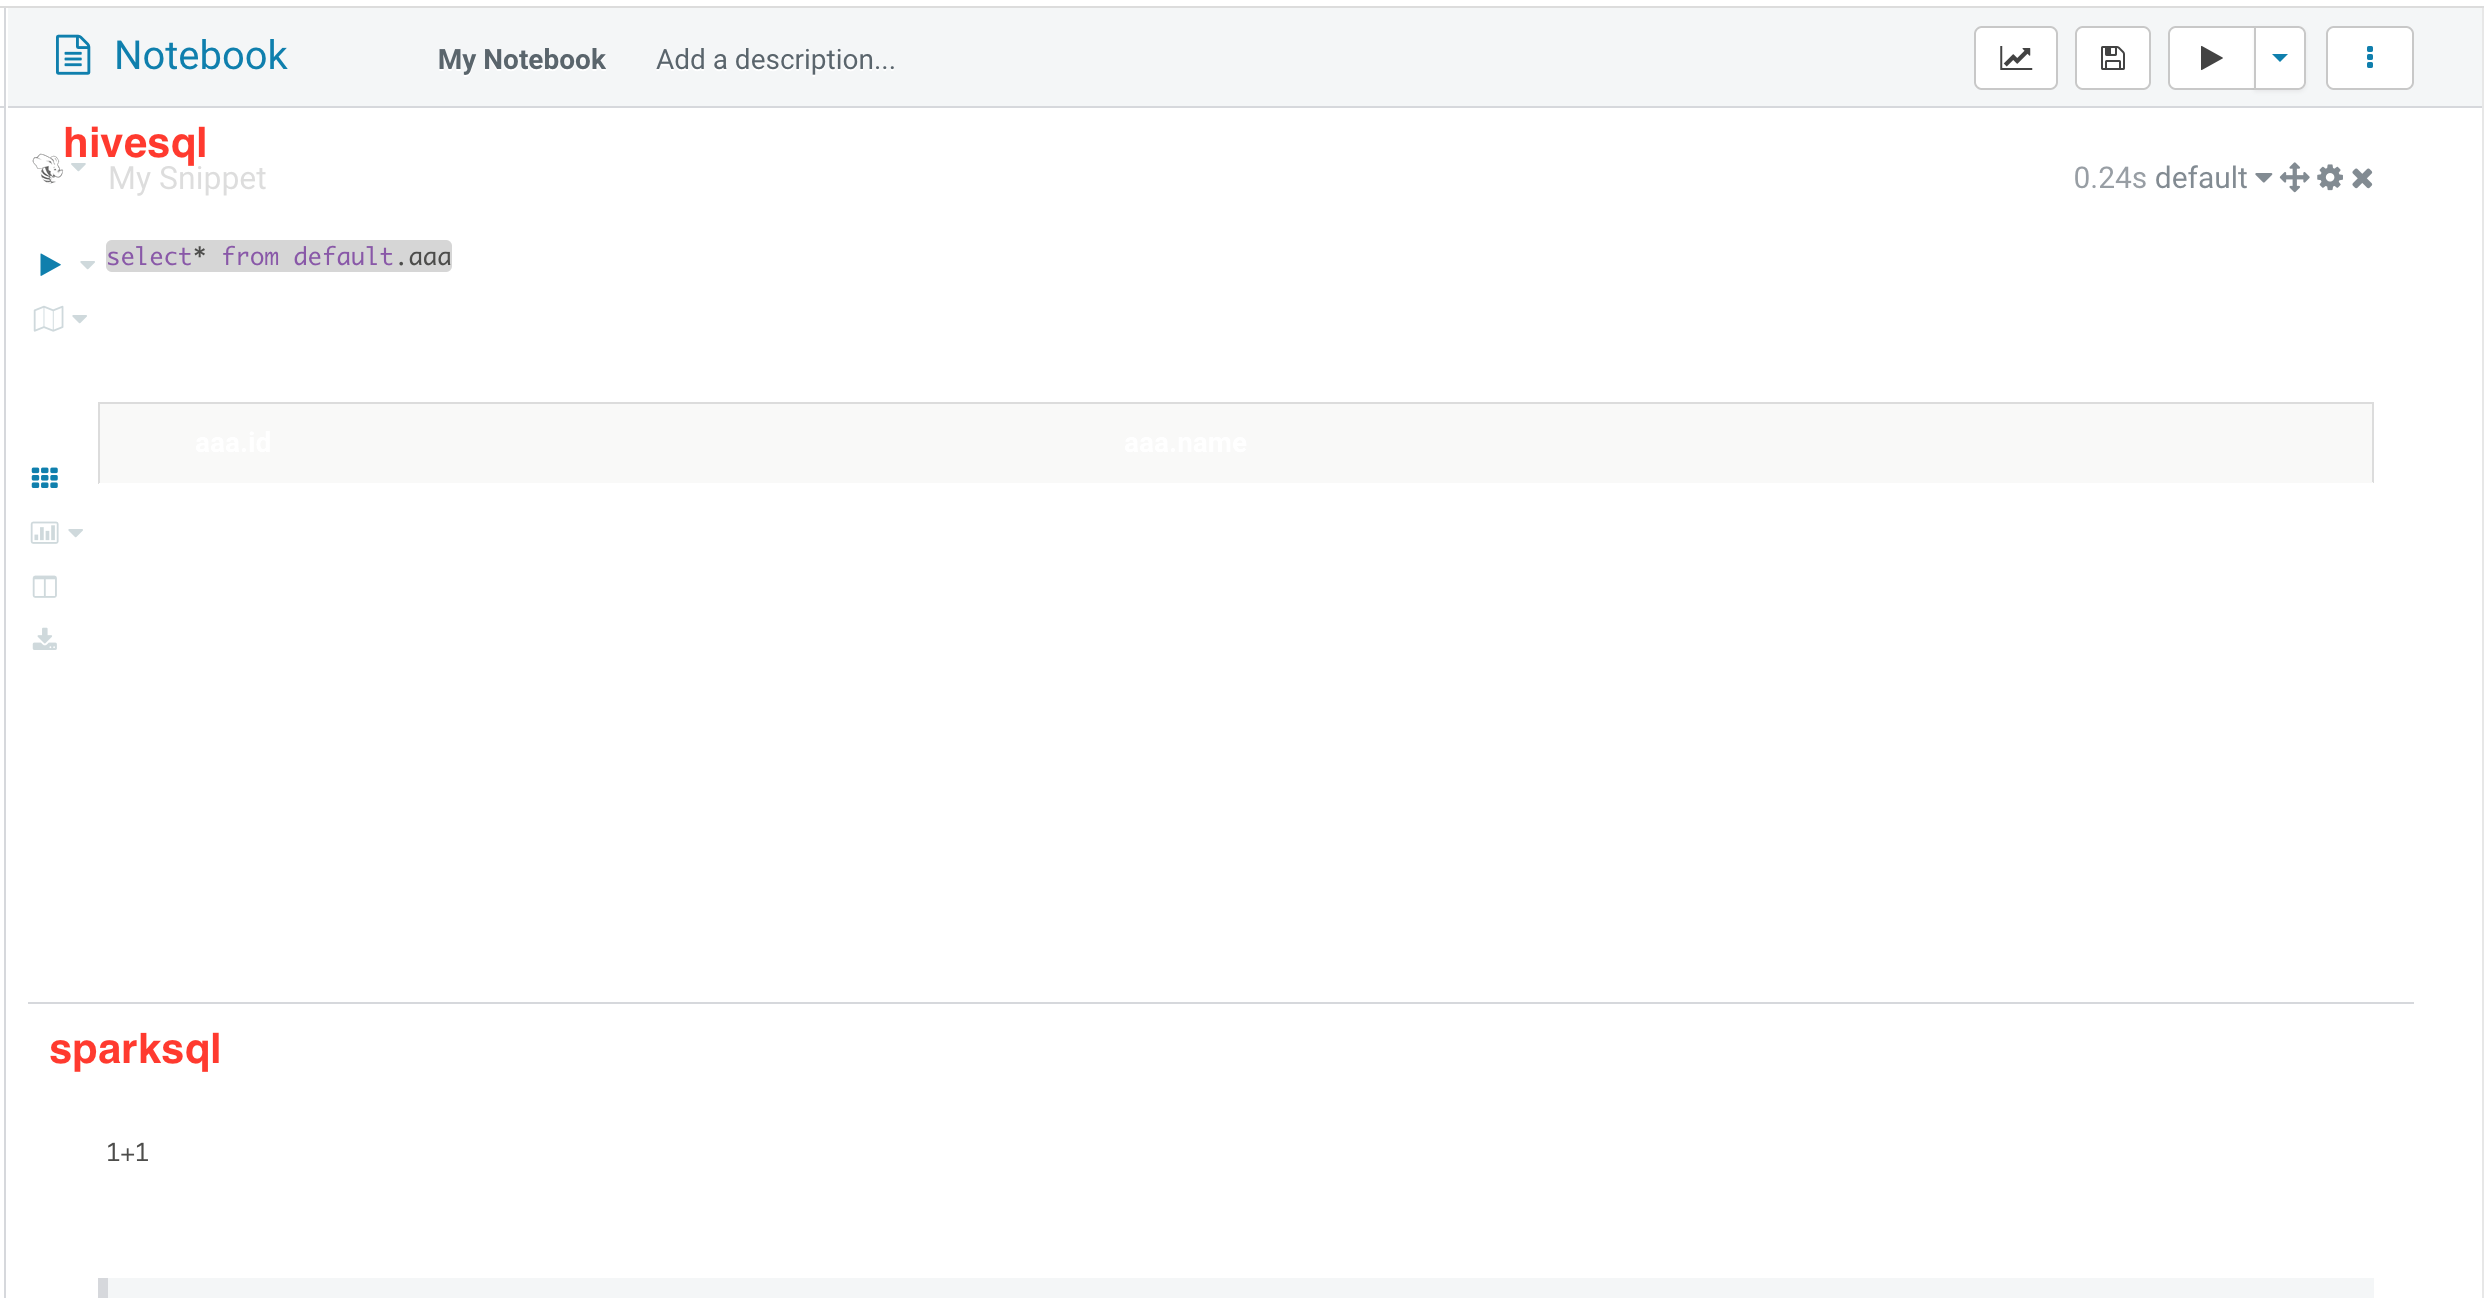
1. Click Editor, Notebook, and + to add the required query.
2. Click Save to save the added notebook and click Run to run the entire notebook.