2. Click Project List in the left menu to find the target project for the required development process operation.
3. After selecting a project, click to enter the Data Development module.
4. Click Orchestration Space in the left menu.
Workflow Operation Steps
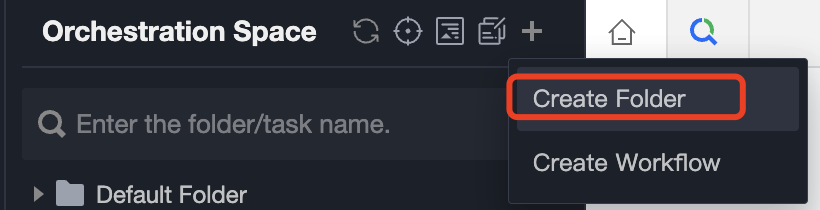
Create a Folder
Click to create a folder, enter folder name and select target folder.
Notes:
WeData supports creating multi-level folder directories and can save newly created folders to the root directory or other already created folders.
Create a New Workflow
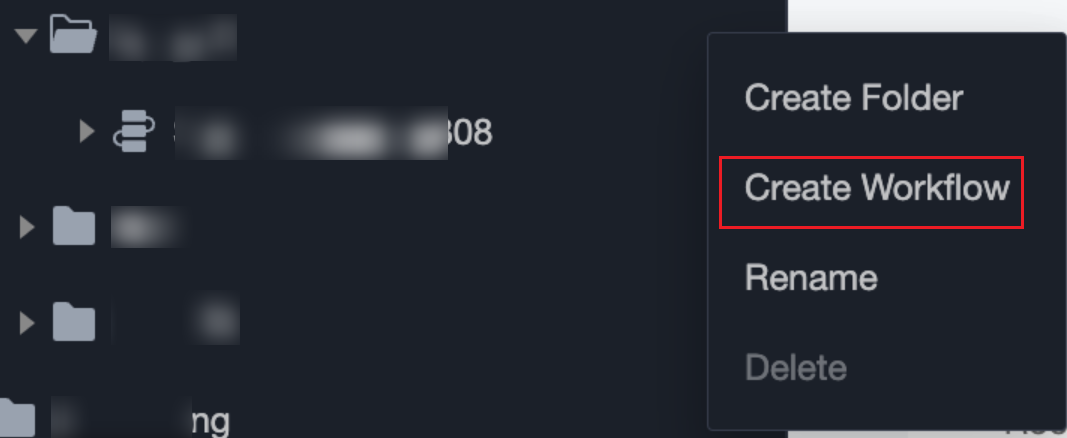
1. Select the target folder in the left sidebar and choose Create Workflow from the right-click menu.
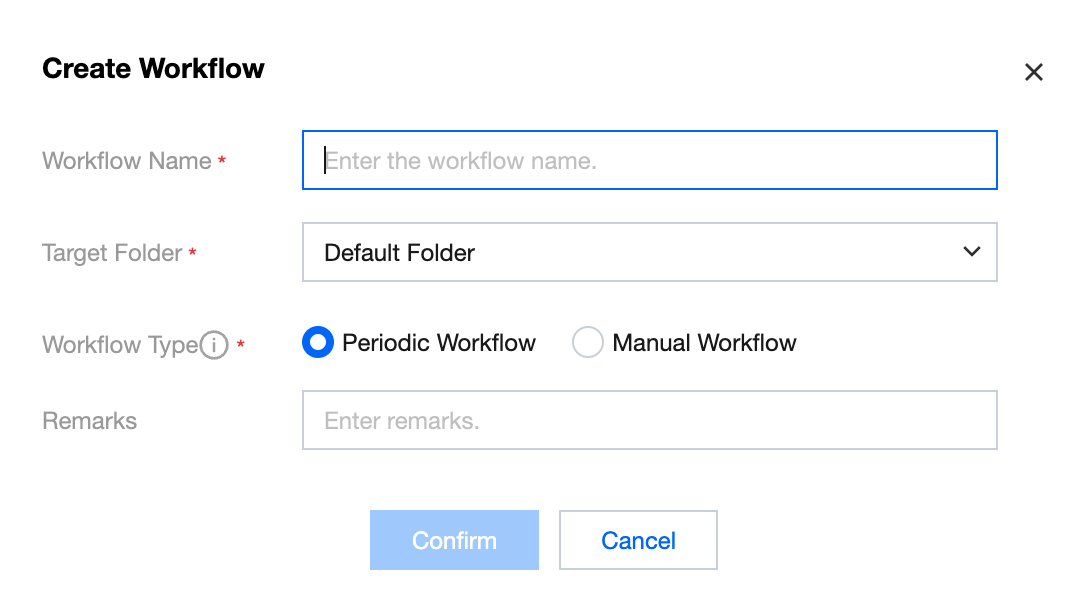
2. In the pop-up window for creating a new workflow, enter the workflow name, select the target folder, and click Confirm.
Notes:
Workflow only supports uppercase and lowercase letters, numbers, and underscores, and can be up to 100 characters long.
Designing a Workflow
Create and Edit Tasks
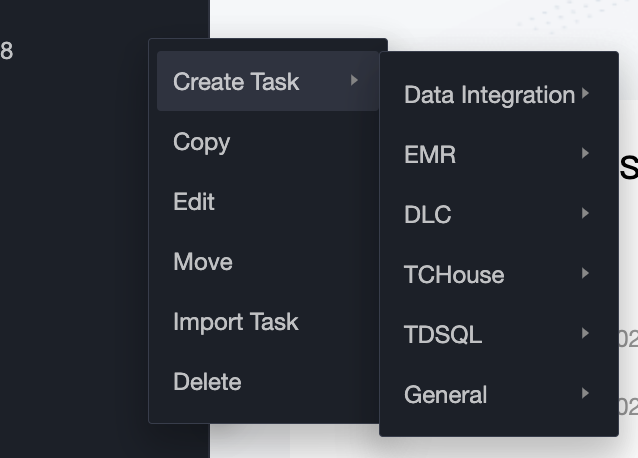
1. Select the newly created workflow in the left sidebar and click the
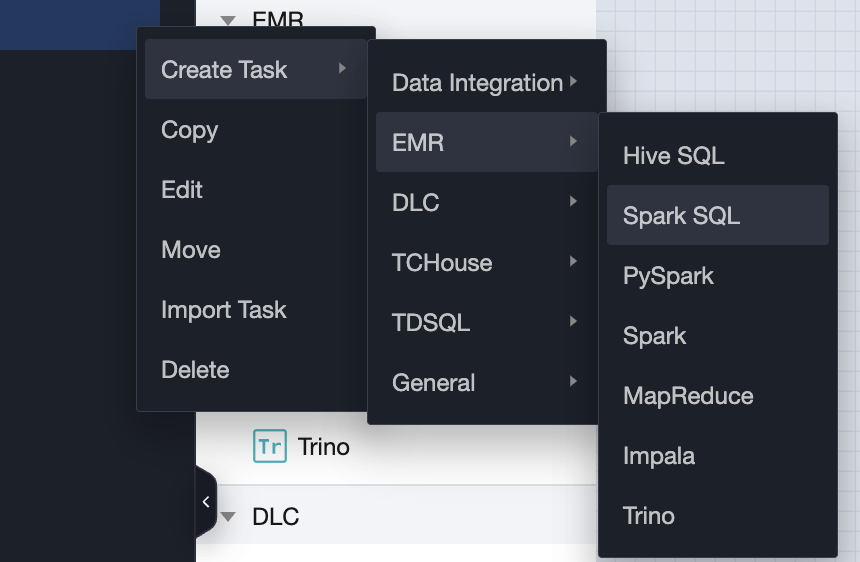
button at the end. Select Create Task from the pop-up menu.
2. Select the task type that needs to be configured in the workflow. Task scheduling supports multiple task types to meet various application development scenarios, supporting task types such as Data Integration, EMR, DLC, TCHouse, TDSQL, Common.
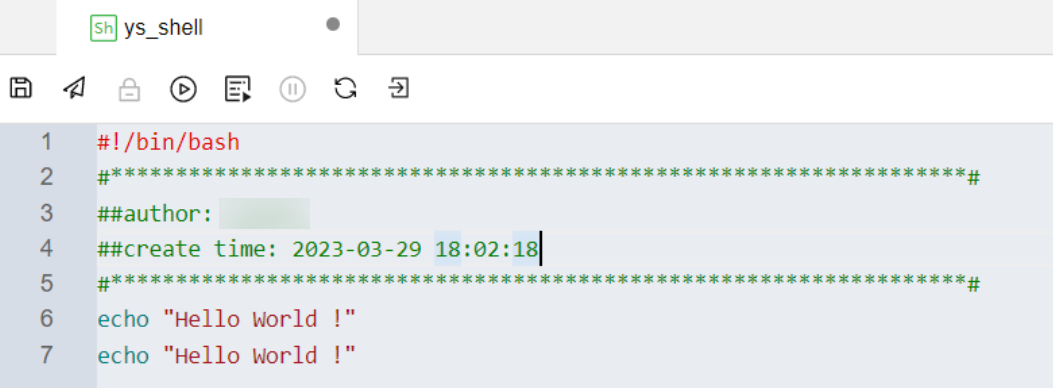
3. After successful creation (or double-clicking the task node name in the directory tree), perform task editing on the opened Task Tab page.
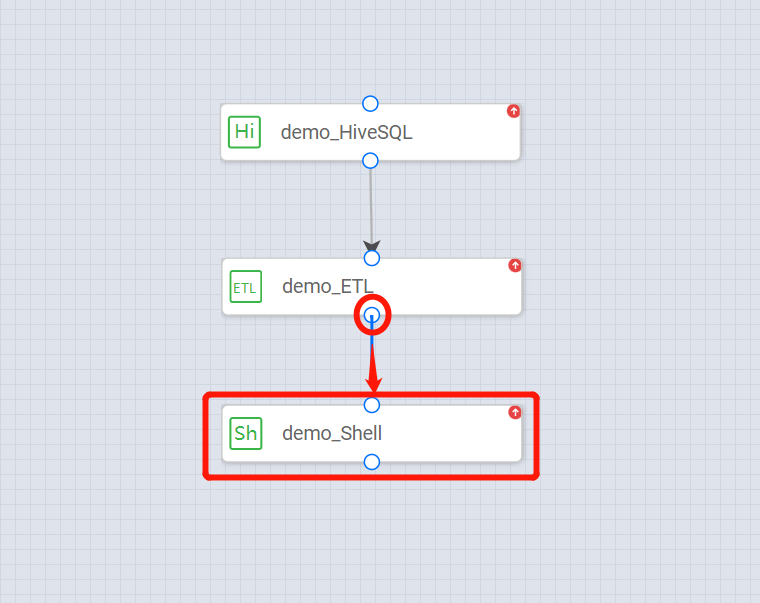
4. After configuring multiple calculation tasks, perform orchestration on the workflow canvas to form upstream and downstream dependencies between task nodes.
Submit Workflow
1. After completing the Edit Workflow, click the
icon in the toolbar to submit the nodes in the workflow to the scheduling system.
2. View the details of the task nodes to be submitted this time in the submission dialog box and enter the related change description.
3. Click Confirm to submit the workflow to the operations phase.
4. Submitted nodes will not appear in the pop - up window if their content remains unchanged, but modifications to their properties will be properly committed. Enter the Operations > Task Operations page.
Operation Steps of Computing Tasks
Task node development supports multiple task types to meet various application development scenarios.
Create Task Nodes
Select a workflow, then click Create Task, and select the type of computing task you need to create.
Configure Task Nodes
1. After successful creation, conduct corresponding types of code development on the computational task canvas.
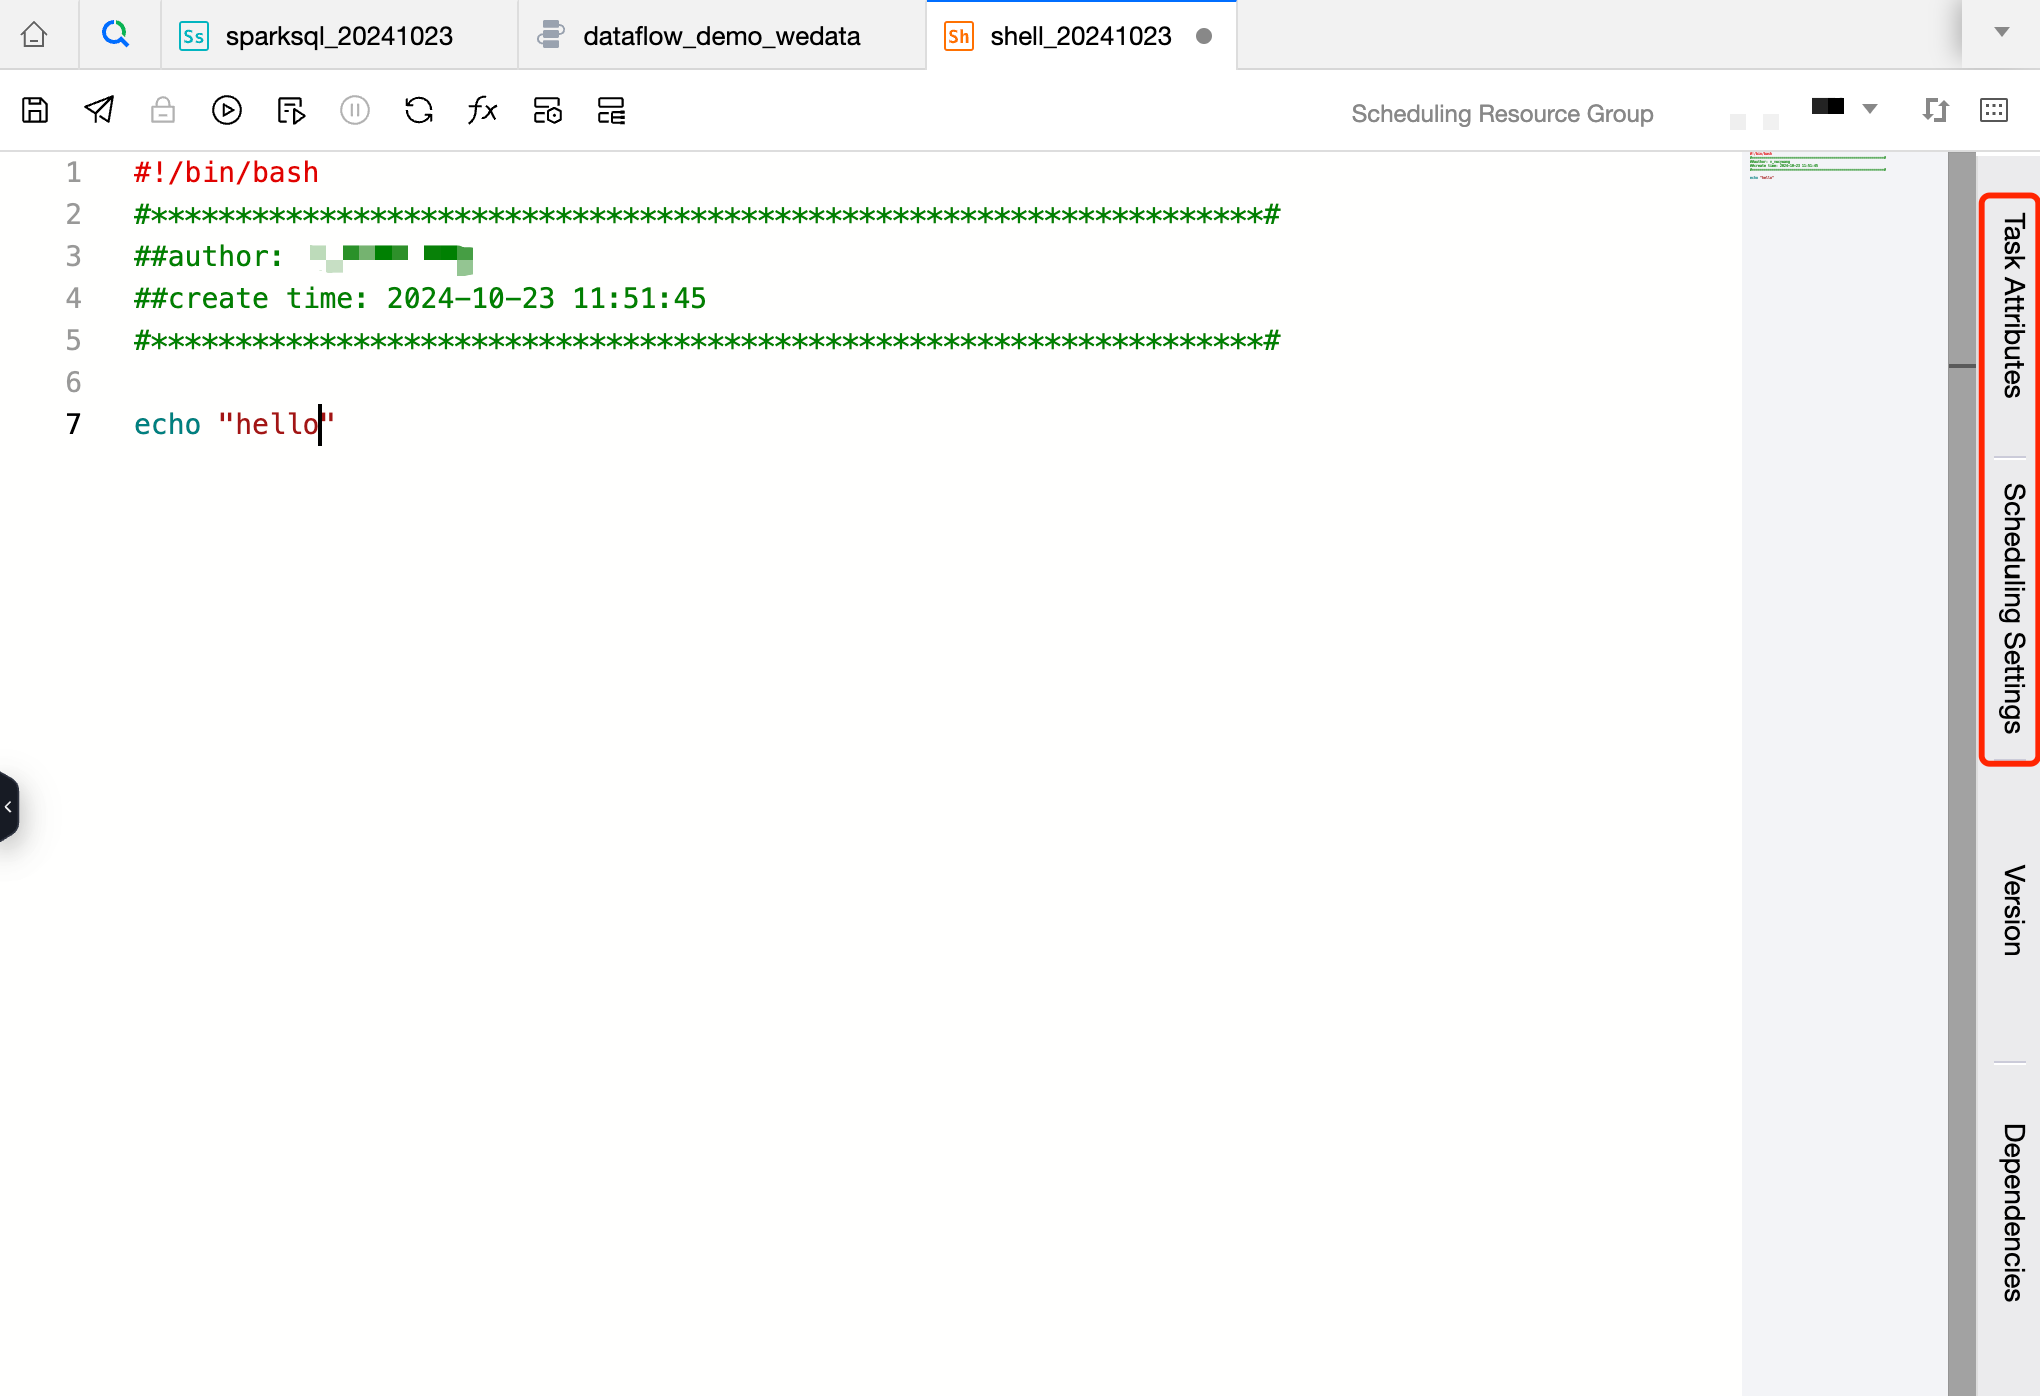
2. Configure task attributes and scheduling policies. Click Task Attributes and Scheduling Settings on the right side of the task, and configure the basic information and scheduling information of the task in the panel.
3. Select the data source, resource queue, and scheduling resource group required for task execution.
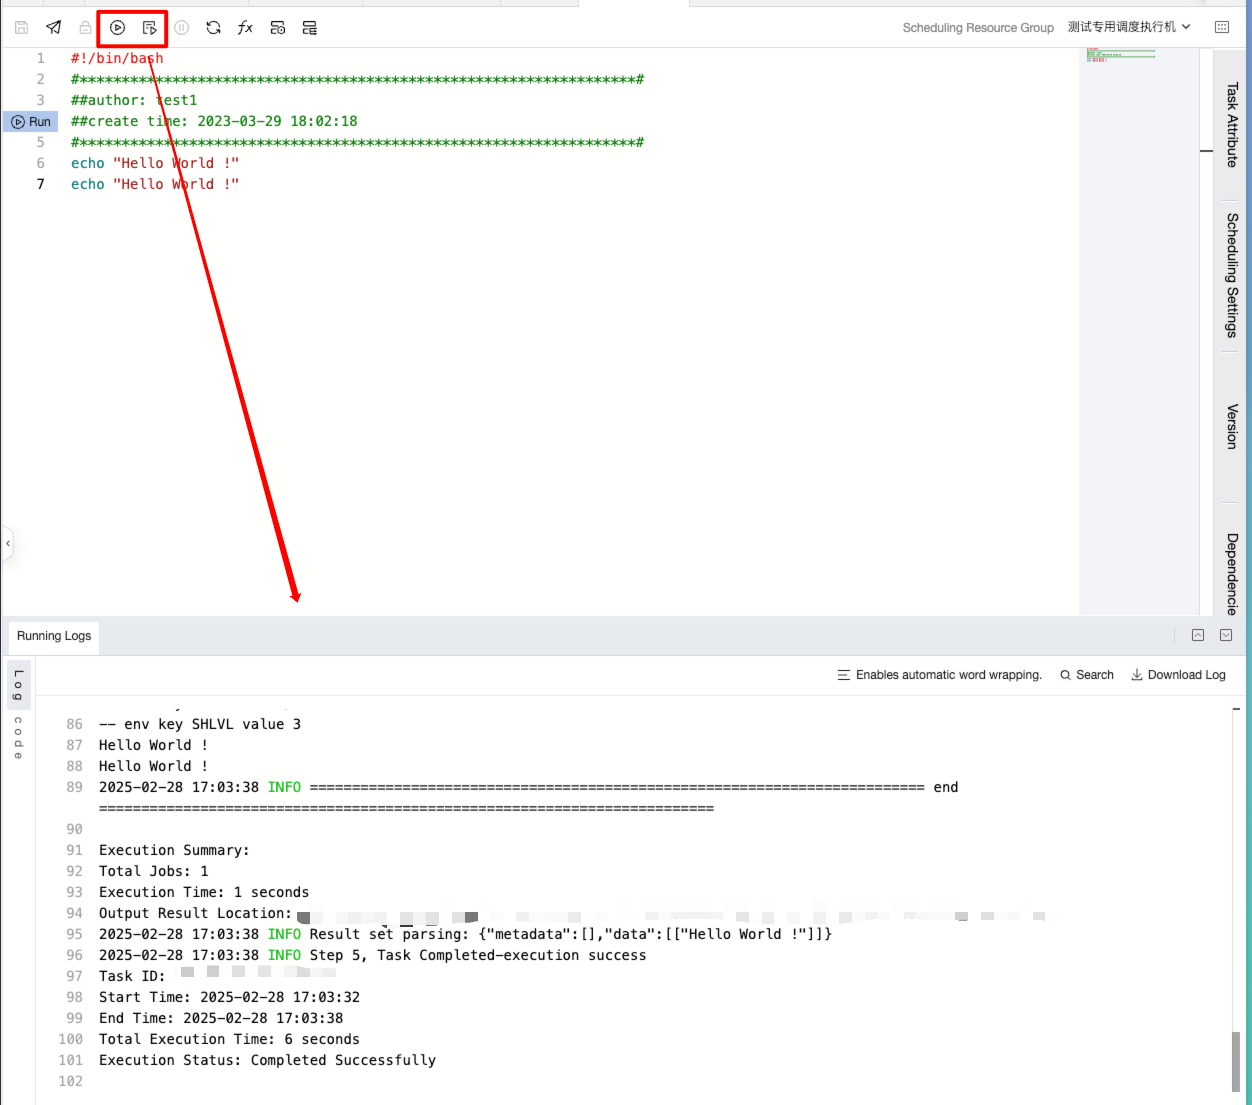
4. Execute the run feature to test whether the computational task running result meets expectations.
Submit Task Nodes
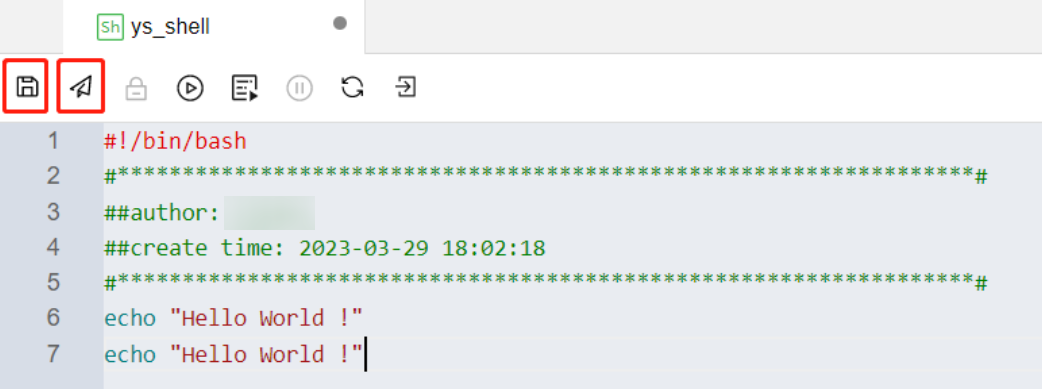
1. Configure the computation code, task attributes, scheduling policies, and computational resources. After the test task runs as expected, save and submit the computing task to complete the task node configuration.
2. Configure each computing task step by step in sequence. Then, based on the Workflow Operation Steps, complete the orchestration configuration at the workflow level and you can submit it for scheduling execution.