When you need to manage instances using grouping, you can bind them to a group. DBbrain provides a default group named Default. If the default group does not meet your requirements, you can create a group.
Supported Databases
TencentDB for MySQL (excluding Single-node (Cloud Disk)), Cloud Native Database TDSQL-C (TDSQL-C for MySQL), TencentDB for MariaDB, TDSQL for MySQL, Tencent Cloud Distributed Cache, TencentDB for MongoDB, and TencentDB for PostgreSQL.
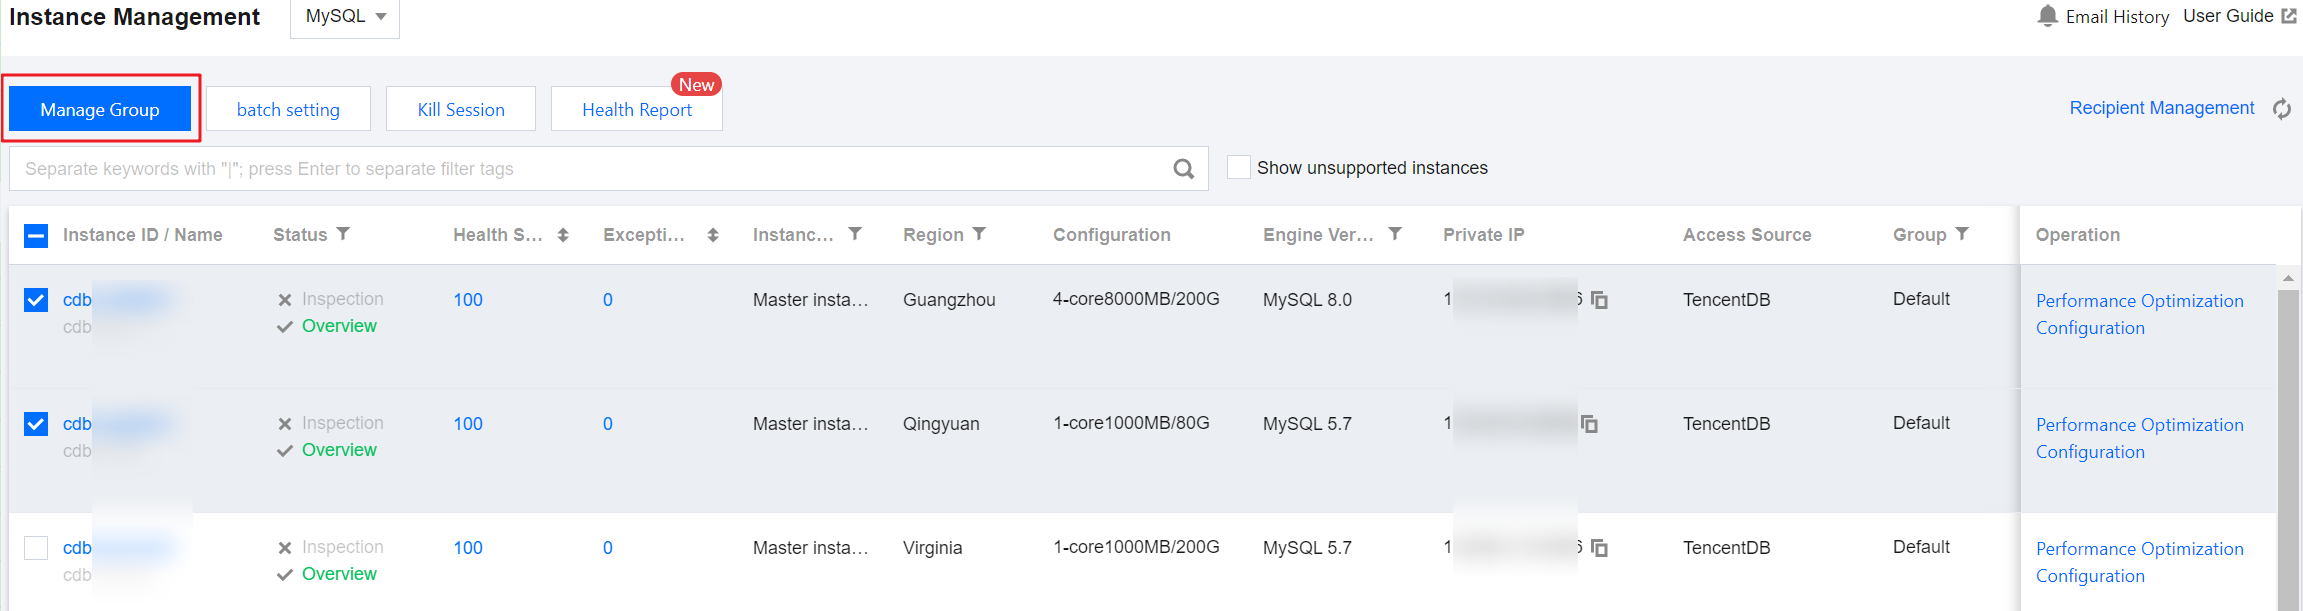
2. In the left sidebar, select Instance Management.
3. Select the database type at the top of the page.
4. (Optional) In the search box at the top of the page, select resource attributes (including instance ID, instance name, and status), enter keywords, and click
.
Note:
The available resource attributes depend on the selected database type; refer to the actual page display for specifics.
5. In the list, select the instance to be bound to a group and click Manage group at the top of the page.
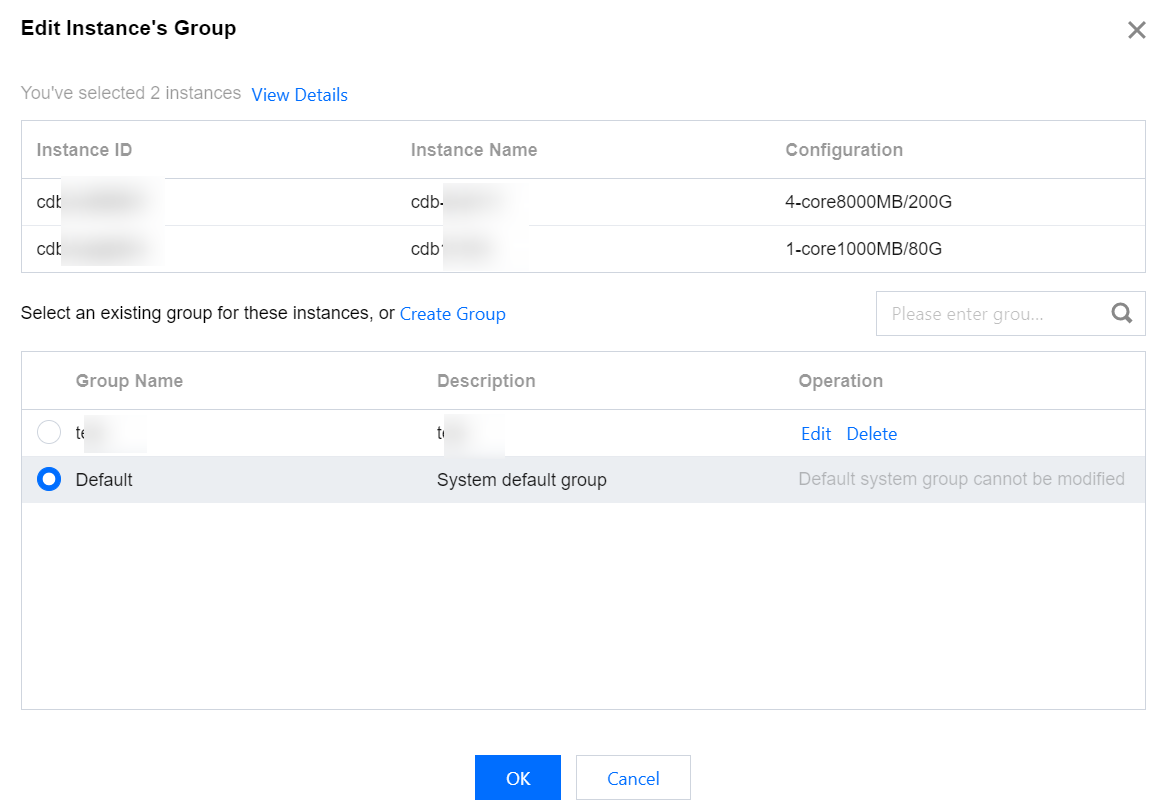
6. In the Edit Instance's Group dialog box, click View Details to check and confirm the selected instance or shard information.
7. In the Edit Instance's Group dialog box, select an existing group or create a group for the instance and select.
Select an existing group
Select the group to bind to the instance, then click OK.
Create Group
7.1.1 Click Create New Group, enter the group name and description in the Create New Group dialog box, and click OK.
If you need to create multiple groups, repeat this step.
7.1.2 In the Edit Instance's Group dialog box, select the newly created group, and click OK.
Note:
In the Edit Instance's Group dialog box, the following operations are supported for custom groups:
Edit Group: In the Operation column corresponding to the group name, click Edit to edit the name and description information, click OK.
Delete Group: In the Operation column corresponding to the group name, click Delete, and click OK. If there are instances in the group, these instances will be transferred to the system default group Default.