You can create a snapshot manually to replicate a Lighthouse instance's system disk at a certain time point. Snapshot is a convenient and efficient data protection service. When a system failure or maloperation occurs in an instance for which a snapshot has been created, you can use the snapshot to roll back the application version of the instance.
Lighthouse instance snapshots have the following use cases:
Daily data backup
You can use snapshots to regularly back up important business data to avoid data loss caused by incorrect operations, attacks, and viruses.
Quick data recovery
You can create snapshots before performing major operations, such as changing operating systems, upgrading applications, or migrating business data. If any problem occurs, you can use snapshots to restore the business data.
Notes
Snapshot use limits: Snapshots cannot be created for instances on the storage-optimized package.
Snapshot quota limits: The maximum number of free snapshots in each region is the number of created instances (excluding instances to be repossessed and instances on the storage package) multiplied by 2 and cannot exceed 10.
When a Lighthouse instance is terminated, all its created snapshots will also be deleted.
2. On the instance list page, select the target instance to enter its details page.
3. On the instance details page, select the Snapshot tab.
On this tab, you can click Create Snapshot to create a snapshot or view the list of snapshots created for this instance.
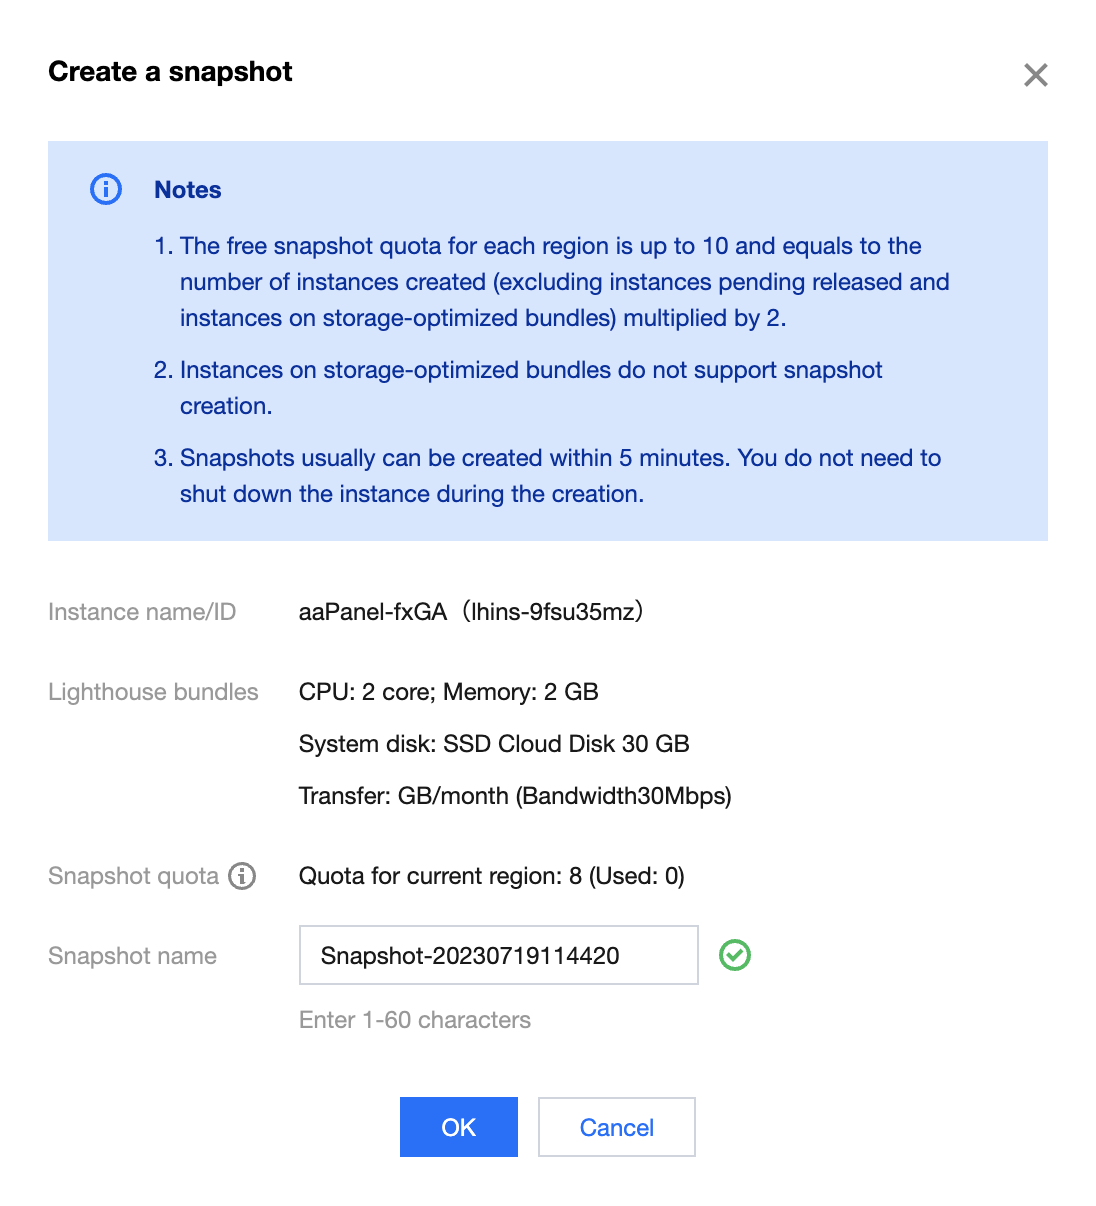
4. In the Create Snapshot pop-up window, you can customize the snapshot name and click OK to create the snapshot as shown below:
Note:
Generally, it takes less than five minutes to create a snapshot. Please wait patiently. During the creation, the instance doesn't need to be shut down.
During snapshot creation, application data saved in the memory may not be persistently stored. As such, snapshots may not capture the latest and most complete cloud disk data. Refer to Notes to ensure snapshot data consistency.
Using snapshot to roll back instance system disk
Note:
Rolling back the instance system disk with a snapshot is irreversible. It will clear the system disk data generated after the snapshot creation time. To avoid maloperations, we recommend you create an instance snapshot right before rollback to back up the latest data.
2. On the server list page, select the target instance to enter its details page.
3. On the instance details page, select the Snapshot tab.
You can also view the list of snapshots created for this instance on this tab.
4. Select Roll back on the right of the row of the target snapshot. In the Roll Back Disk pop-up window, select Read and agree and click OK as shown below:
Note:
After rollback, the entire instance system disk, rather than a partition or directory, will be restored to the status at the snapshot creation time point.
If the instance is running, it will be shut down automatically during rollback.
2. On the server list page, select the target instance to enter its details page.
3. On the instance details page, select the Snapshot tab.
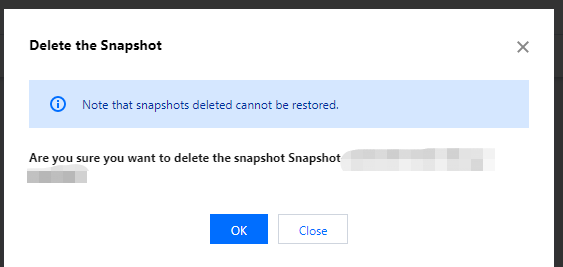
4. Select Delete on the right of the row of the target instance. In the Delete snapshot pop-up window, click OK as shown below:
Note:
Deleting a snapshot will also delete all data in the snapshot, and the data cannot be retrieved. Deleted snapshots cannot be restored, so please delete snapshots with caution.