Adding a Data Disk
다운로드
포커스 모드
폰트 크기
Scenarios
When you purchase a Cloud Virtual Desktop (CVD) instance, only a system disk is selected by default, while data disks are optional. If you do not select any data disk during purchase, you can add a data disk to the purchased CVD instance.
After a data disk is added to a Windows CVD instance, the data disk is automatically initialized. After a data disk is added to a Linux CVD instance, you need to manually initialize the data disk in the operating system. For the specific operation steps, see Initializing a Data Disk for a Linux CVD Instance.
Operation Limits
Adding a data disk is only supported for CVD instances that have only a system disk and no existing data disk.
Only CVD instances in the normal lifecycle support adding a data disk. Data disks cannot be added to isolated CVD instances.
You cannot add a data disk when its associated CVD instance is in one of the following statuses: Shut Down, Starting, Stopping, Rebooting, or Creating Custom Image.
Operation Steps
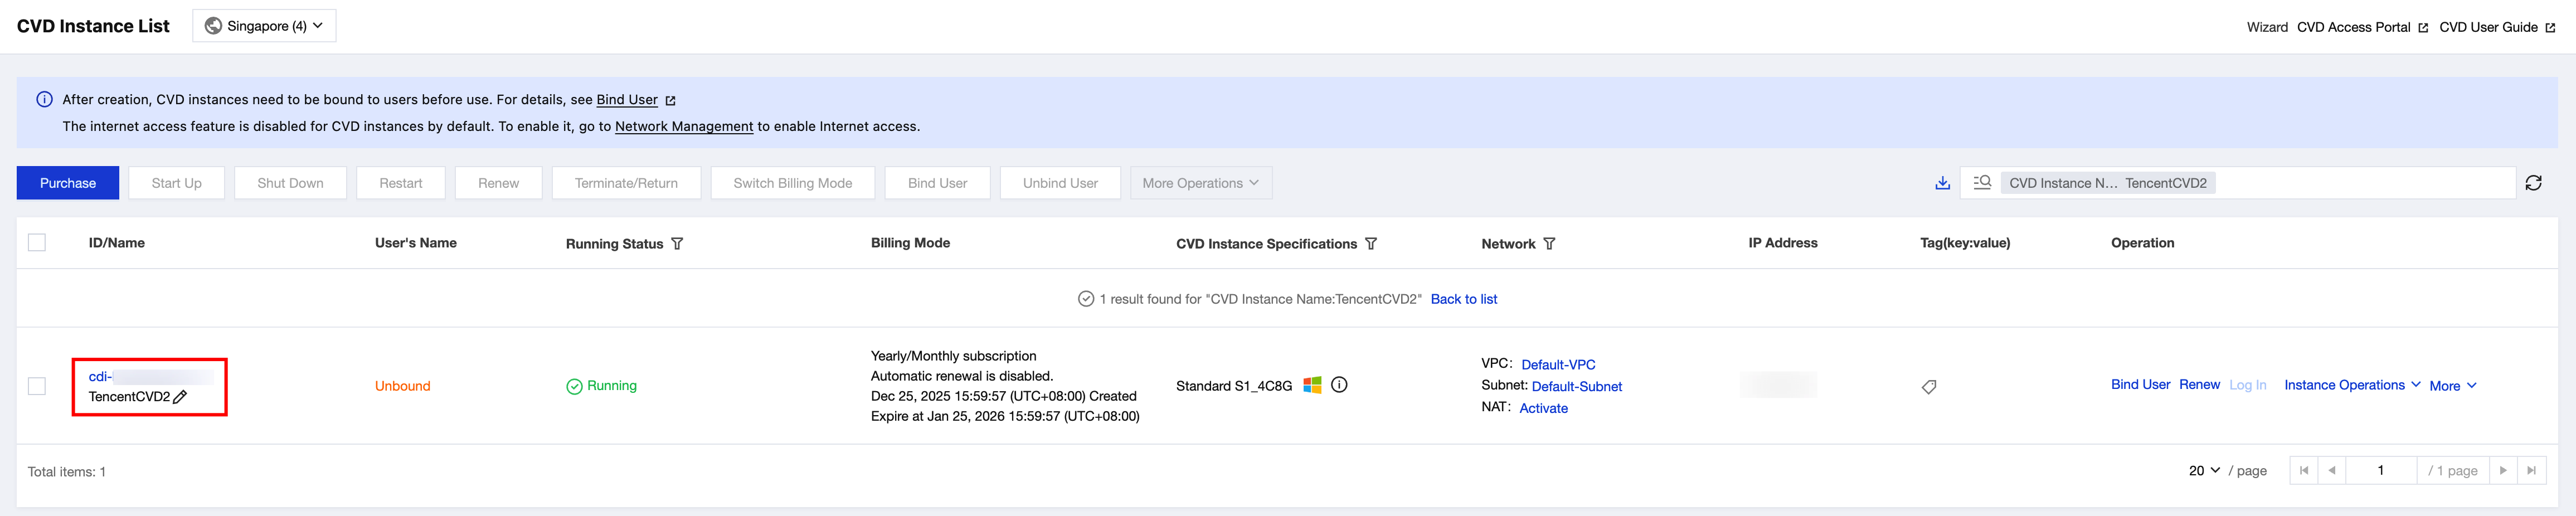
1. Log in to the CVD console and go to the CVD Instance List page.
2. Click the ID of the CVD instance to which you want to add a data disk.
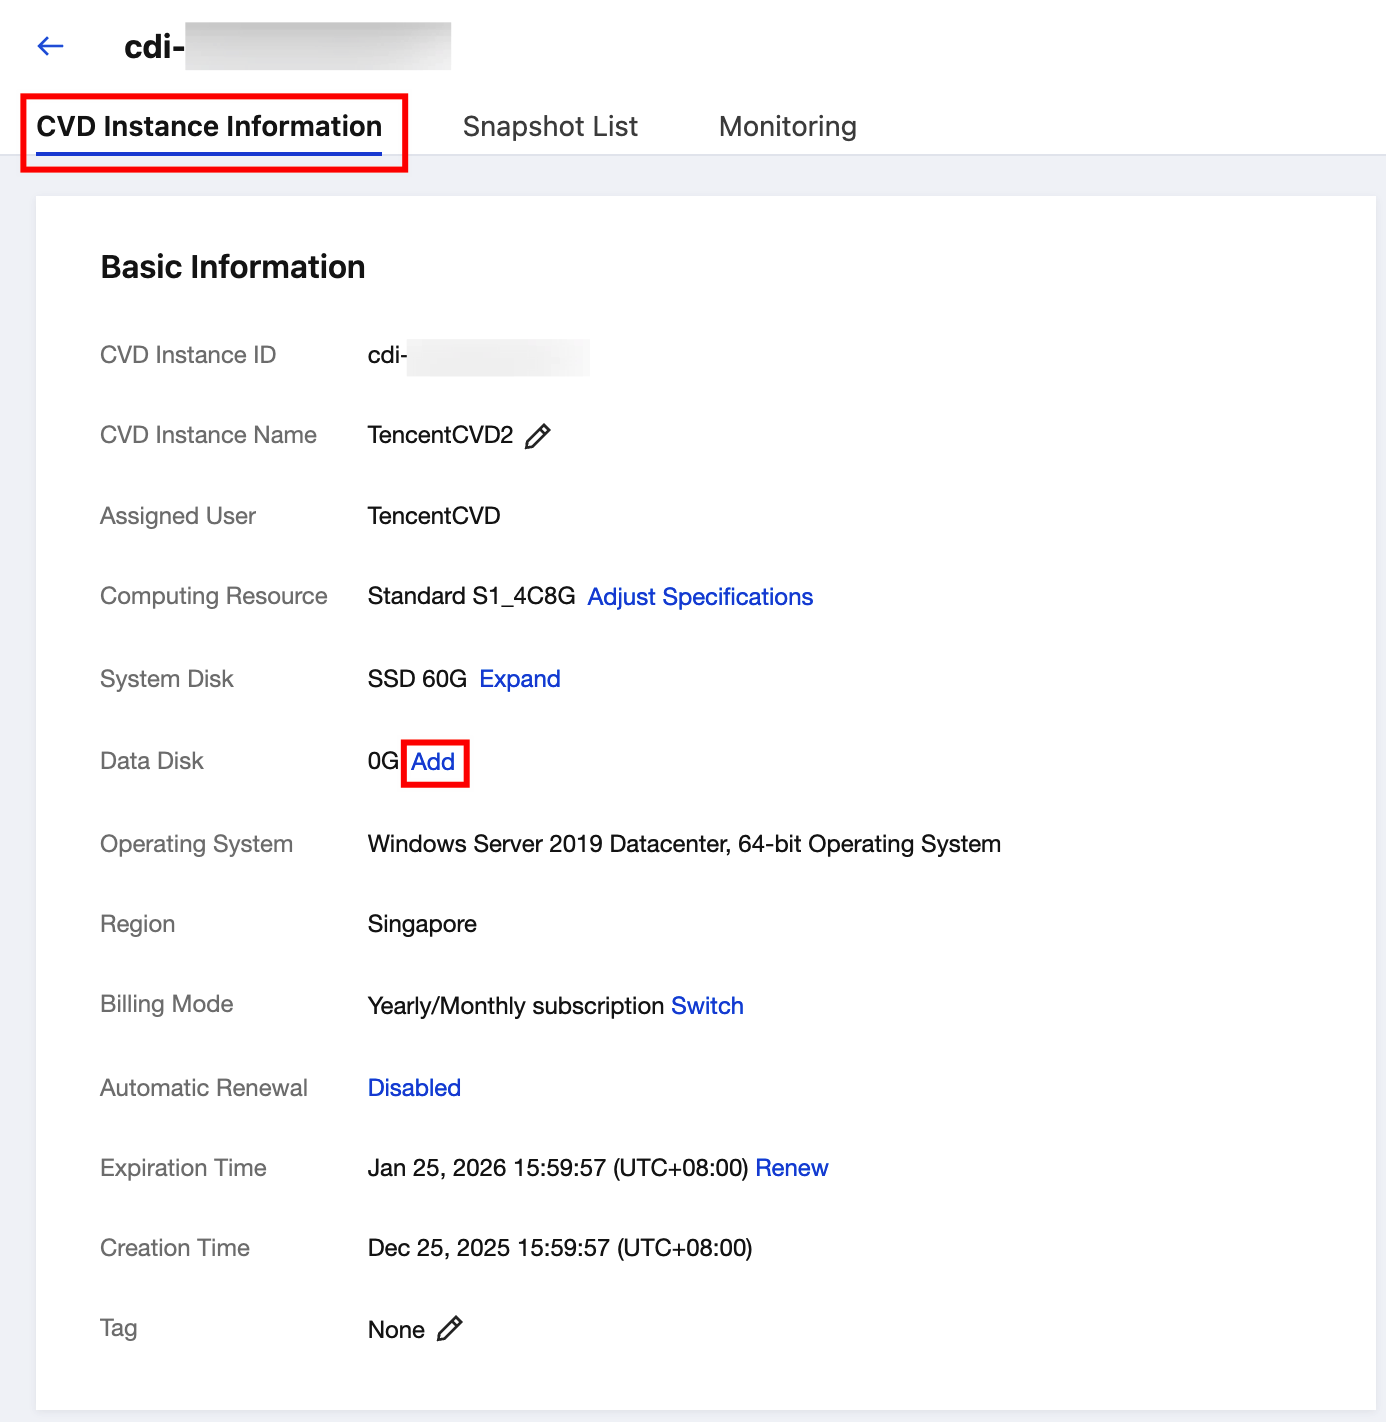
3. On the CVD instance details page, click Add next to the Data Disk field.
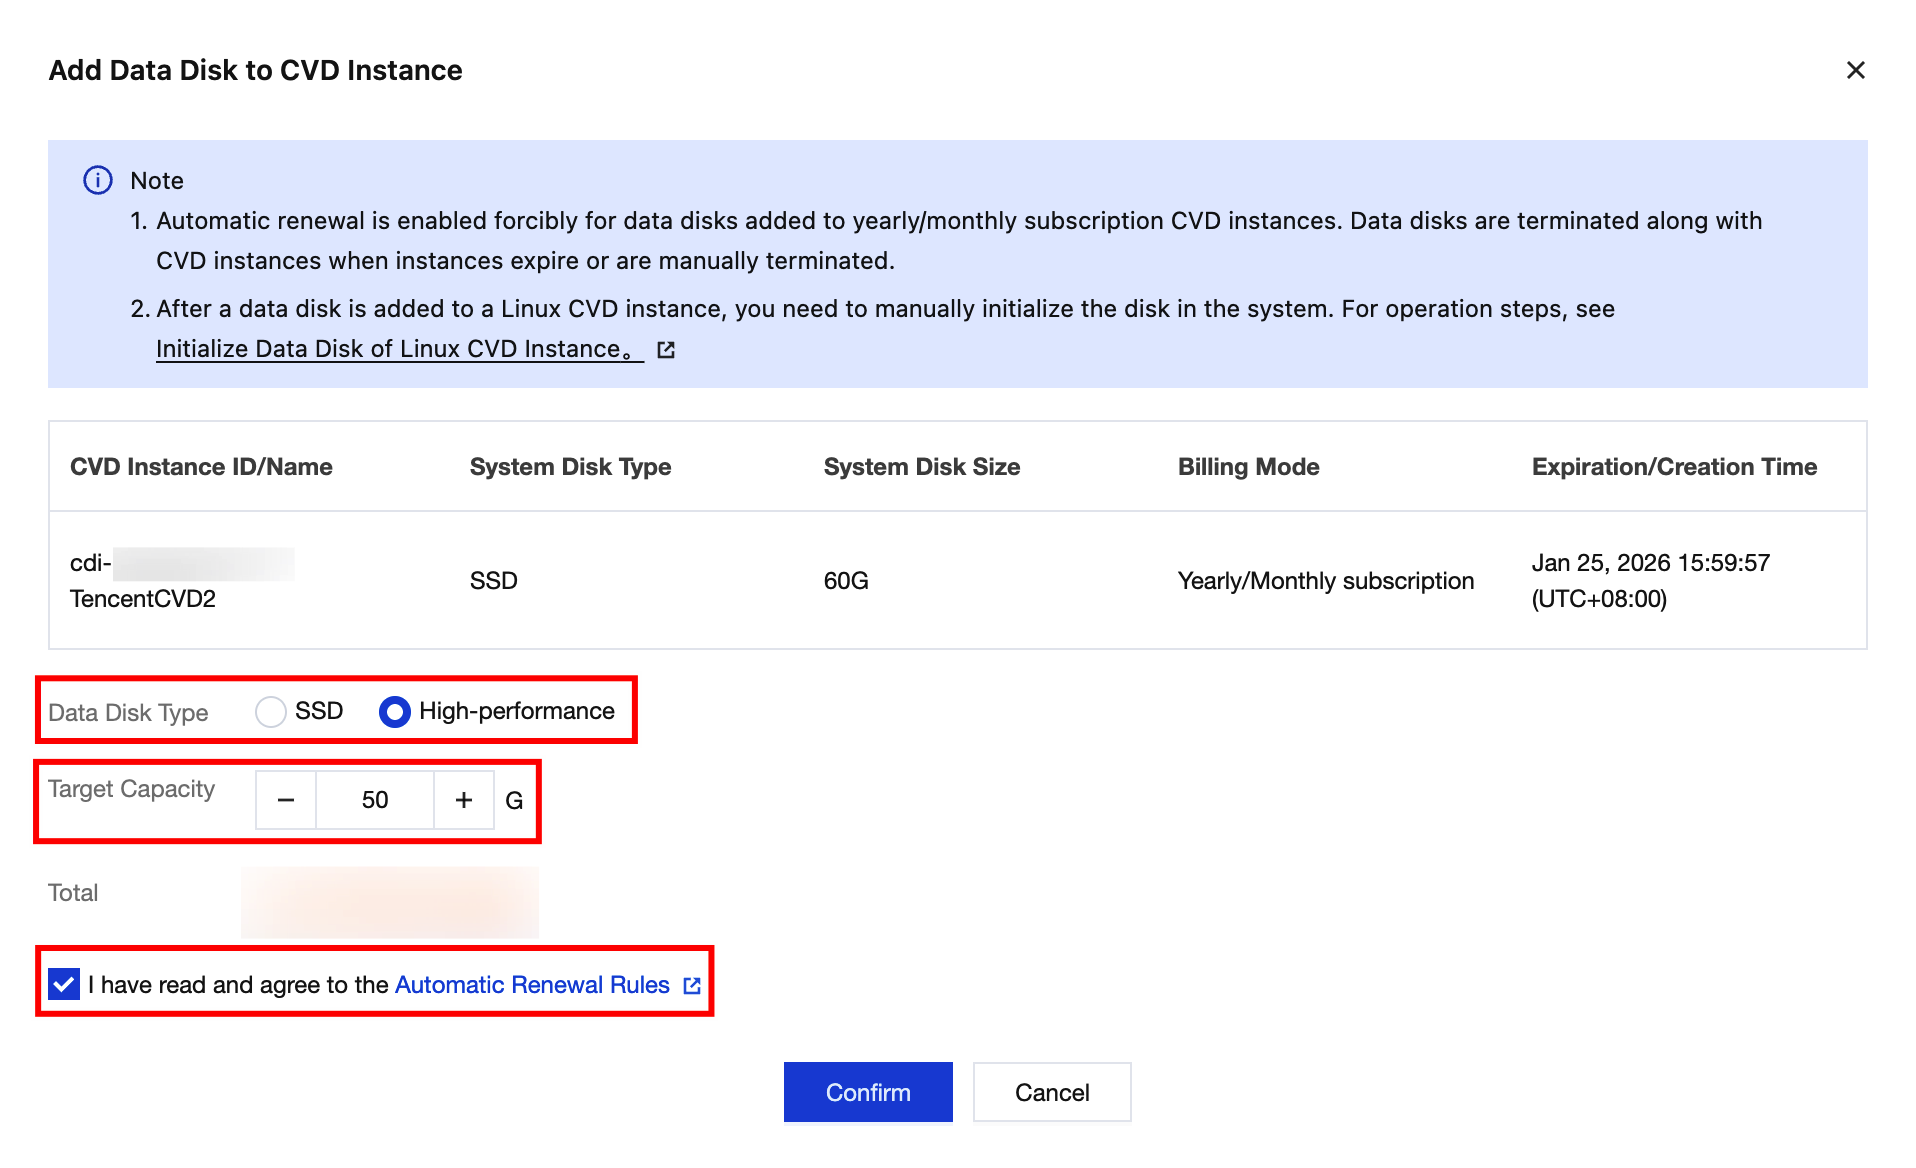
4. In the Add Data Disk pop-up window, confirm the CVD instance information, select the data disk type, enter the disk size, and confirm the fees. Then, click Confirm to add the data disk.
Note:
Automatic renewal is enabled forcibly for data disks added to yearly/monthly subscription CVD instances. Data disks are deleted along with CVD instances when instances expire or are manually deleted.
The total cost displayed is the sum of the current CVD instance fee, the system disk fee, and the data disk fee. It is not the cost of the data disk alone.
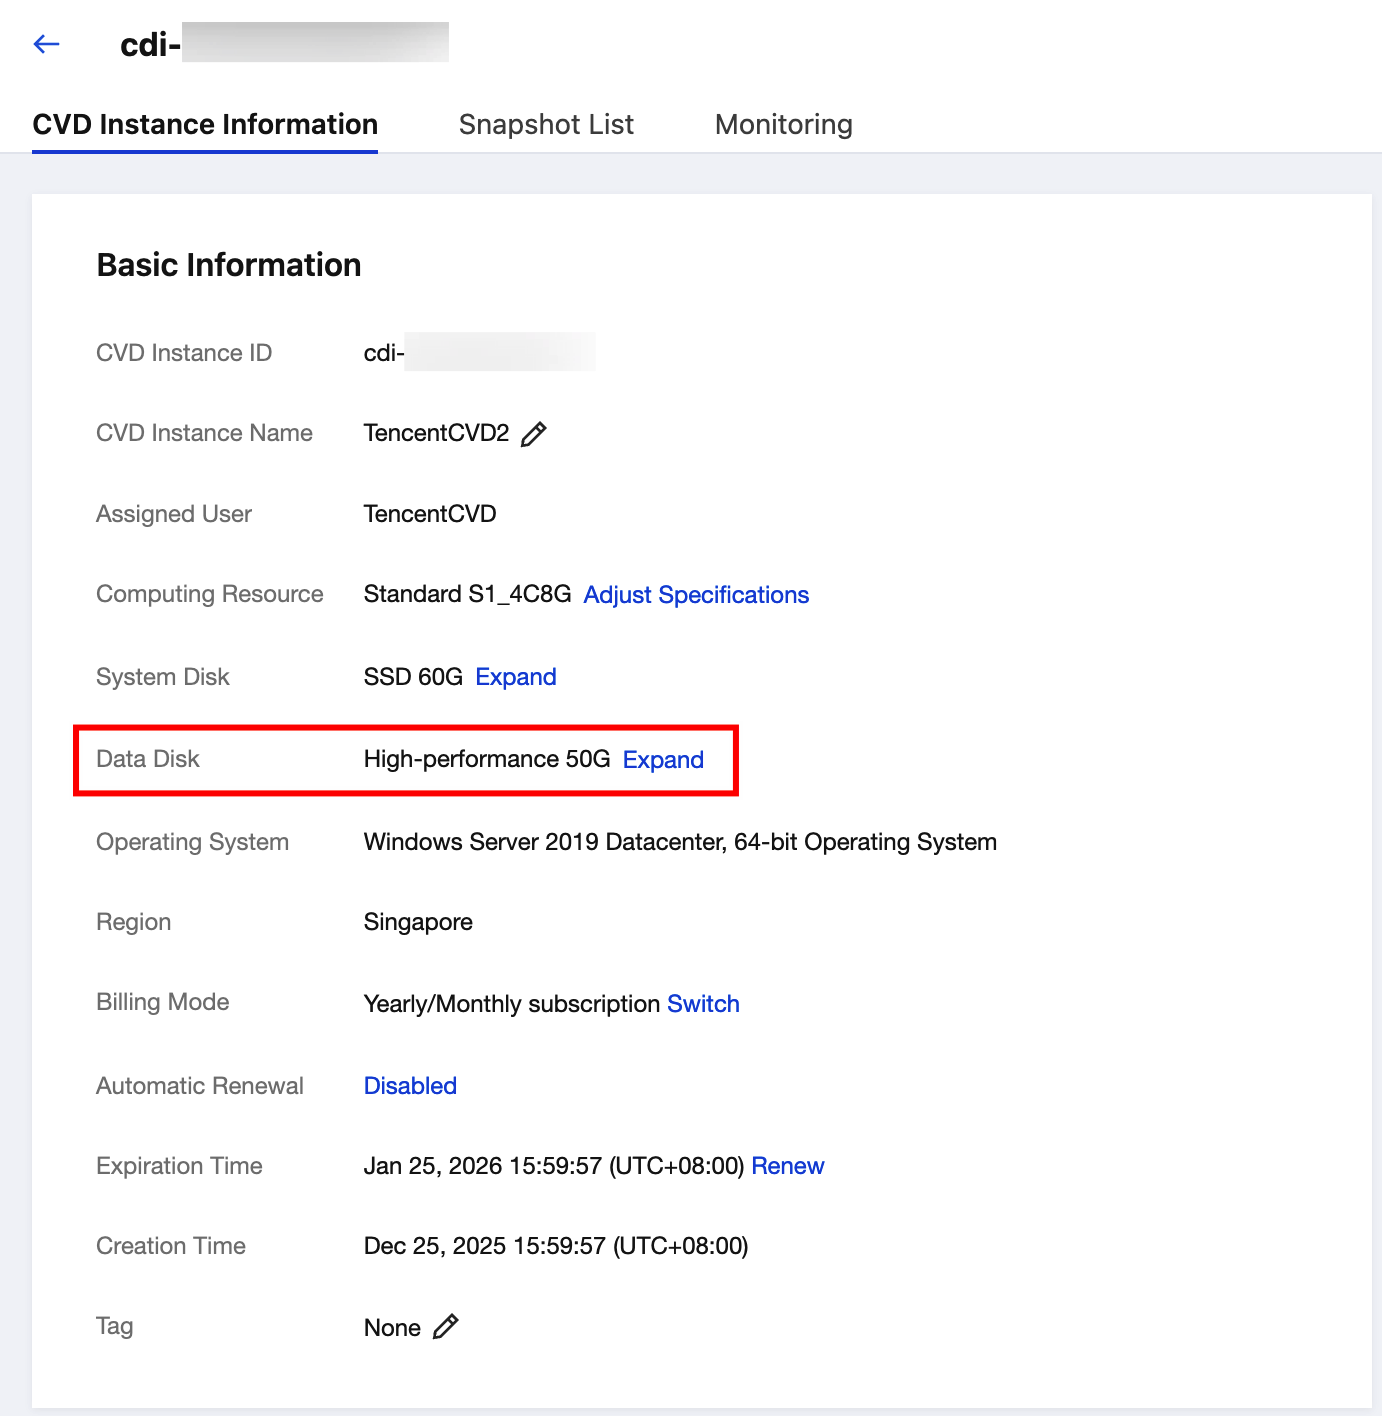
5. After the data disk is added, view its size on the CVD instance details page.
6. For a Windows CVD instance, log in to the CVD instance and verify the data disk capacity in the operating system.
Initializing a Data Disk for a Linux CVD Instance
After adding a data disk to a Linux CVD instance in the CVD console, you need to manually initialize the disk in the operating system. Refer to the following steps:
1. On the terminal of the Linux CVD instance, run the following command to switch to the administrator identity.
sudo su -

2. Run the following command to query the name of the CVD data disk.
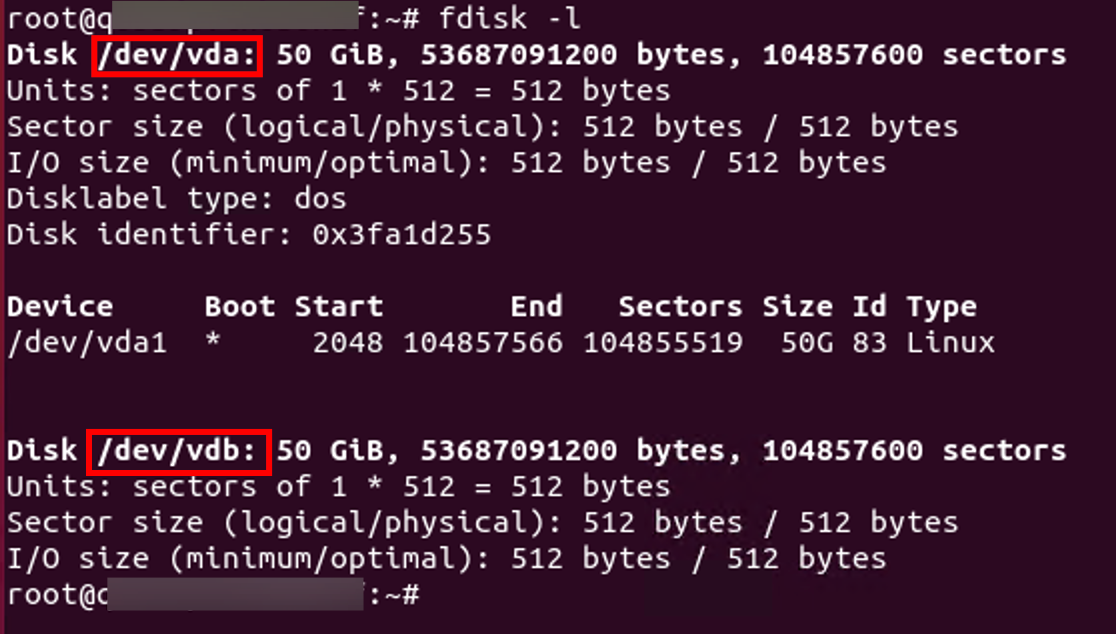
fdisk -l
The output is similar to the following figure, indicating that the current CVD instance has two disks: /dev/vda is the system disk, and /dev/vdb is the newly added data disk.
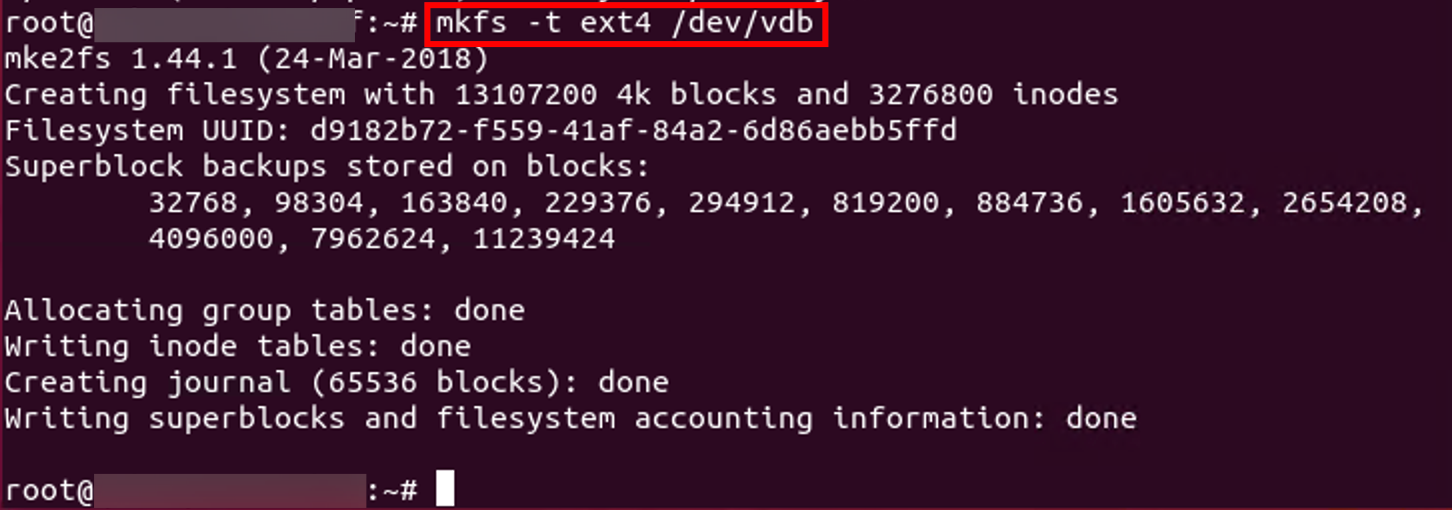
3. Run the following command to directly create a file system on the raw device /dev/vdb. In this example, an ext4 file system is created:
mkfs -t ext4 /dev/vdb
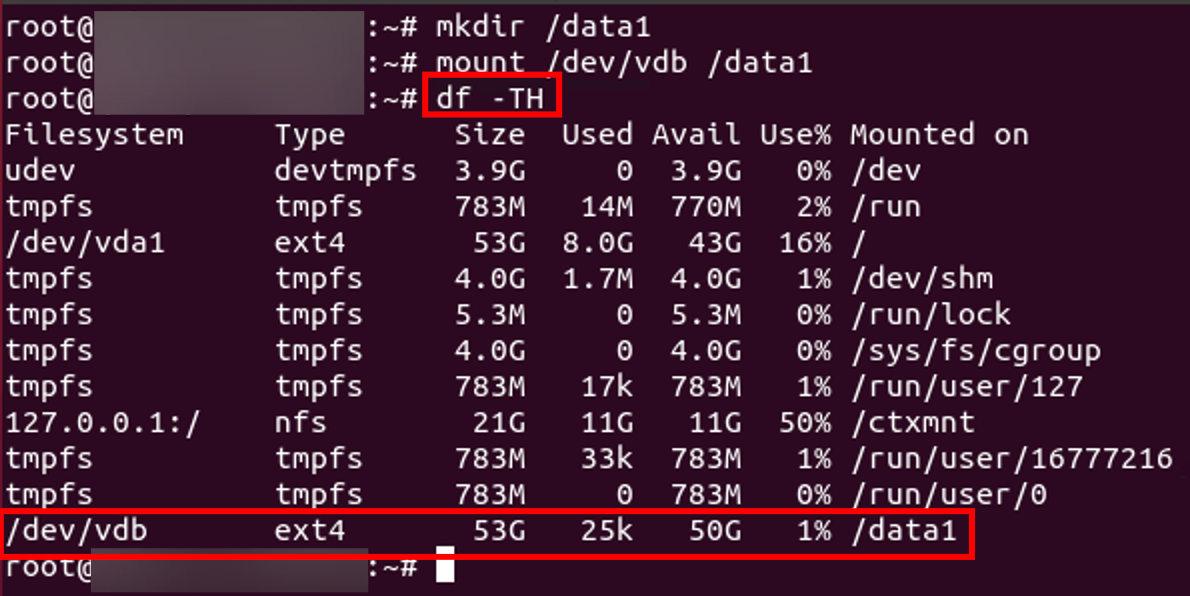
4. Run the following command to create a mount point. In this example, the mount point /data1 is created:
mkdir /data1
5. Run the following command to mount the new partition to the newly created mount point. In this example, the mount point /data1 is used:
mount /dev/vdb /data1
6. Run the following command to view the mounting result.
df -TH
7. Run the following command to back up the /etc/fstab file. In this example, the file is backed up to the /home directory:
cp -r /etc/fstab /home
8. Run the following command to open the /etc/fstab file using the VI editor.
vi /etc/fstab
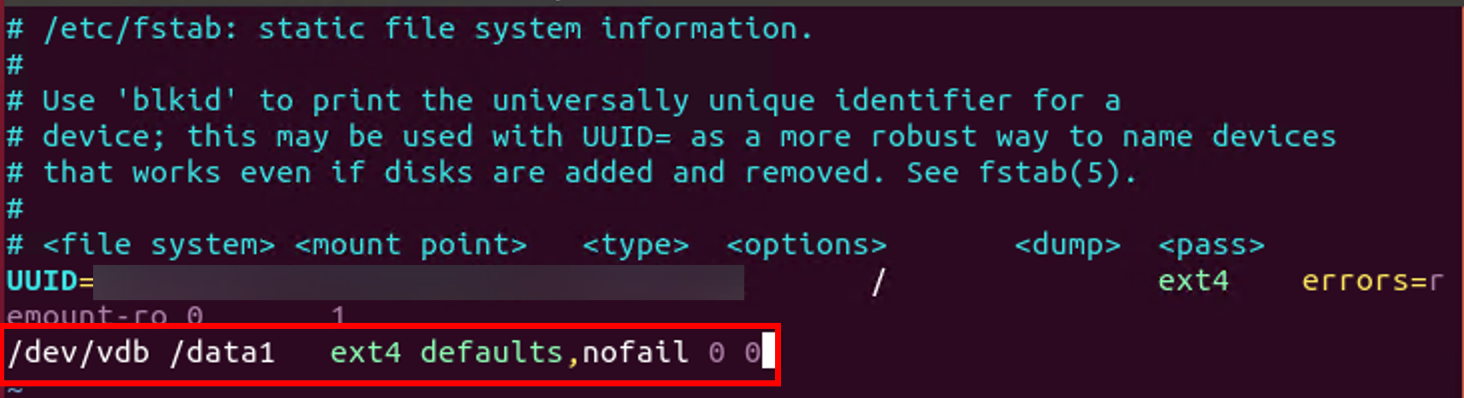
9. Press i to enter edit mode. Move the cursor to the end of the file, press Enter, and add the following content. In this example, the data disk /dev/vdb and the mount point /data1 are used:
/dev/vdb /data1 ext4 defaults,nofail 0 0
10. Press Esc, enter :wq, and press Enter. This saves the settings and exits the editor.
11. Run the following command to check whether data can be written to the /etc/fstab file. If the command runs without errors, the write is successful, and the new file system will be automatically mounted upon startup of the operating system.
mount -a
피드백