Scenarios
TencentDB for MongoDB supports the key-based flashback feature, which enables real-time backup for specified collections and quickly rolls back data corrupted or lost due to system vulnerabilities or failures based on the flashback key (ID by default), ensuring rapid business recovery.
Note:
The key-based flashback feature of TencentDB for MongoDB was enabled for open beta on September 11, 2023. During the open beta period, it is free for a limited time. You are welcome to submit a ticket to apply for a trial. Constraints and Limitations
The key-based flashback feature is supported only in 5.0 and later versions.
The key-based flashback feature can be enabled for multiple collections (a maximum of 100 collections) within an instance.
Operation Steps
Step 1: Going to the Backup and Rollback Tab
2. In the left sidebar, choose MongoDB > Replica Set Instance or Shard Instance. The operations for replica set instances and sharded cluster instances are similar.
3. Select a region at the top of the instance list page on the right.
4. In the instance list, locate the target instance.
5. Click the target instance ID to go to the Instance Details page.
6. Select the Backup and Rollback tab. The Full Backup Task List page is displayed by default.
Step 2: Enabling the Key-based Flashback Feature
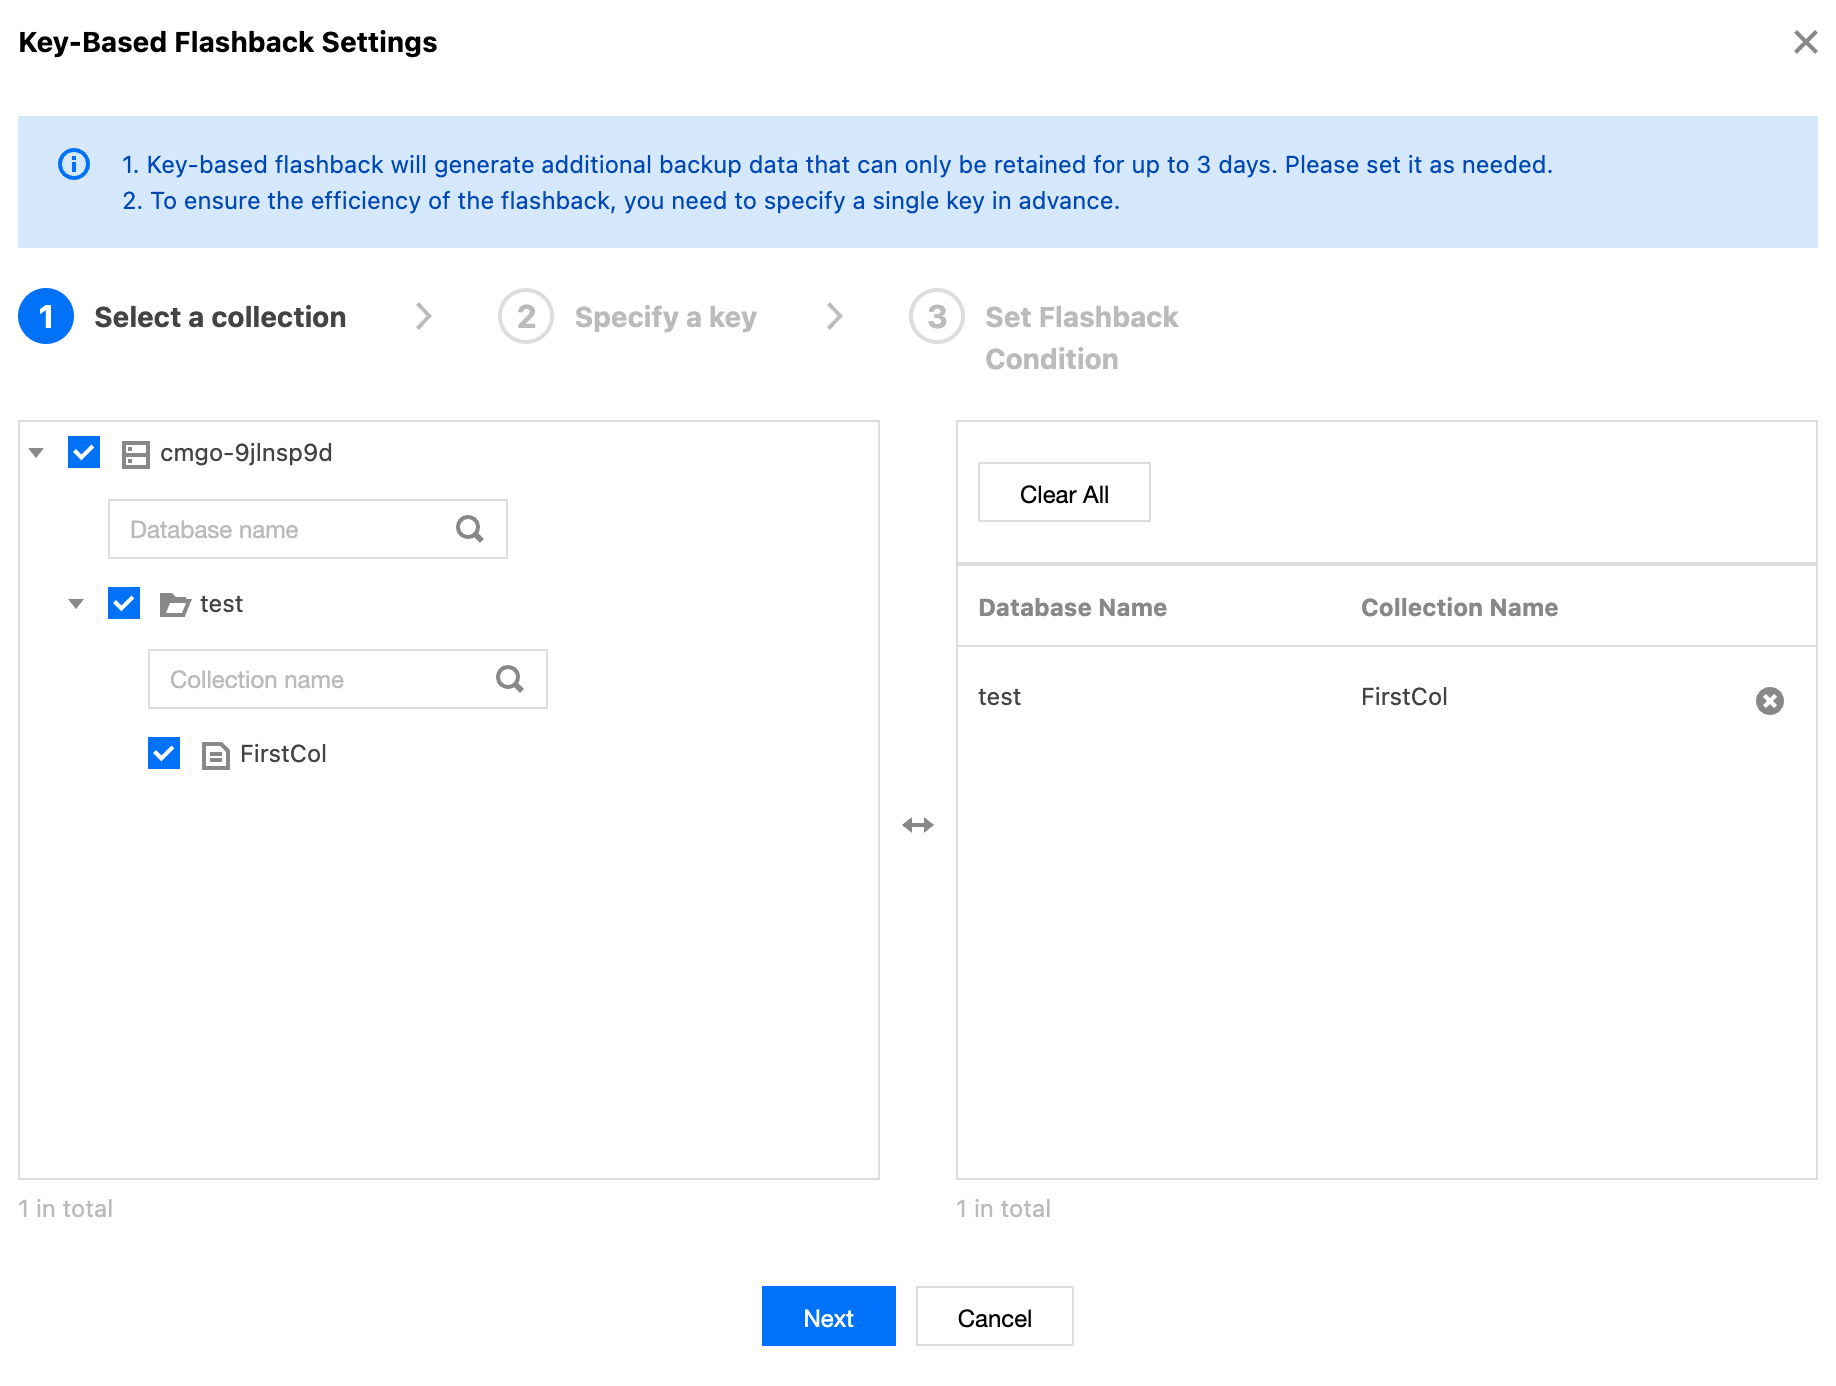
1. Select the Key-Based Rollback tab and click under Key-Based Flashback Settings. 2. On the Select a collection tab under Key-Based Flashback Settings, select one or more databases and tables and click Next, as shown in the following figure.
Note:
In the right area, you can confirm and modify the selected databases and tables.
When an incorrect database or table is selected, click Clear All to clear the selected databases and tables.
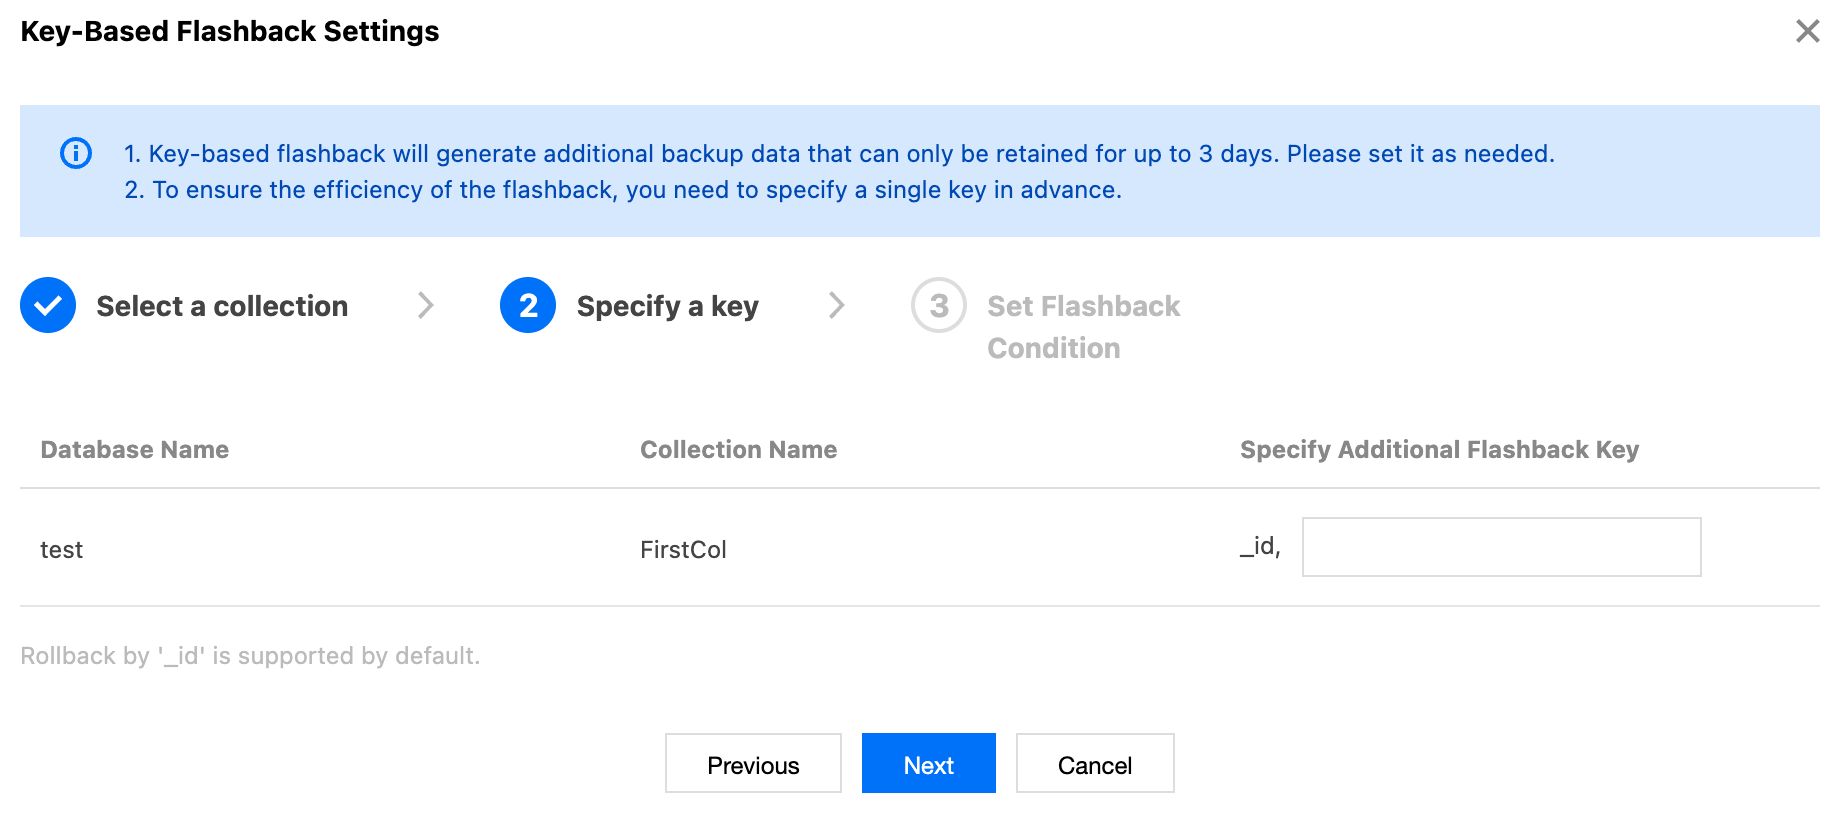
Click to delete the selected databases and tables one by one. 3. On the Specify a Key tab under Key-Based Rollback Settings, Specify Additional Flashback Key for the selected tables and click Next.
Note:
Data is backed up based on key-based flashback, _id, and timestamp by default.
Additional flashback Key refers to setting a specified Key to index the flashback storage. During data flashback, you can quickly retrieve the desired recovery collection based on this designated Key for data recovery. If not specified, the default "_id" Key value is used for flashback.
Only index fields can be specified as additional flashback keys. For composite indexes, only the leftmost field can be specified as the additional flashback key.
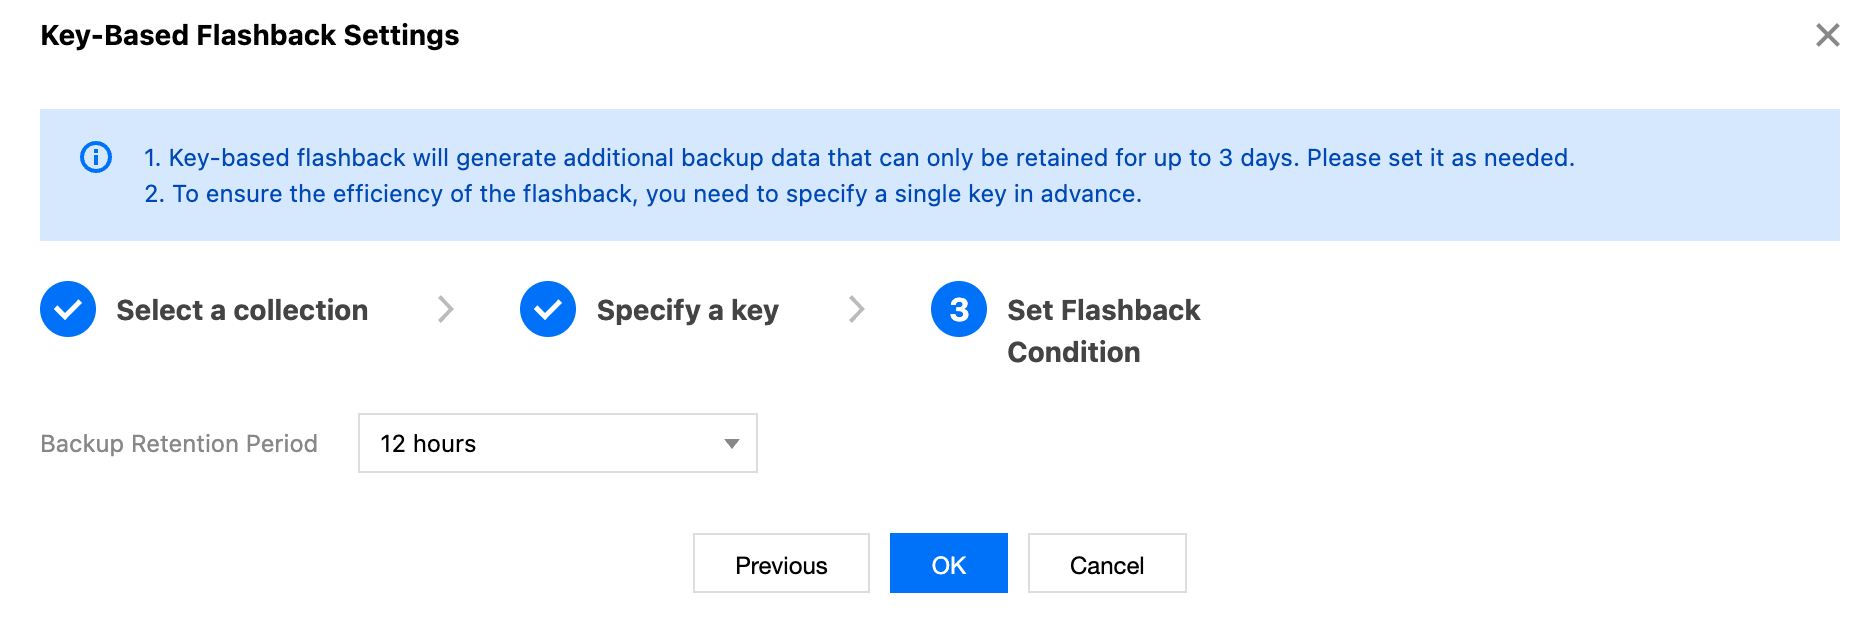
4. On the Set Flashback Condition tab under Key-based Flashback Settings, set Backup Retention Period.
Note:
Backup Retention Period indicates the duration that backup files generated by the key-based flashback feature can be retained. In TencentDB for MongoDB, backup files generated by the key-based flashback feature can be retained for 12 hours, 1 day, 3 days, or 7 days.
After you enable the key-based flashback feature, the system generates a backup file, which can be retained for the specified period. For example, if you select a retention period of one day, the system starts to count after the backup file is generated and automatically deletes the backup file after one day.
5. Click OK to return to the Key-Based Flashback tab. The following page is displayed. The key-based flashback feature is enabled. Click Modify to change the previous configuration.
Note:
To adjust the retention period, click Modify next to Backup Retention Period.
Click Add Collection next to the Key-Based Flashback support library table to add collections for flashback.
In the selected databases and tables for key-based flashback, click Delete in the Operation column to delete the selected collection and add another collection.
For the selected collection, the specified key cannot be modified.
Step 3: Specifying the Flashback Key Document and Initiating the Flashback Task
1. Click Initiate Key-Based Flashback Task at the bottom of the page to enter the Batch Collection Rollback page.
2. On the Select rollback instance tab of the Batch Collection Rollback configuration wizard, select Restore to Current Instance or Rollback to New Instance for Rollback Target Instance, and choose Key-based Rollback under Rollback Type.
Note:
When Roll back to current instance is selected, there is no need to purchase a new instance, and databases and tables are restored to the current instance. You can select multiple instances for batch rollback, and select database and table rollback or key-based flashback based on actual scenarios.
When Roll back to new instance is selected, you need to specify another instance. You need to prepare a new instance before the operation. There is no impact on the original instance, and you cannot select multiple instances for batch rollback. You can select database and table rollback, key-based flashback, or instance cloning based on actual scenarios.
In some cases, initiating a flashback task may cause additional query load on the source instance.
Key-based Flashback to the Current Instance
1. Click Next: Select databases/collections to rollback. On the Select rollback collection tab, select databases and collections of the original instance to be rolled back. You can enter the database and table names in the search box to search for the databases and tables to be rolled back. In the right box area, you can view the information about selected databases and tables and manage them, as shown in the following figure.
When an incorrect database or table is selected, click Clear All to clear the selected databases and tables.
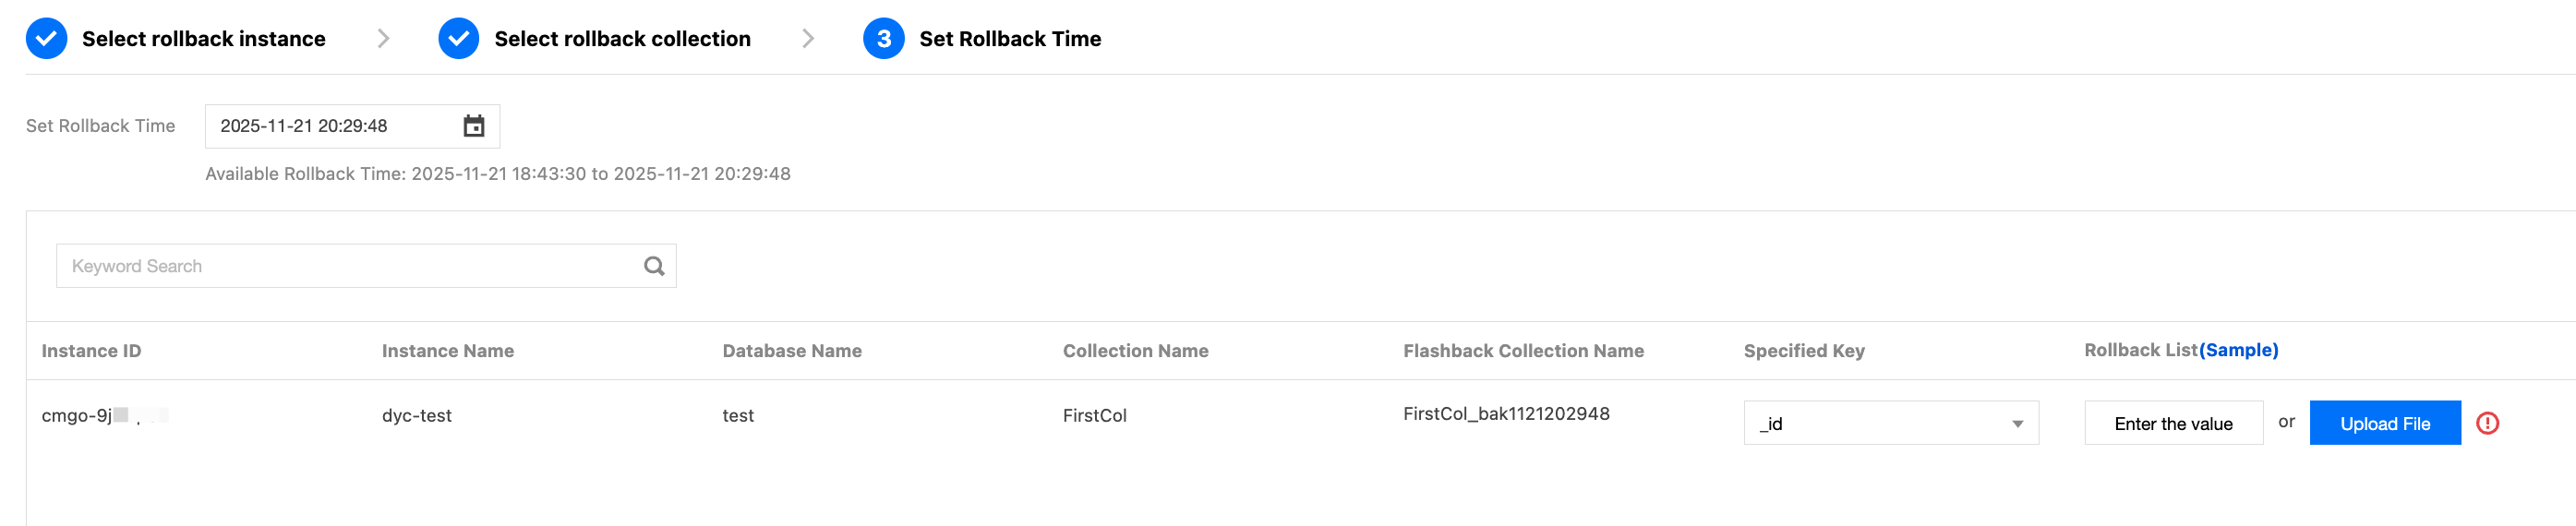
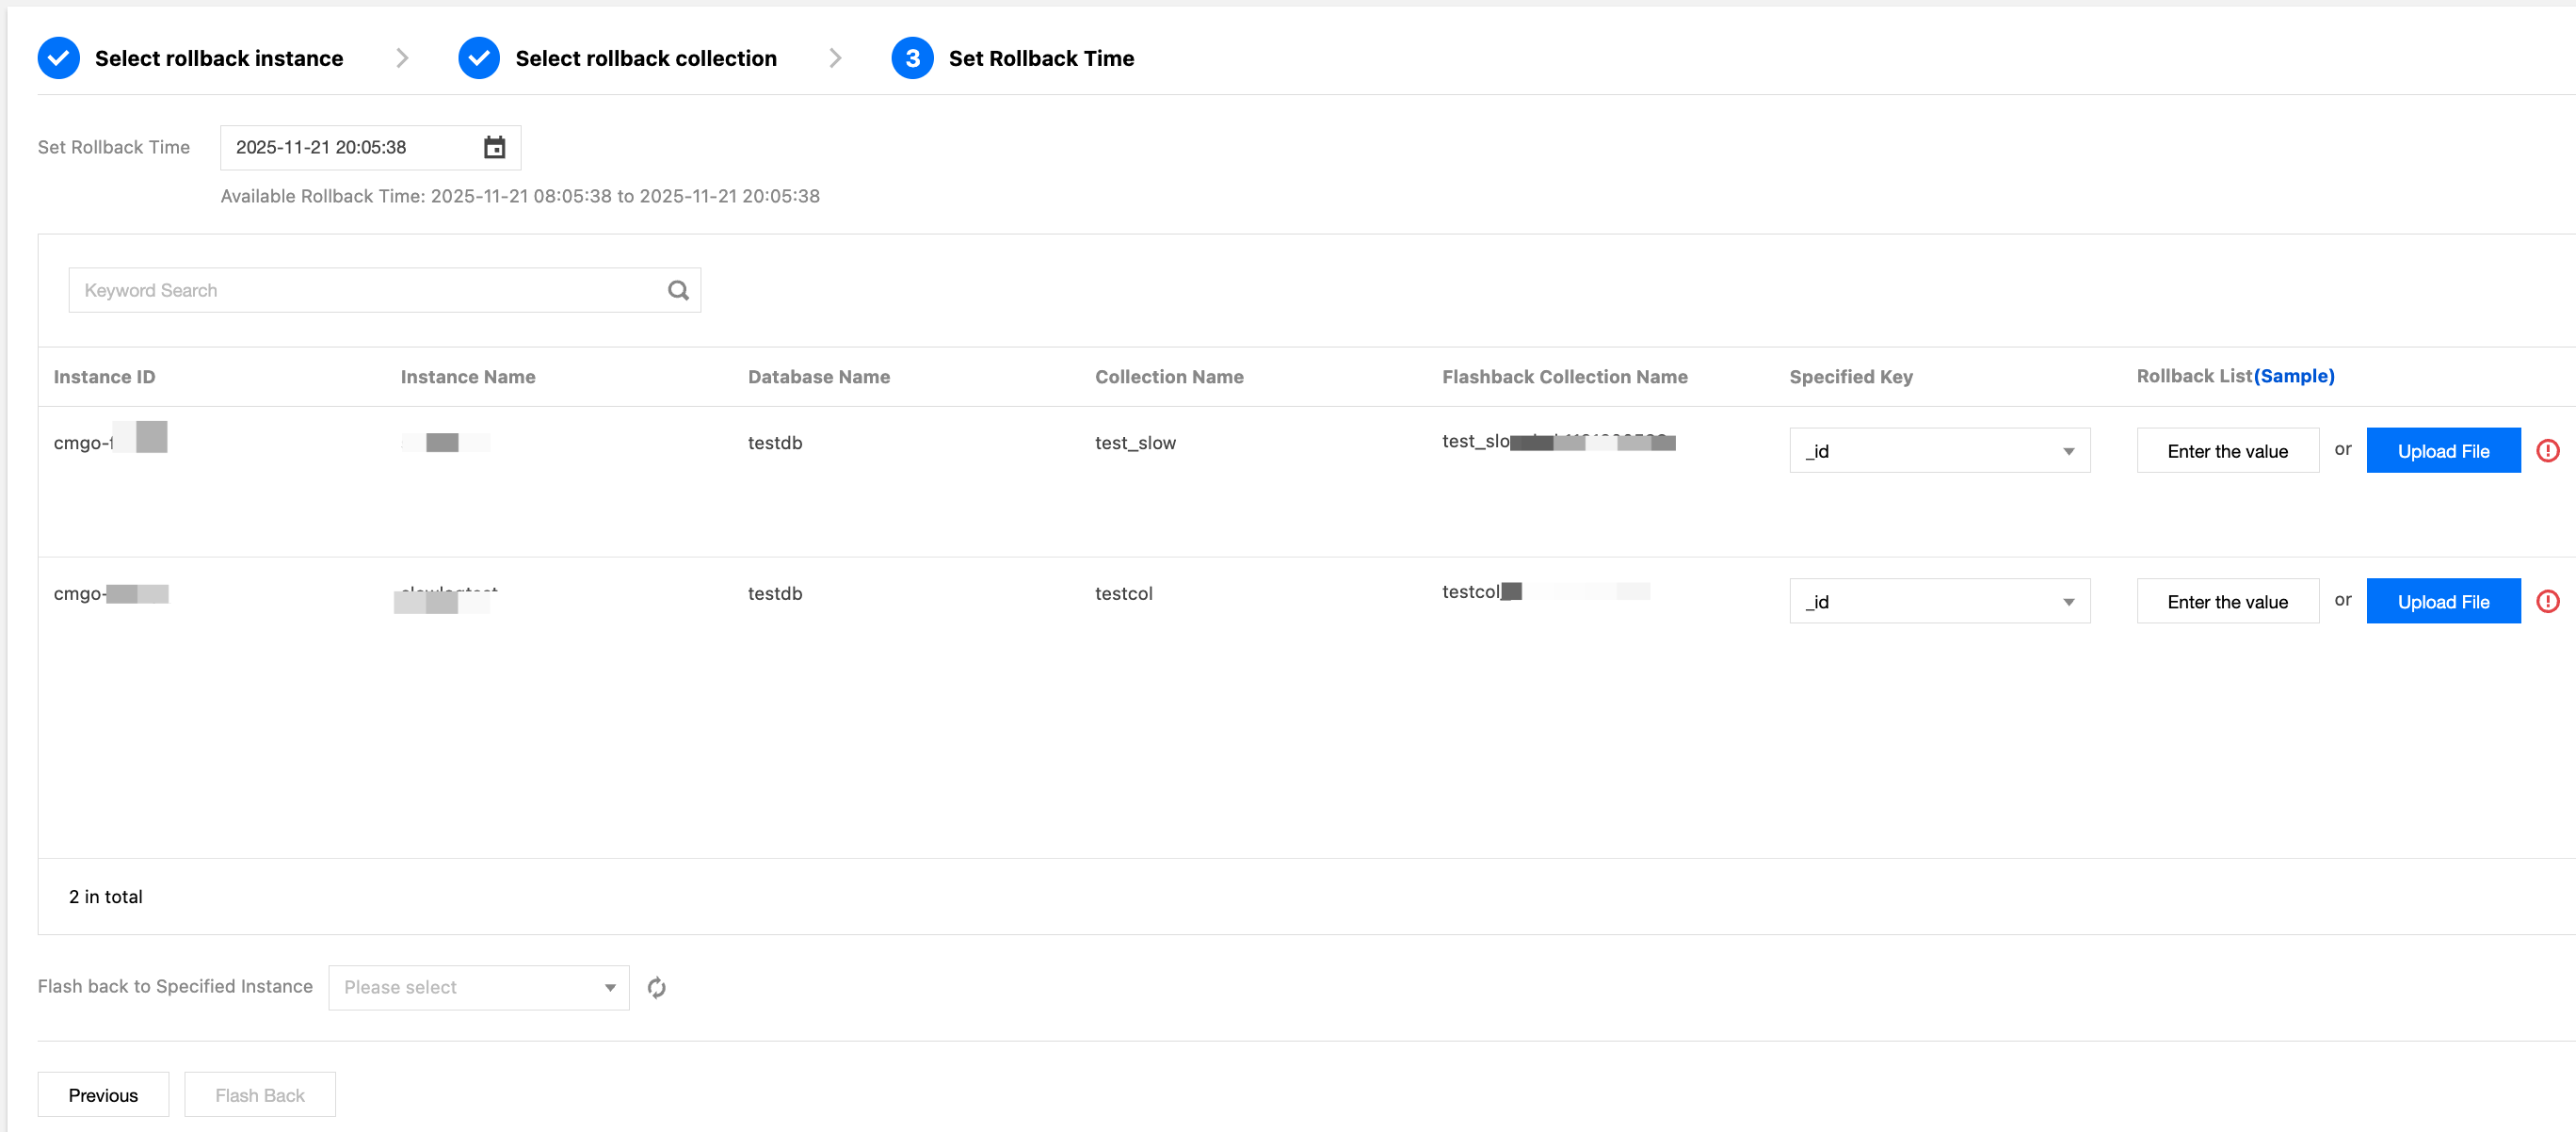
Click to delete the selected databases and tables one by one. 2. Click Next: Select a rollback date. On the Set Rollback Time tab, select the rollback time in the Set Rollback Time box, and confirm the instance information and database and table information.
In the Specified Key drop-down list, select the key used to filter out documents during flashback. If no additional flashback key is specified when flashback is enabled, _id is used to filter out databases and tables by default.
In the Rollback List column, click Enter the value to specify the key values corresponding to the keys of the flashback documents, or click Upload File to upload the key values in a CSV file.
Note:
The format and limitations of Enter the value are as follows. Click Sample and enter the value based on the provided example.
Enter the value represented by the flashback key in text format. The system automatically concatenates it into the {"key"."value"} format.
Data types include the numeric type and the string type. Values in string type are enclosed in double quotes, such as 20, "hello", and "10". If special characters are included, they need to be escaped.
For Enter the value, there is only one record per line, and a maximum of 100 lines are supported. If the number of lines exceeds 100, click Upload File to upload the key values in a CSV file.
The maximum size of a CSV file is 20 MB.
The rollback list in the CSV file of a collection contains a maximum of 50,000 lines. If the number of lines exceeds the maximum value, an error is reported.
If invalid lines exist, invalid records are displayed after the CSV file is uploaded. You need to confirm the invalid information and only roll back valid records.
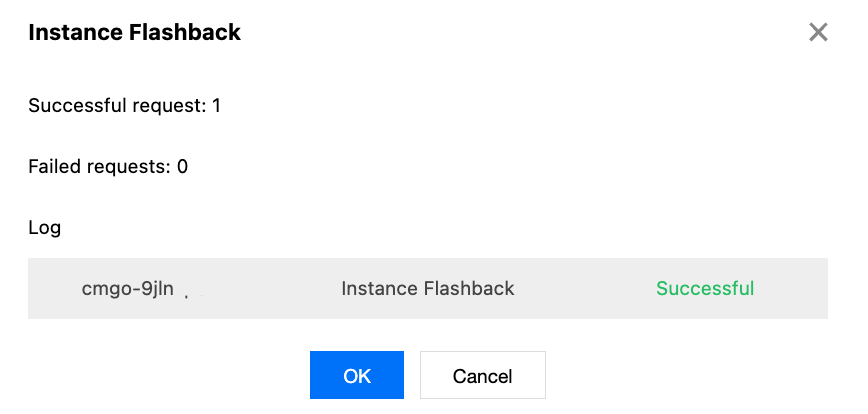
3. Click Flash Back and confirm the instance information in the instance flashback pop-up window.
4. Click OK to go to the Batch Collection Rollback page and wait for the task to complete.
Key-based Flashback to a New Instance
1. Click Next: Select databases/collections to roll back. On the Select rollback collection tab, select the databases and collections of the original instance to be rolled back. You can enter the database and table names in the search box to search for the databases and tables to be rolled back. In the right box area, you can view the information about selected databases and tables and manage them.
When an incorrect database or table is selected, click Clear All to clear the selected databases and tables.
Click to delete the selected databases and tables one by one. 2. Click Next: Select Rollback Date. In the Set Rollback Time box, select the rollback time and confirm the instance information and database and table information.
In the Specified Key drop-down list, select the key used to filter out documents during flashback. If no additional flashback key is specified when flashback is enabled, _id is used by default.
In the Rollback List column, click Enter the value to specify the key values corresponding to the keys of the flashback documents, or click Upload File to upload the key values in a CSV file.
Note:
The format and limitations of Enter the value are as follows. Click Sample and enter the value based on the provided example.
Enter the value represented by the flashback key in text format. The system automatically concatenates it into the {"key"."value"} format.
Data types include the numeric type and the string type. Values in string type are enclosed in double quotes, such as 20, "hello", and "10". If special characters are included, they need to be escaped.
For Enter the value, there is only one record per line, and a maximum of 100 lines are supported. If the number of lines exceeds 100, click Upload File to upload the key values in a CSV file.
The maximum size of a CSV file is 20 MB.
The rollback list in the CSV file of a collection contains a maximum of 50,000 lines. If the number of lines exceeds the maximum value, an error is reported.
If invalid lines exist, invalid records are displayed after the CSV file is uploaded. You need to confirm the invalid information and only roll back valid records.
In the Flash back to Specified Instance drop-down list, specify the target instance to roll back.
Note:
To avoid other issues caused by version differences with the original cluster, it is recommended that the target instance for rollback be of the same version as the original collection.
3. Click Flash Back and confirm the instance information in the instance flashback pop-up window.
4. Click OK to go to the batch rollback task page and wait for the task to complete.
Step 4: Updating Source Collection Data in Batches
1. On the Batch Collection Rollback page, wait for the task to complete.
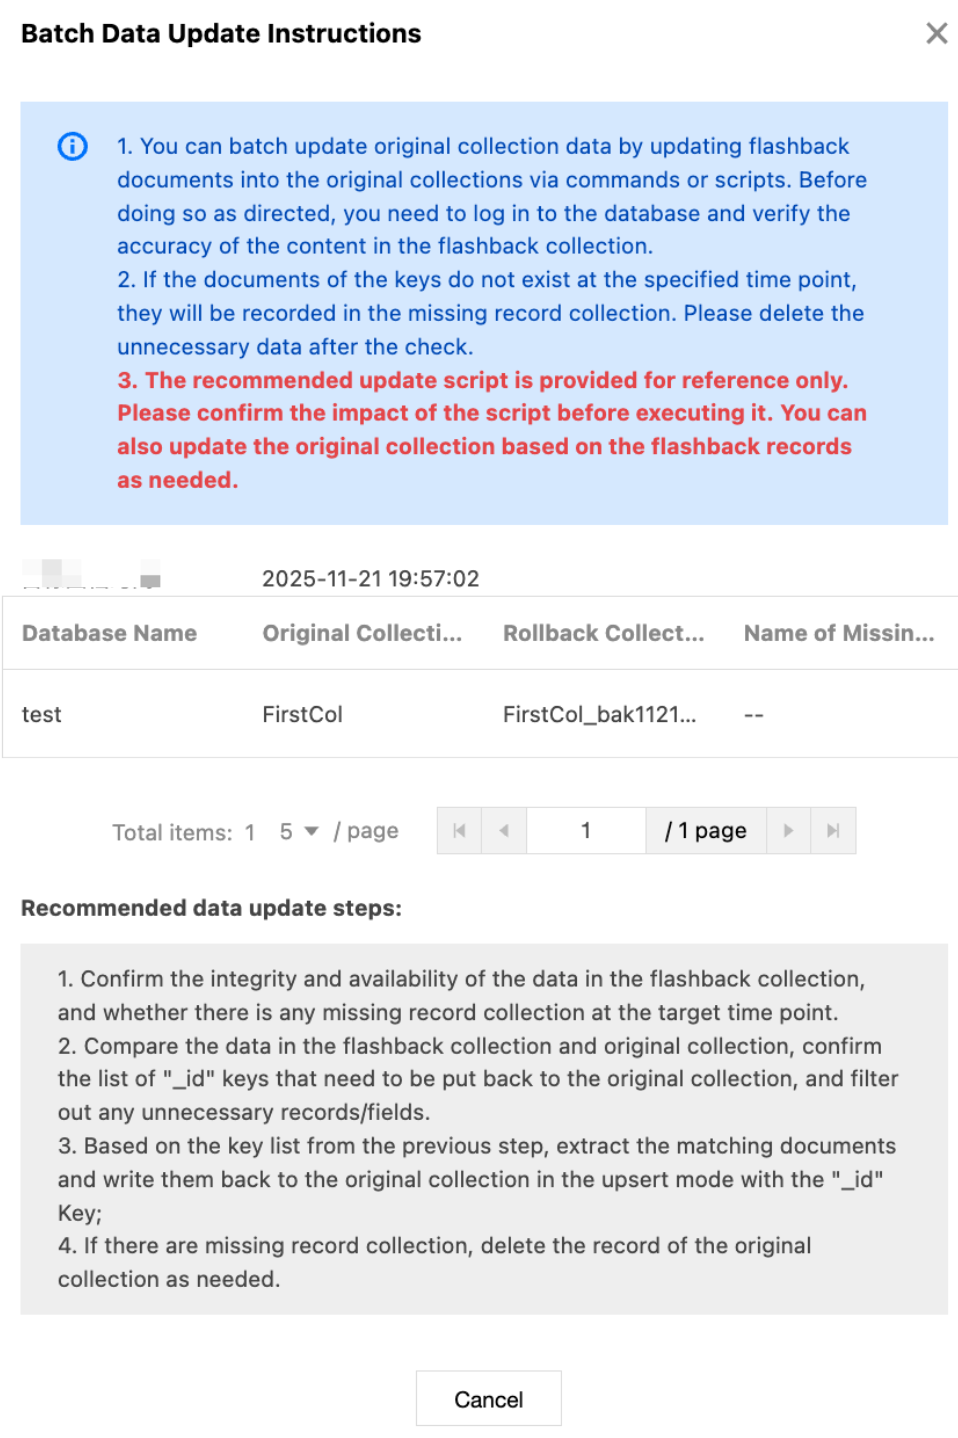
2. On the Rollback Task tab, click Batch Update Data in the Operation column. In the Batch Data Update Instructions window, update original collection data in batches as prompted. For specific update examples, see Batch Data Update Example. Note:
Rolling back to the current instance does not directly roll back the original table but creates a new backup file. For example, if the source database and table is test, a new database and table named test_bak will be created. As shown below, Rollback Collection Name is the name of the newly created table.
Related APIs
|
FlashbackDBInstance | Key-based Flashback |
DescribeAsyncRequestInfo | Querying the Asynchronous Task Status |