APM can be used with the Tencent Cloud resource tag feature to perform tag-based sub-account authorization and cost allocation.
Resource tag is a resource management tool provided by Tencent Cloud, which has two parts: tag key and tag value. One tag key can correspond to multiple tag values. You can use tags for cost allocation and authorization in the following steps.
Use Cases
A company has multiple business systems connected to APM, which are developed and operated separately by departments A and B. You want to create tags, bind resources, and grant permissions to the two departments as follows:
Create tag A and bind it to all business systems of department A.
Create tag B and bind it all business systems of department B.
Authorization by tag
User A is a developer in department A and is responsible for the development of all business systems in the department. You want to grant tag A's permission to user A.
Cost allocation by tag
User B is a company accountant responsible for the separate accounting of the financial expenditures of departments A and B. You want to grant user B the permissions of tags A and B to allocate costs by tag.
Preparations
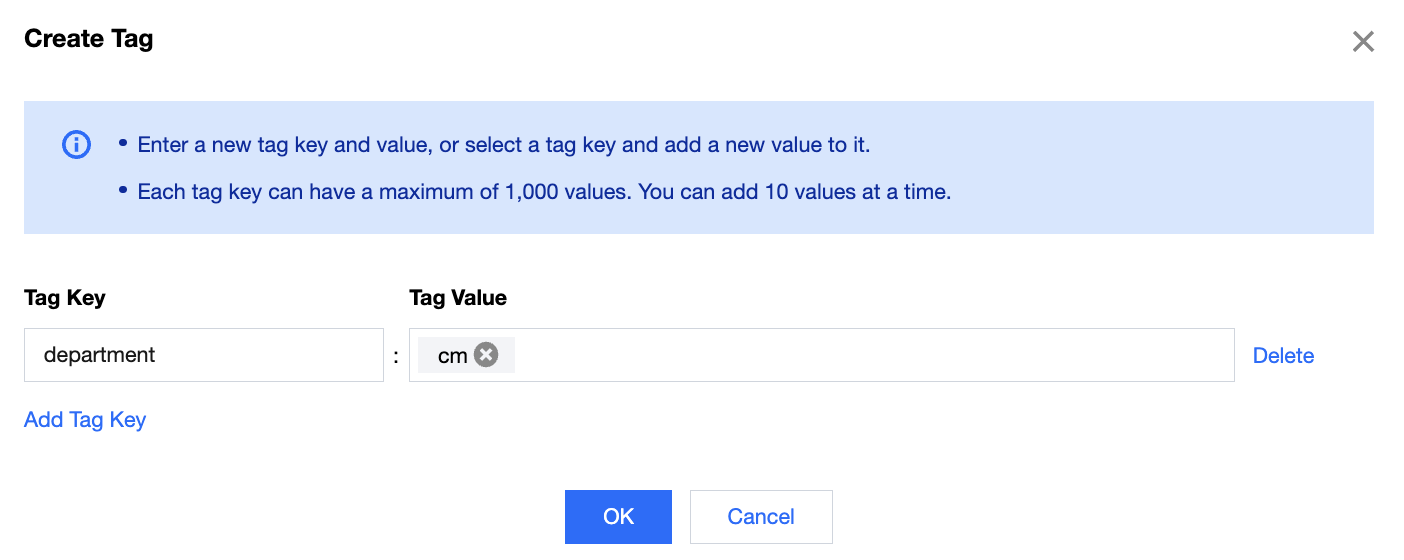
Step 1. Create a tag
Create tags A and B respectively in the following steps:
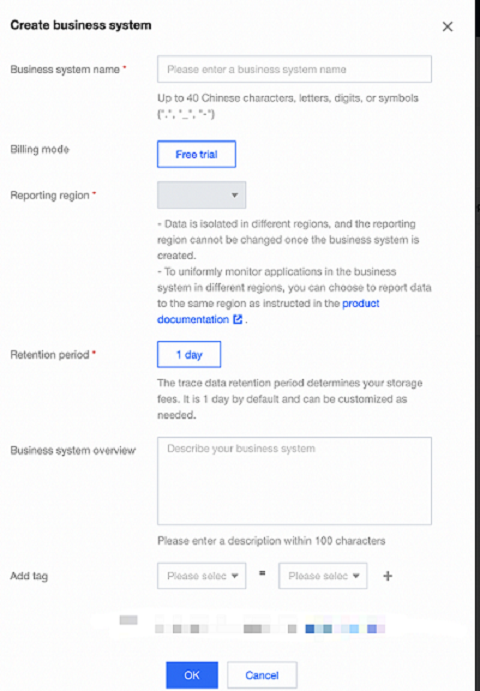
2. Click Create. In the pop-up window, enter the information and bind a tag. You can also find an existing business system in the list, click Modify configuration in the Operation column, and select a tag.
Authorization by Tag
Grant user A the permission of tag A and user B the permission of tags A and B according to the tag authorization policy in the following steps:
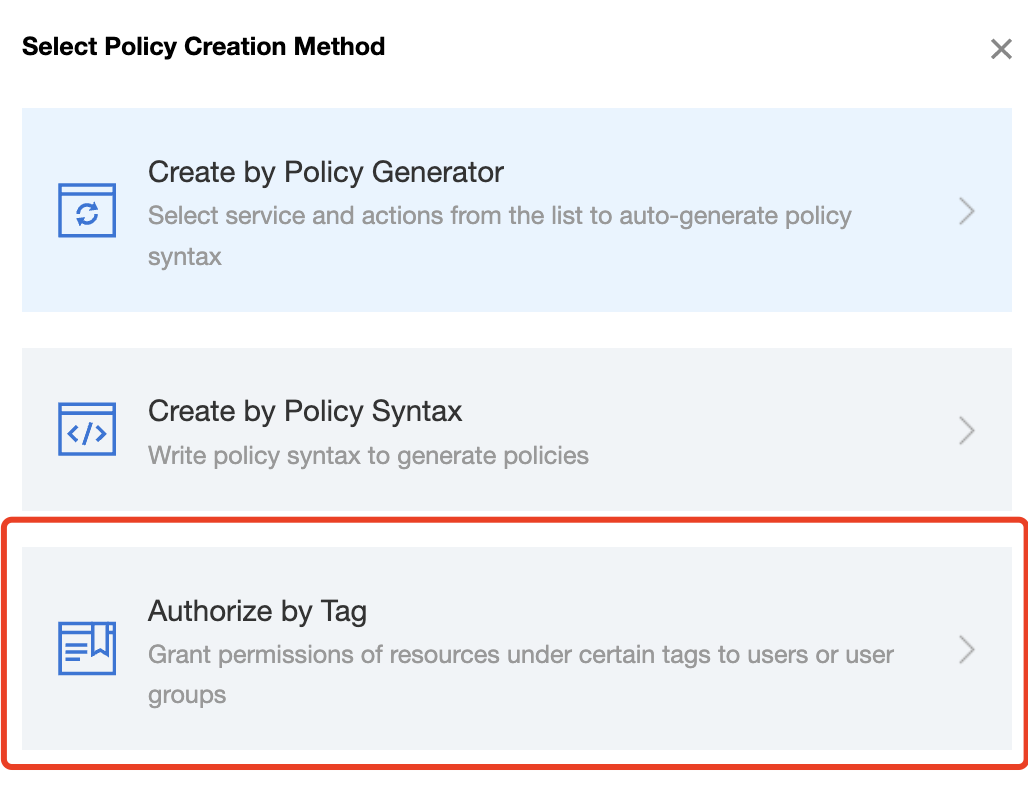
1. Go to the Policies page and click Create Custom Policy in the top-left corner.
2. In the creation method selection window that pops up, click Authorize by Tag to enter the Authorize by Tag page.
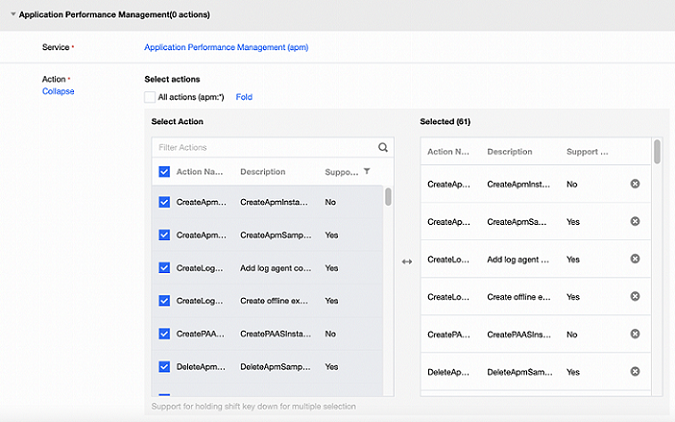
3. On the Authorize by Tag page, select the following information and click Next to enter the check page.
Authorized Users/User Groups: Select the user to be authorized (user A or B).
Bound Tag Key: Select the tag key to be authorized (tag key of tag A or B).
Bound Tag Value: Select the tag value to be authorized (tag value of tag A or B).
Service Resource: Select apm and select all operations.
4. Click Next, check the policy (which can be renamed), and click Complete.
Cost Allocation by Tag
Step 1. Set a cost allocation tag
Set tags A and B as cost allocation tags in the following steps:
1. To use the tag feature for bills, you need to go to the Billing Center and select Bills > Cost Allocation Tags on the left sidebar. The tag key set as a cost allocation tag will be displayed as a separate column of the bill. You can filter and categorize bills based on this tag key.
2. On this page, you can view the list of created tag keys. Select the tag key to be displayed and click Set as Cost Allocation Tag to set the tag key as a cost allocation tag in the bill.
Note:
You can set 5 cost allocation tags at most. A small number of such tags makes it easier for you to manage your costs.
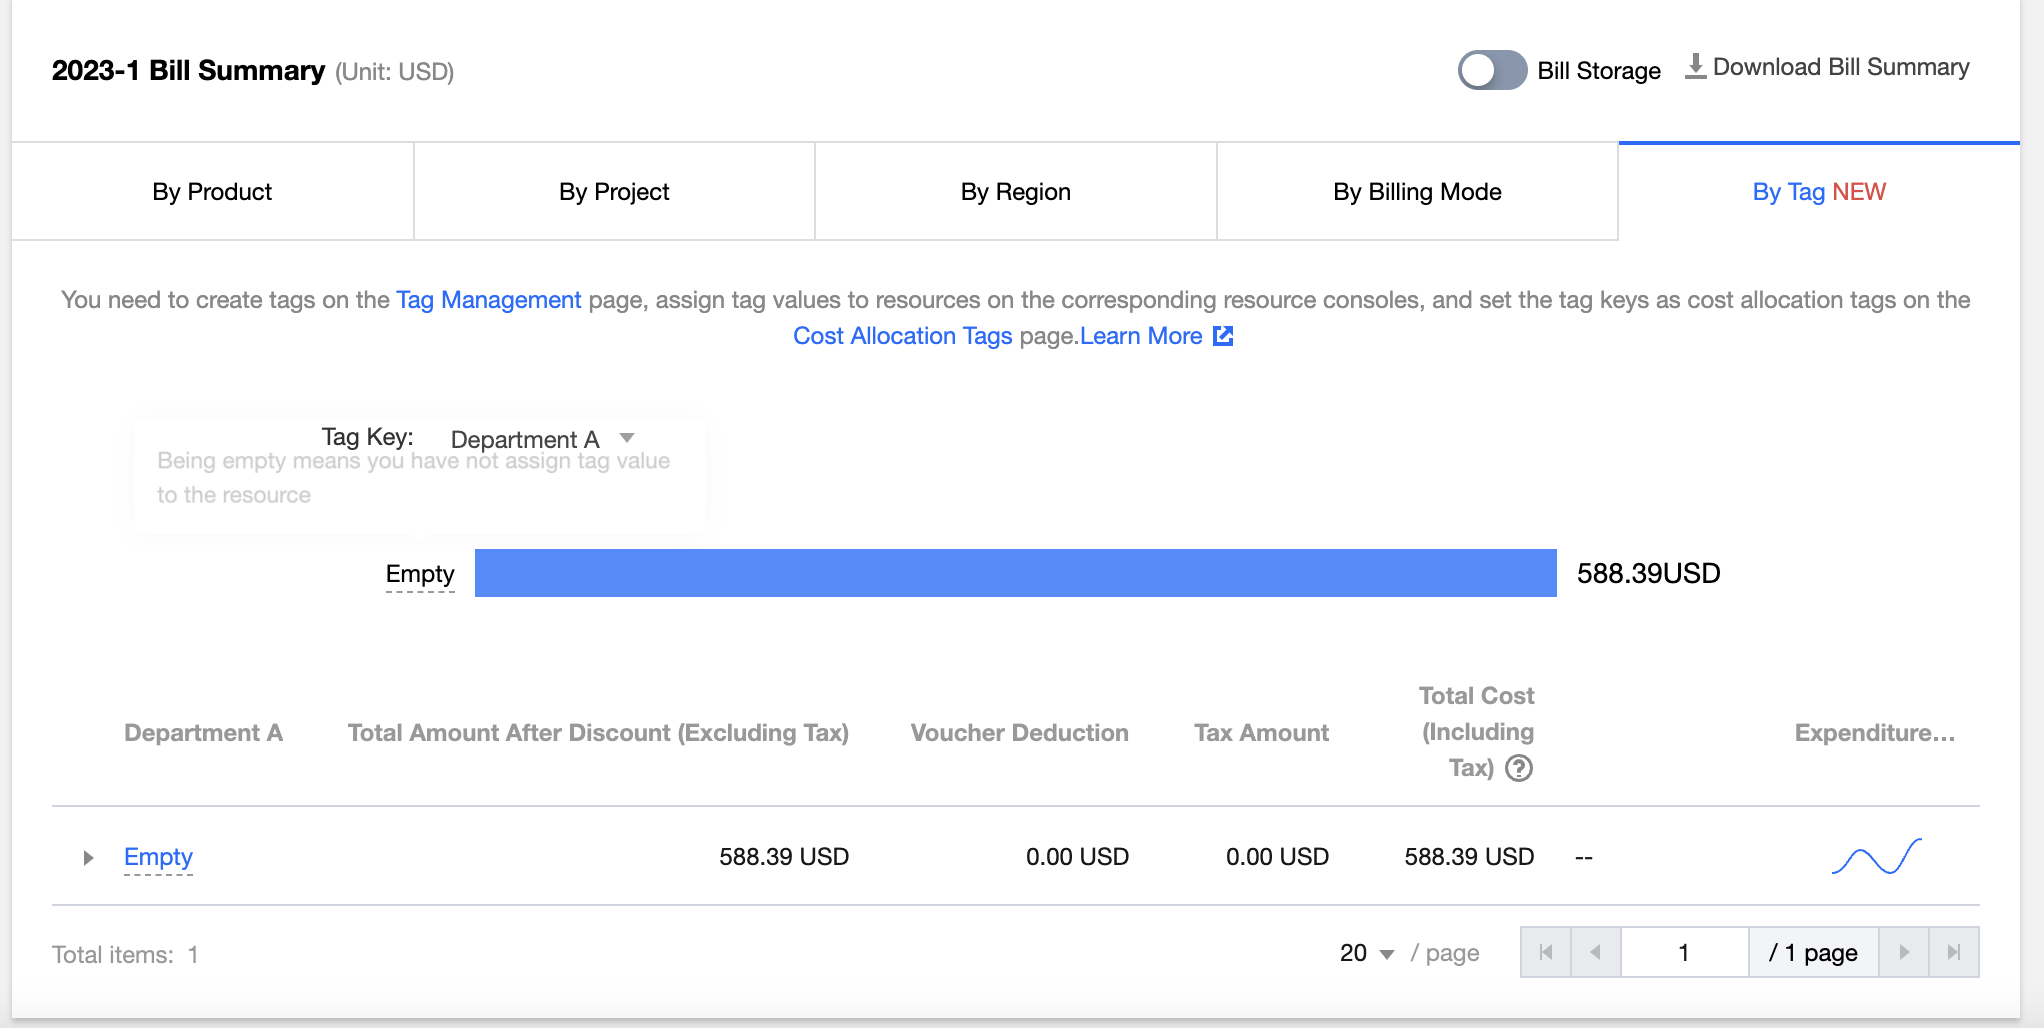
Step 2. Display bills by tag
You can view and click the new option By Tag on the Bill Overview page. Then, you can select a specific tag key to view the column chart and list of relevant resources aggregated by the tag key.