Jointly developed by Tencent Cloud Elasticsearch Service (ES) team and Tencent Cloud NLP team, the QQ analysis plugin is widely used for Chinese text analysis among Tencent businesses such as QQ, WeChat, and QQ Browser. On the basis of traditional dictionary-based analysis, it supports features such as named-entity recognition (NER) and custom dictionaries. Through many years of application and continuous optimization, it has become industry-leading on key metrics such as analysis accuracy and speed. You can use it in Tencent Cloud ES to analyze and search for documents.
Notes
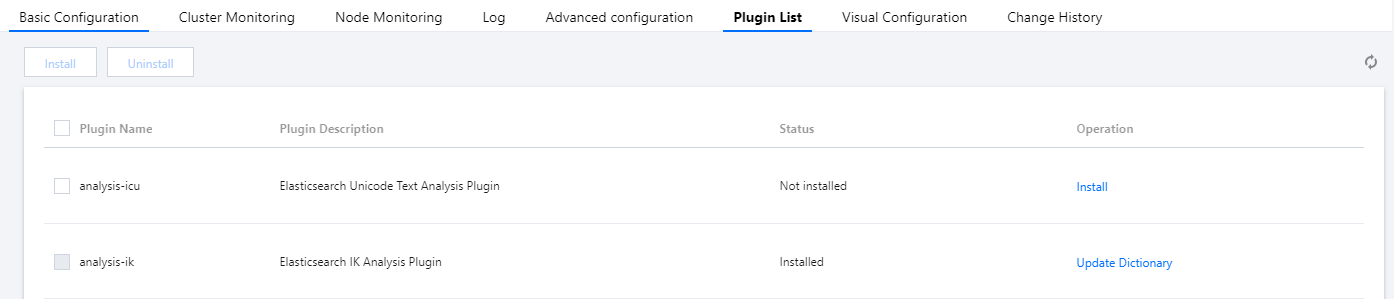
The QQ analysis plugin supports only clusters with data node specifications above 2-core 8 GB. If it is not installed in your cluster, please install it (analysis-qq) on the plugin list page.
The QQ analysis plugin provides the following analyzers and tokenizers:
You can analyze and query documents by using the analyzers and tokenizers above. You can also use the dictionary configuration feature to customize and update the analysis dictionaries. For more information, please see dictionary configuration below.
Note:
What is the difference between qq_max and qq_smart?
qq_max: it splits text at the finest granularity; for example, it will split "tomato egg soup" into "tomato egg soup, tomato egg, egg soup, tomato, egg, soup".
qq_smart: it splits text at the roughest granularity; for example, it will split "tomato egg soup" into "tomato, egg, soup".
What is NER? Why does it have an independent tokenizer?
NER (named-entity recognition) can recognize entities with specific meaning in text, such as person names, place names, institution names, and other proper nouns. You do not need to upload custom dictionaries for such proper nouns. The reason why the NER feature has a separate tokenizer is that a model needs to be loaded for NER, and the first loading takes much time.
Directions
1. Log in to the Kibana console of the cluster where the QQ analysis plugin has been installed. For detailed directions, please see Accessing Cluster Through Kibana.
2. Click Dev Tools on the left sidebar.
3. Use an analyzer of the QQ analysis plugin in the console to create an index.
PUT /index
{
"mappings":{
"_doc":{
"properties":{
"content":{
"type":"text",
"analyzer":"qq_max",
"search_analyzer":"qq_smart"
}
}
}
}
}
The statements above create an index named index in _doc type (for ES 7 or above, you need to add ?include_type_name=true during index creation to support types). It contains the content attribute in text type and uses the qq_max and qq_smart analyzers. After the statements are successfully executed, the following result will be returned:
{
"acknowledged": true,
"shards_acknowledged": true,
"index":"index"
}
4. Add some documents.
POST /index/_doc/1
{
"content":"I downloaded the Honor of Kings from WeChat"
}
POST /index/_doc/2
{
"content":"Ministry of Housing and Urban-Rural Development: to complete landscape resource registration of famous towns and villages by the end of September"
}
POST /index/_doc/3
{
"content":"Latest weather forecast from China Meteorological Administration"
}
POST /index/_doc/4
{
"content":"I live near ICOMOS China"
}
The statements above import four documents, and the qq_max analyzer will be used to analyze them.
5. Query the documents by highlighting keywords.
GET index/_search
{
"query":{"match":{"content":"China"}},
"highlight":{
"pre_tags":["<tag1>", "<tag2>"],
"post_tags":["</tag1>", "</tag2>"],
"fields":{"content":{}}
}
}
The statements above are used to search for the documents in _doc type whose content field contains "China" by using the qq_smart analyzer. After the statements are successfully executed, the following result will be returned:
{
"took":108,
"timed_out": false,
"_shards":{
"total":1,
"successful":1,
"skipped":0,
"failed":0
},
"hits":{
"total":{
"value":2,
"relation":"eq"
},
"max_score":0.7199211,
"hits":[
{
"_index":"index",
"_type":"_doc",
"_id":"4",
"_score":0.7199211,
"_source":{
"content":"I live near ICOMOS China"
},
"highlight":{
"content":[
"I live near ICOMOS <tag1>China</tag1>"
]
}
},
{
"_index":"index",
"_type":"_doc",
"_id":"3",
"_score":0.6235748,
"_source":{
"content":"Latest weather forecast from China Meteorological Administration"
},
"highlight":{
"content":[
"Latest weather forecast from <tag1>China</tag1> Meteorological Administration"
]
}
}
]
}
}
Using Custom Dictionary
The QQ analysis plugin allows you to configure custom dictionaries. After being uploaded, a dictionary will trigger rolling restart of the cluster; therefore, please ensure that the cluster is in GREEN status and there are no single-replica indices.
1. Log in to the ES console and click a cluster ID/name on the cluster list page to enter the cluster details page.
2. Click Plugin List to enter the plugin list management page.
3. Find the QQ analysis plugin (analysis-qq) and click Update Dictionary on the right.
4. The dictionary file must meet the following requirements:
A dictionary file must be encoded in UTF-8, contain one word per line, and have the .dic extension.
You can upload a maximum of 10 files of up to 10 MB each.
5. Click "Save". Cluster restart will not be triggered immediately, but cluster change will be triggered after several minutes for the dictionary file to take effect.
Troubleshooting and Testing
If the returned result of the QQ analysis plugin does not meet your expectations, you can run the following statements to troubleshoot and test the analyzers and tokenizers: