2. In the left sidebar, click Cluster to go to the cluster management page.
3. Click the ID of the cluster where CronJob needs to be created to enter the cluster management page.
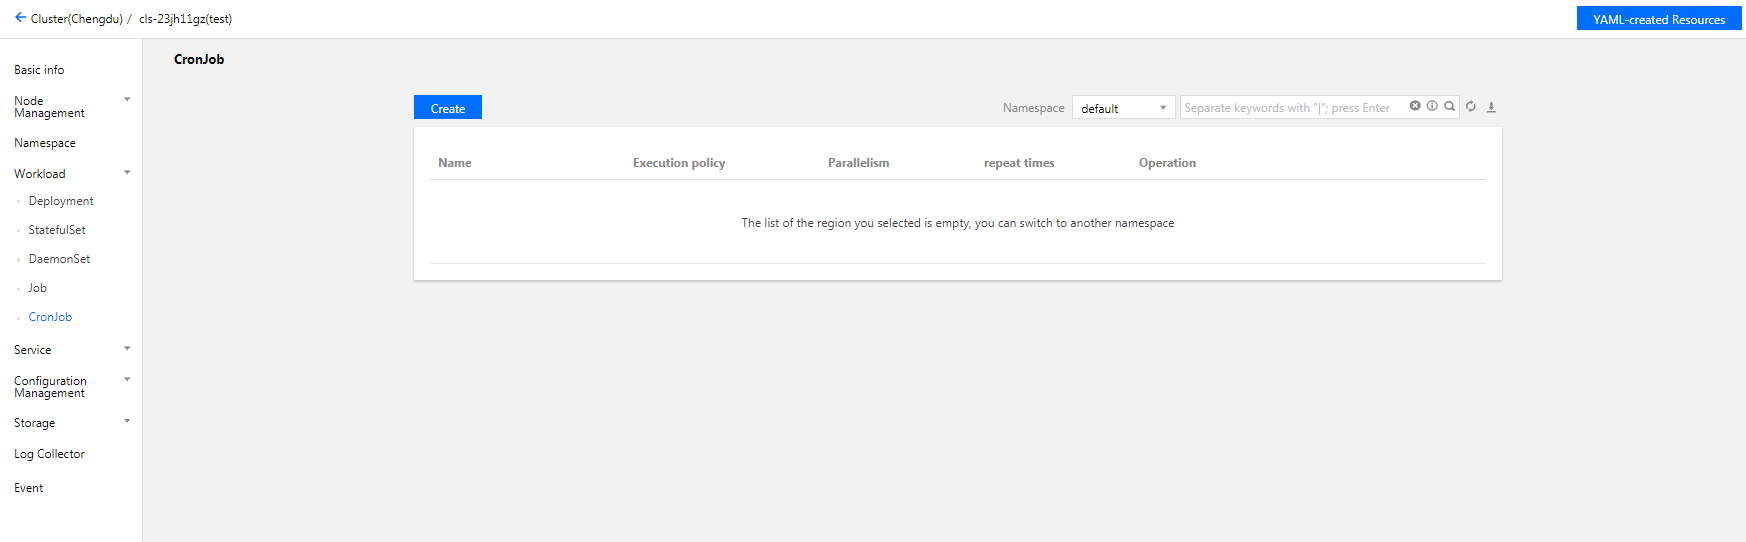
4. Select Workload > CronJob to go to the CronJob information page. See the figure below:
5. Click Create to open the Create Workload page.
6. Set the CronJob parameters based on your actual needs. The key parameters are as follows:
Workload Name: custom.
Label: a key-value pair, which is used for classified management of resources.
Namespace: select a namespace based on your requirements.
Type: select CronJob (running according to a cron schedule).
Scheduling Rules: select a periodic execution policy based on your business requirements.
Completed Jobs Retained: it corresponds to .spec.successfulJobsHistoryLimit. For more information, see Jobs History Limits.
Failed Jobs Retained: it corresponds to .spec.failedJobsHistoryLimit. For more information, see Jobs History Limits.
Job Settings:
Repeat Times: set the number of times the Pod in the Job needs to be repeated.
Concurrent Pods: set the number of Pods that the Job runs in parallel.
Restart Policy: set the restart policy applied when containers under the Pod exits exceptionally.
Never: do not restart the container until all containers in the Pod exit.
OnFailure: the Pod continues to run and the container will be restarted.
Volume (optional): provides storage for the container. It can be a temp path, CVM path, CBS volume, file storage NFS, configuration file and PVC, and it must be mounted to the specified path of the container.
Containers in the Pod: set one or more different containers for a Pod of the CronJob based on actual needs.
Name: custom.
Image: select as needed.
Image Tag: enter the tag based on your actual needs.
Image Pull Policy: the following three policies are available. Select as needed.
If you do not set any image pull policy and Image Tag is left empty or set to latest, the Always policy is used. Otherwise, the IfNotPresent policy is used.
Always: always pull the image from the remote end.
IfNotPresent: a local image is used by default. If no local image is available, the image is pulled remotely.
Never: only use a local image. If no local image is available, an exception occurs.
CPU/Memory Limit: set the CPU and memory limit according to Kubernetes' resource limits to improve the robustness of the business.
GPU Resource: you can configure the least GPU resource used by the workload.
Advanced Settings: you can set the parameters such as Working Directory, Running Command, Running Parameter, Container Health Check, and Privileged Container.
Image Access Credential: a container image is private by default. You need to select the image access credential for the TCR instance when creating a workload.
Node Scheduling Policy: the Pod can be scheduled to the node of the Label that meets the expectation according to the scheduling rules.
2. In the left sidebar, click Cluster to go to the cluster management page.
3. Click the ID of the cluster where CronJob status needs to be checked to enter the cluster management page.
4. Select Workload > CronJob to go to the CronJob information page.
5. Click the name of the CronJob for which to view the status to view its details.
Using kubectl to Manipulate CronJobs
YAML sample
apiVersion: batch/v1beta1
kind: CronJob
metadata:
name: hello
spec:
schedule: "*/1 * * * *"
jobTemplate:
spec:
template:
spec:
containers:
- name: hello
image: busybox
args:
- /bin/sh
- -c
- date; echo Hello from the Kubernetes cluster
restartPolicy: OnFailure
kind: this identifies the CronJob resource type.
metadata: basic information such as CronJob name and Label.
metadata.annotations: an additional description of the CronJob. You can set additional enhancements to TKE through this parameter.
spec.schedule: the cron policy run by the CronJob.
spec.jobTemplate: the Job template run by Cron.
Creating a CronJob
Method 1
1. See the YAML sample to prepare the CronJob YAML file.
2. Install kubectl and connect to a cluster. For detailed operations, see Connecting to a Cluster.
3. Run the following command to create the CronJob YAML file.
kubectl create -f CronJob YAML filename
For example, to create a CronJob YAML file named cronjob.yaml, run the following command:
kubectl create -f cronjob.yaml
Method 2
1. Quickly create a CronJob by running the kubectl run command.
For example, to quickly create a CronJob that does not need to write full configuration information, run the following command: