A Job creates one or more Pods and ensures that these pods run according to the specified rules until a specified number of them successfully terminate. Jobs can be used in many scenarios, such as batch computing and data analysis. You can specify the number of repeated runs, the level of parallelism and the restart policy as needed.
A Job will keep existing Pods and not create new Pods after it is complete. You can view the logs of completed Pods in "Logs". Deleting a Job will clean up the Pods it created as well as the logs of those Pods.
2. In the left sidebar, click Cluster to go to the cluster management page.
3. Click the ID of the cluster where Job needs to be created to enter the cluster management page.
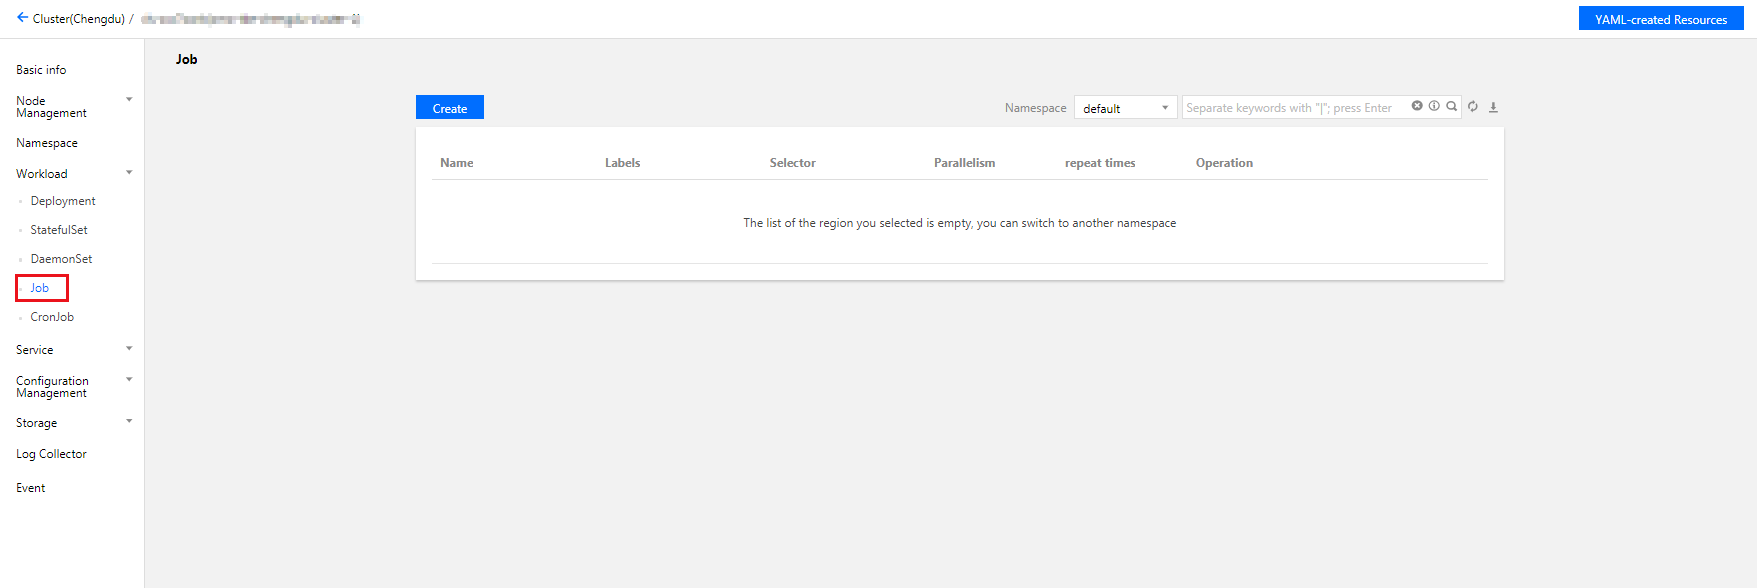
4. Select Workload > Job to go to the Job information page, as shown below:
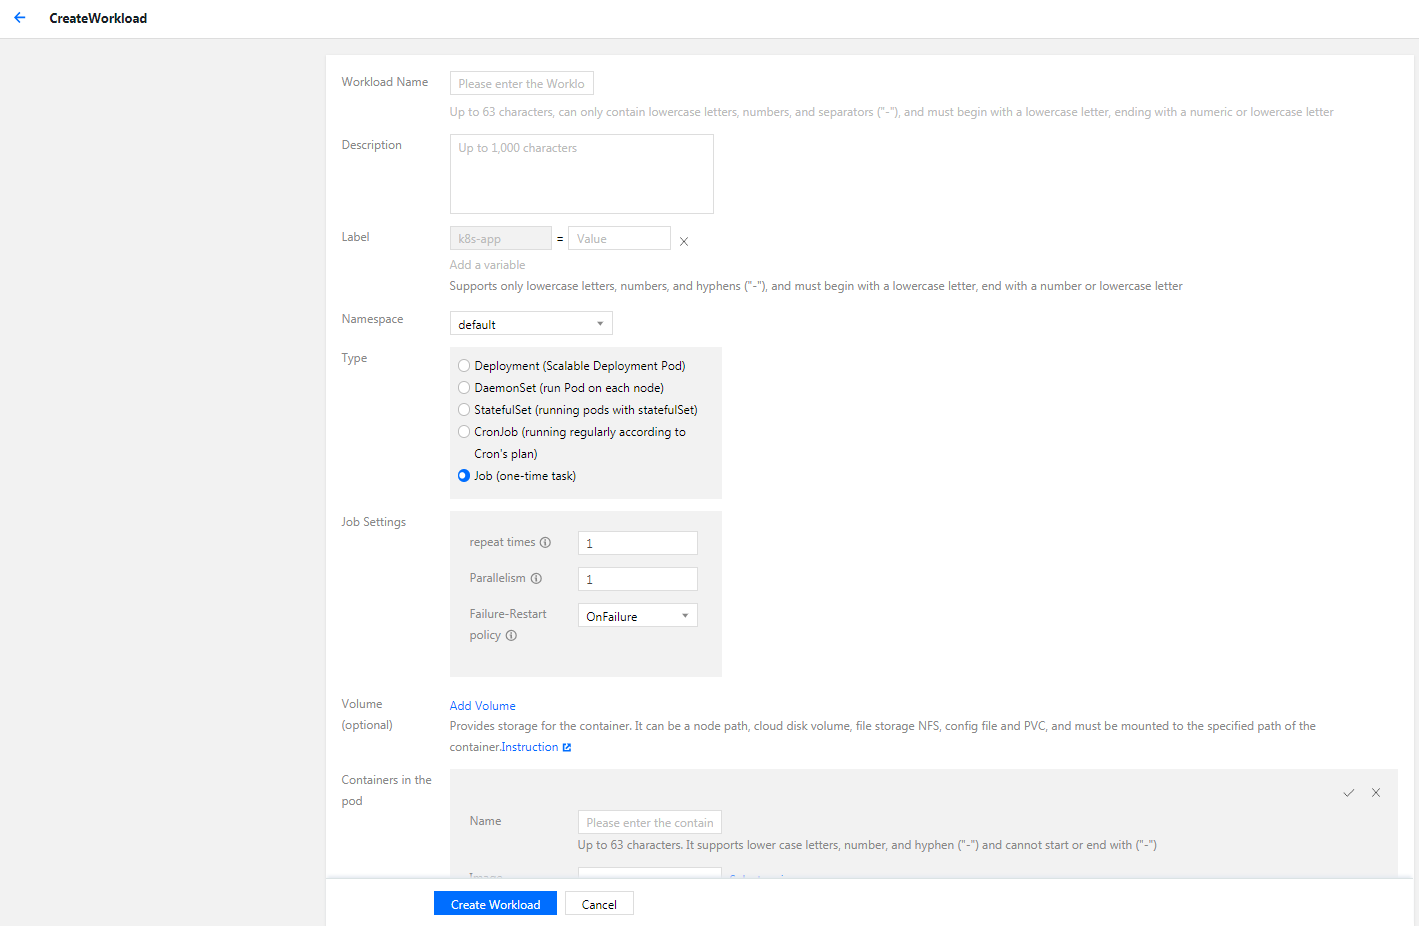
5. Click Create to go to Create Workload page, as shown below:
.
6. Set the Job parameters based on your actual needs. The key parameters are as follows:
Workload Name: custom.
Label: a key-value pair, which is used for classified management of resources.
Namespace: select a namespace based on your requirements.
Type: select Job (One-time Task).
Job Settings: set one or more containers for a Pod of the Job as needed.
Repeat Times: set the times of repeated executions of Pods under this Job.
Concurrent Pods: set the number of parallel Pods in this Job.
Restart Policy: set the restart policy applied when containers under the Pod abnormally exit.
Never: do not restart the container until all the containers under the Pod exit.
OnFailure: the Pod continues to run while the container will be restarted.
Volume (optional): provides storage for the container. It can be a temp path, CVM path, CBS volume, file storage NFS, configuration file and PVC, and it must be mounted to the specified path of the container.
Containers in the Pod: set one or more containers for a Pod of the Job as needs.
Name: custom.
Image: select as needed.
Image Tag: enter the tag based on your actual needs.
CPU/memory limits: set the CPU and memory limit according to Kubernetes' resource limits to improve the robustness of the business.
GPU Resource: you can configure the least GPU resource used by the workload.
Advanced Settings: you can set the parameters such as Working Directory, Running Command, Running Parameter, Container Health Check, and Privileged Container.
Image Access Credential: a container image is private by default. You need to select the image access credential for the TCR instance when creating a workload.
Node Scheduling Policy: the Pod can be scheduled to the node of the Label that meets the expectation according to the scheduling rules.
2. In the left sidebar, click Cluster to go to the cluster management page.
3. Click the ID of the cluster for which you want to view the Job status to enter the cluster management page.
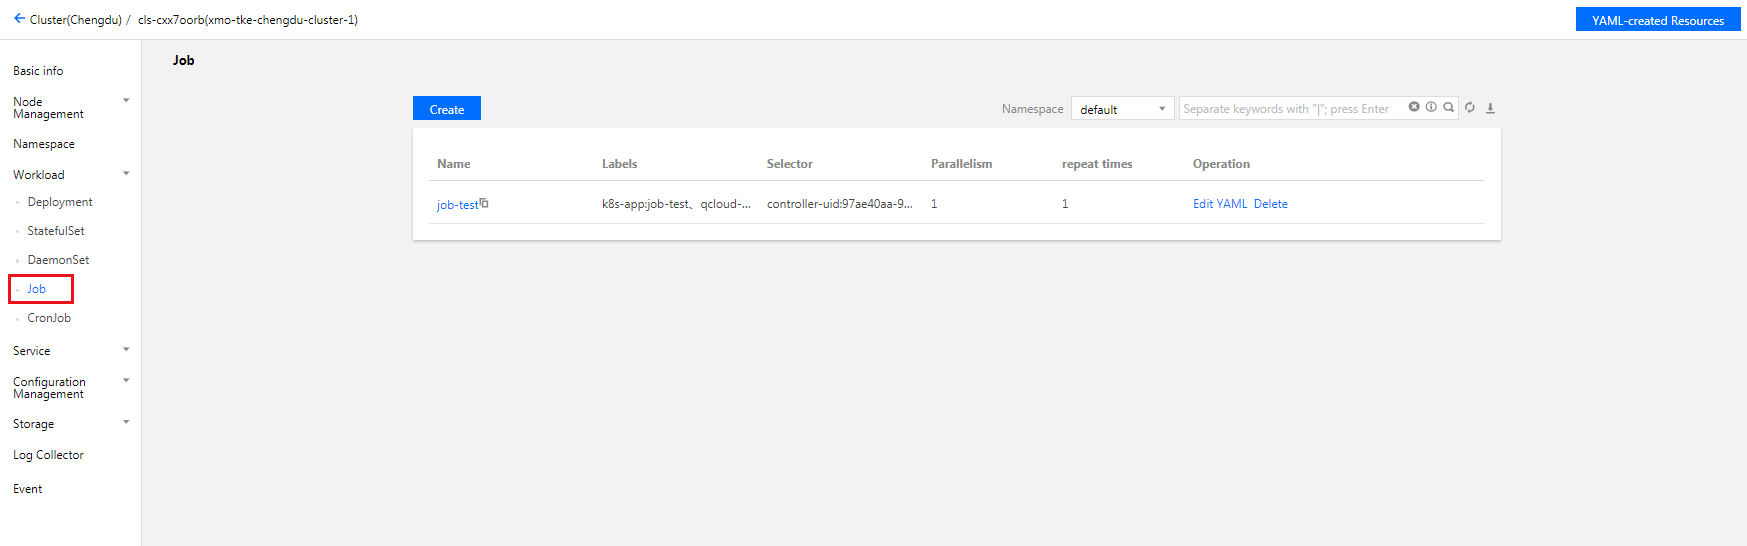
4. Select Workload > Job to go to the Job information page, as shown below:
5. To view the Job's details, click its name.
Deleting a Job
A Job will keep existing Pods and not create new Pods after it is complete. You can view the logs of completed Pods in "Logs". Deleting a Job will clean up the Pods it created as well as the logs of those Pods.