Combining WAF and Anti-DDoS for Security Protection
Scenarios
Cloud Native API Gateway can integrate with Web Application Firewall (WAF) and Anti-DDoS Pro to provide users with all-around security protection.
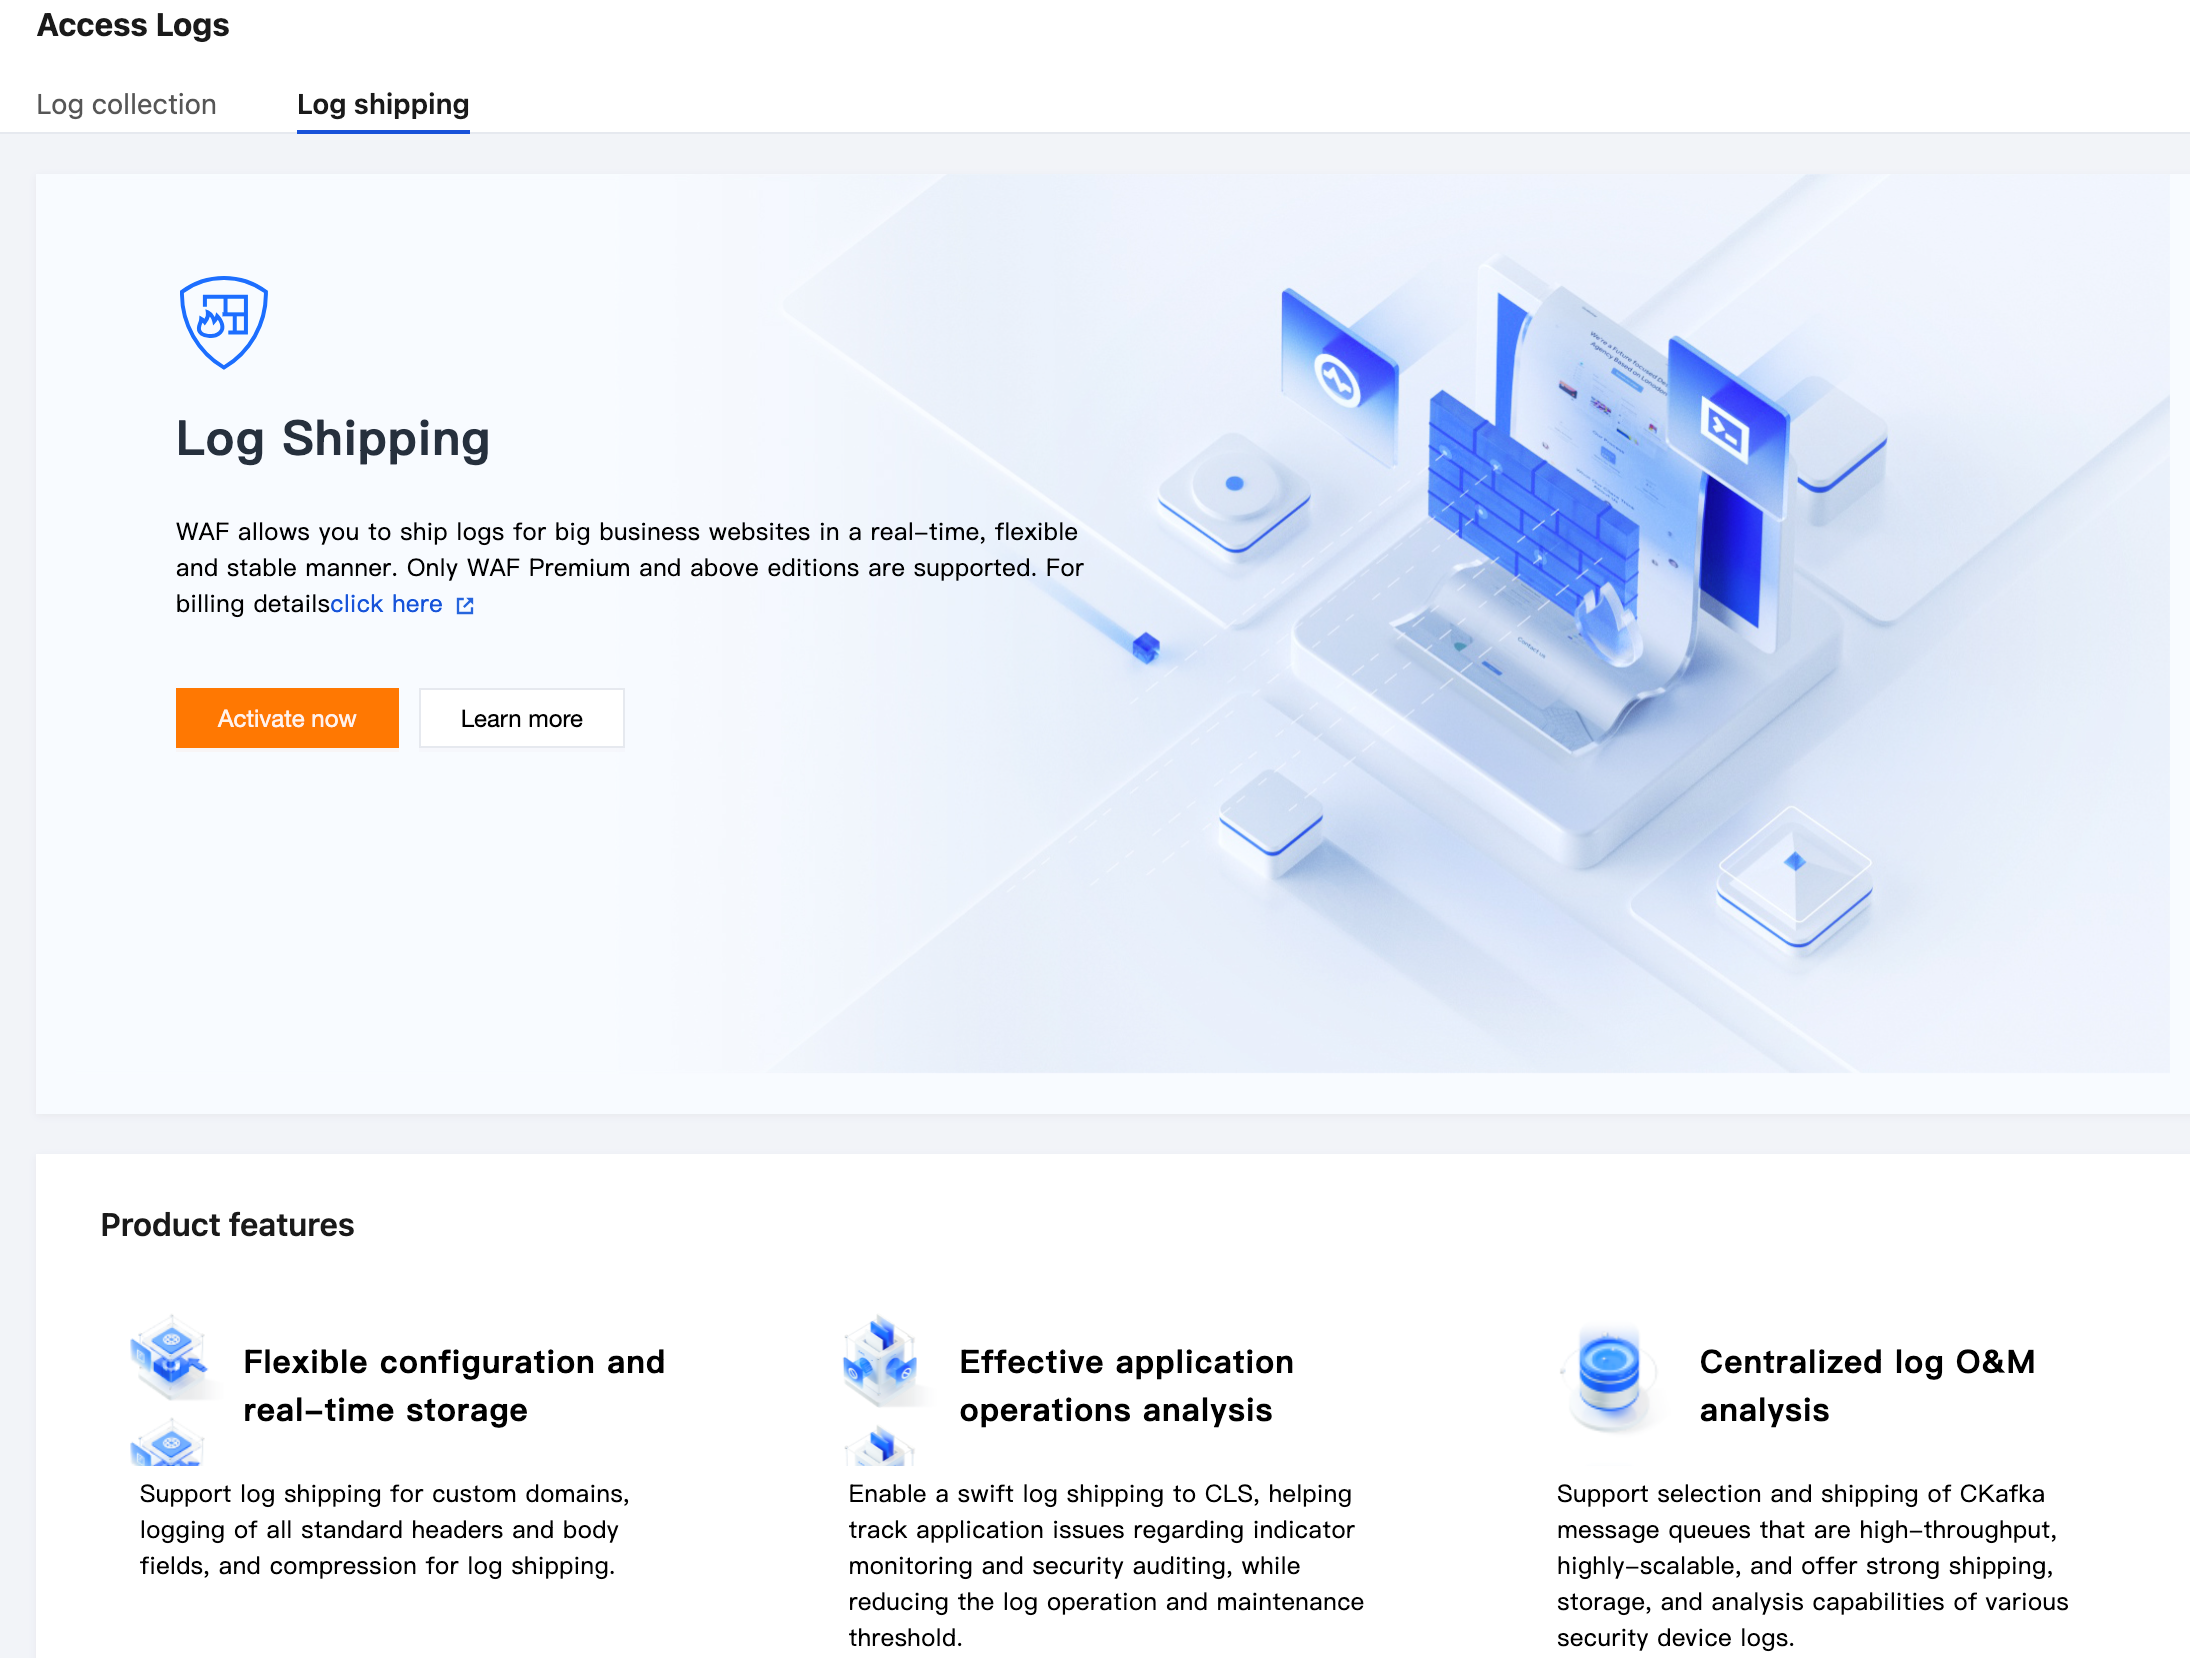
WAF provides real-time protection to intercept web attacks effectively and ensure secure business data and information.
Anti-DDoS Pro provides 100 Gbps-level anti-DDoS to cope with DDoS attacks easily and ensure stable business operations.
This document describes how Cloud Native API Gateway integrates with WAF and Anti-DDoS Pro to ensure gateway security.
Operation Steps
Note:
Step 1 and Step 2 have no strict sequential order. You can complete the configurations based on your habit.
Step 1: Configuring WAF
Cloud Native API Gateway supports domain name access and object access. In object access mode, security protection is performed in the gateway instance dimension. For more refined protection, you can use domain name access. By configuring WAF-protected domain names, resources can be protected precisely. You can also configure both protection policies. The effective sequence of the protection policies is as follows:
Precise domain name access protection: It has the highest priority, and this security protection policy takes effect preferentially after the domain name hits.
Object access protection: For traffic not hitting any domain name protection policy, the default object access protection policy is executed.
Note:
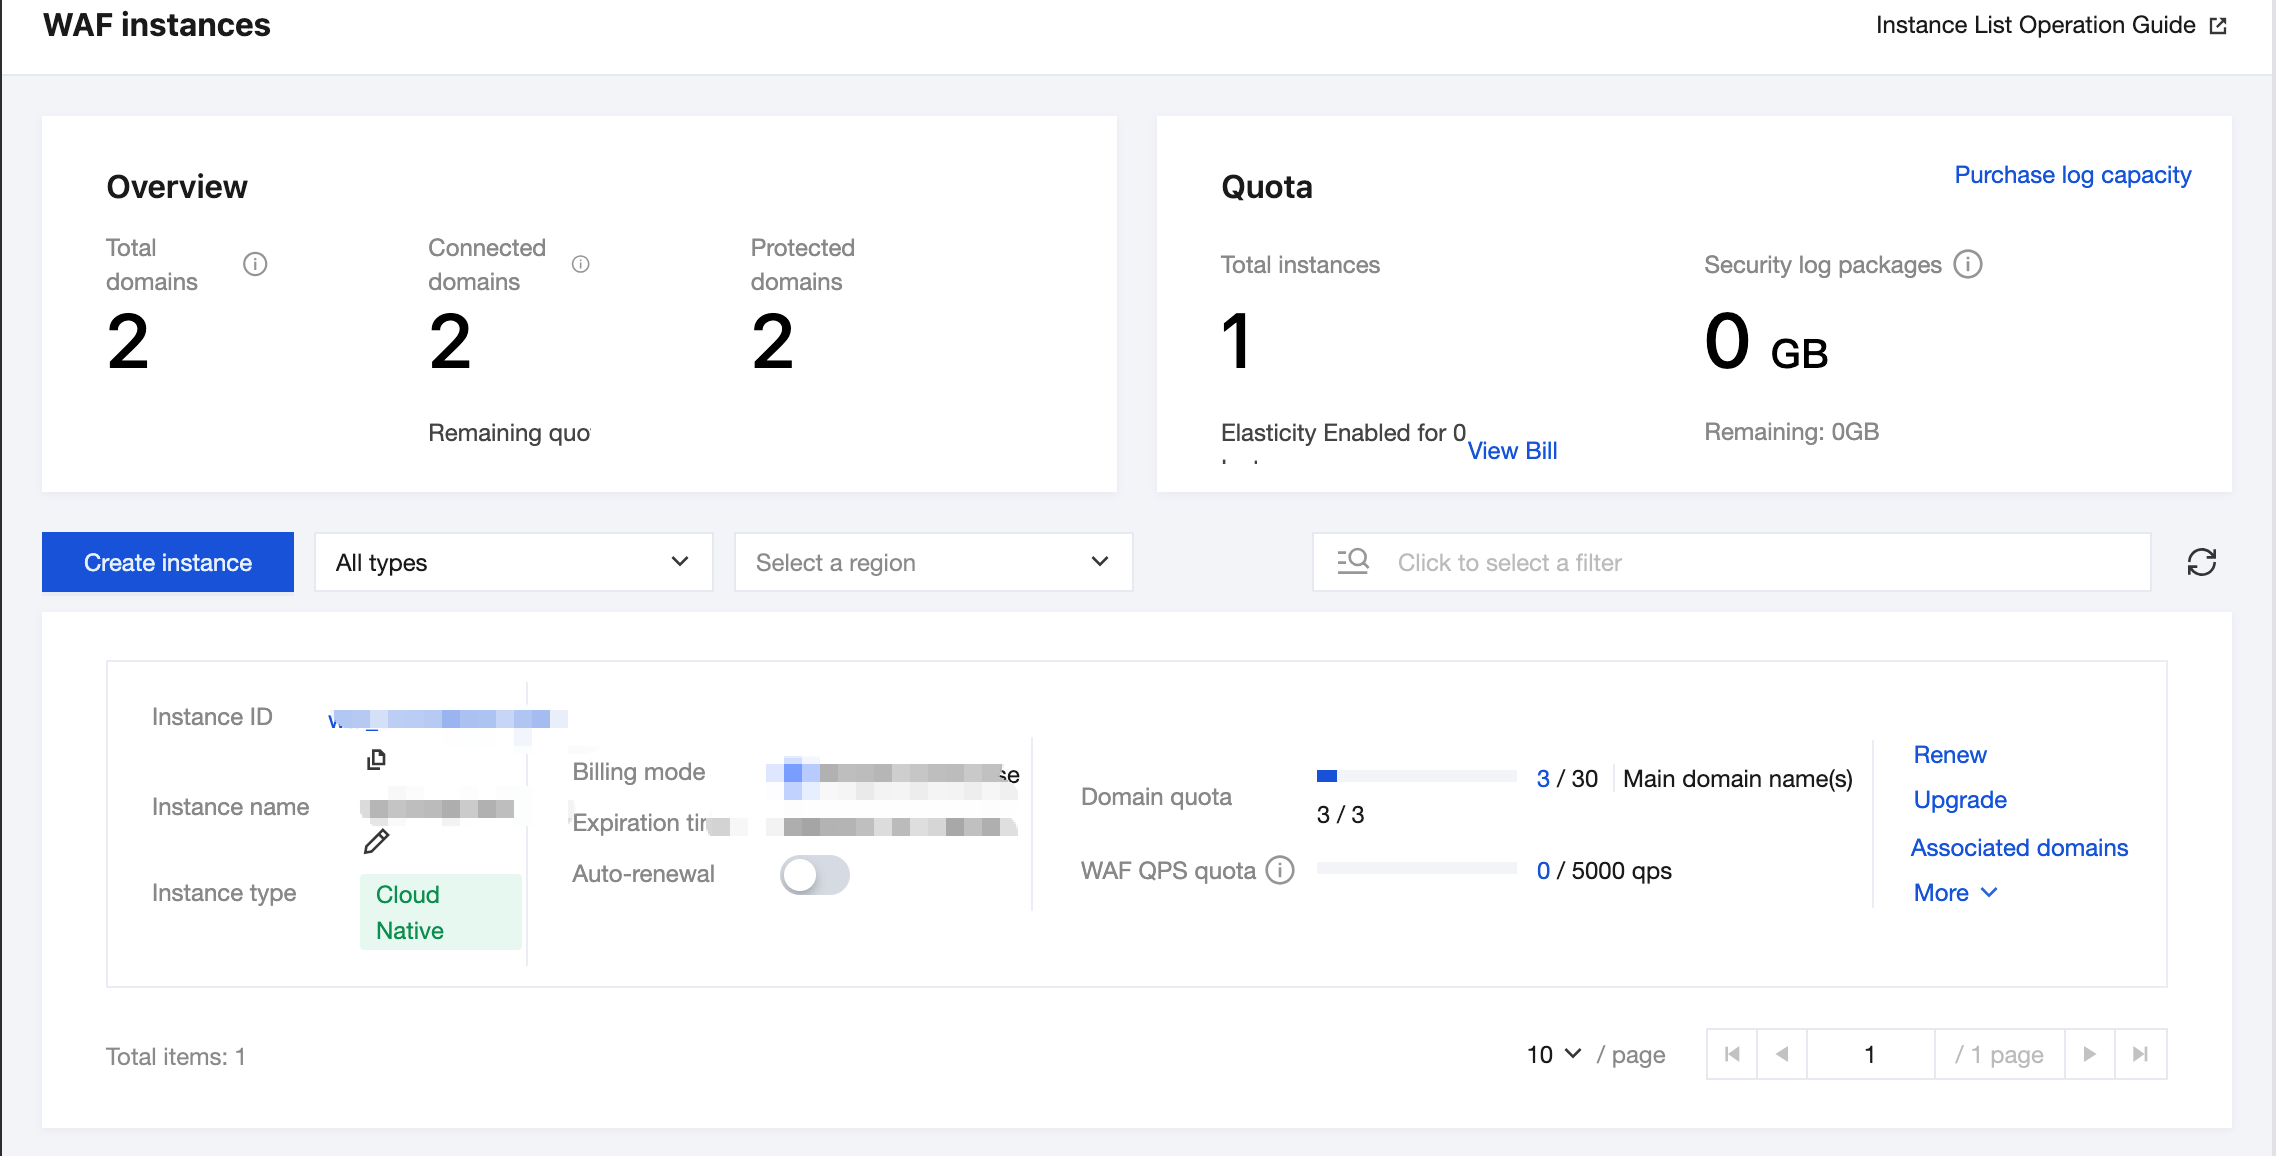
Object access: WAF object access is supported only in the Enterprise Edition and later editions.
Domain name access: Different WAF versions support different numbers of domain names. For details, see WAF Package and Version Description.
1. Log in to the WAF console and select Connection Management in the left sidebar.
2. On the Object Access tab, select the Cloud Native API Gateway instance that needs object access and enable the WAF switch.
1. Log in to the WAF console and select Connection Management in the left sidebar.
2. On the Domain Name Access tab, click Add Domain, specify relevant parameters, and click Confirm.
Instance: Select CLB-based WAF.
Domain Name: Enter the domain name to be protected.
Traffic Source: Select Cloud Native API Gateway.
Agent: Select Yes. WAF obtains the customer's real IP address as the source address through the XFF field. If this option is selected, the source IP address may be forged.
Region: Select the region to be protected.
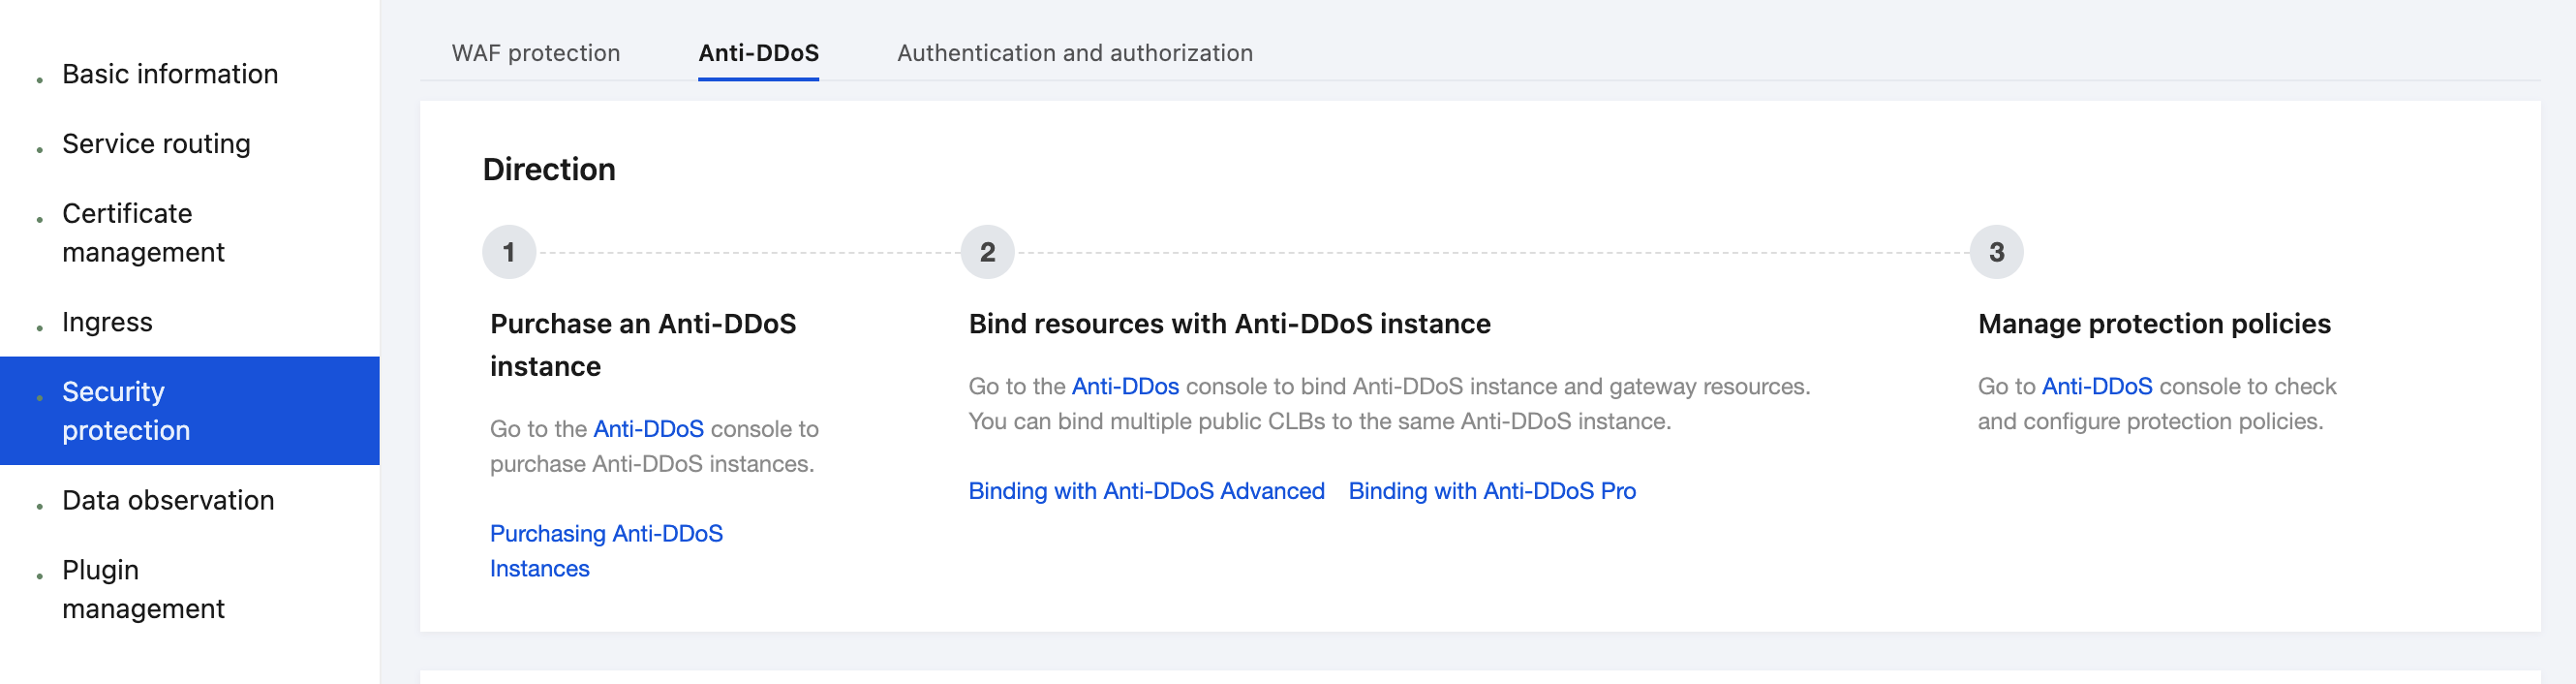
Step 2: Configuring Anti-DDoS Pro
1. Log in to the Anti-DDoS console and select Cloud Assets in the left sidebar.
2. On the Cloud Assets page, select the Cloud Native API Gateway instance that requires access protection, and click Check with one click in the Operation column.
3. In the Access Protection dialog box, select Anti-DDoS Pro that should be bound and click Confirm.
4. Confirm that Protection Type is updated to Anti-DDoS Pro and Maximum Protection Capability is updated to All-around protection in the asset list.
Step 3: Configuring Cloud Native API Gateway
Note:
If you use object access, this step can be ignored. If you use domain name access, add a domain name by referring to the following steps.
1. Log in to the Cloud Native API Gateway console and select Security in the left sidebar.
2. Go to the WAF Protection tab, click Add Domain in the Domain name protection module, and enter the domain name to be protected.
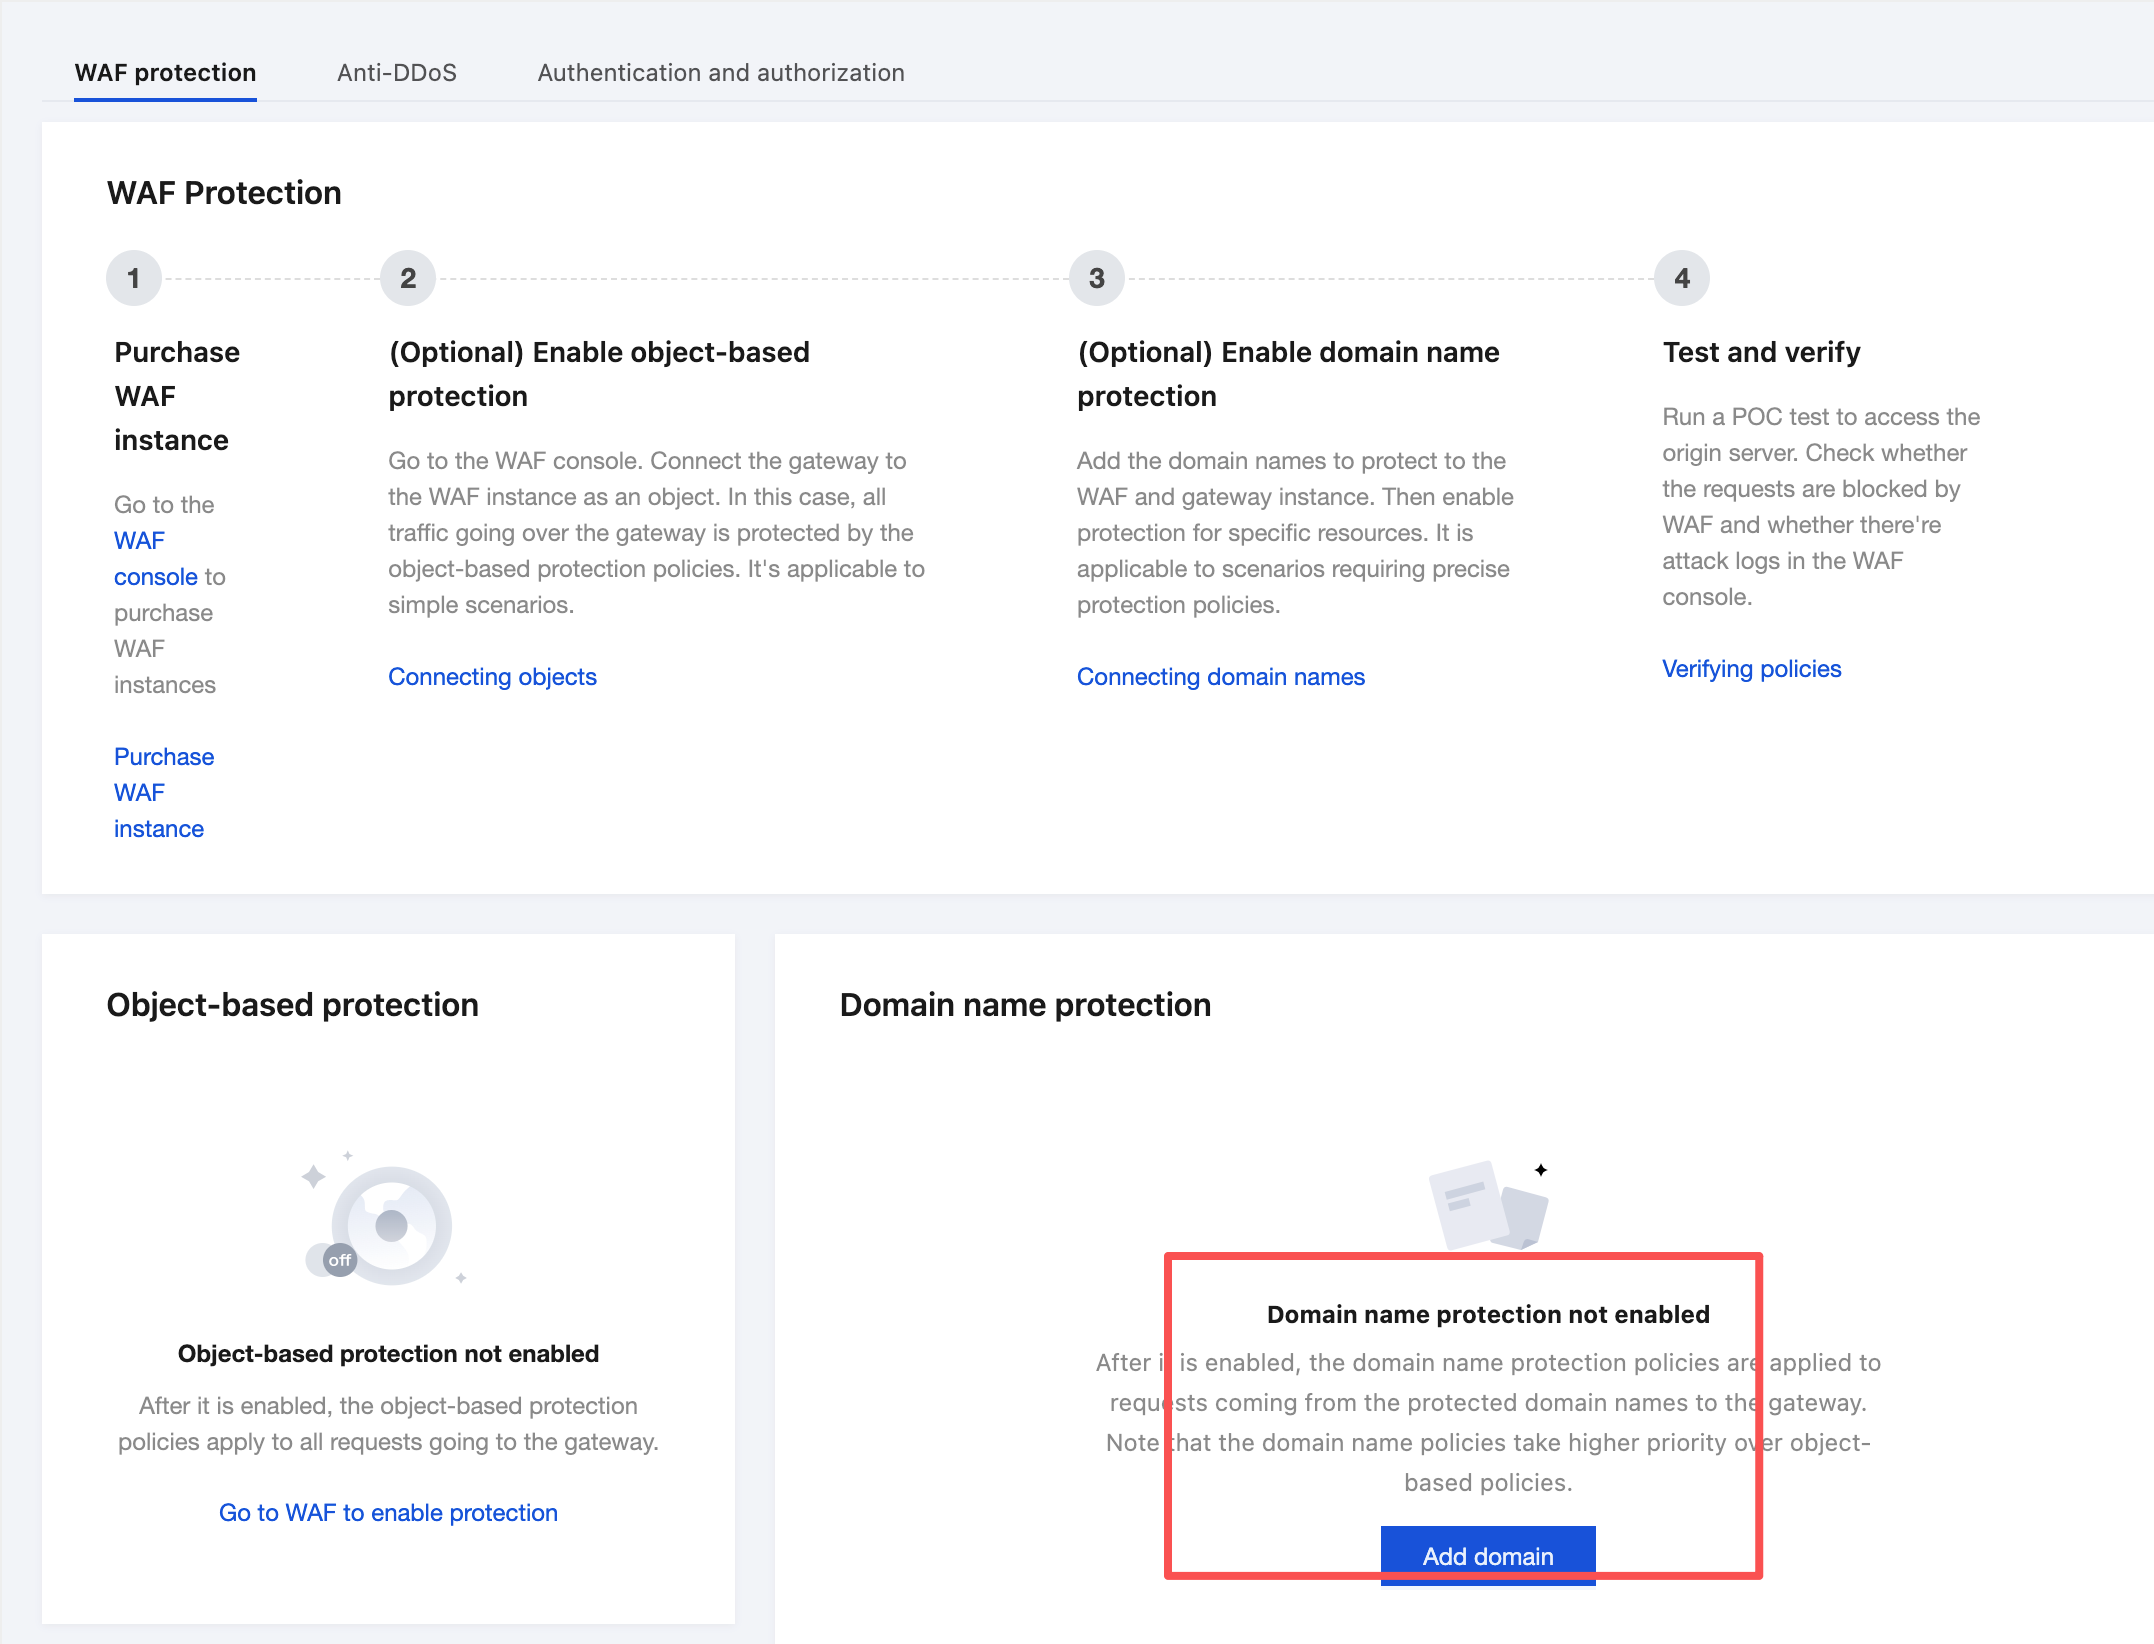
3. Select the services or routes to be protected and click Enable Protection.

Step 4: Testing and Verifying the Protection Status
1. Log in to the Cloud Native API Gateway console and select Security in the left sidebar.
2. Go to the Anti-DDoS tab and check that the gateway instance is associated with a protection instance.
3. Go to the WAF Protection tab and check that protection is enabled.
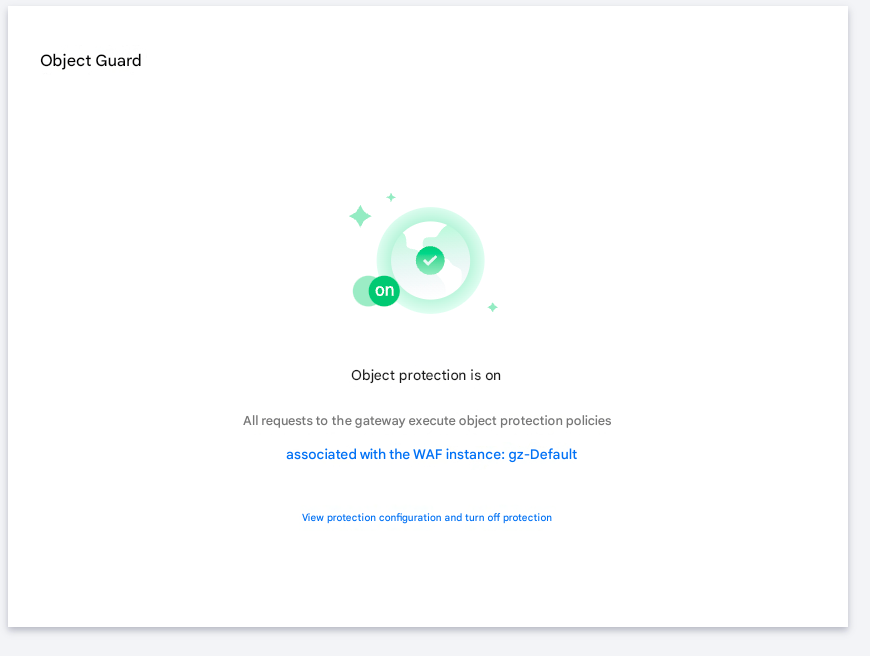
In the Object-based Protection module, check that object protection is enabled.
Check that the domain name protection status is Partially enabled or All enabled.

4. Enter
http://<gateway domain name or IP address>/?test=alert(123) in the address box of the browser to visit the gateway. The browser displays the blocking page, indicating that WAF protection is normal.Help and Support
Was this page helpful?
You can also Contact sales or Submit a Ticket for help.
Help us improve! Rate your documentation experience in 5 mins.
Feedback