Identity Center and Onelogin Single Sign-On Example
Download
Mode fokus
Ukuran font
Terakhir diperbarui: 2025-06-11 14:35:45
This document provides you with an example of Single Sign-On (SSO login) between Onelogin and Tencent Cloud Identity Center.
Preparations
Before configuring SSO login, you need to complete user creation: synchronize users from Onelogin to the Identity Center or create same-name users in the Identity Center.
Synchronize users from Onelogin to the Identity Center: Suitable for situations where Onelogin has a large number of users. For specific operations, please see Example of Synchronizing Onelogin via SCIM.
Create a same-name user in the identity center: Suitable for cases where Onelogin has only a small number of users, can be used for quick verification. Upon creation, the username in the identity center needs to be consistent with the username in Onelogin .
2. In the left sidebar, click User Management > Settings.
3. In the SSO login area, click
, then click to enable in the popup window to enable SSO login.
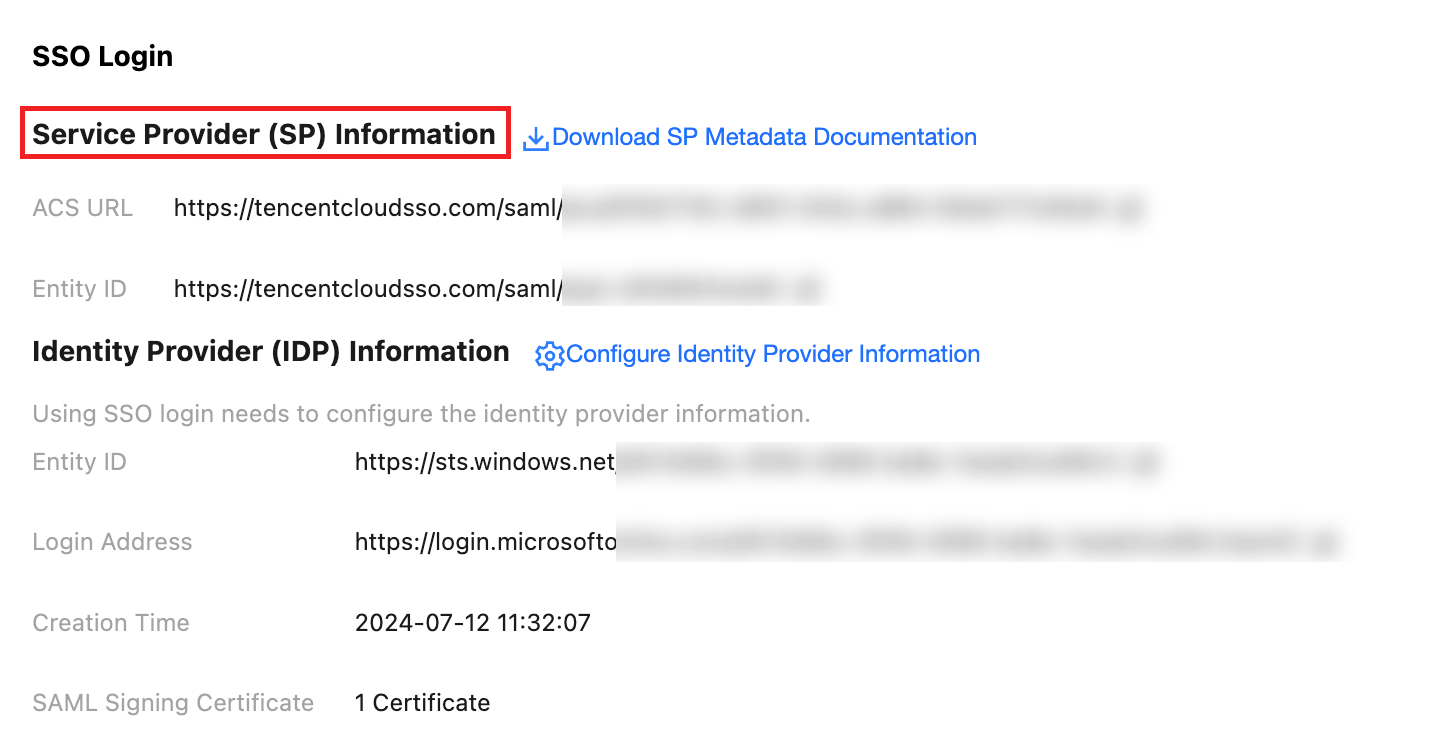
Step 2: Copy the Service Provider (SP) Information
In the Service Provider (SP) Information section, view and copy the ACS URL and Entity ID, and directly use them for manual configuration of the external IdP.
Configuring in Onelogin
Step 1: Create an Application in Onelogin
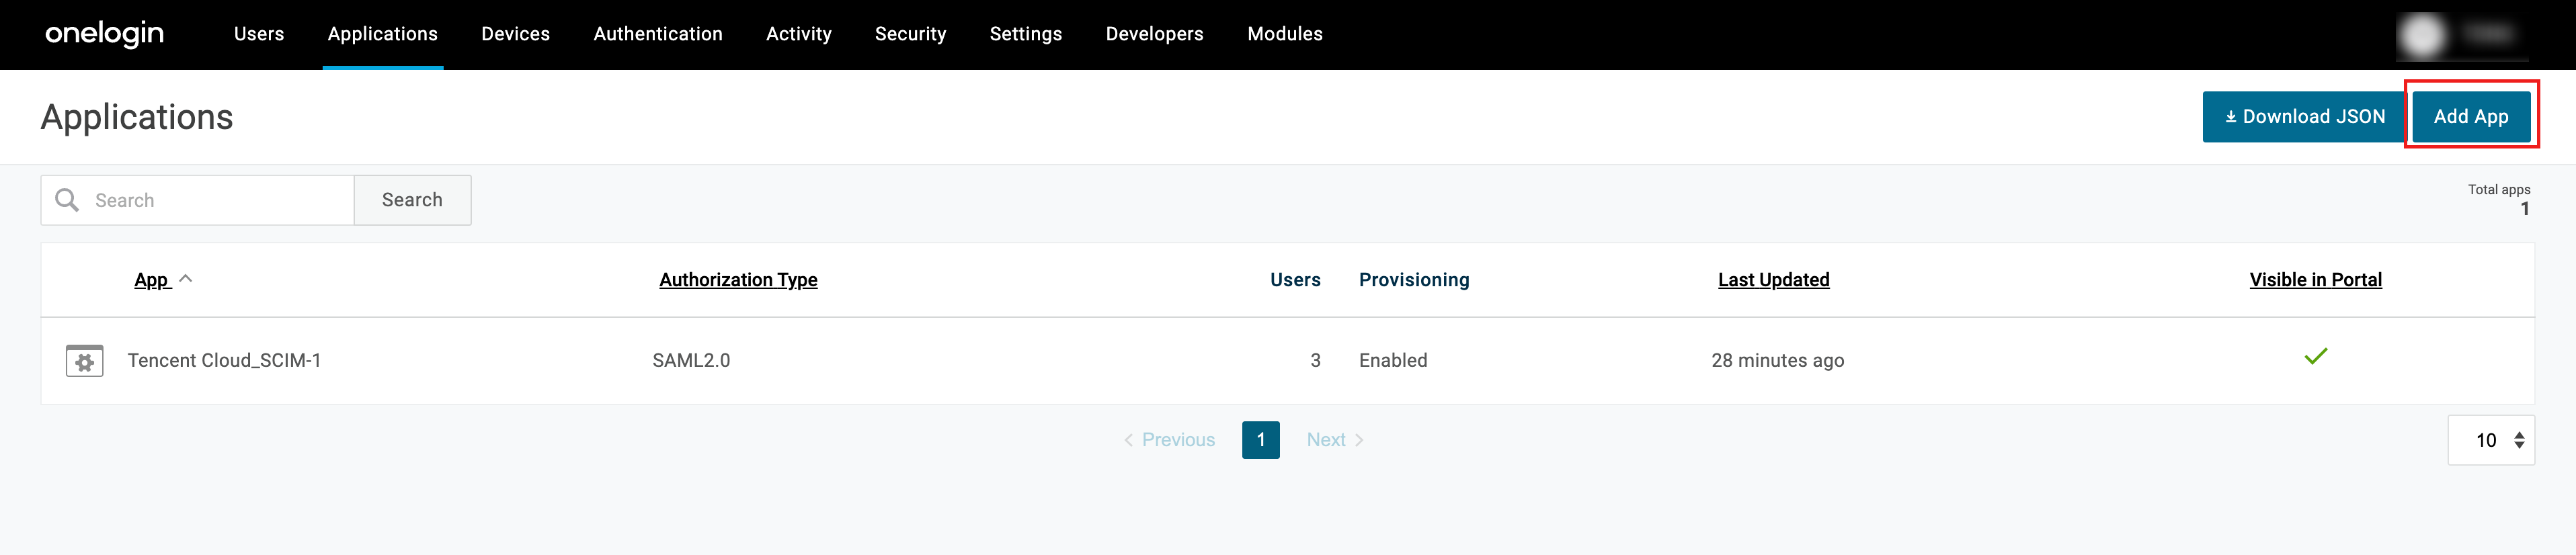
1. Administrator logs in to Onelogin, selects Applications > Applications from the top menu.
2. On the Applications page, click Add App.
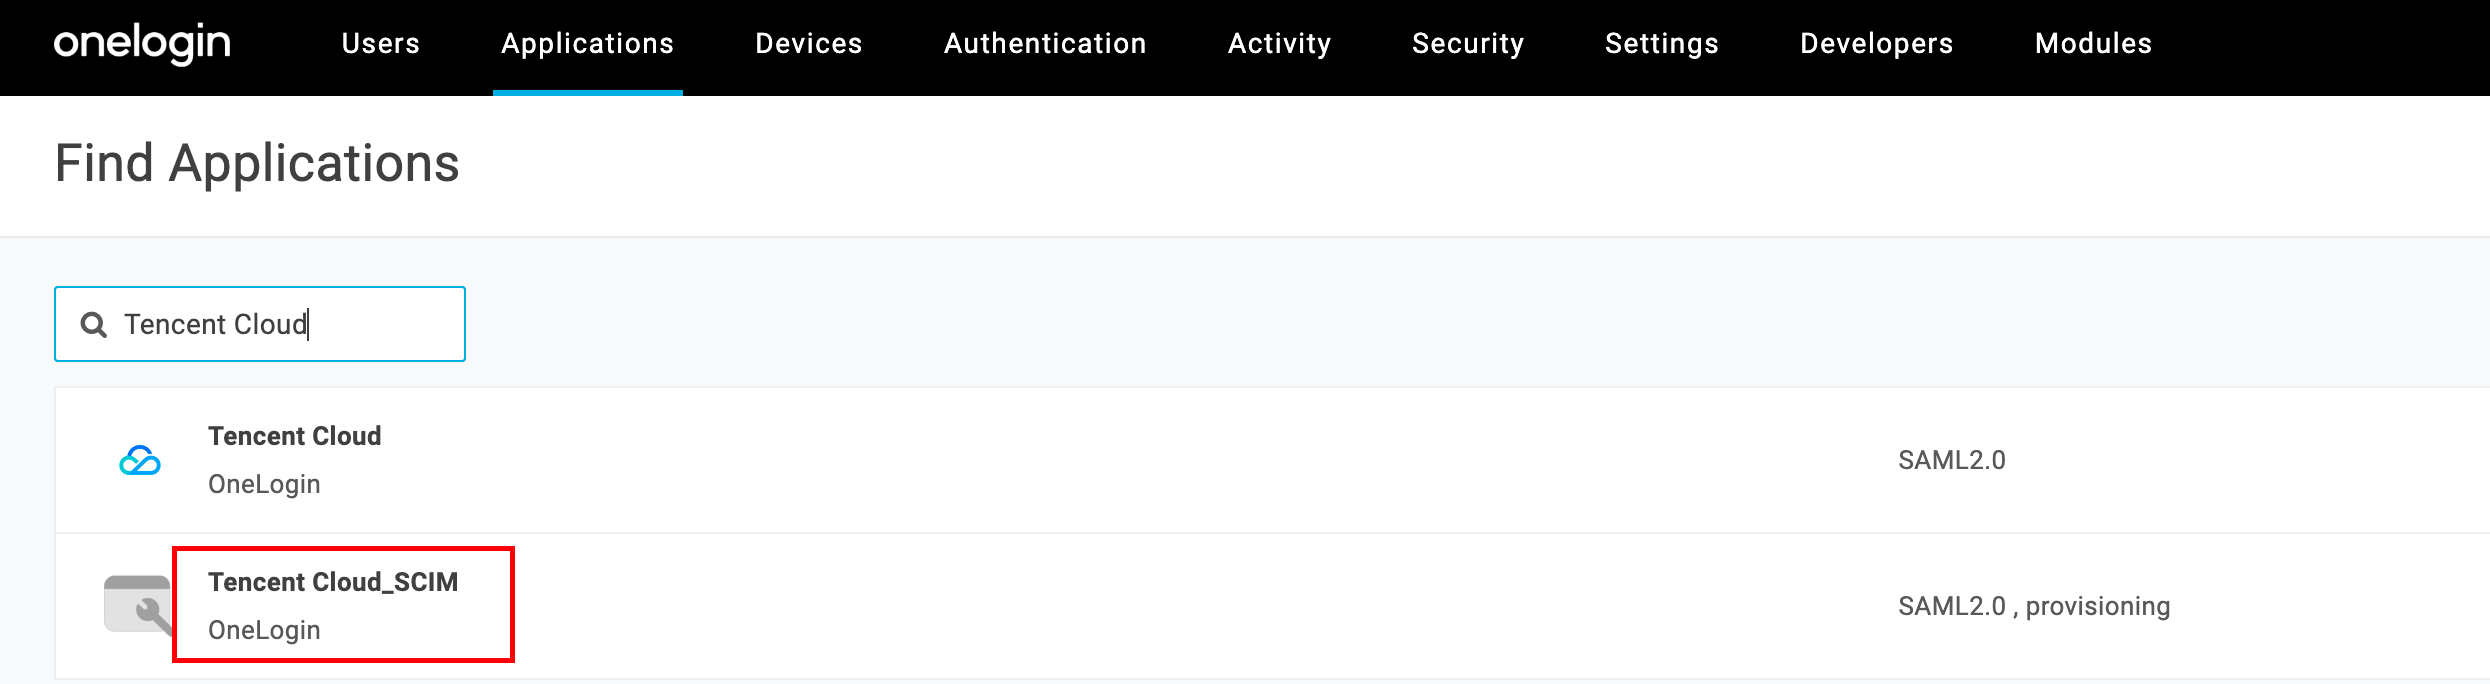
3. On the Find Applications page, click to select Tencent Cloud_SCIM.
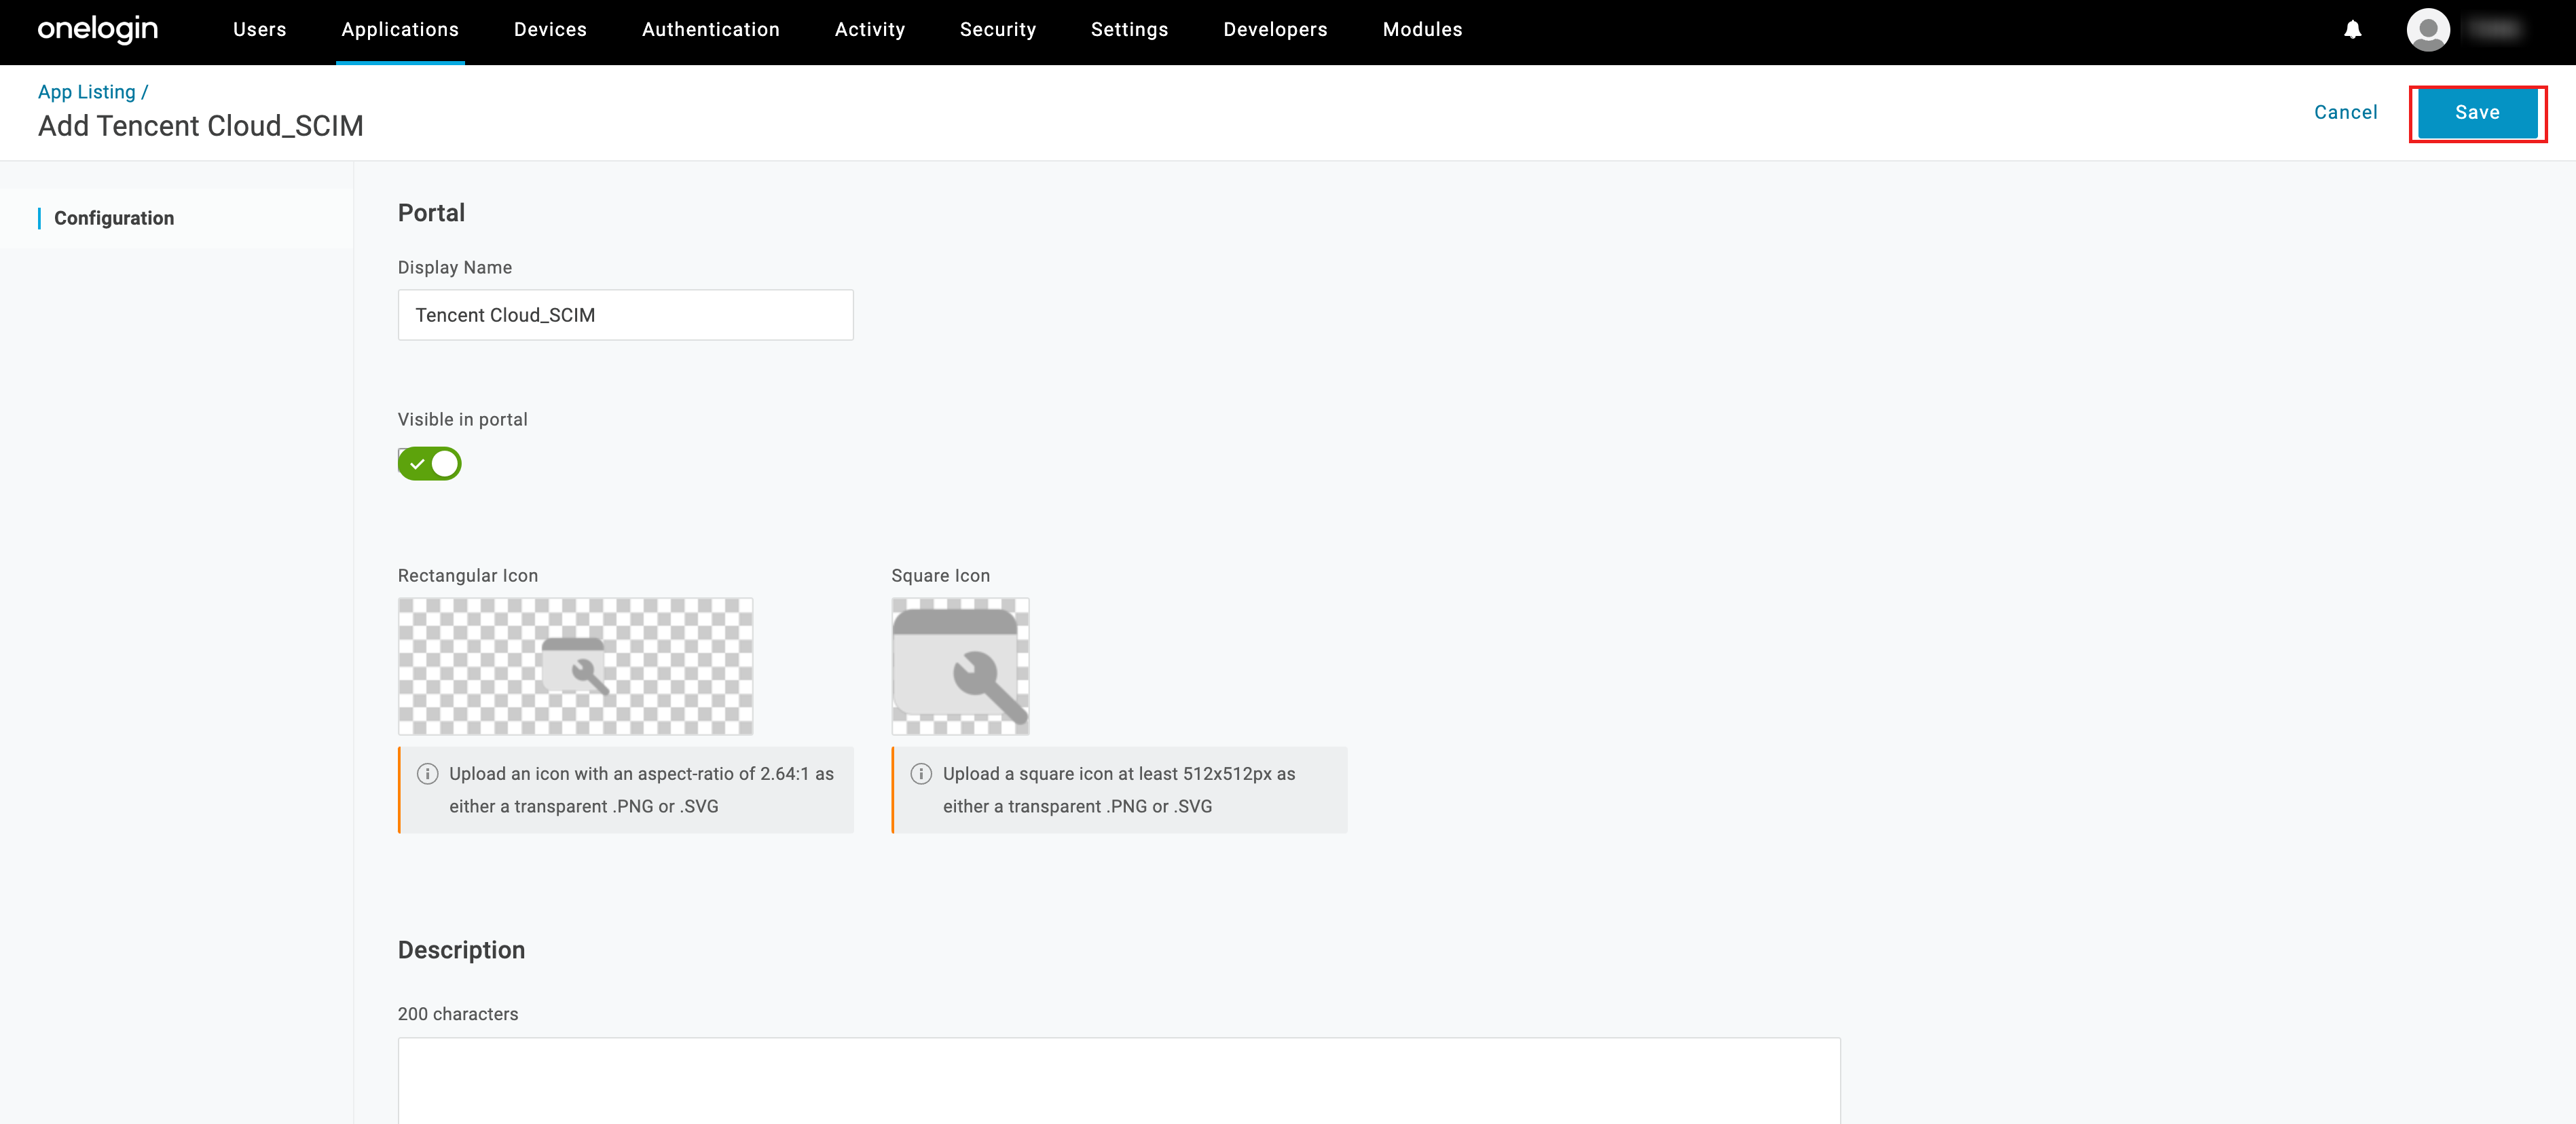
4. Enter the Tencent Cloud_SCIM application, modify the name, and then click Save.
5. Creation completed. You can view it in the list.
Step 2: Set Up SSO in Onelogin
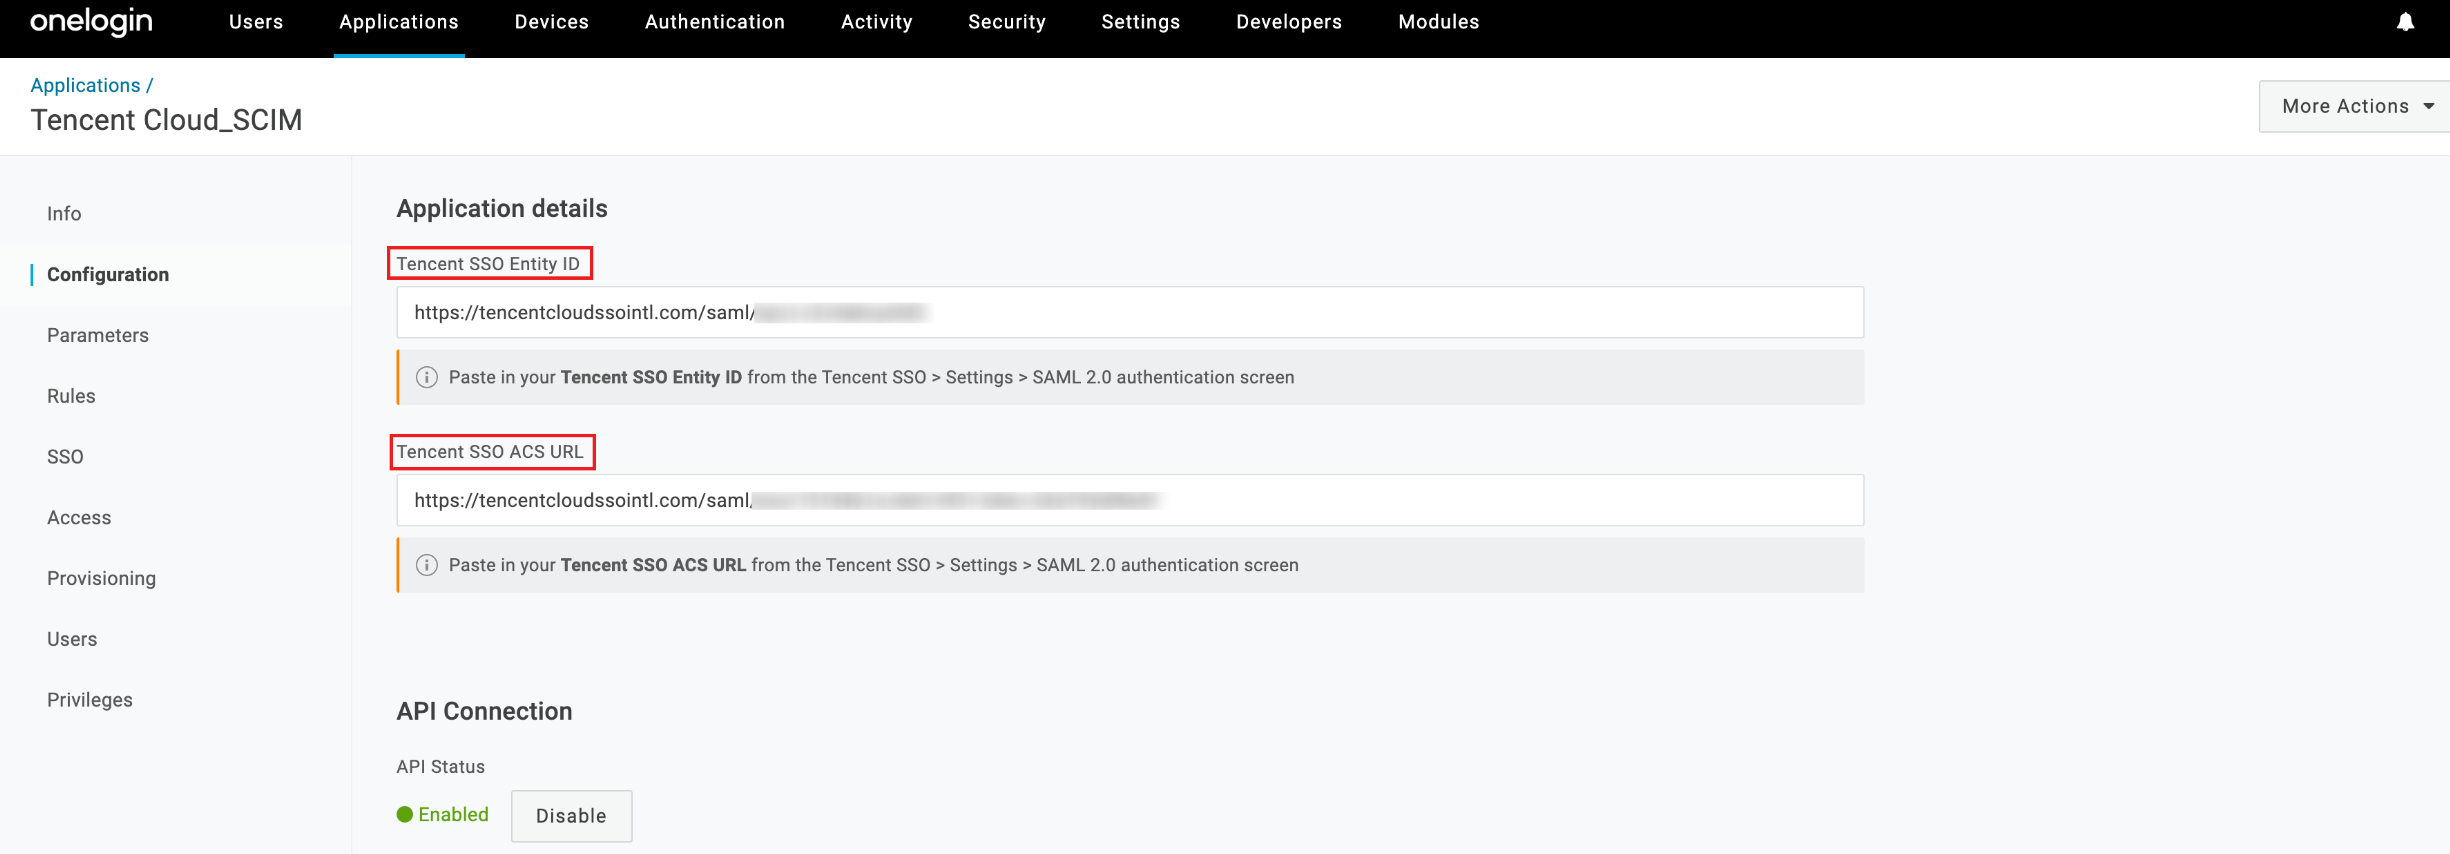
1. On the Configuration page, input the ACS URL and Entity ID in the Applications details section.
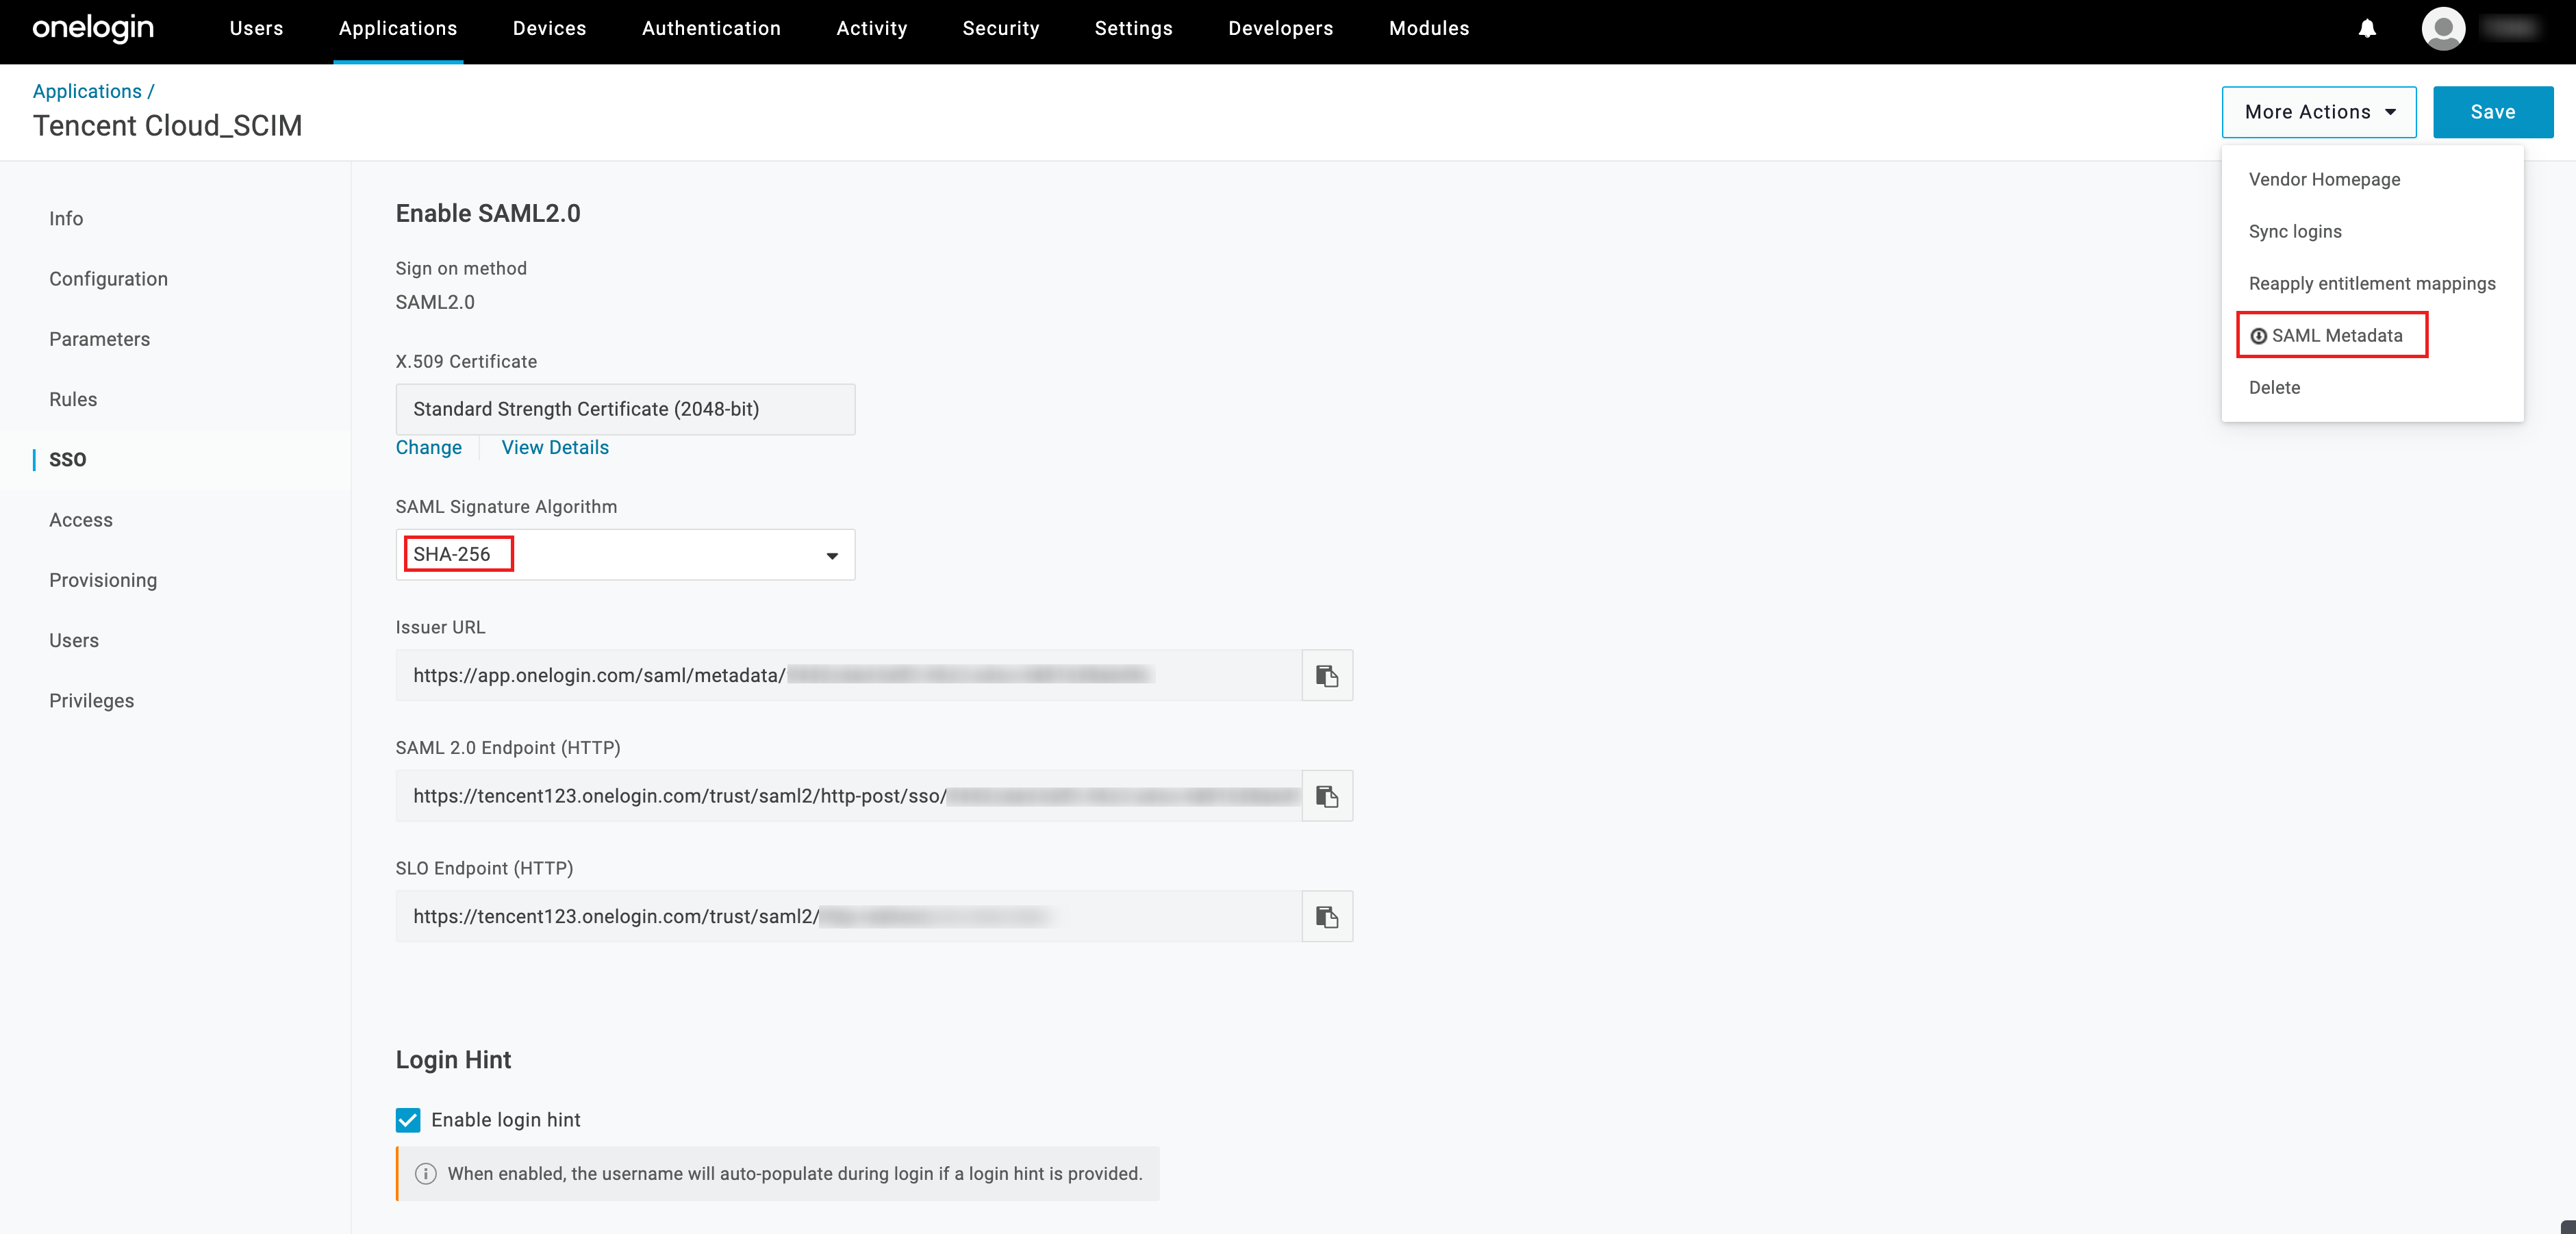
2. On the SSO page, switch the SAML Signature Algorithm protocol to SHA-256 (the default is SHA-1, and the identity center does not support this protocol), then click Save.
Download the SAML Metadata in More Actions.
3. Assign users to applications.
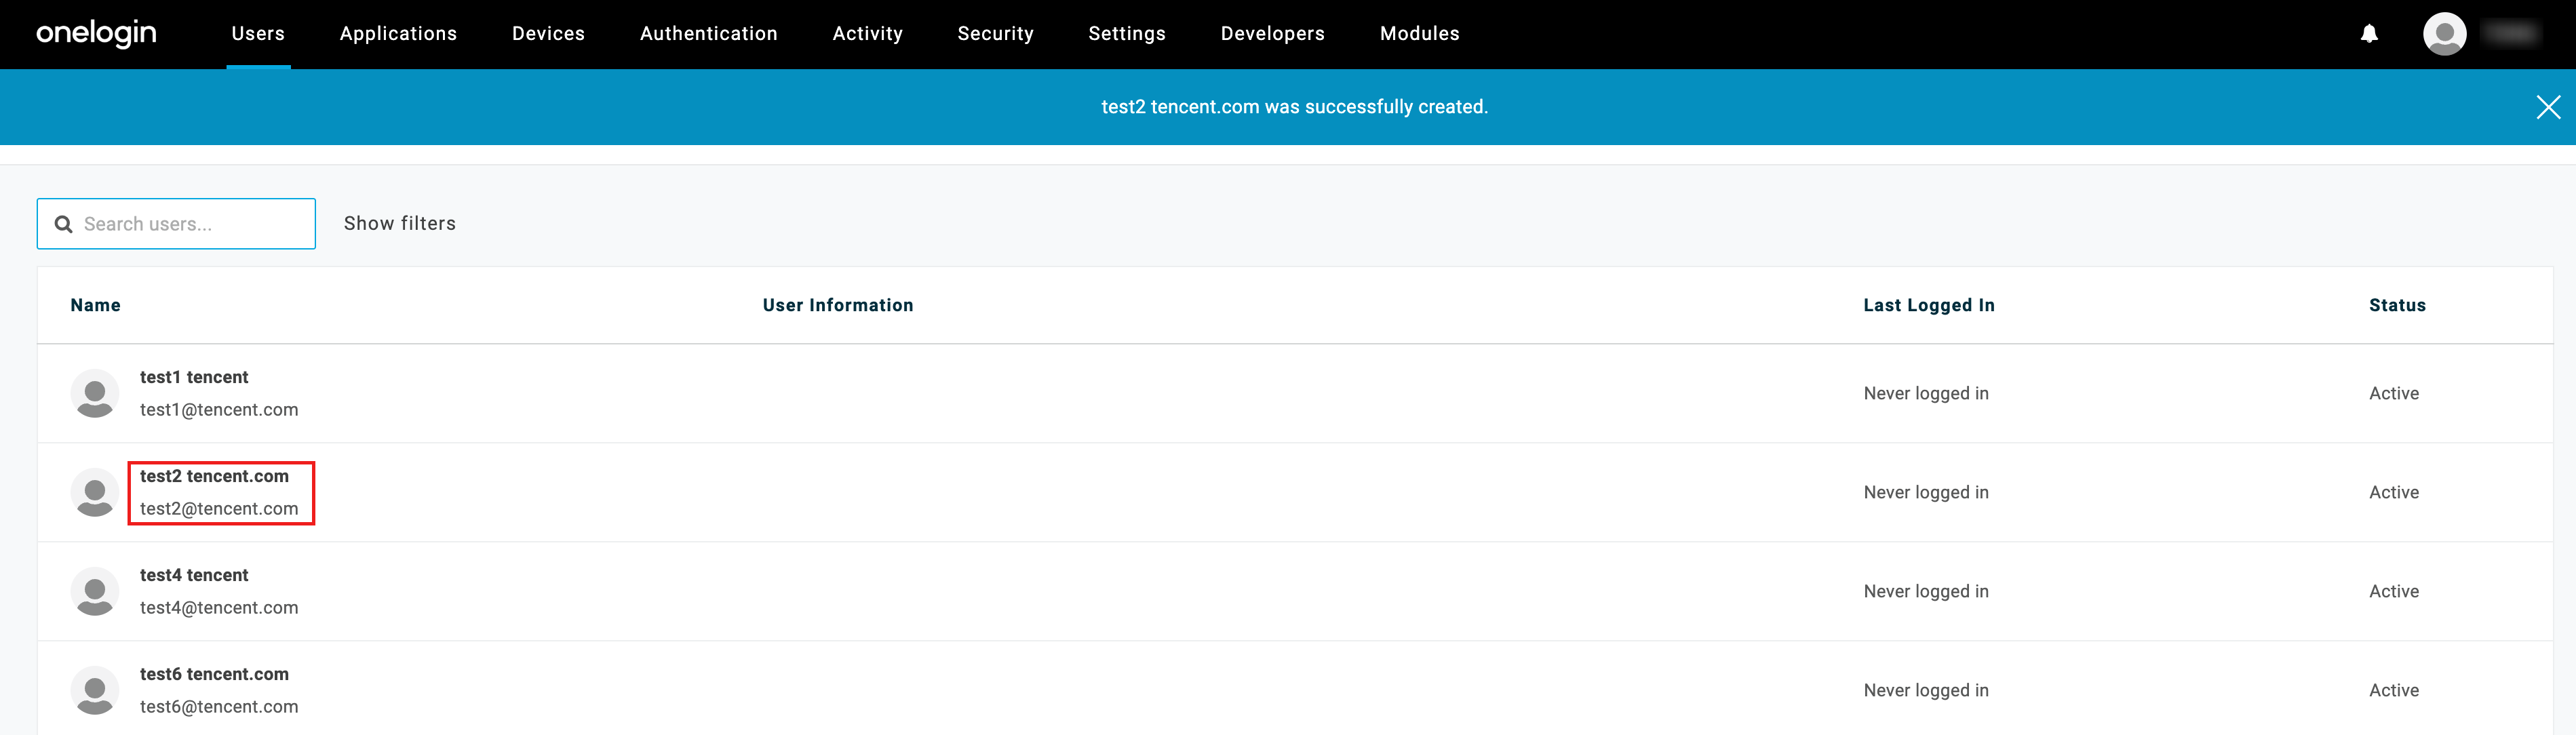
3.1 Select Users > Users from the top menu to enter the list of users, then click the name of the synchronized user to enter the user detail page.
3.2 Left selection Applications, click +, and assign users to the target application.
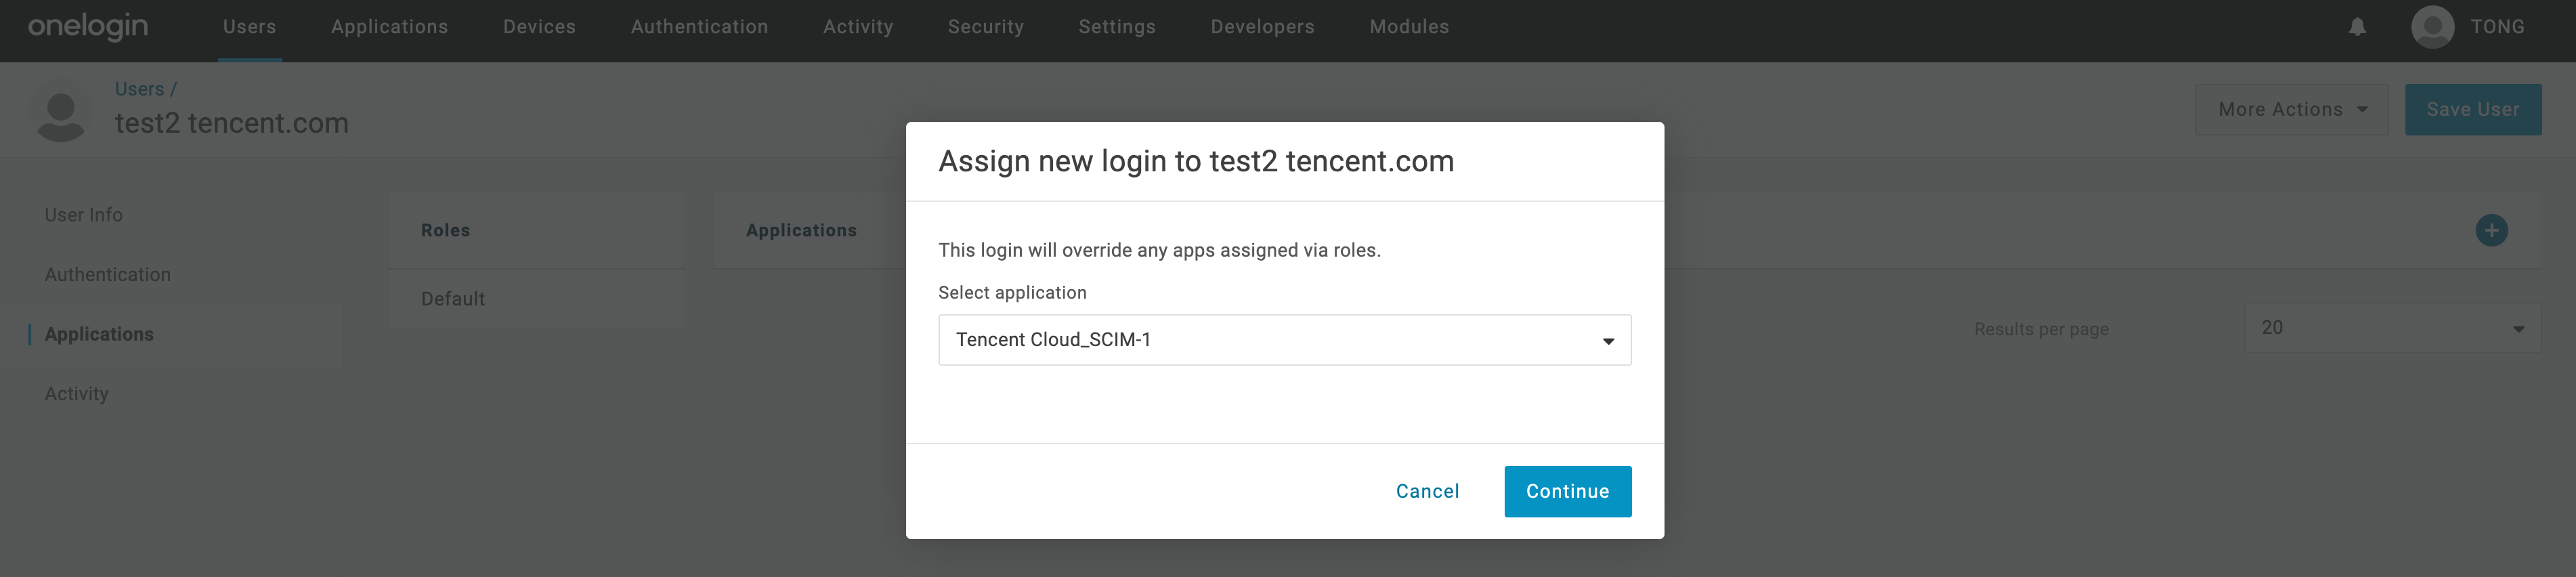
3.3 In Select application, select an application, then click Continue.
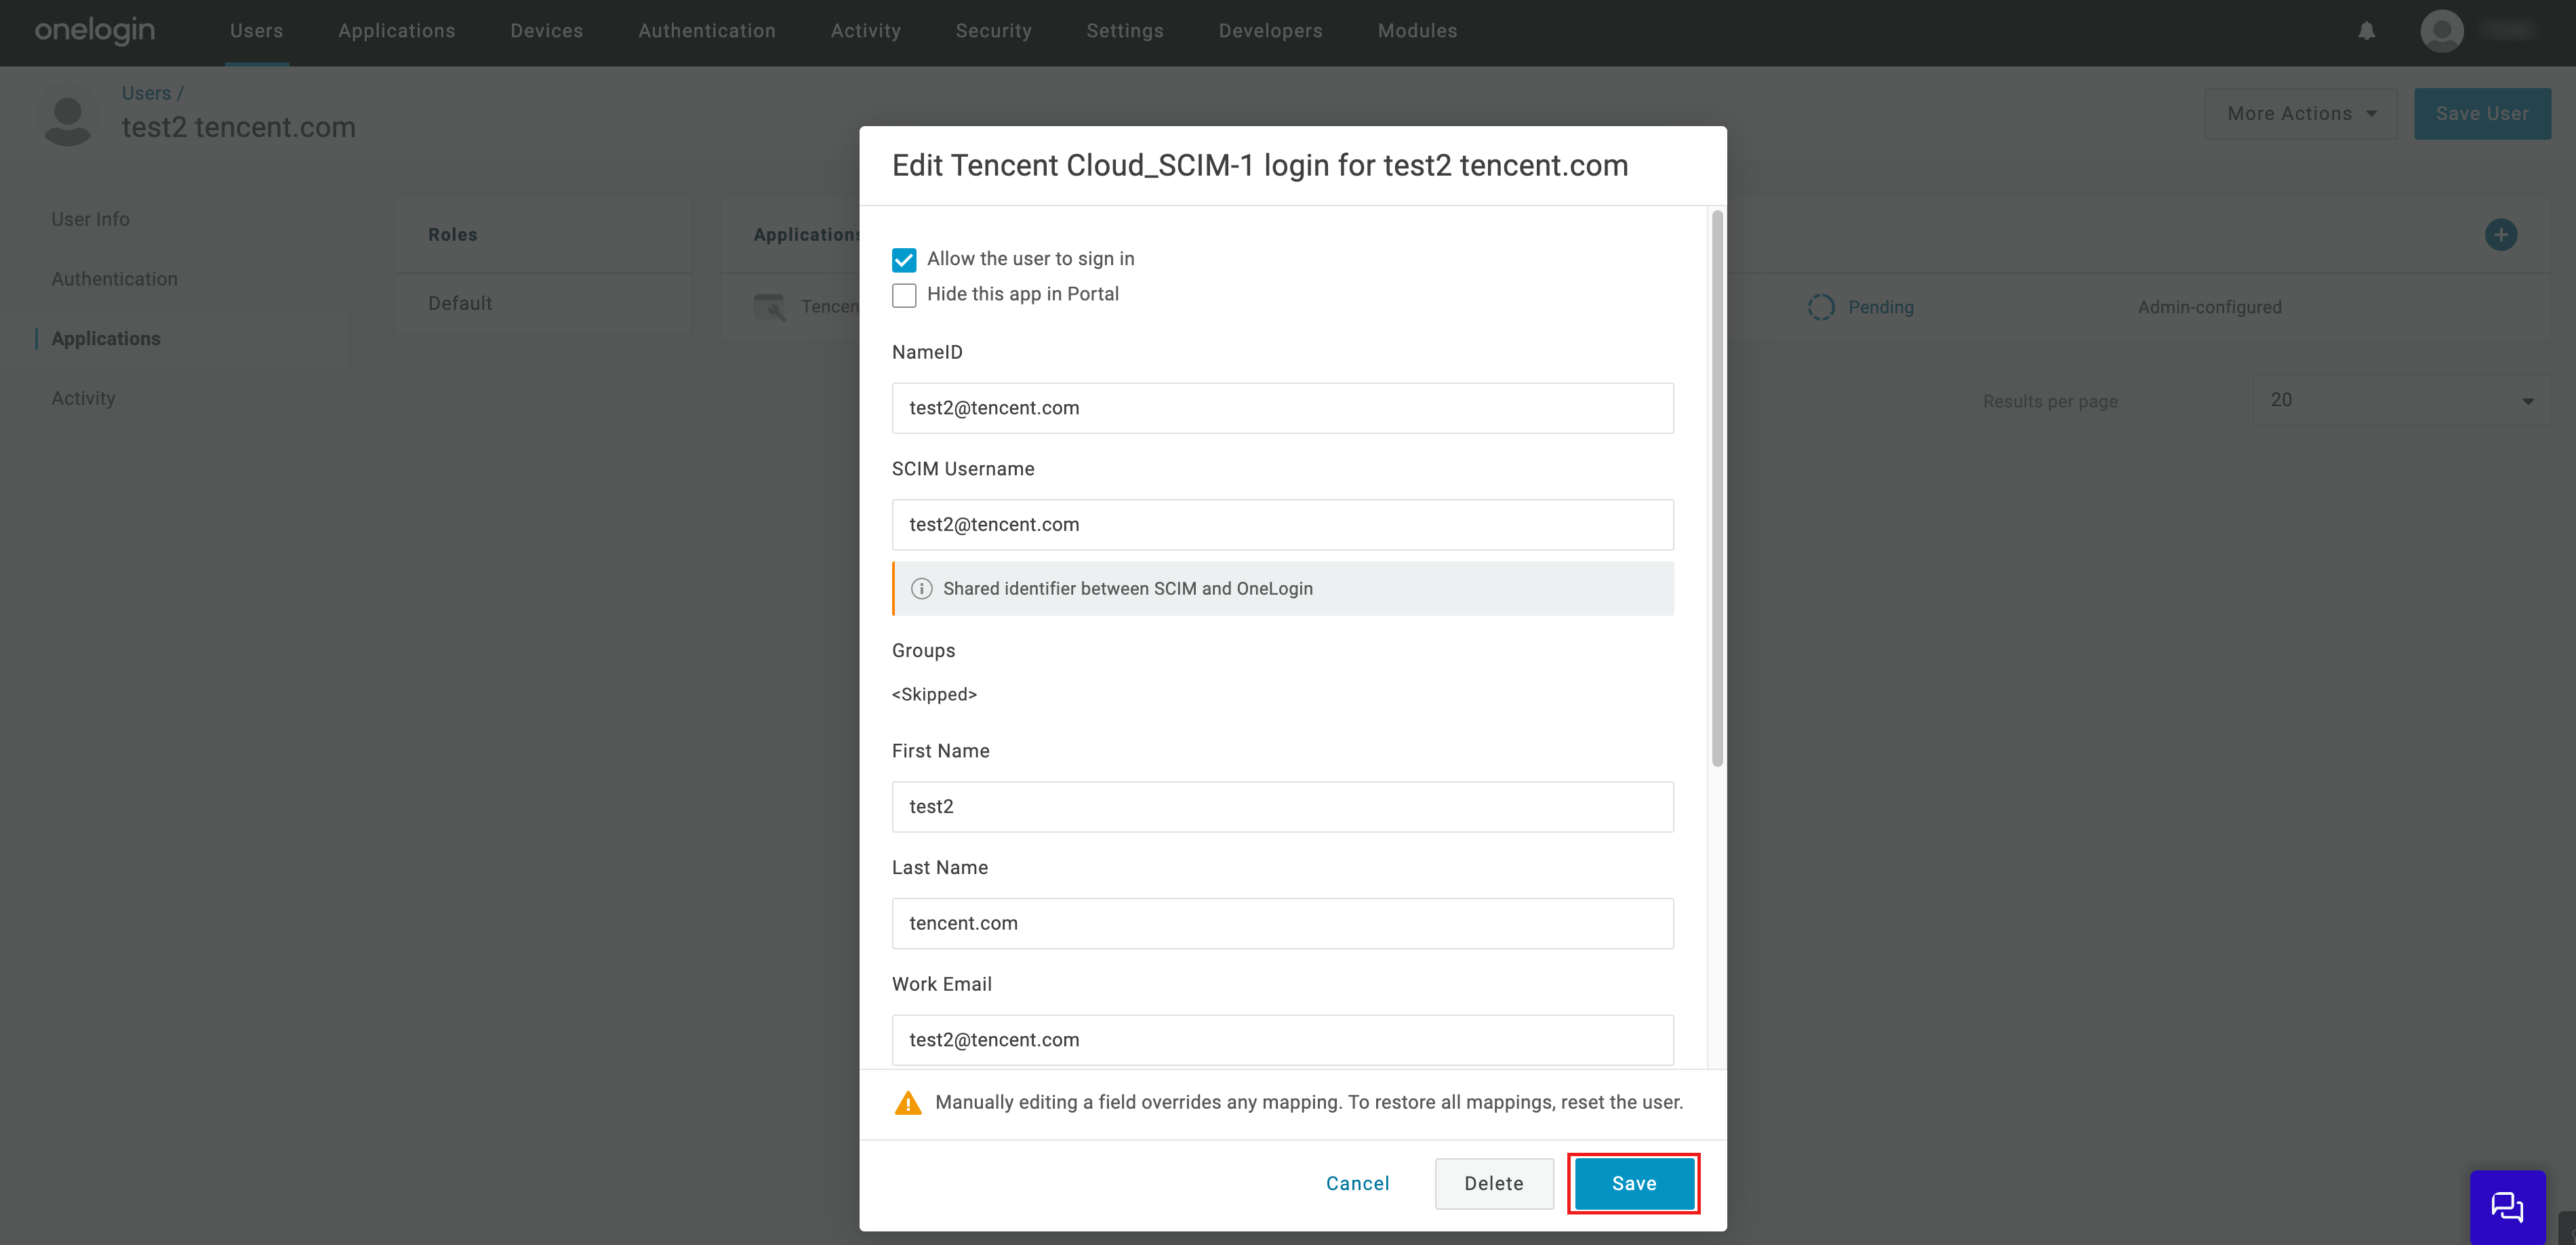
3.4 In the edit form, modify the username, email, and other information (optional), then click Save.
Step 3: Upload Federation Metadata XML in the Identity Center
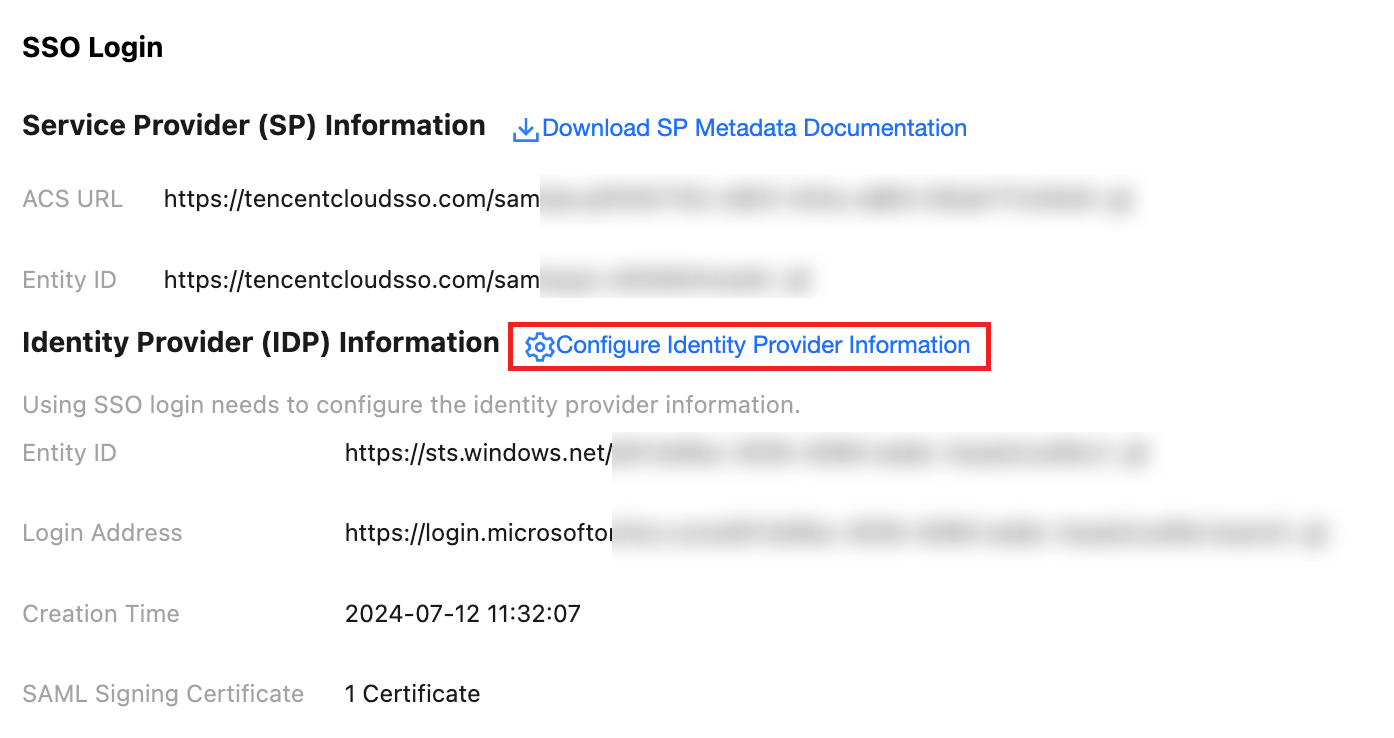
1. In the Tencent Cloud Organization > Identity Center Management > Settings > SSO LoginIdentity Provider (IDP) Information section, click Configure Identity Provider Information.
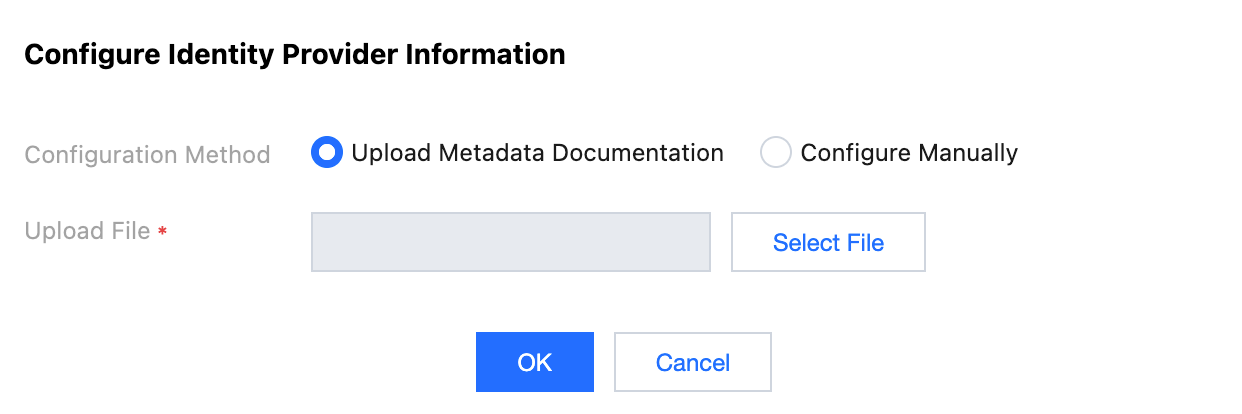
2. Click Select File, then upload the Federation Metadata XML downloaded from Onelogin.
Result Verification
After completing the SSO login configuration, you can initiate SSO login from Tencent Cloud.
Note: A user with the same name as in the Onelogin application needs to be created in the identity center. Enter TCO > Identity Center Management > User to create the user.
Login process:
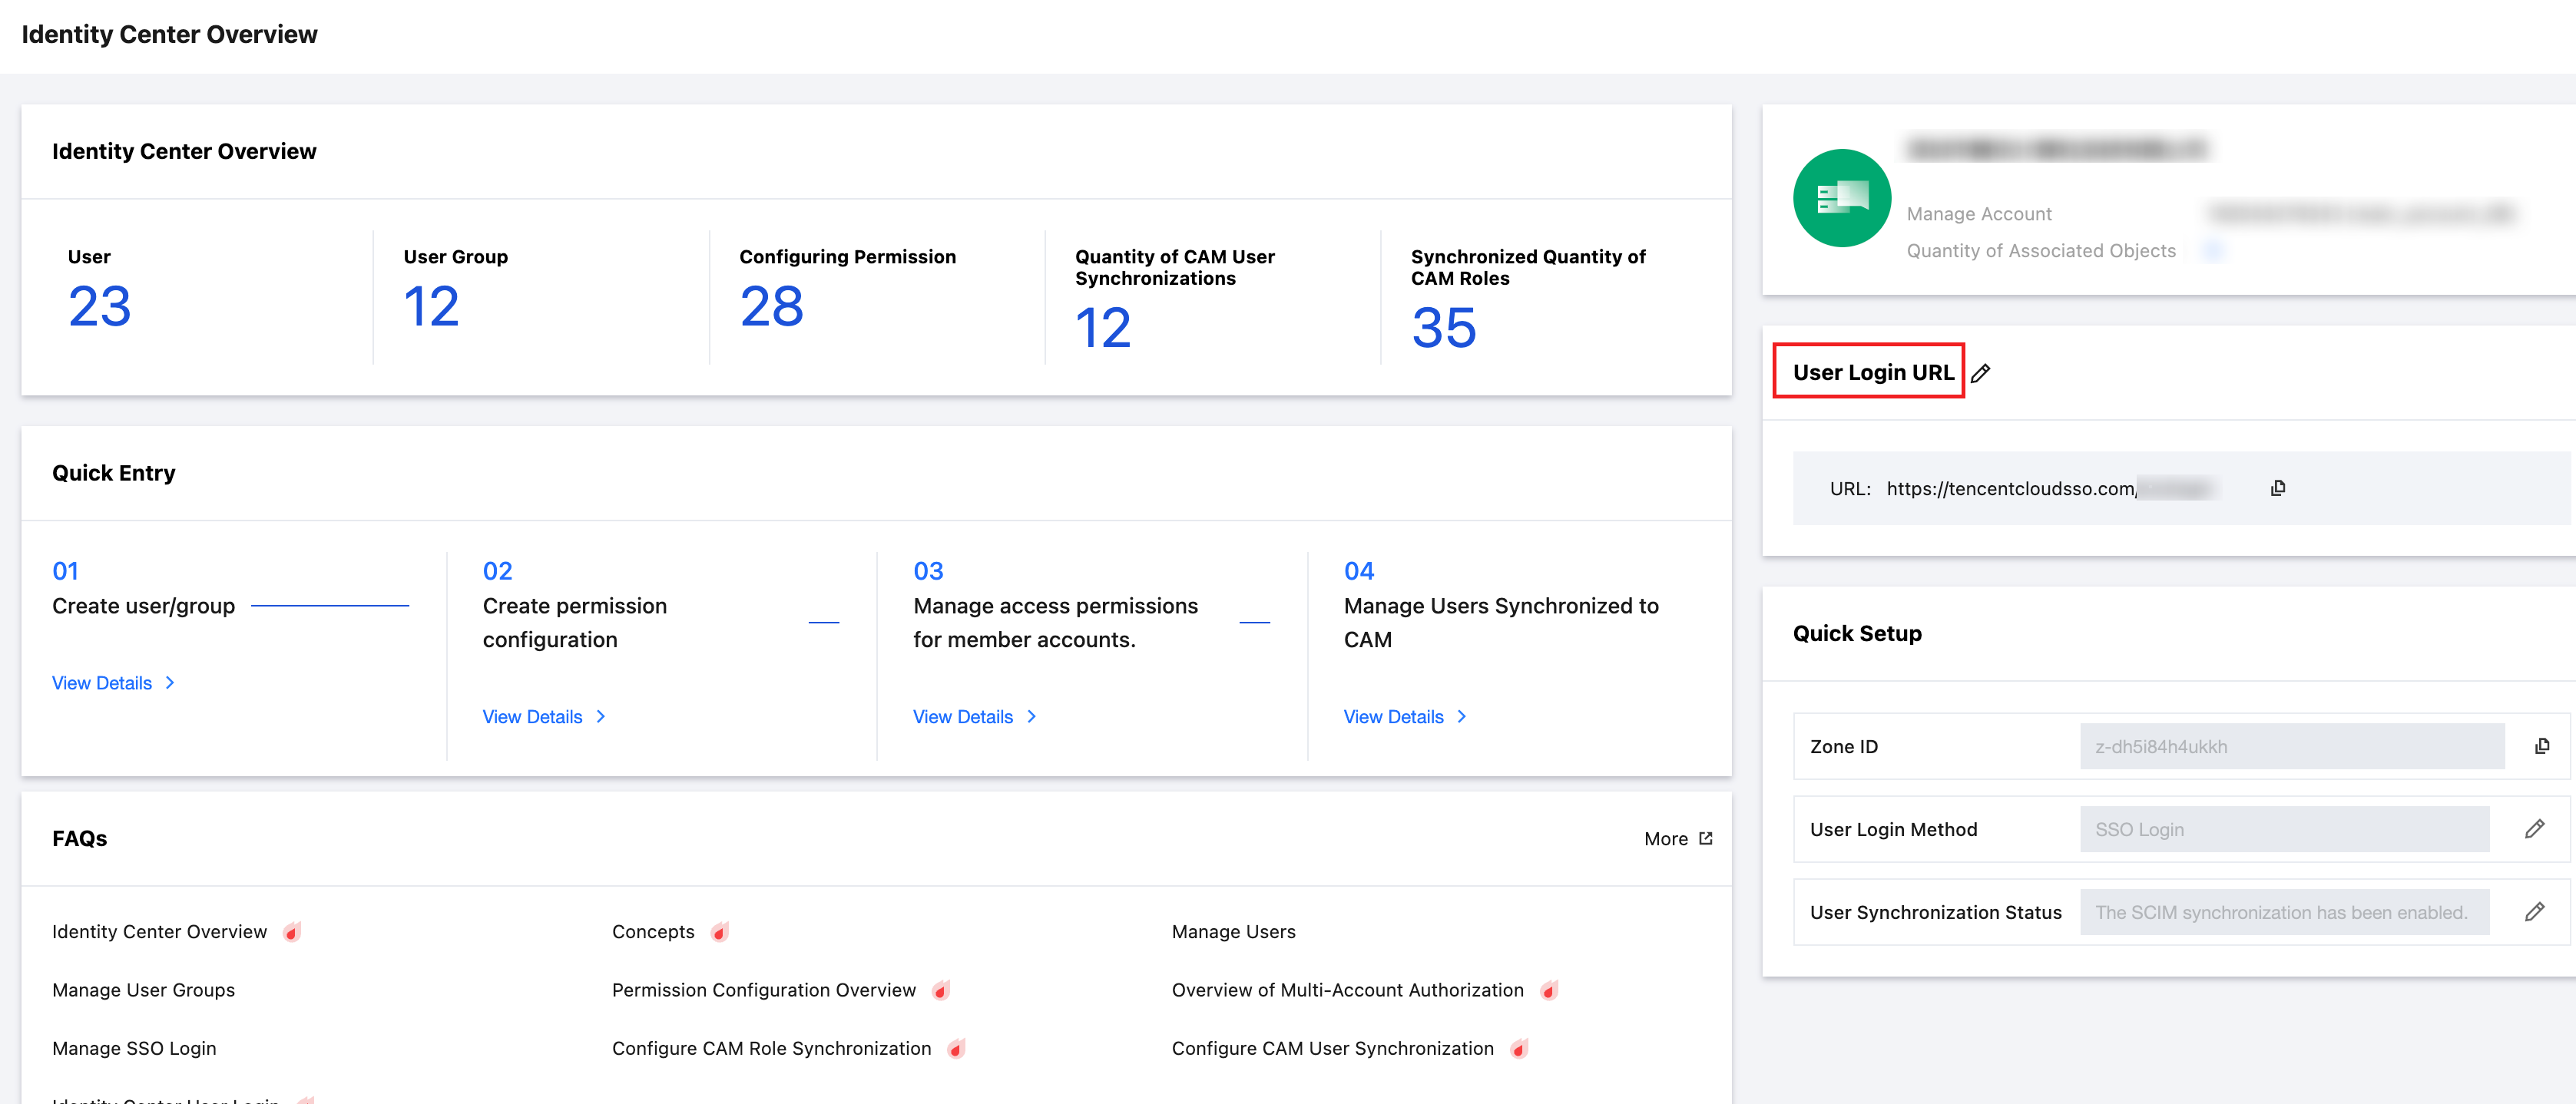
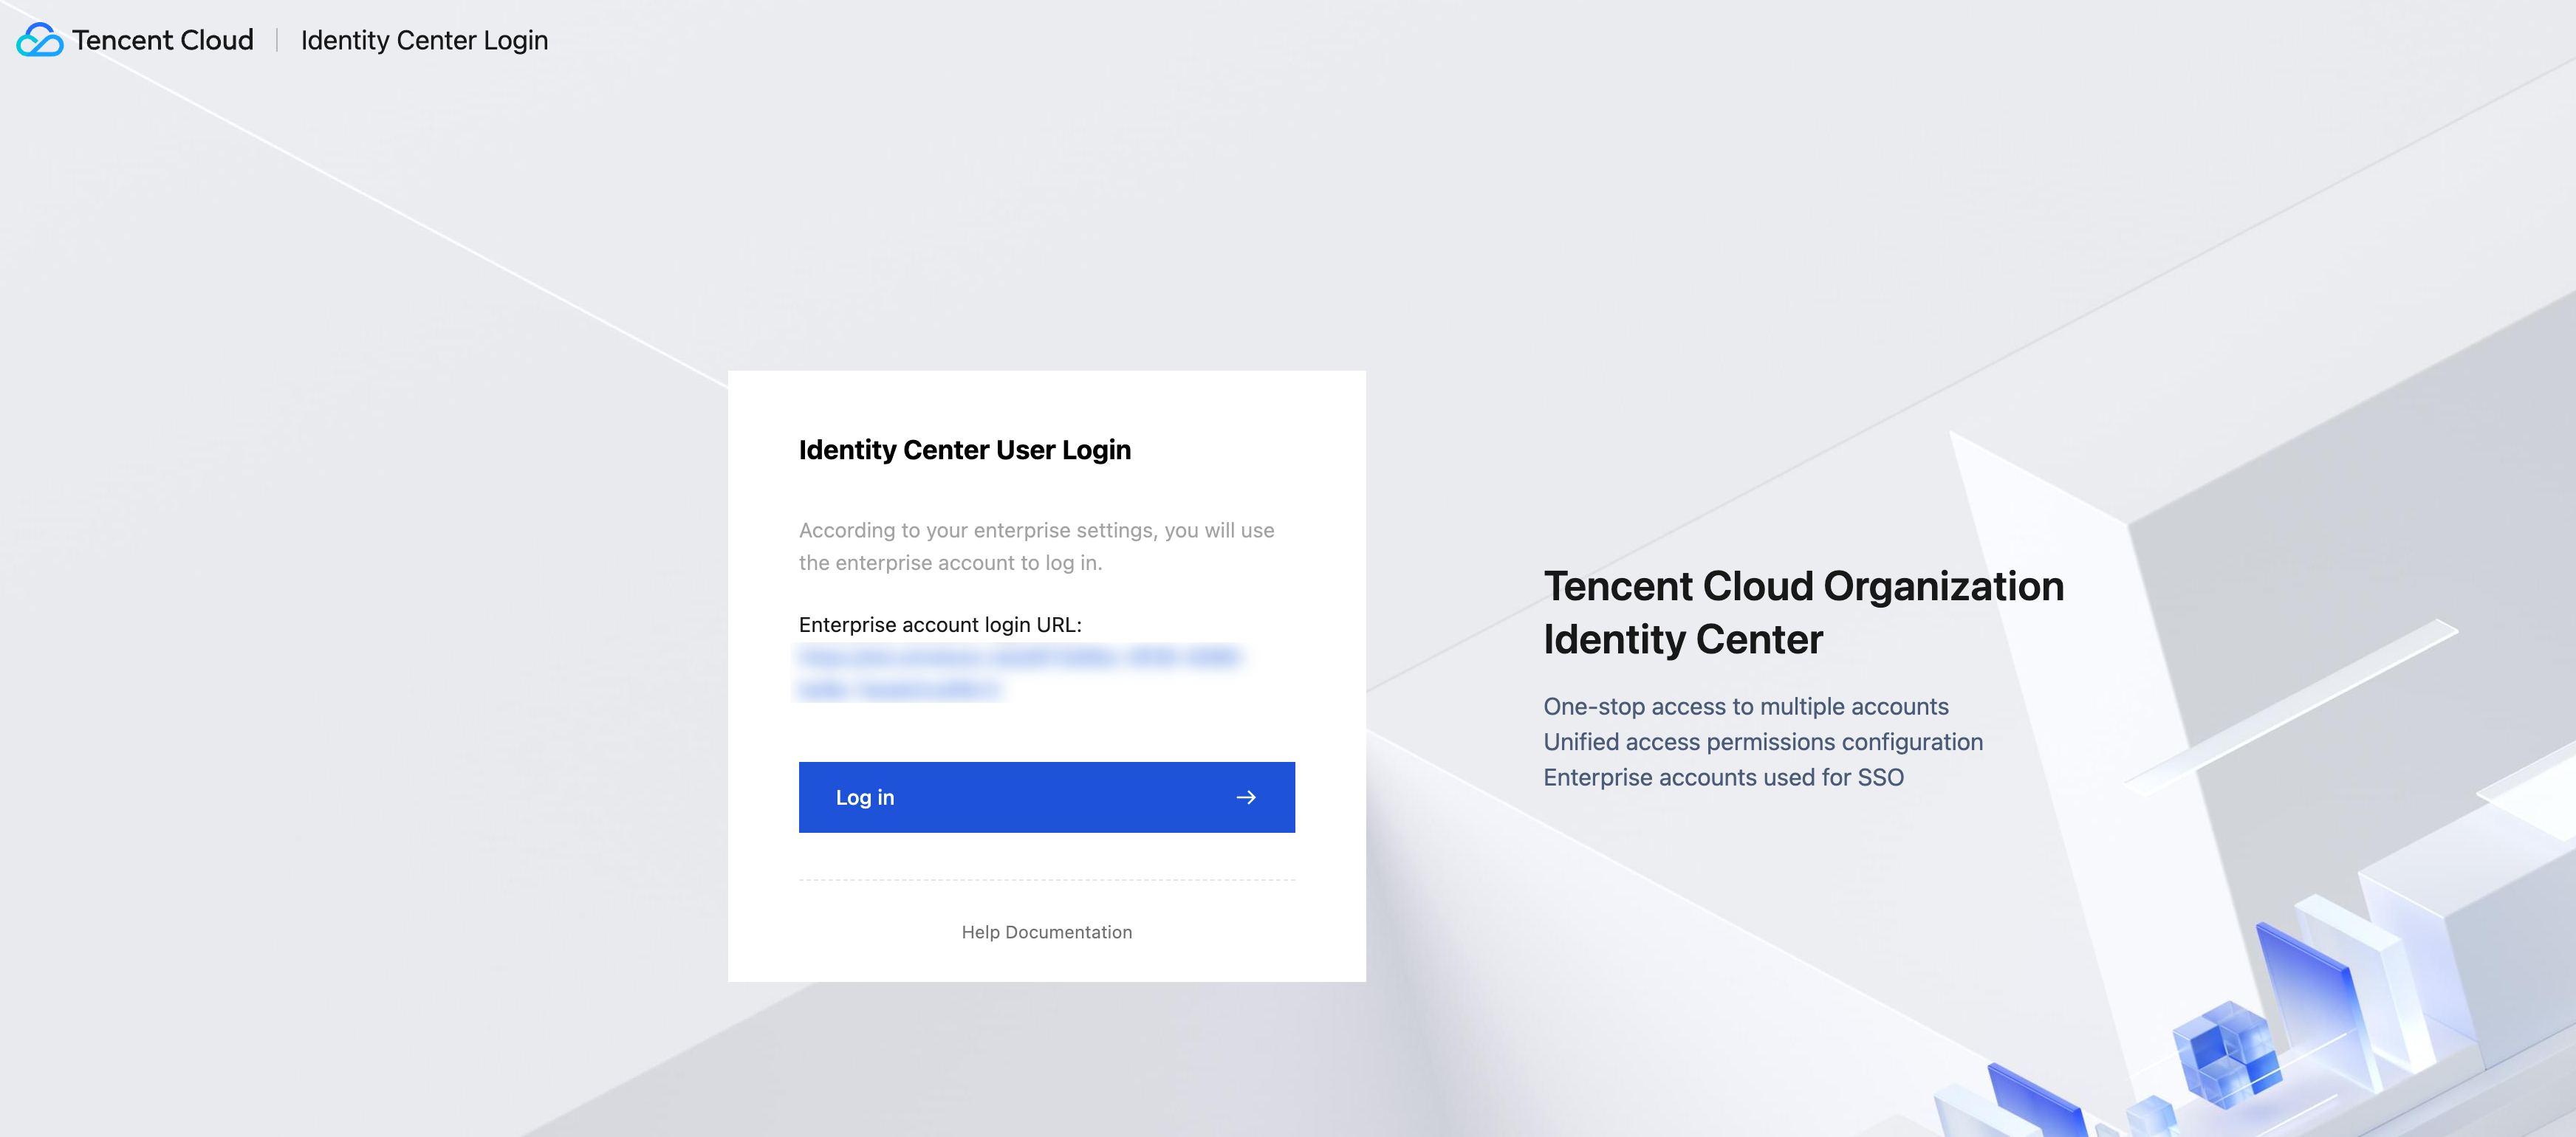
1. Identity Center administrators enter the page of TCO > Identity Center Management > Identity Center Overview, view and copy the User Login URL.
2. Visit User Login URL, click Log in.
3. Redirect to the Onelogin login page, enter account and password to log in.
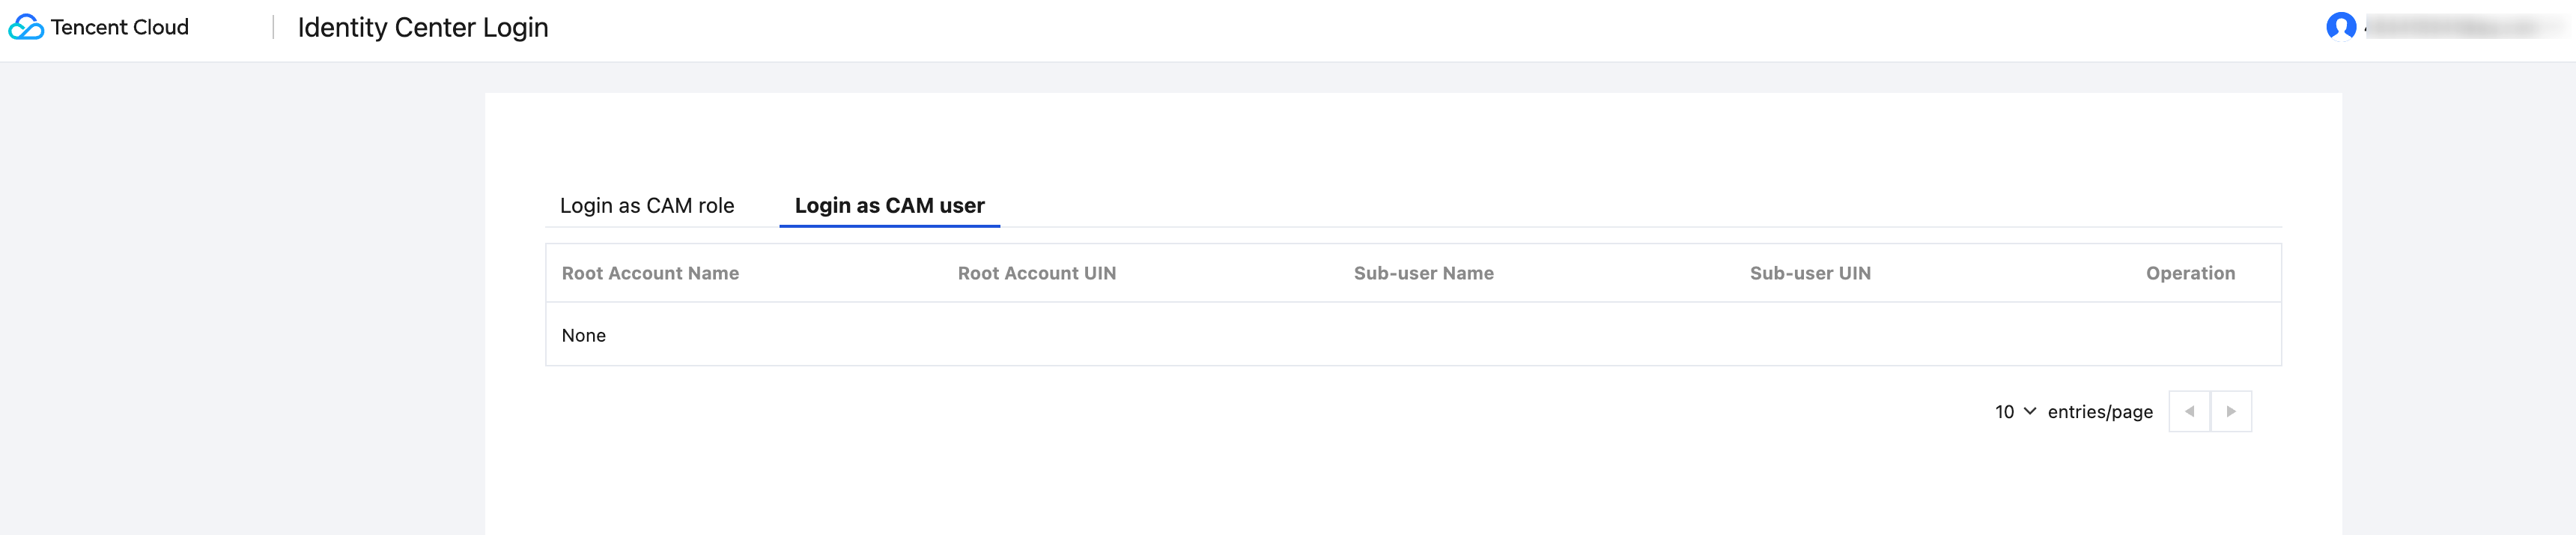
4. Successful login, enter the Identity Center account list page.