Overview
WooCommerce is a popular tool for building independent e-commerce websites. It is open source, free of charge and easy to use. With powerful features, it allows you to quickly build an independent WordPress-based e-commerce website. This image comes pre-installed with WordPress (including WooCommerce plugin), Nginx, MariaDB, PHP software.
Directions
Creating a Lighthouse Instance Using WooCommerce Application Image
2. On the Lighthouse purchase page, purchase a Lighthouse instance with needed configurations selected.
For image configuration, select Application image > WooCommerce 6.5.1. Configure other parameters as instructed in Purchase Methods. Note:
To set up live streaming service using a created instance, you can use the WooCommerce application image to reinstall system. In this example, we uses the application image WooCommerce 6.5.1. Note that the image may undergo version upgrades and updates. The actual version on the purchase page shall prevail.
Logging in to the Website Admin Page
1. On the instance details page, select Pre-installed application tab, and enter the application details page.
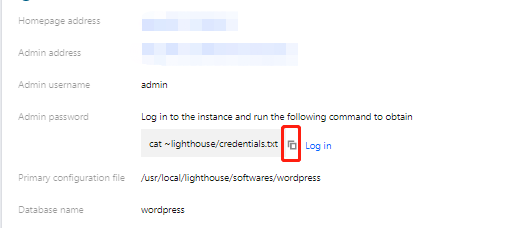
2. In the Pre-installed software section
, click to copy the command for getting WordPress admin account and password.
3. In the Pre-installed software section, click Log in beside the command or at the upper right corner.
4. In the pop-up login window
, paste the command obtained in Step 2 and press Enter.
Then, you can obtain admin account (admin) and password (wordpress_password).
5. Record admin account and password, close the login window, and go back to the application details page.
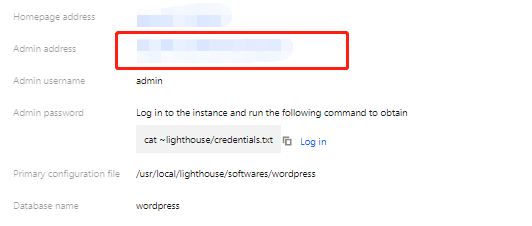
6. In the Pre-installed software section, click Admin address.
7. In the opened browser window, enter the account and password recorded in Step 4, and click Log in. 8. Select WooCommerce > Home in the left sidebar. After entering the page as shown below, you can start configuring your own independent e-commerce website.
To get started with WooCommerce, see WooCommerce. Switching WordPress Admin Page Language
2. Select Settings in the left sidebar to enter the "General options" page.
3. Find Site language and select the target language.
4. Scroll to the bottom of the page and click Save changes.
Using WordPress Theme
The free Kadence and Astra themes are installed by default, and other WordPress themes are also available. This section introduces you how to switch, add and update WordPress themes.
2. Select Appearance > Theme in the left sidebar.
3. On the Theme page, you can do the following:
On the page of adding a theme, click Upload theme to install a new theme.
On the Theme page, select the target theme, and click Enable to switch the theme.
This document takes the Kadence theme installed by default as an example to introduce how to use the independent website template in the Kadence theme to make the online store more beautiful. The operation steps are as follows:
2. Select Appearance > Theme in the left sidebar, go to the Theme page, and click the Kadence theme.
3. On the details page of the Kadence theme, click Kadence.
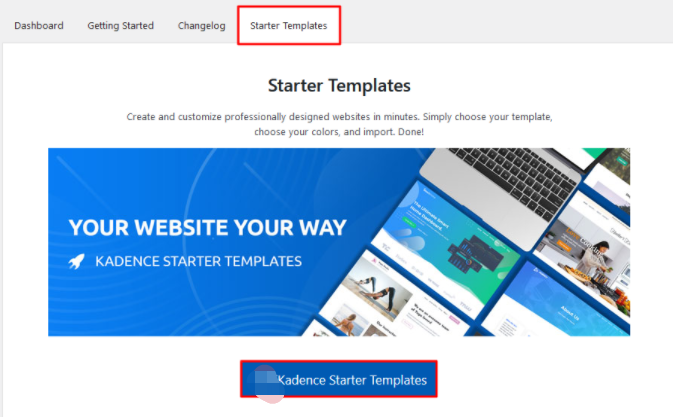
4. Select the Starter Templates tab and click Install Kadence Starter Templates.
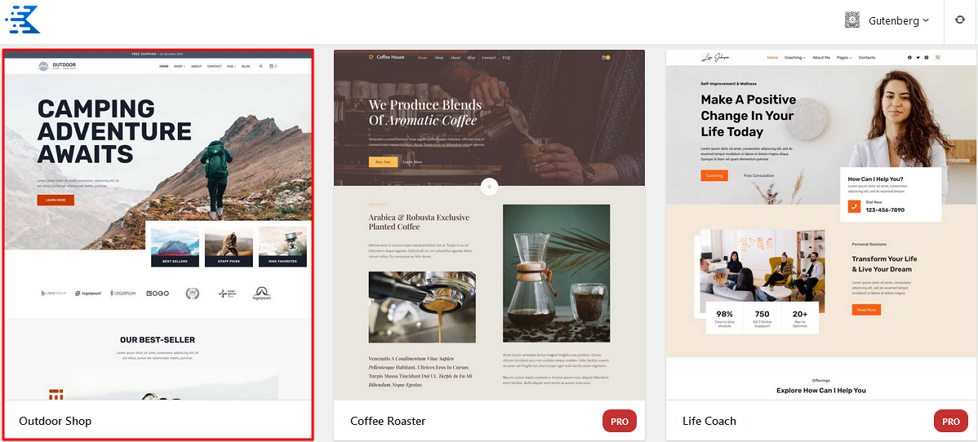
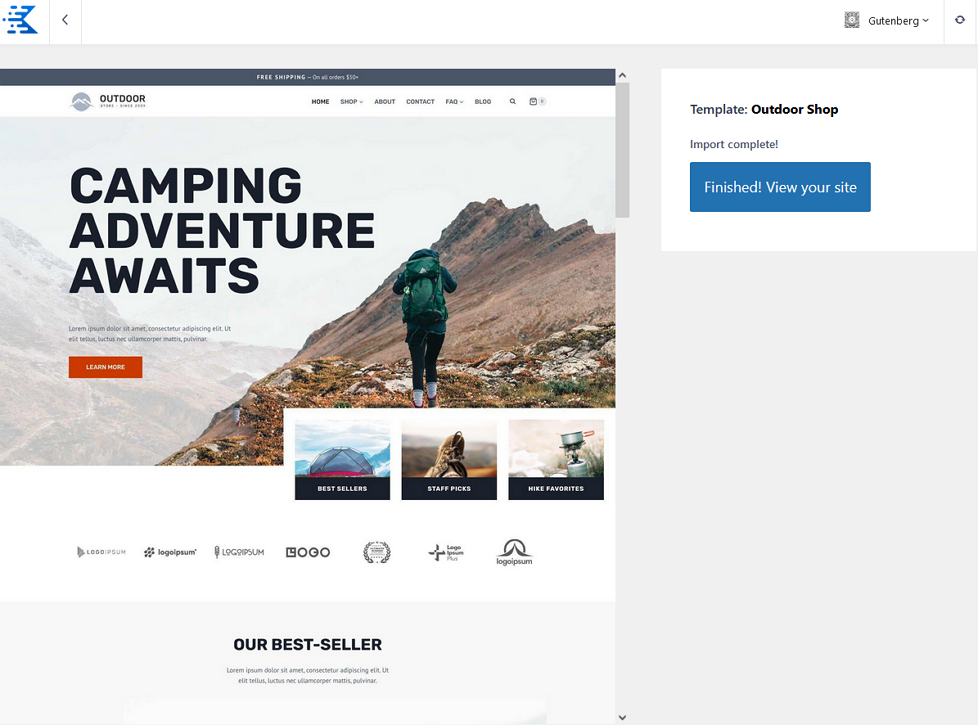
5. Select a template on the page. In this example, the Outdoor Shop template is selected. Click on the template.
6. After editing the template as needed, select Single Page or Full Site in the IMPORT OPTIONS in the lower left corner of the page. In this example, Full Site is selected.
7. Check the Must-knows in the Import Starter Template pop-up window, and import.
Note:
This method will overwrite your site customizer settings, widgets, and menus. If you are testing different starter templates, it is recommended that you enable "Delete Previously Imported Posts and Images".
8. The following page indicates that you have successfully applied the template to your online store. You can click Finished! View your site to go to the store homepage.
Enabling HTTPS access