Building a Personal Live Streaming Room Using the SRS Application Template
Download
Focus Mode
Font Size
Last updated: 2024-03-20 14:40:12
Overview
SRS is a simple and efficient real-time video server that supports RTMP, WebRTC, HLS, HTTP-FLV, and SRT/GB28181.
Lighthouse provides SRS application images, enabling you to easily set up live streaming service without complicated deployment operations.
Related protocols
HTTP-FLV
HTTP-FLV is another video format (a container format used to deliver streaming media data over the network) launched by Adobe. It is simple and lightweight, and does not require a lot of media header information. The entire FLV is composed of a header, a body and tags, implementing extremely fast loading speed.
FLV (also known as Flash Video) is a network video format known for its small size and extremely fast loading speed. The suffix of file formatted with FLV is .flv. HTTP-FLV encapsulates the streaming media data into FLV format, and then transmits it to the client through the HTTP protocol.
HLS
HLS (also known as HTTP Live Streaming) is an HTTP-based adaptive bitrate streaming communications protocol developed by Apple Inc. The protocol is mainly widespread in audio and video services on PC and Apple's terminals. HLS breaks the overall stream into continuous small ts files on the server, and accesses the ts files in sequence via M3U8 index. The client only needs to continuously play the files obtained from the server in sequence, so as to realize the playback of audio and video.
HLS outperforms HTTP-FLV in the following aspects:
Supported natively on Apple's full range of products and also on Android system or PCs.
However, HLS has the following disadvantages due to the transmission protocol.
Poor sync performance : The latency is often greater than 10s.
Requires high storage and cache performance due to sliced file transfer.
HTTP-FLV plays the best role in the scenario of interactive live streaming (such as live streaming e-commerce), while HLS is more applicable in some latency-insensitive scenarios such as general live streaming.
Directions
Creating a Lighthouse Instance Using SRS Application Image
1. Log in to the Lighthouse console. On the Instances page, click Create.
2. On the Lighthouse purchase page, purchase a Lighthouse instance with needed configurations selected.
For image configuration, select Application image > SRS 4.2. Configure other parameters as instructed in Purchase Methods.
Note:
To set up live streaming service using a created instance, you can use the SRS application image to reinstall system.
In this example, we uses SRS 4.2. Note that the image may undergo version upgrades and updates. The actual version on the purchase page shall prevail.
Configuring an Instance
1. On the Instances page, select the target instance, and enter its details page.
2. Select the Firewall tab, click Add rule, and open port 1935.
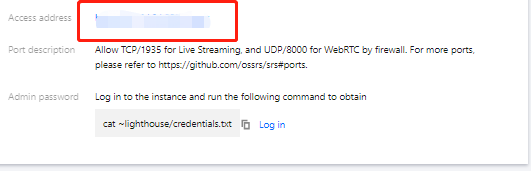
3. Select the Pre-installed application tab, click Access address in Pre-installed software to enter the SRS admin page.
4. Set the admin password as instructed by prompts and keep it private when entering the SRS admin page for the first time.
5.
Log in to the SRS admin page
, and record the OBS push address and key.
Installing and Configuring OBS Push Software
1. In this example, the push via OBS is adopted. Please download and install OBS Studio.
2. Run OBS. The OBS interface displays the following items:
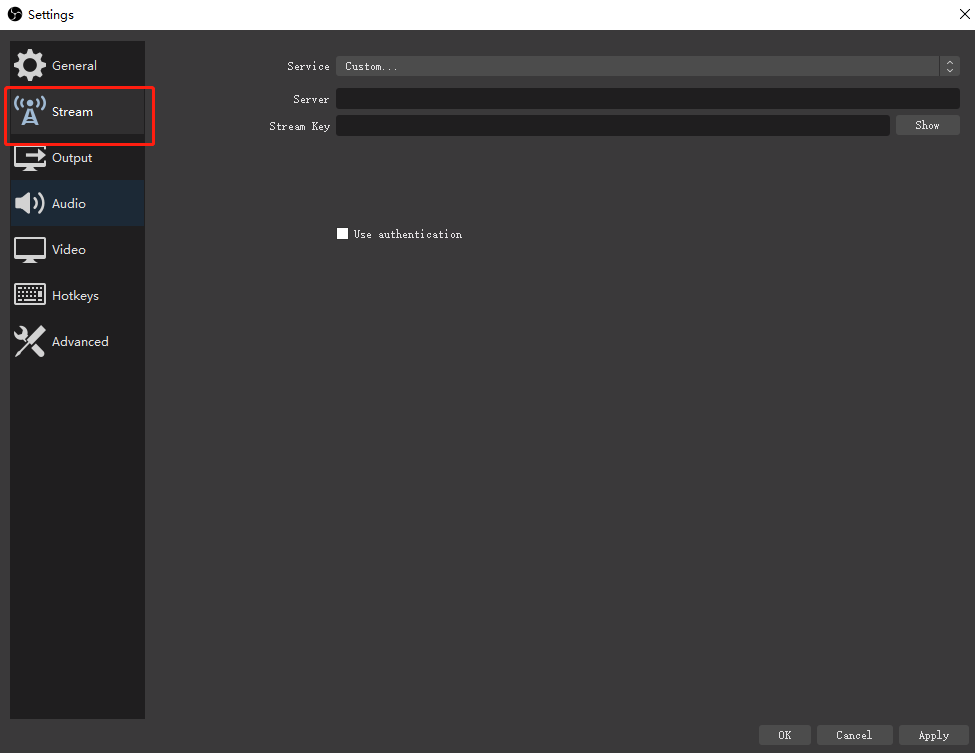
3. Select File > Settings on the top left corner of the interface.
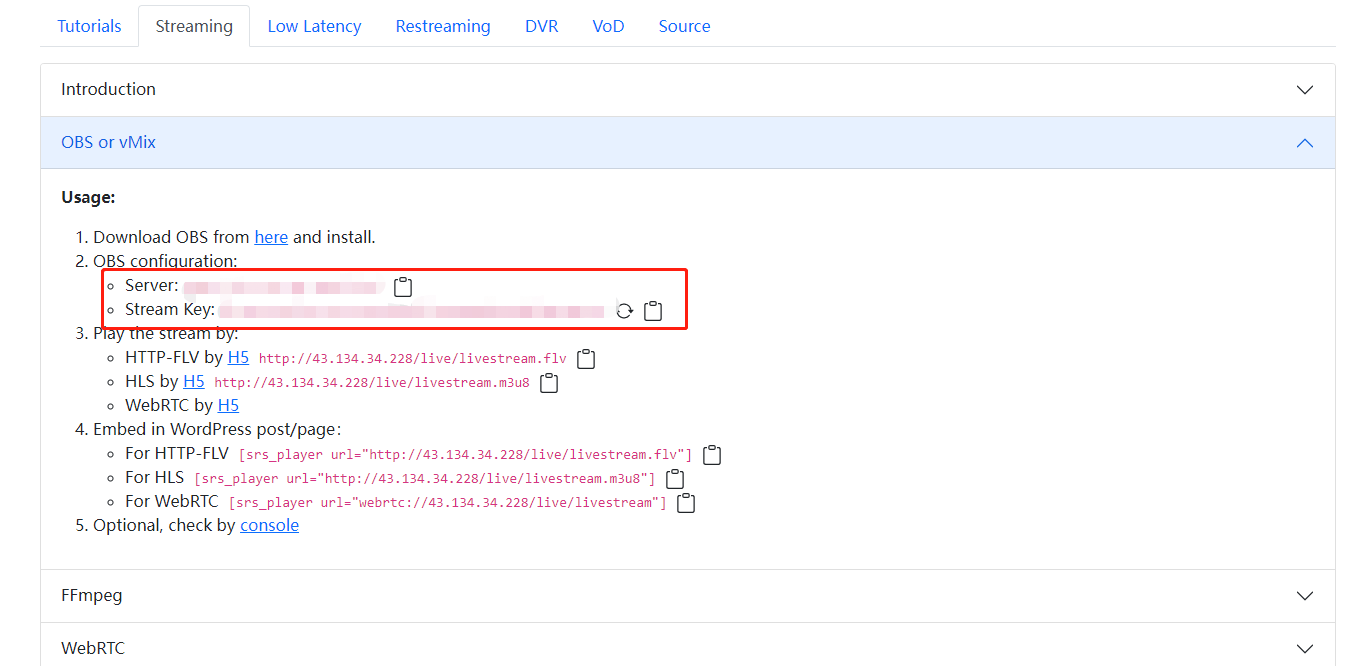
4. Select Push on the left sidebar, and configure the following:
Service: Select Custom from the drop-down list.
Service: Enter the URL obtained in Step 5 for push via OBS.
Stream Key: Enter the stream key obtained in Step 5.
5. Click OK.
6. Select Media Source in Sources settings on the main interface, and click Start Streaming under the Controls column.
7. In the Create or Select Source pop-up window, create or select a source as required, and click OK.
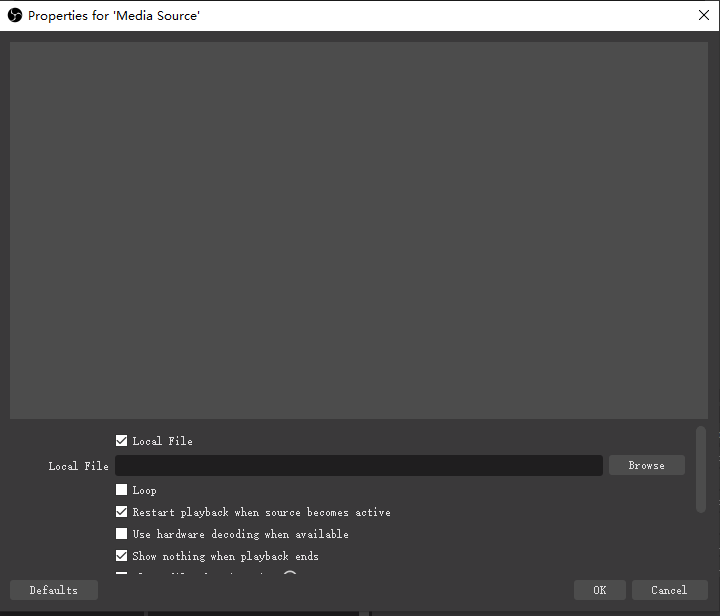
8. In the Properties for 'Media Source' pop-up window, select the content to be pushed or (for live streaming). In this example, a local video resource is selected.
9. Click OK to upload and start streaming. You can right-click the screen in OBS to adjust the scene size and view orientation of the live streaming in real time.
Viewing Live Streaming
1. Go to the Instances page in the console, and enter the details page of the target SRS instance.
2. Select the Pre-installed application tab, click Access address in Pre-installed software to enter the SRS admin page.
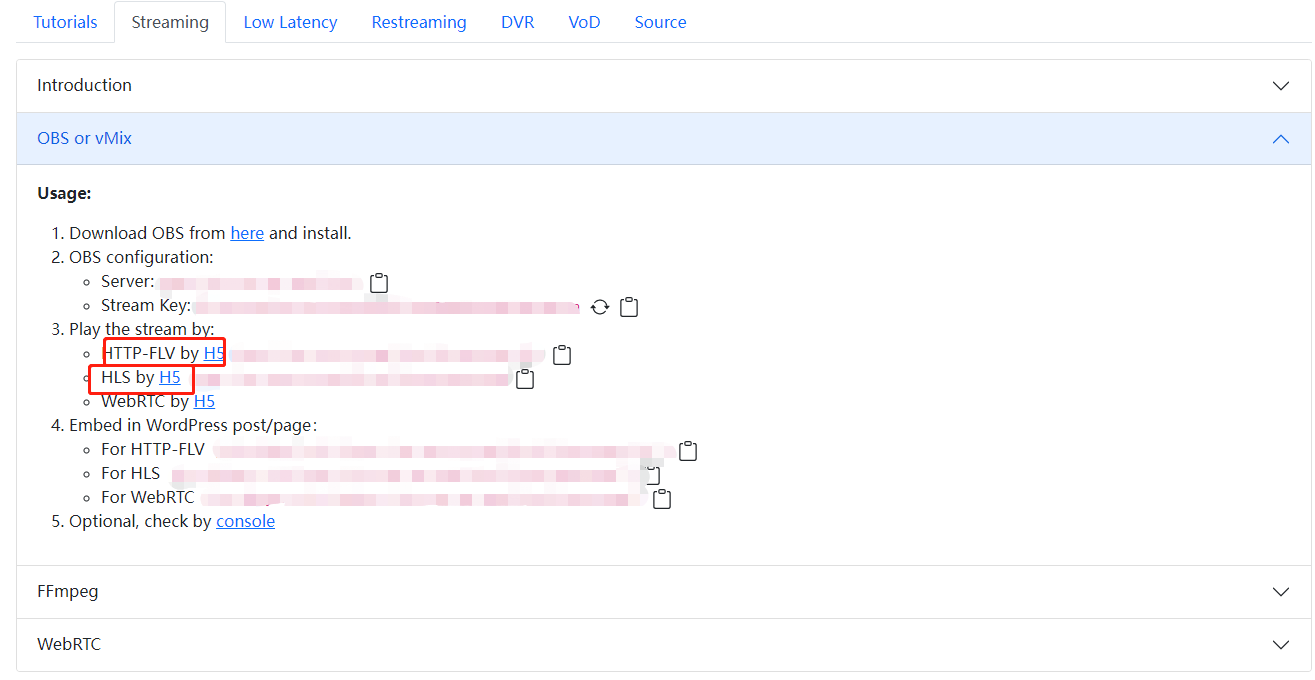
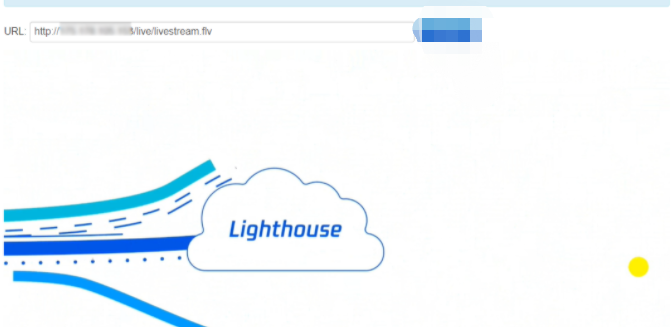
3. Click HTTP-FLV by H5 or HLS by H5 as shown in this example to view the live streaming scene.