Desk Guide
Download
フォーカスモード
フォントサイズ
This guide explains how to quickly start an online conversation with Desk (the chatbot) in three simple steps.
Guide
Step 1: Create Desk Application
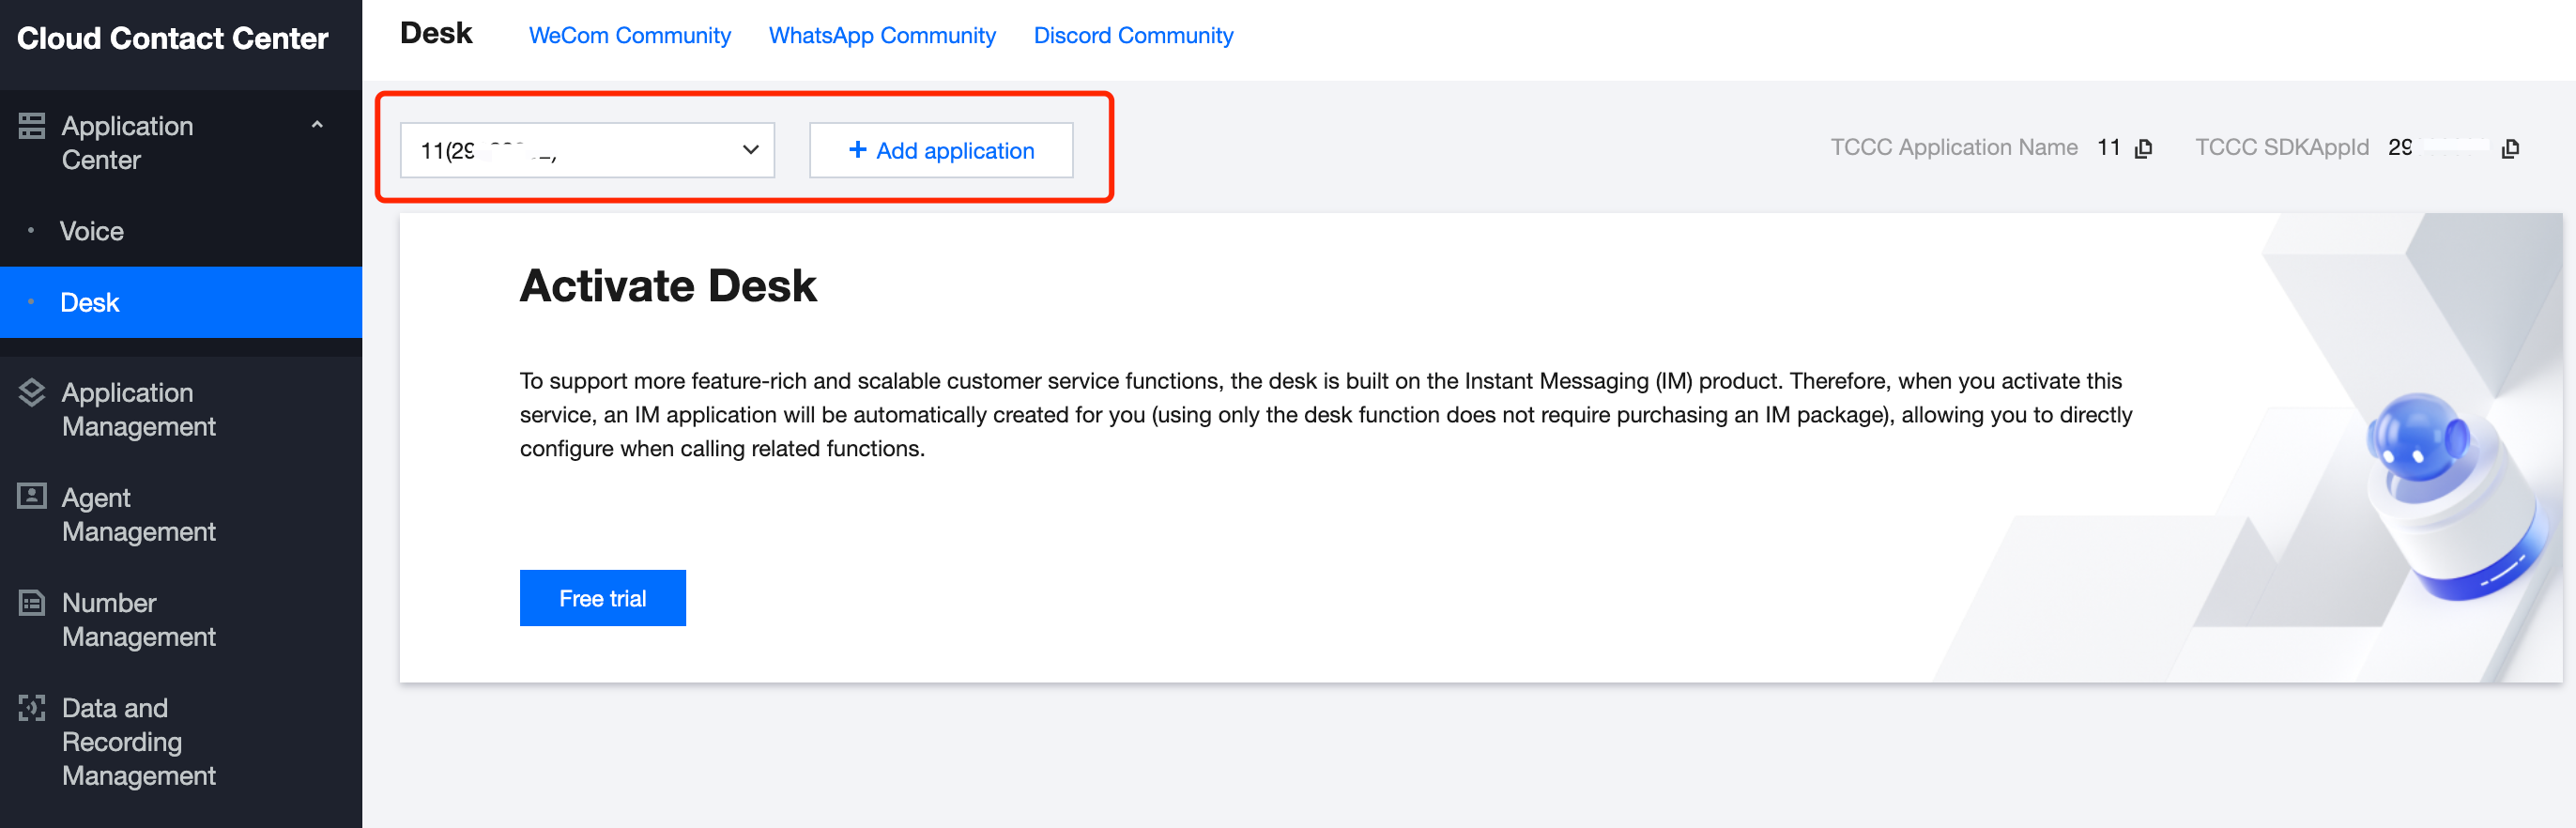
Go to the Cloud Contact Center Console, select Desk, choose an application, and click Free Trial to claim a 7-day trial.
If the application is selectable, simply click Free Trial.
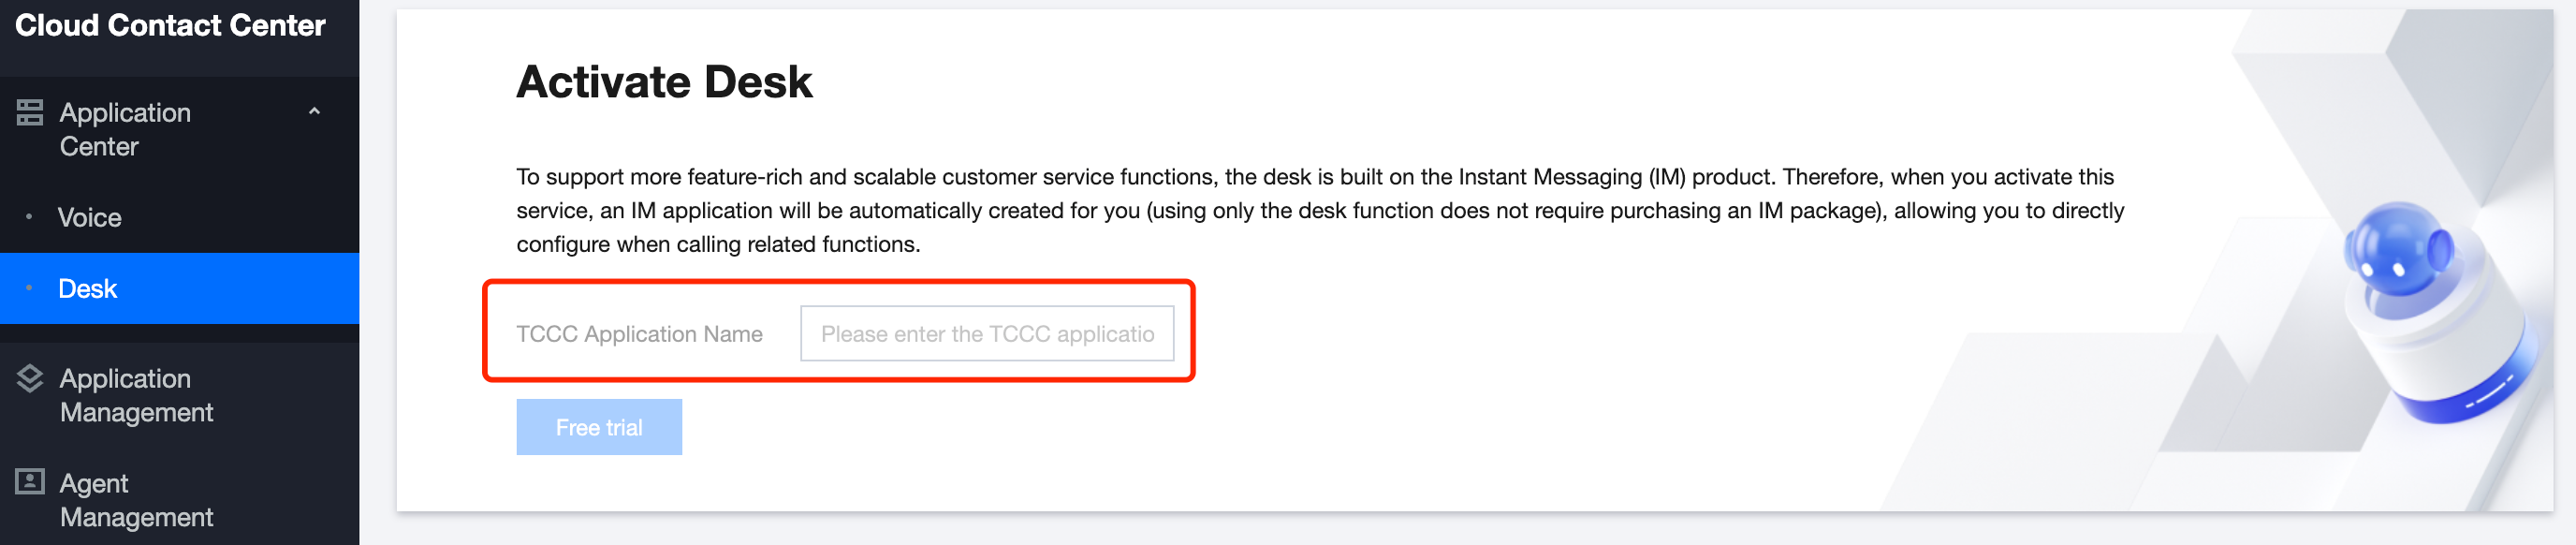
If no application is available, enter the TCCC application name, select a data center, and click Free Trial.
To link Desk with Chat session data, connect your Tencent Chat application (ensure it hasn’t activated Desk capabilities or been suspended).
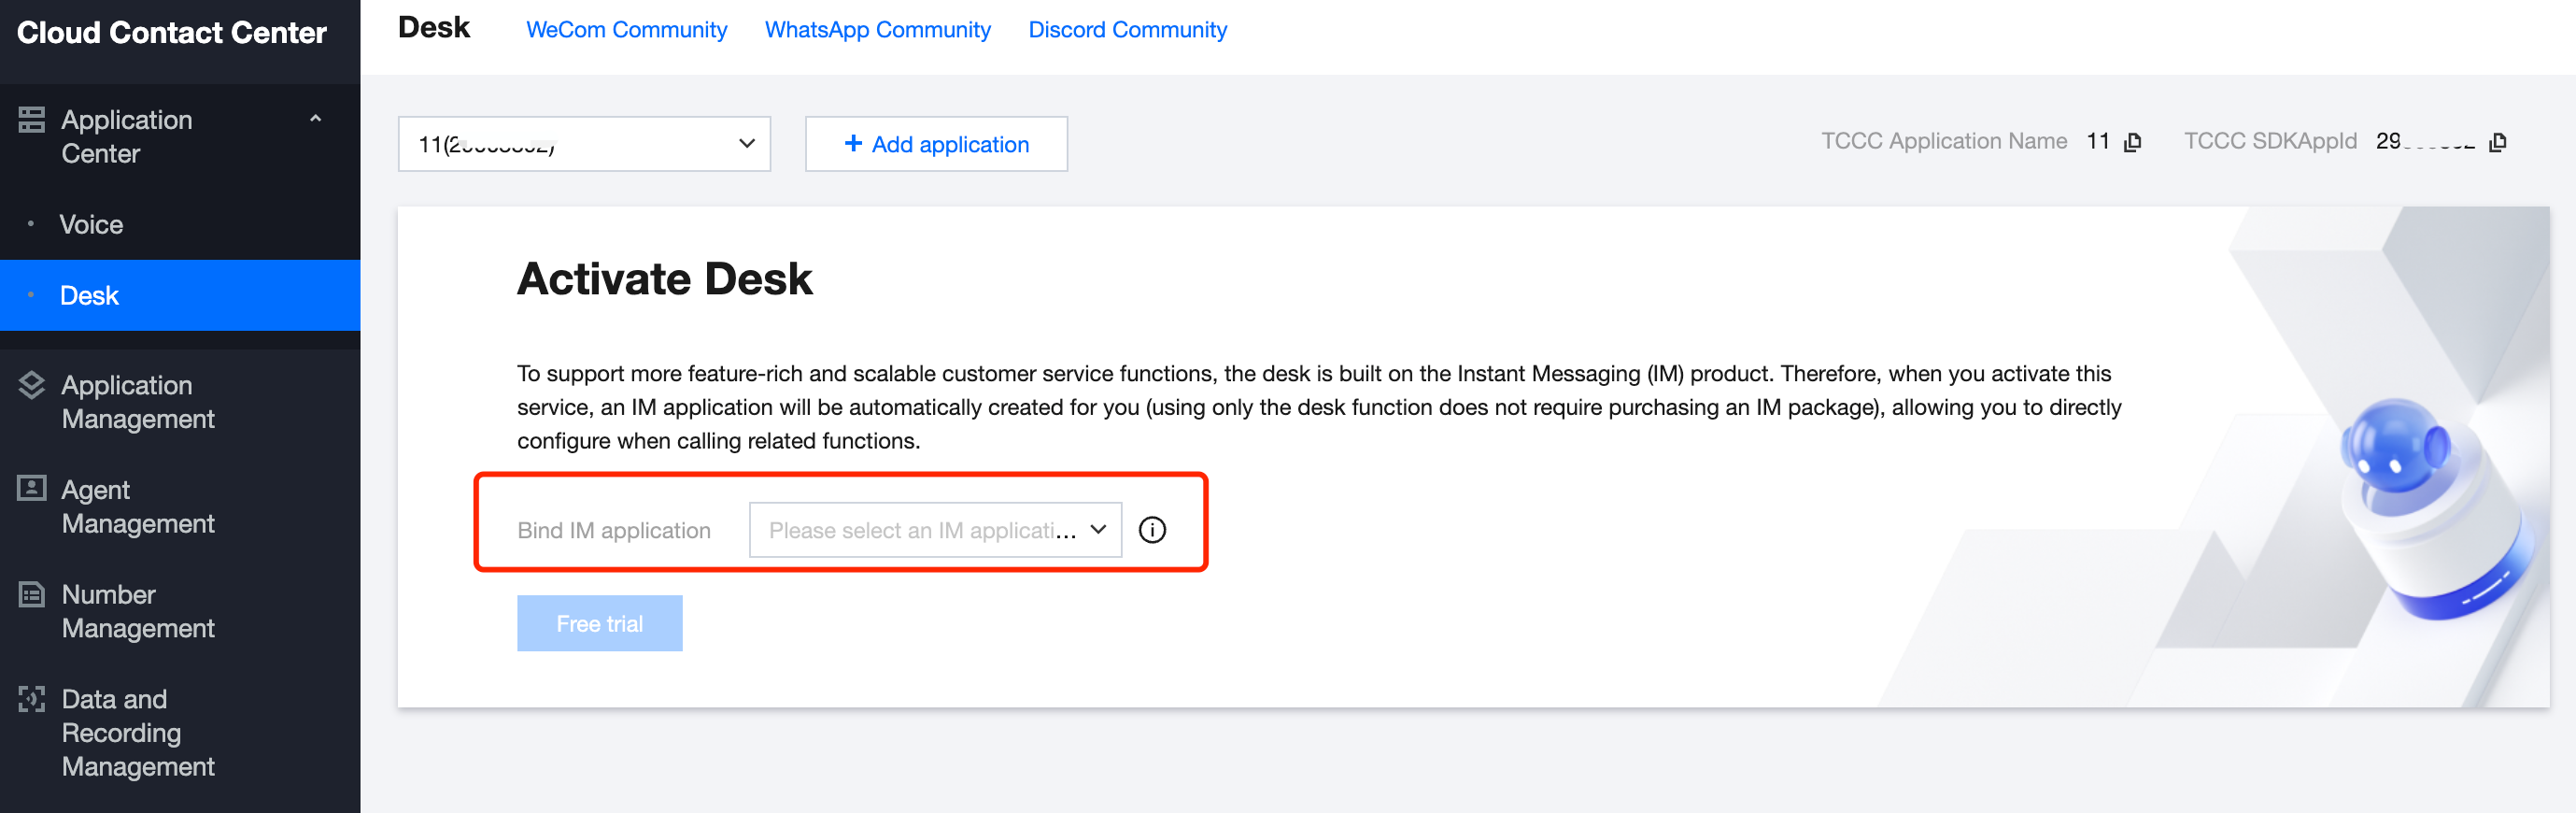
Notes:
To connect with your Chat application, create an application in the Chat console, then return to the Cloud Contact Center console to complete the connection.
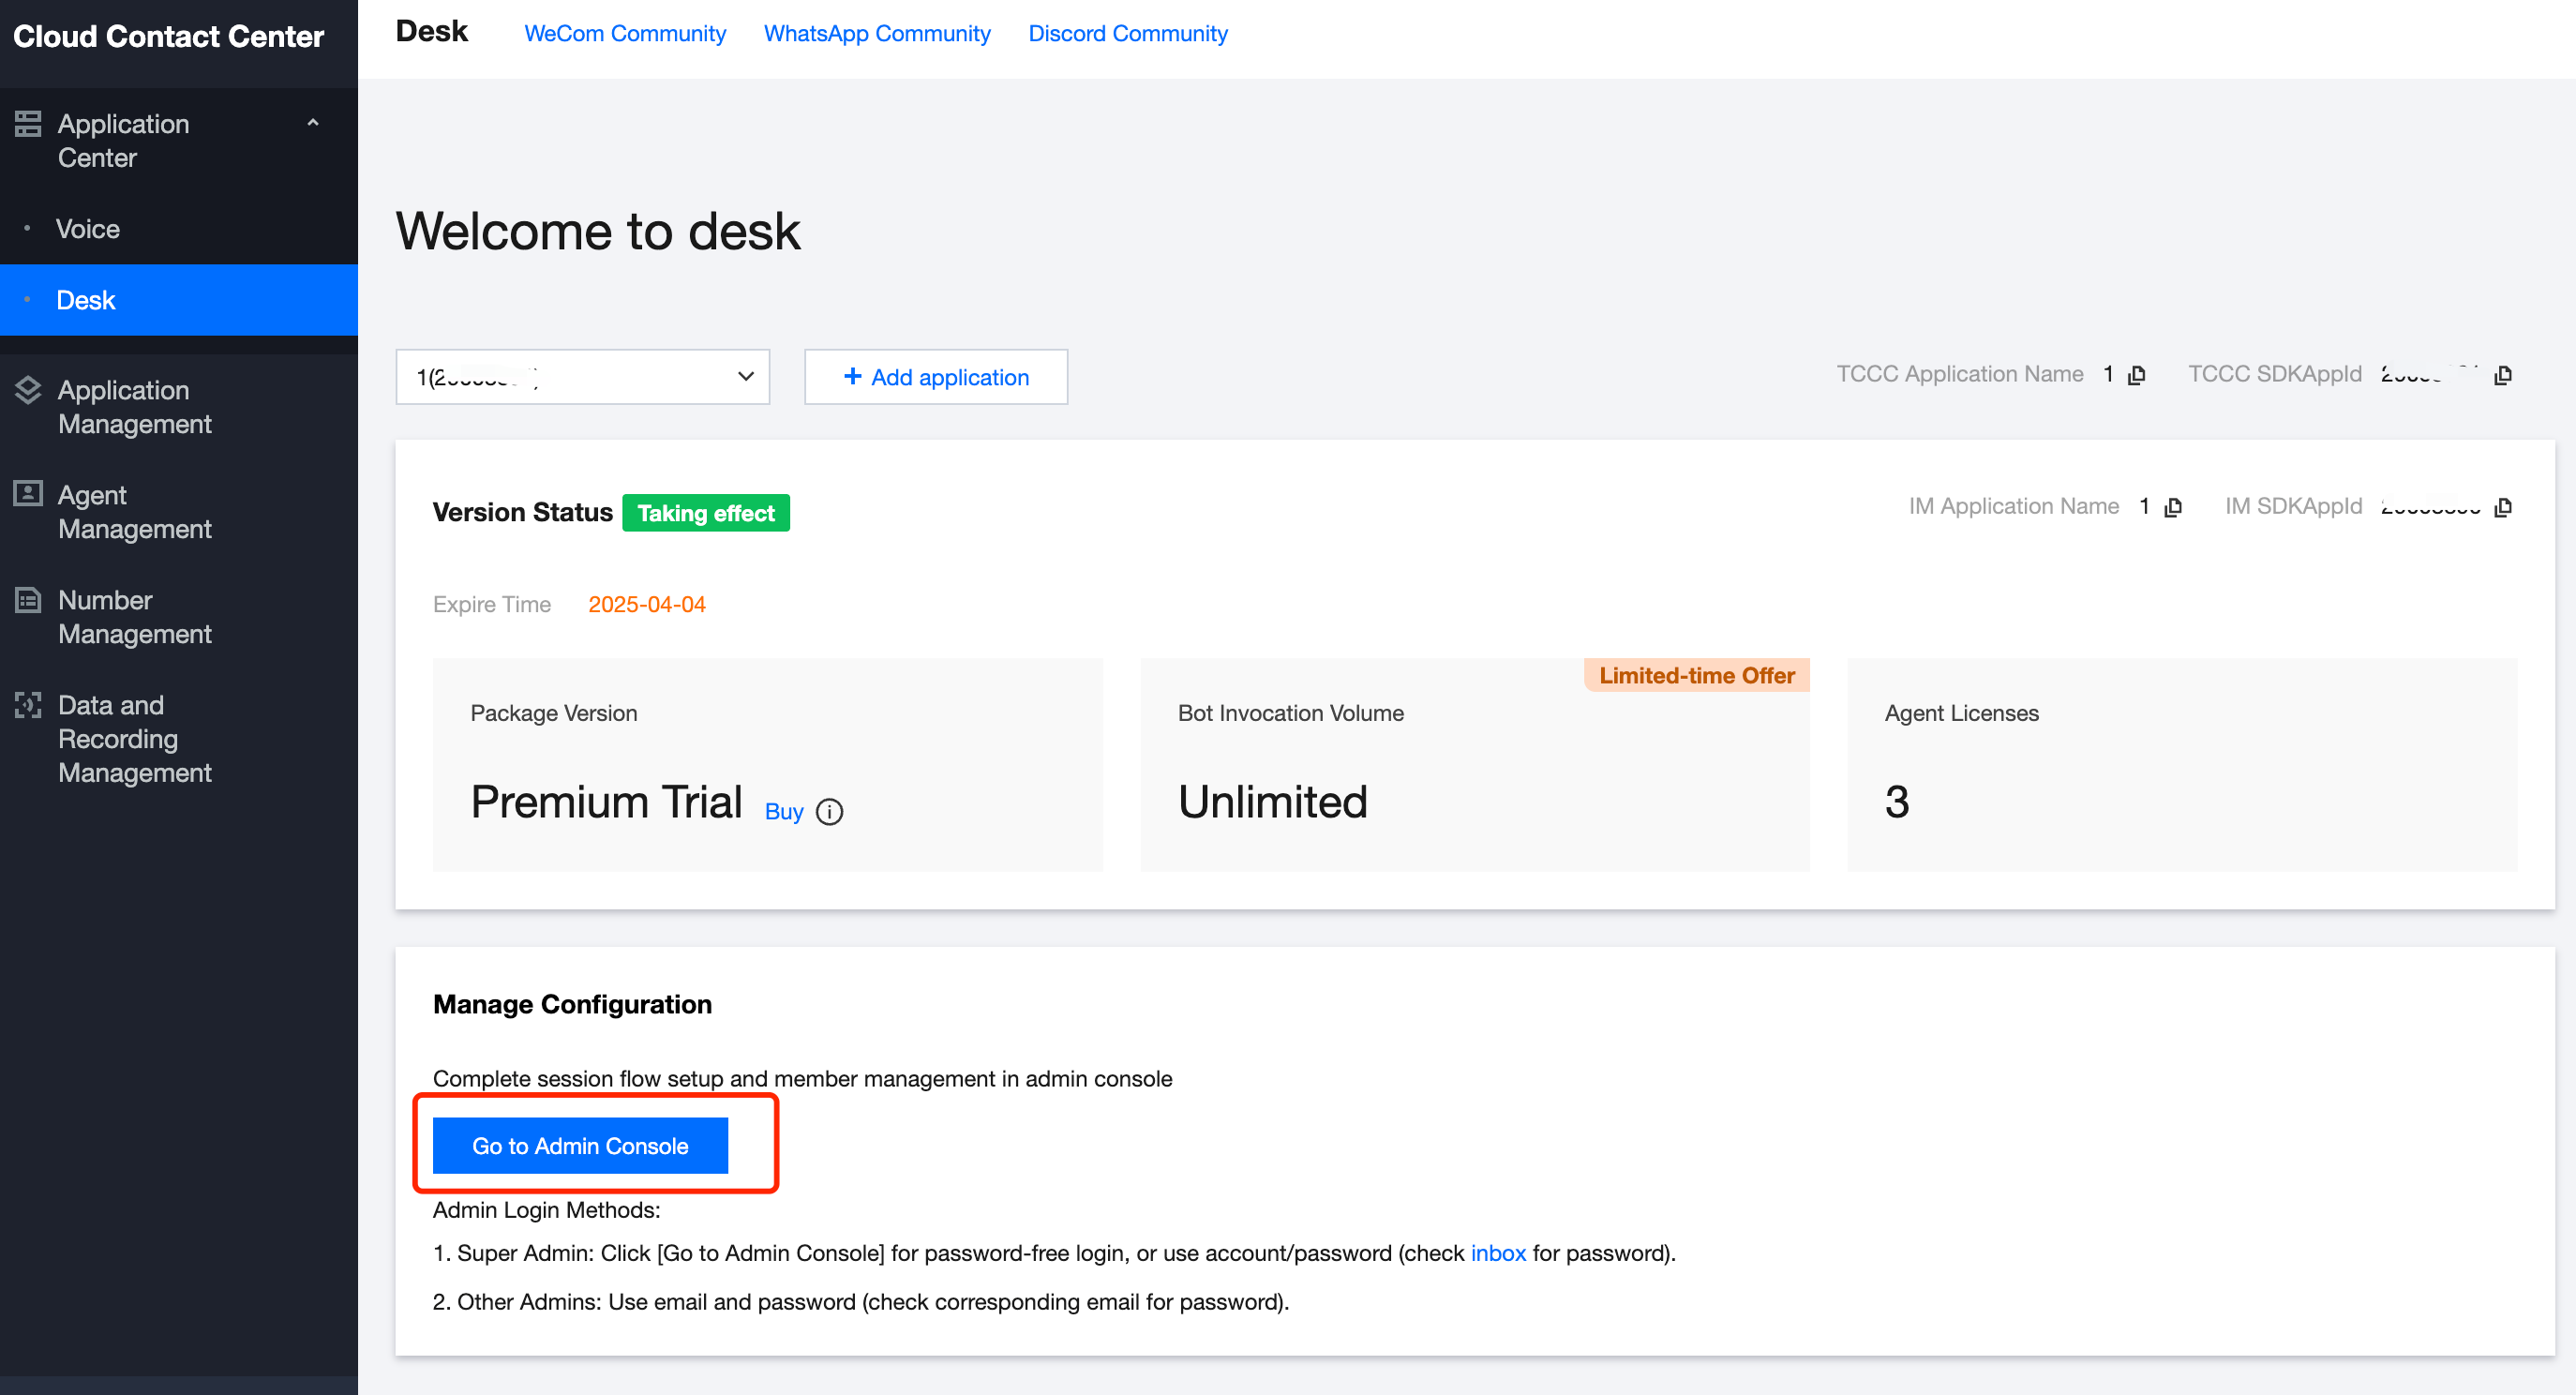
Step 2: Management Panel > Try out Client Capabilities
1. After creating Desk in the Cloud Contact Center console, click Management Panel to log in as a super admin, password-free.
2. In the Management Panel under the Client Configuration interface, you can directly try all the steps like sending consultation messages, interacting with the chatbot, and transferring to a live agent from the user’s side.
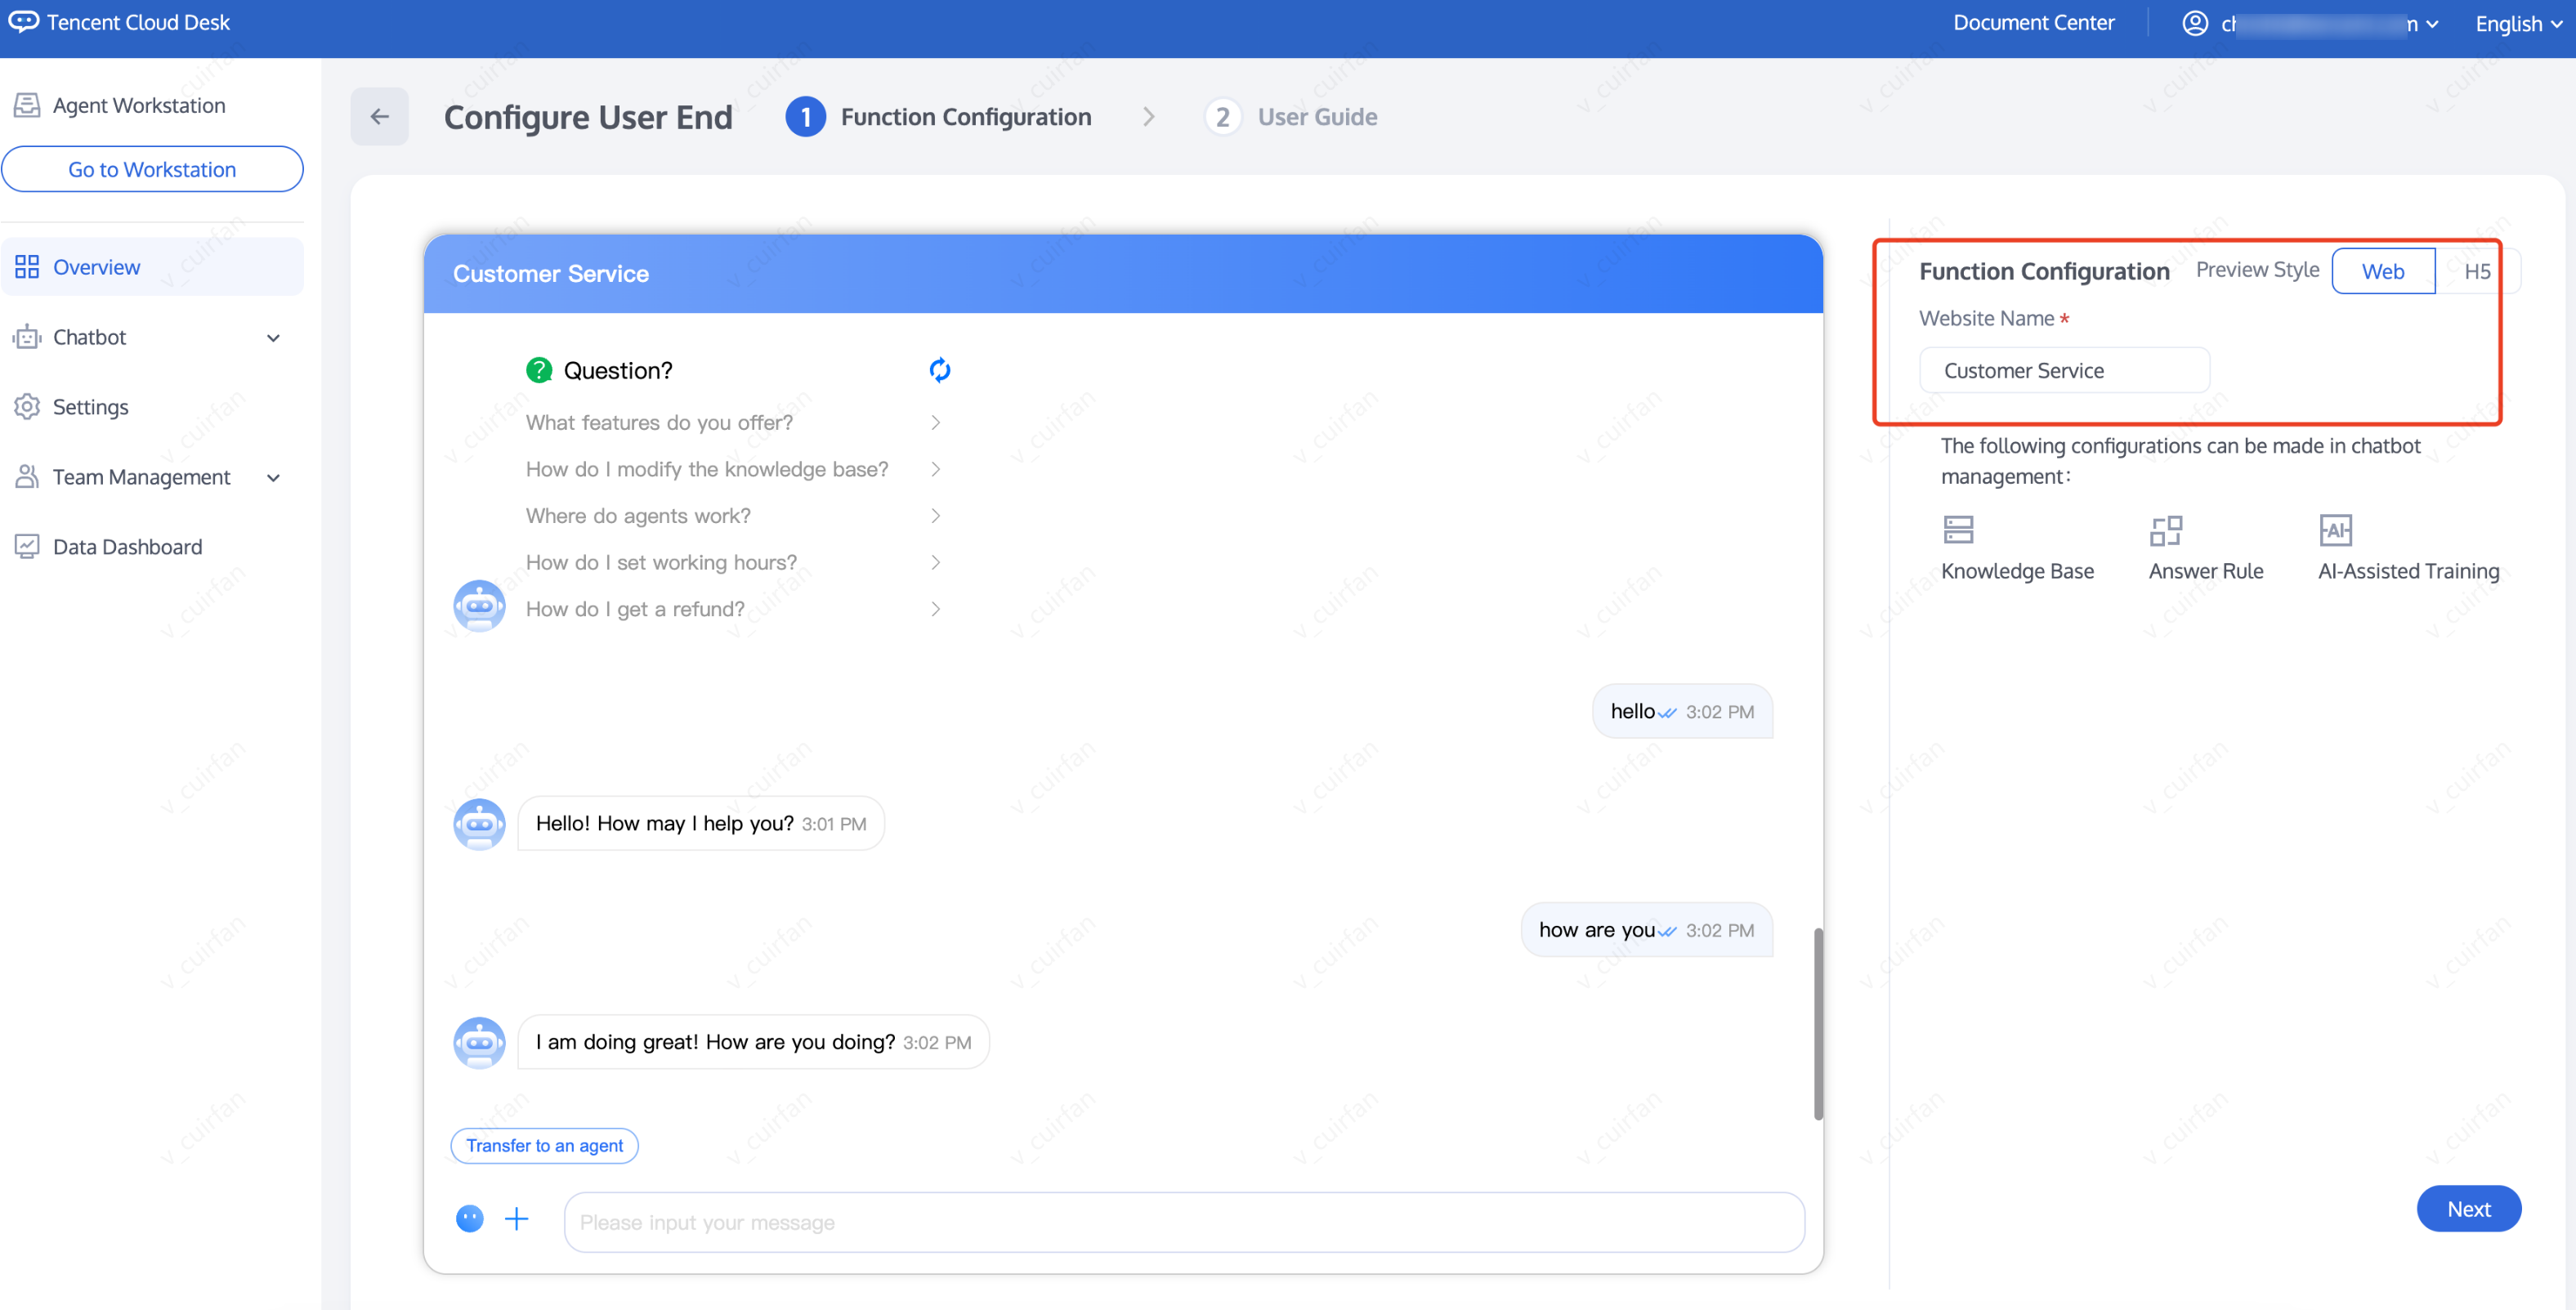
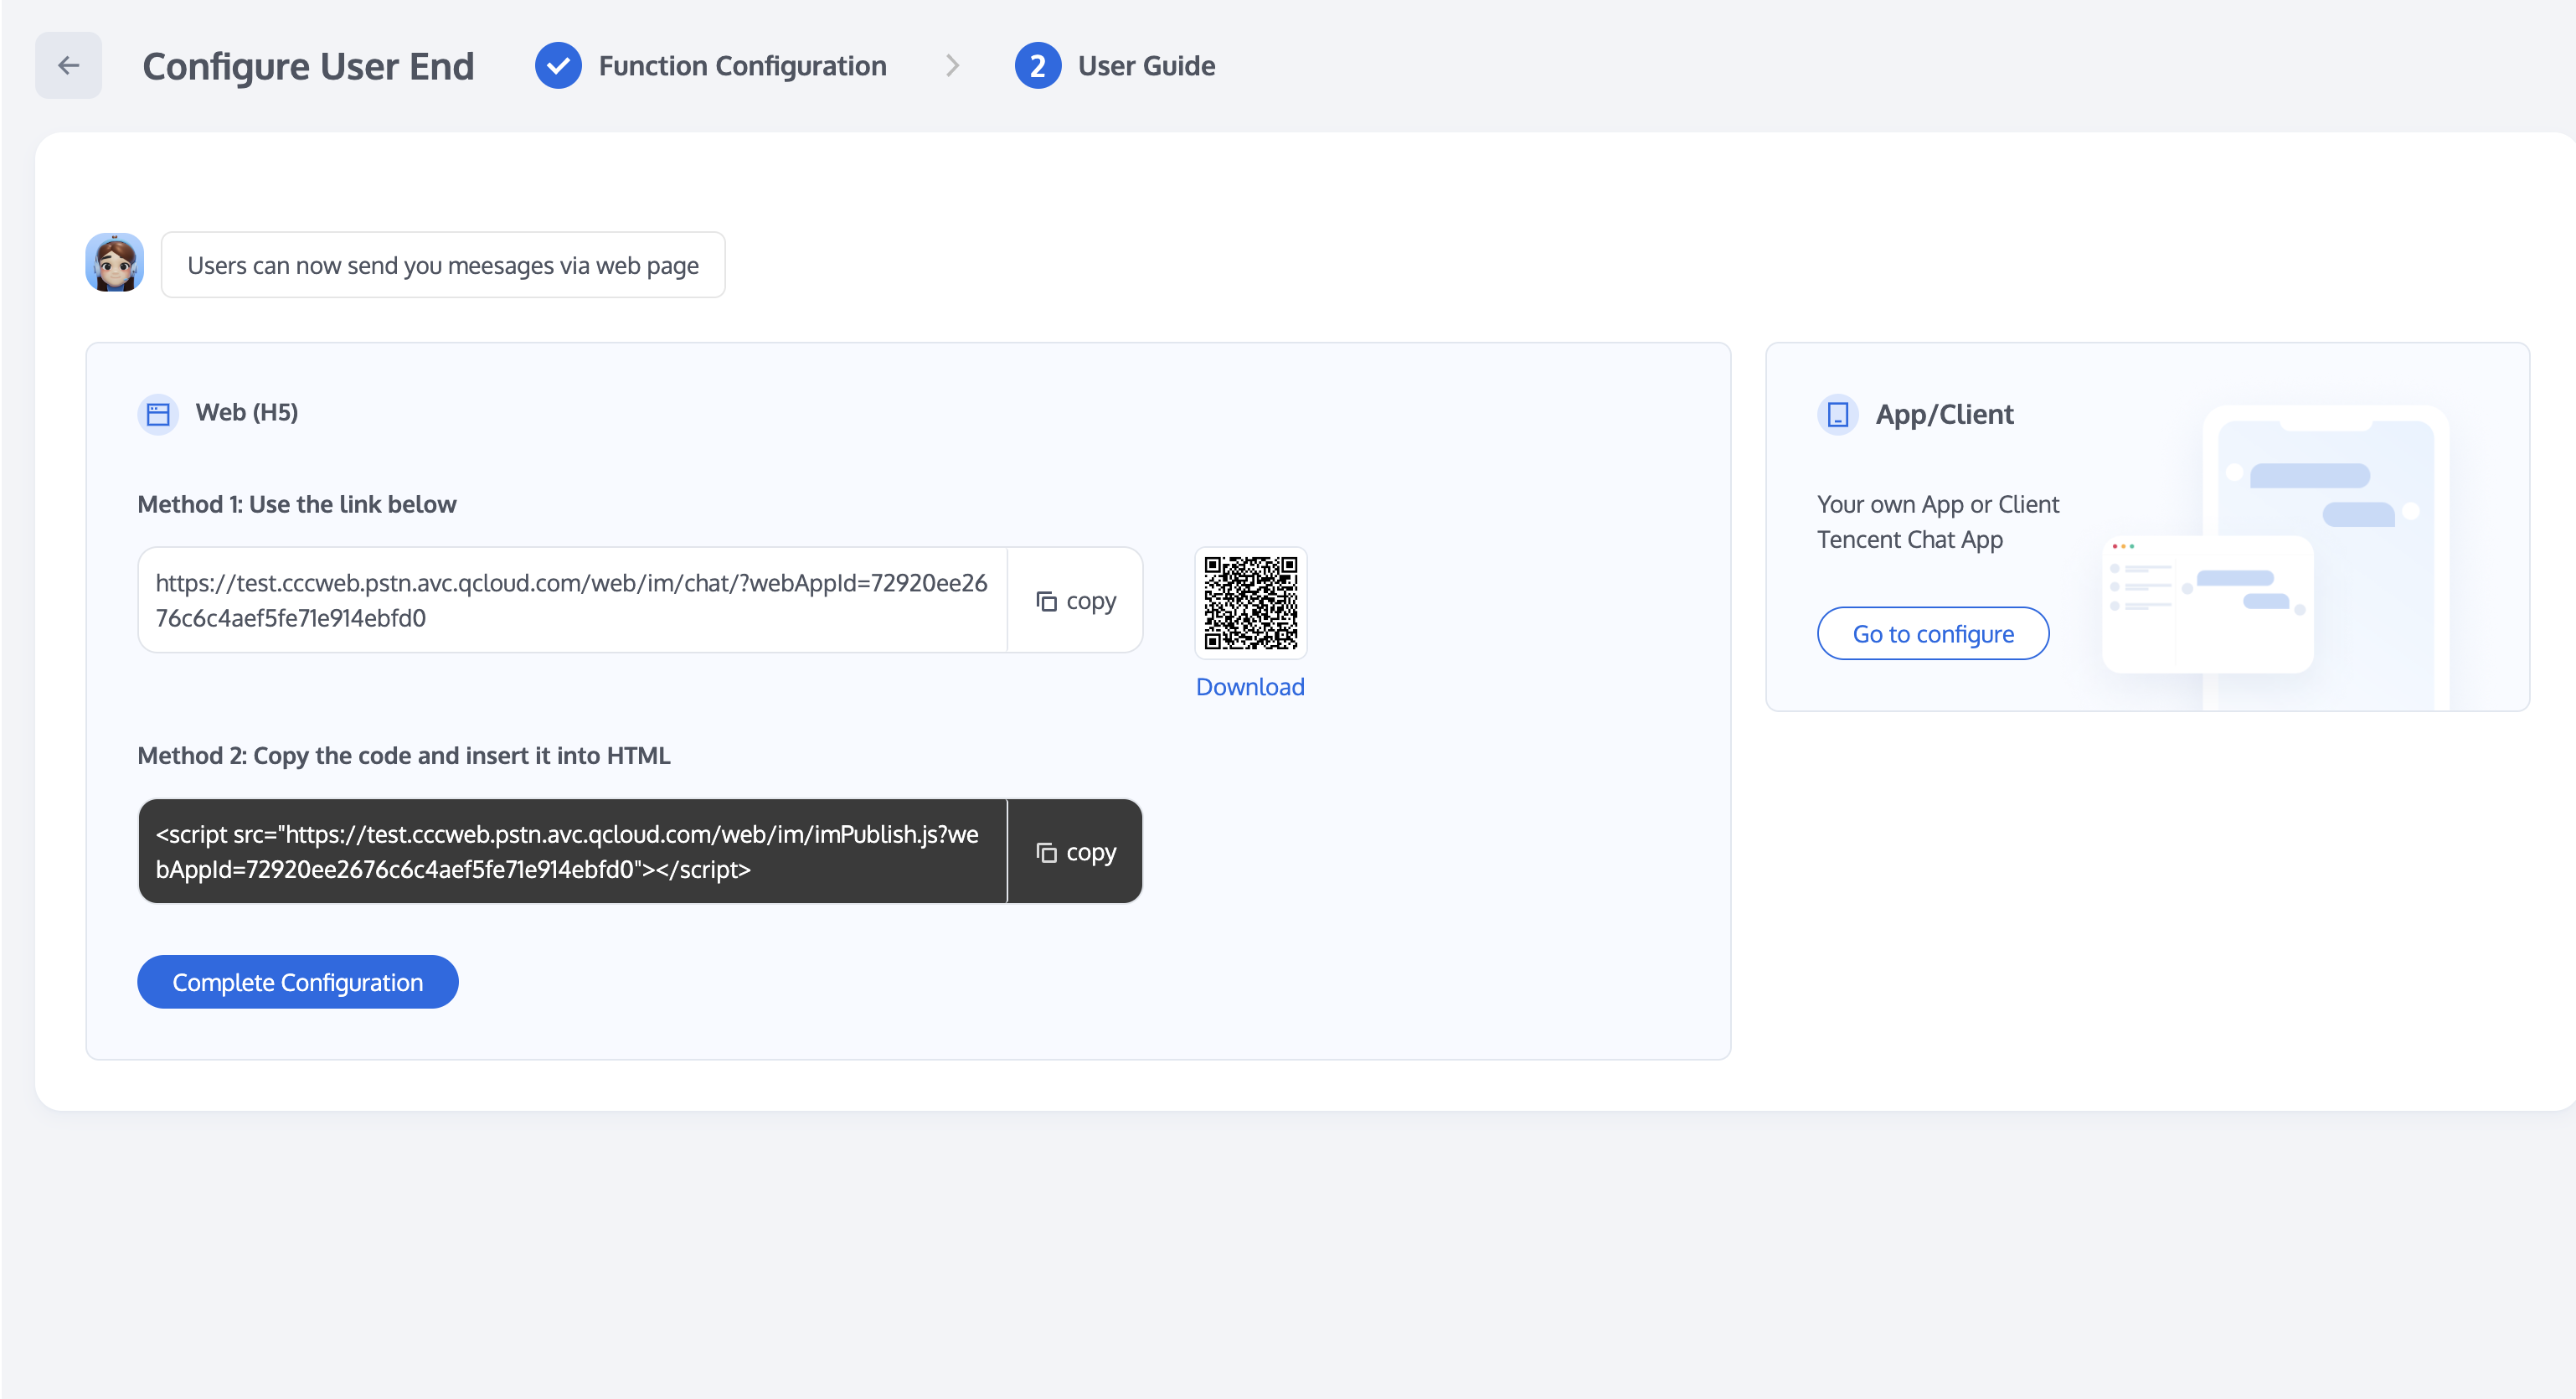
3. If you need to invite others or open the client portal on your mobile or other applications, click Next to access the user-end link, QR code, and code below.
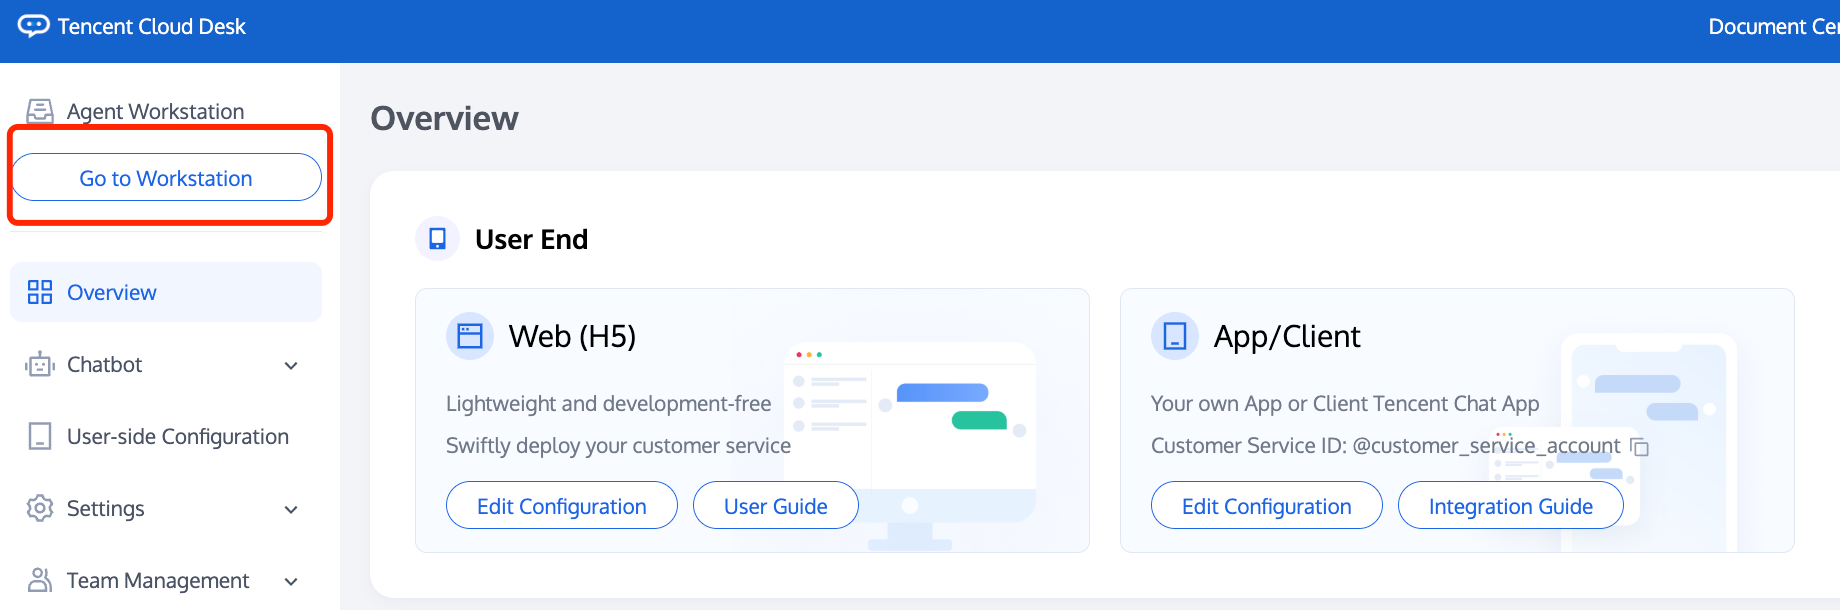
Step 3: Go to Workspace
In the Management Panel, click Go to Workspace to log in without a password and view/process the "transfer to agent" user conversation as staff.
Advanced Guide
Chatbot, Session Prompt, Group Members Configuration
Chatbot's intelligent FAQ library, document Q&A, multi-turn tasks, question clustering, etc.
Session prompt, routing rules, service modes, session queues, session closures, business hours, user satisfaction, etc.
Group member management includes adding, deleting, editing, and querying. You can also group team members and assign user inquiries to specific members for better reception efficiency and quality.
Integration of Self-Built AI or Third-Party Large Model
If you have self-built AI or have purchased a third-party large model, admins and super admins can disable the smart chatbot in Management Panel and connect the AI. Once connected, AI and agent chats are merged, allowing agents to view AI chat history after a transfer.
Add Custom Business Logic on the Client-Side, Adjust UI Interaction, Etc
Our SDK, designed for customer support scenarios, provides a customizable UI component, and requires only a few lines of code to integrate.
Embedding the Workspace in Existing Enterprise Systems
If you want to integrate the workspace into your system, use the workspace SDK for seamless integration, high customization, and further development. For details, SDK Integration.
View Data Dashboard
Real-time Monitoring: Includes data such as real-time reception, today's session, online status, and today's work status.
Data nalysis: Provides conversation analytics and human customer service performance.
Conversation History: Supports viewing and exporting historical sessions.
Contact Us
フィードバック