Agent Development Platform supports building single-workflow mode applications. This mode provides an intuitive visual canvas, allowing quick addition of multiple nodes such as large models, code, and plug-ins via drag and drop to construct complex business processes and achieve stable, controllable business impact.
This document uses the creation of a "webpage scraping assistant" as an example to introduce in detail how to create a single-workflow mode application on Agent Development Platform.
Prerequisites
A registered Tencent Cloud account with authentication completed.
Operation Steps
Step 1: Creating a New App
2. Create a new app
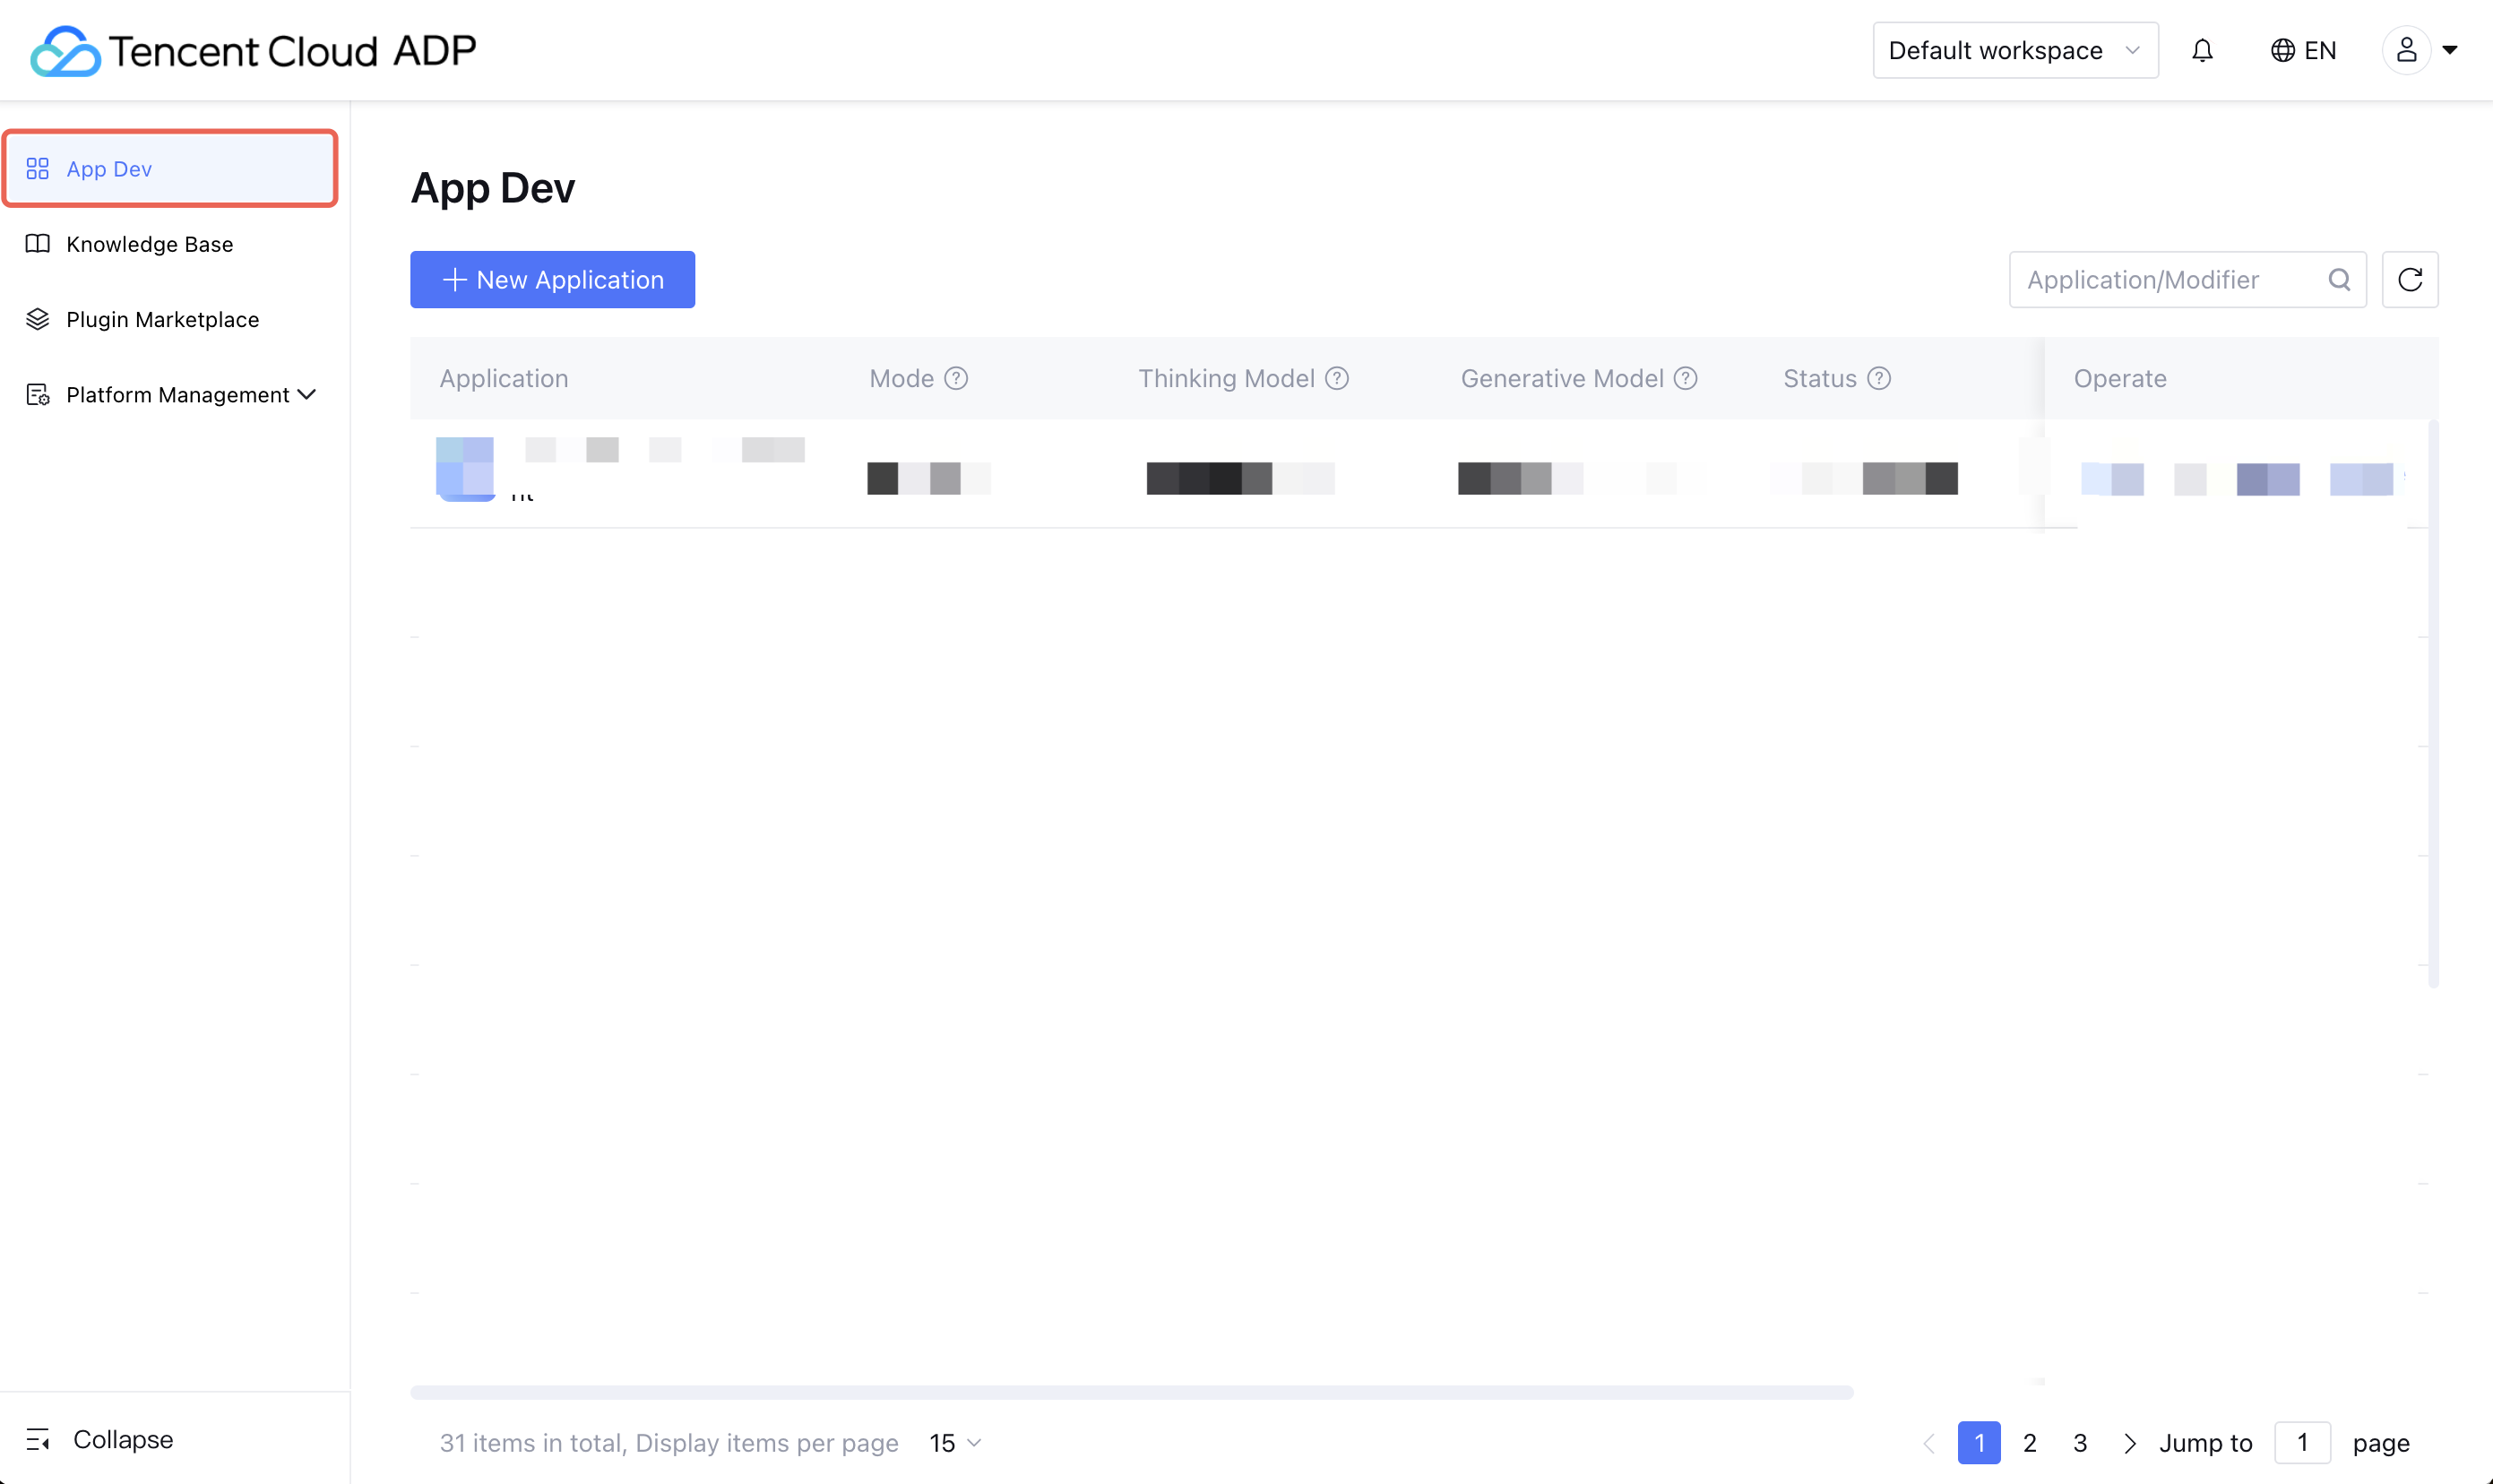
2.1 Click App Dev in the menu on the left.
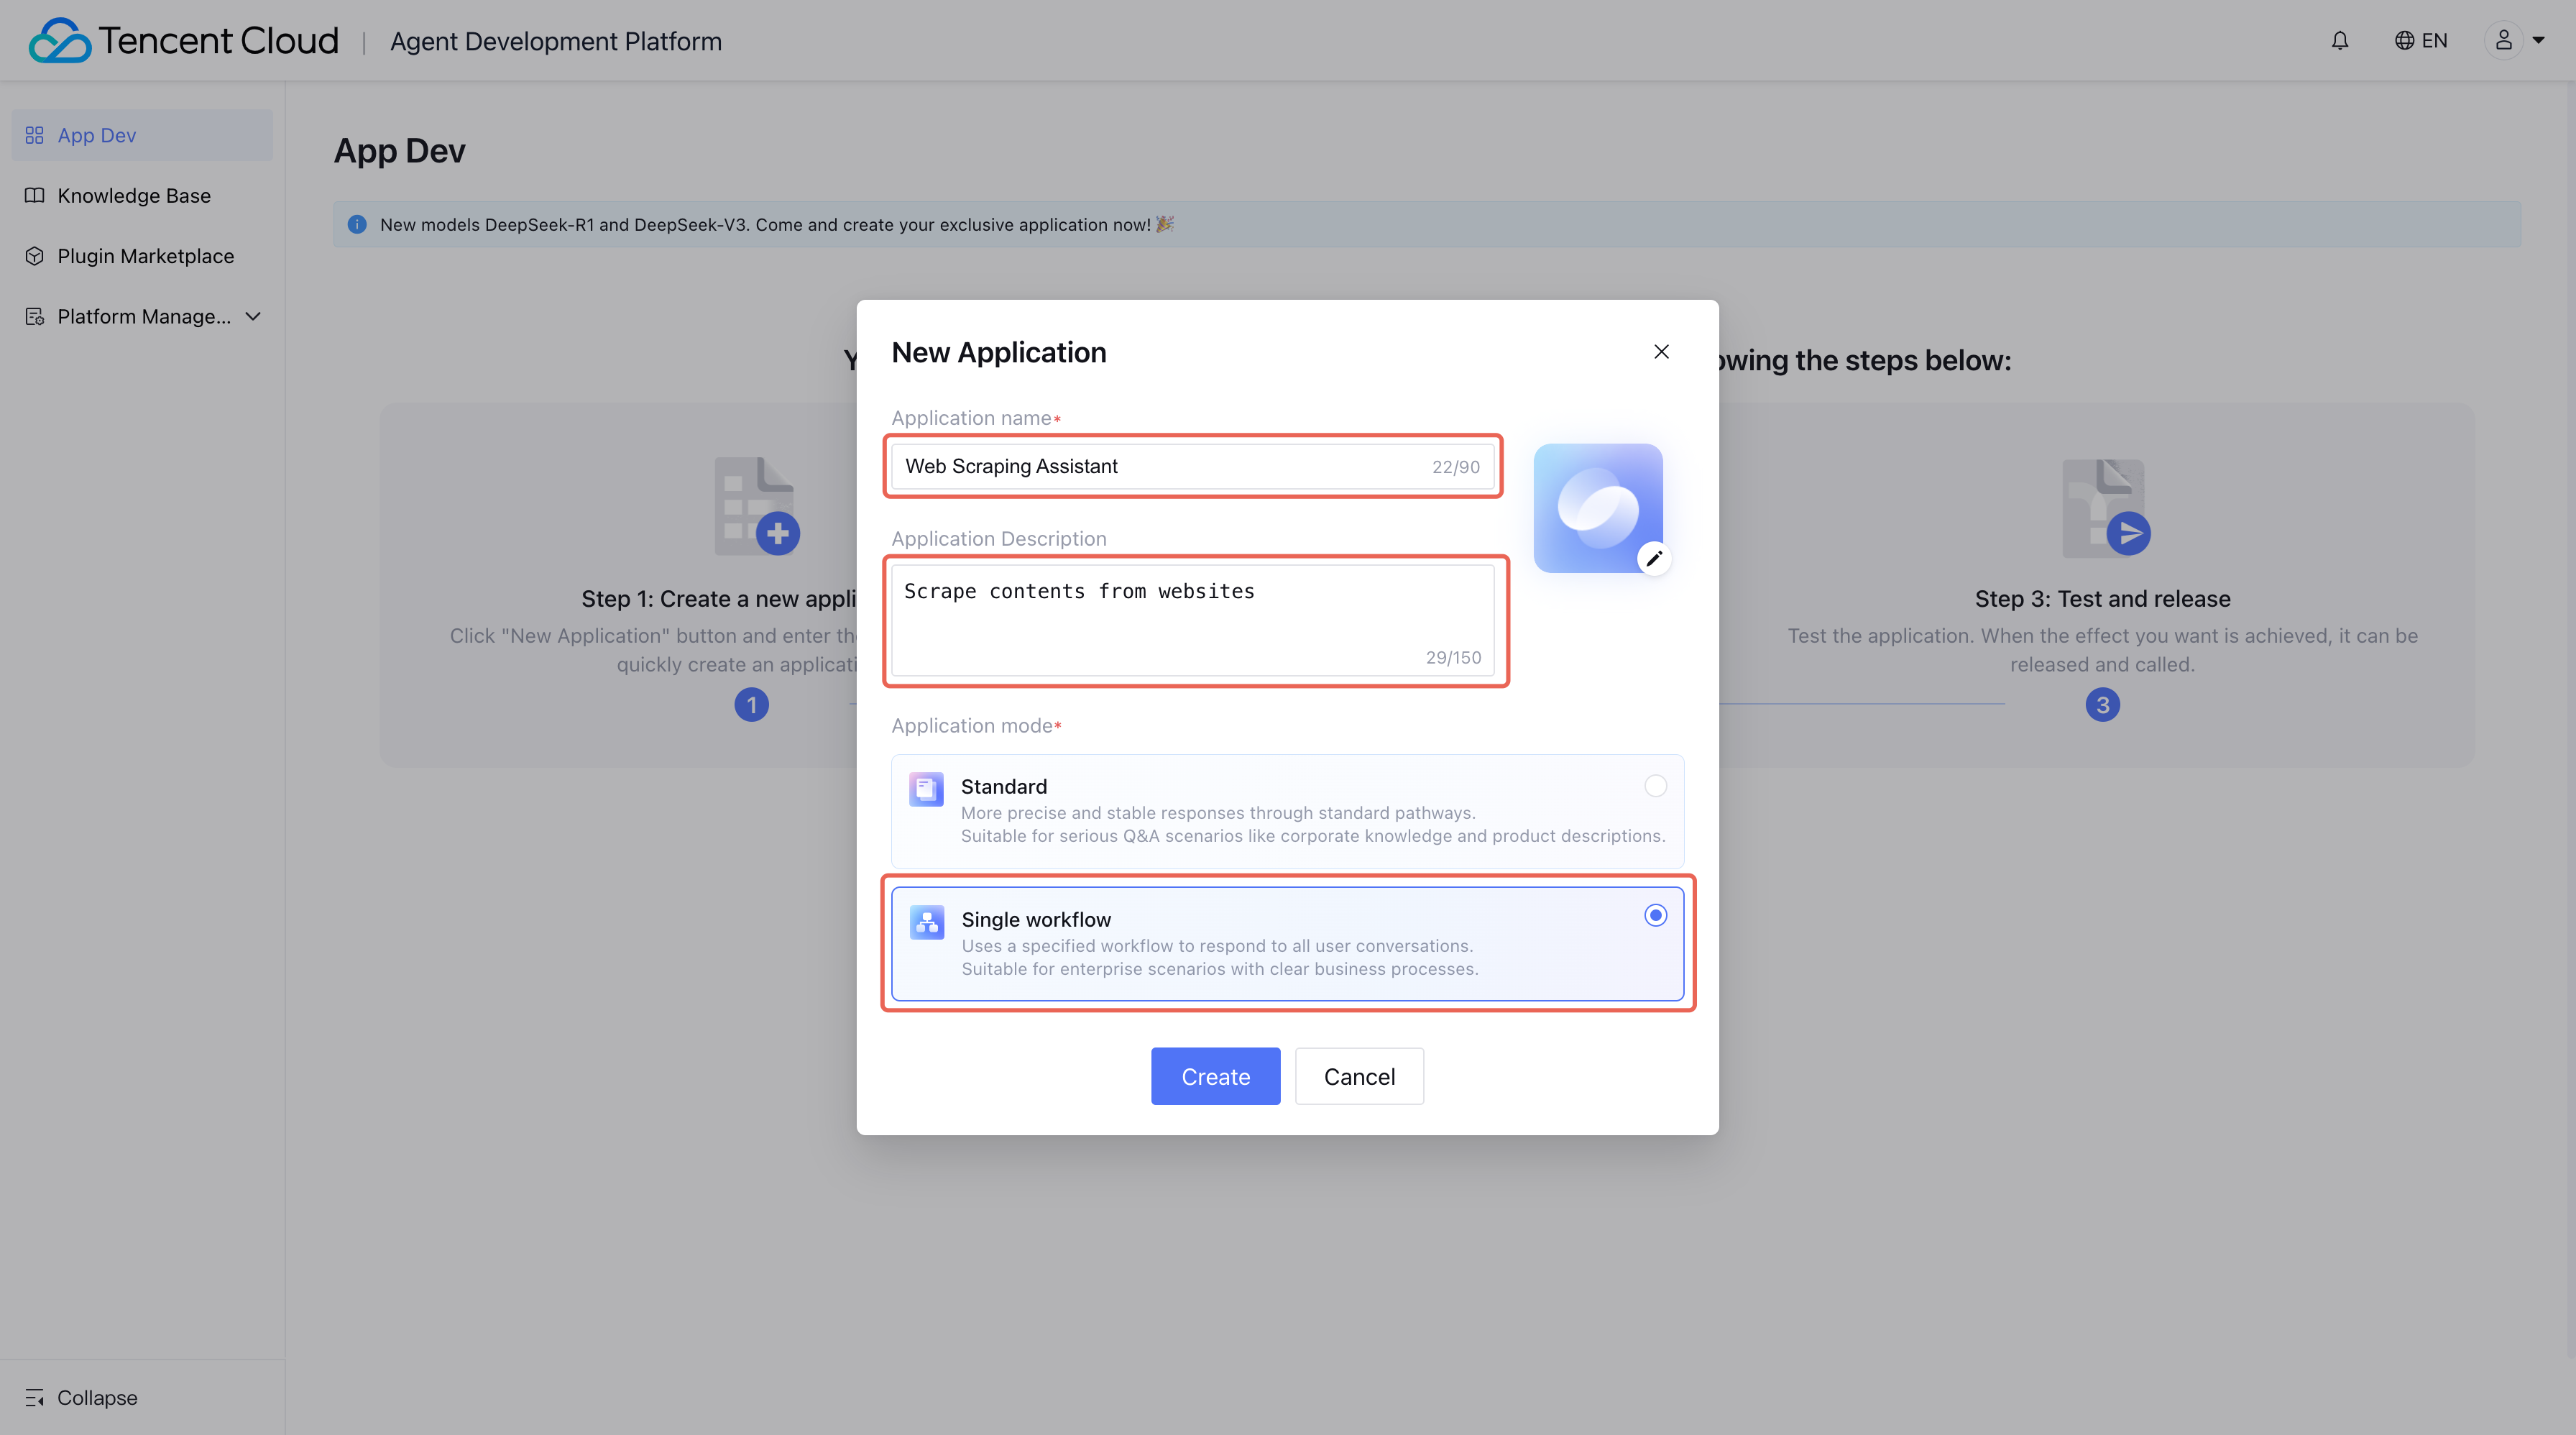
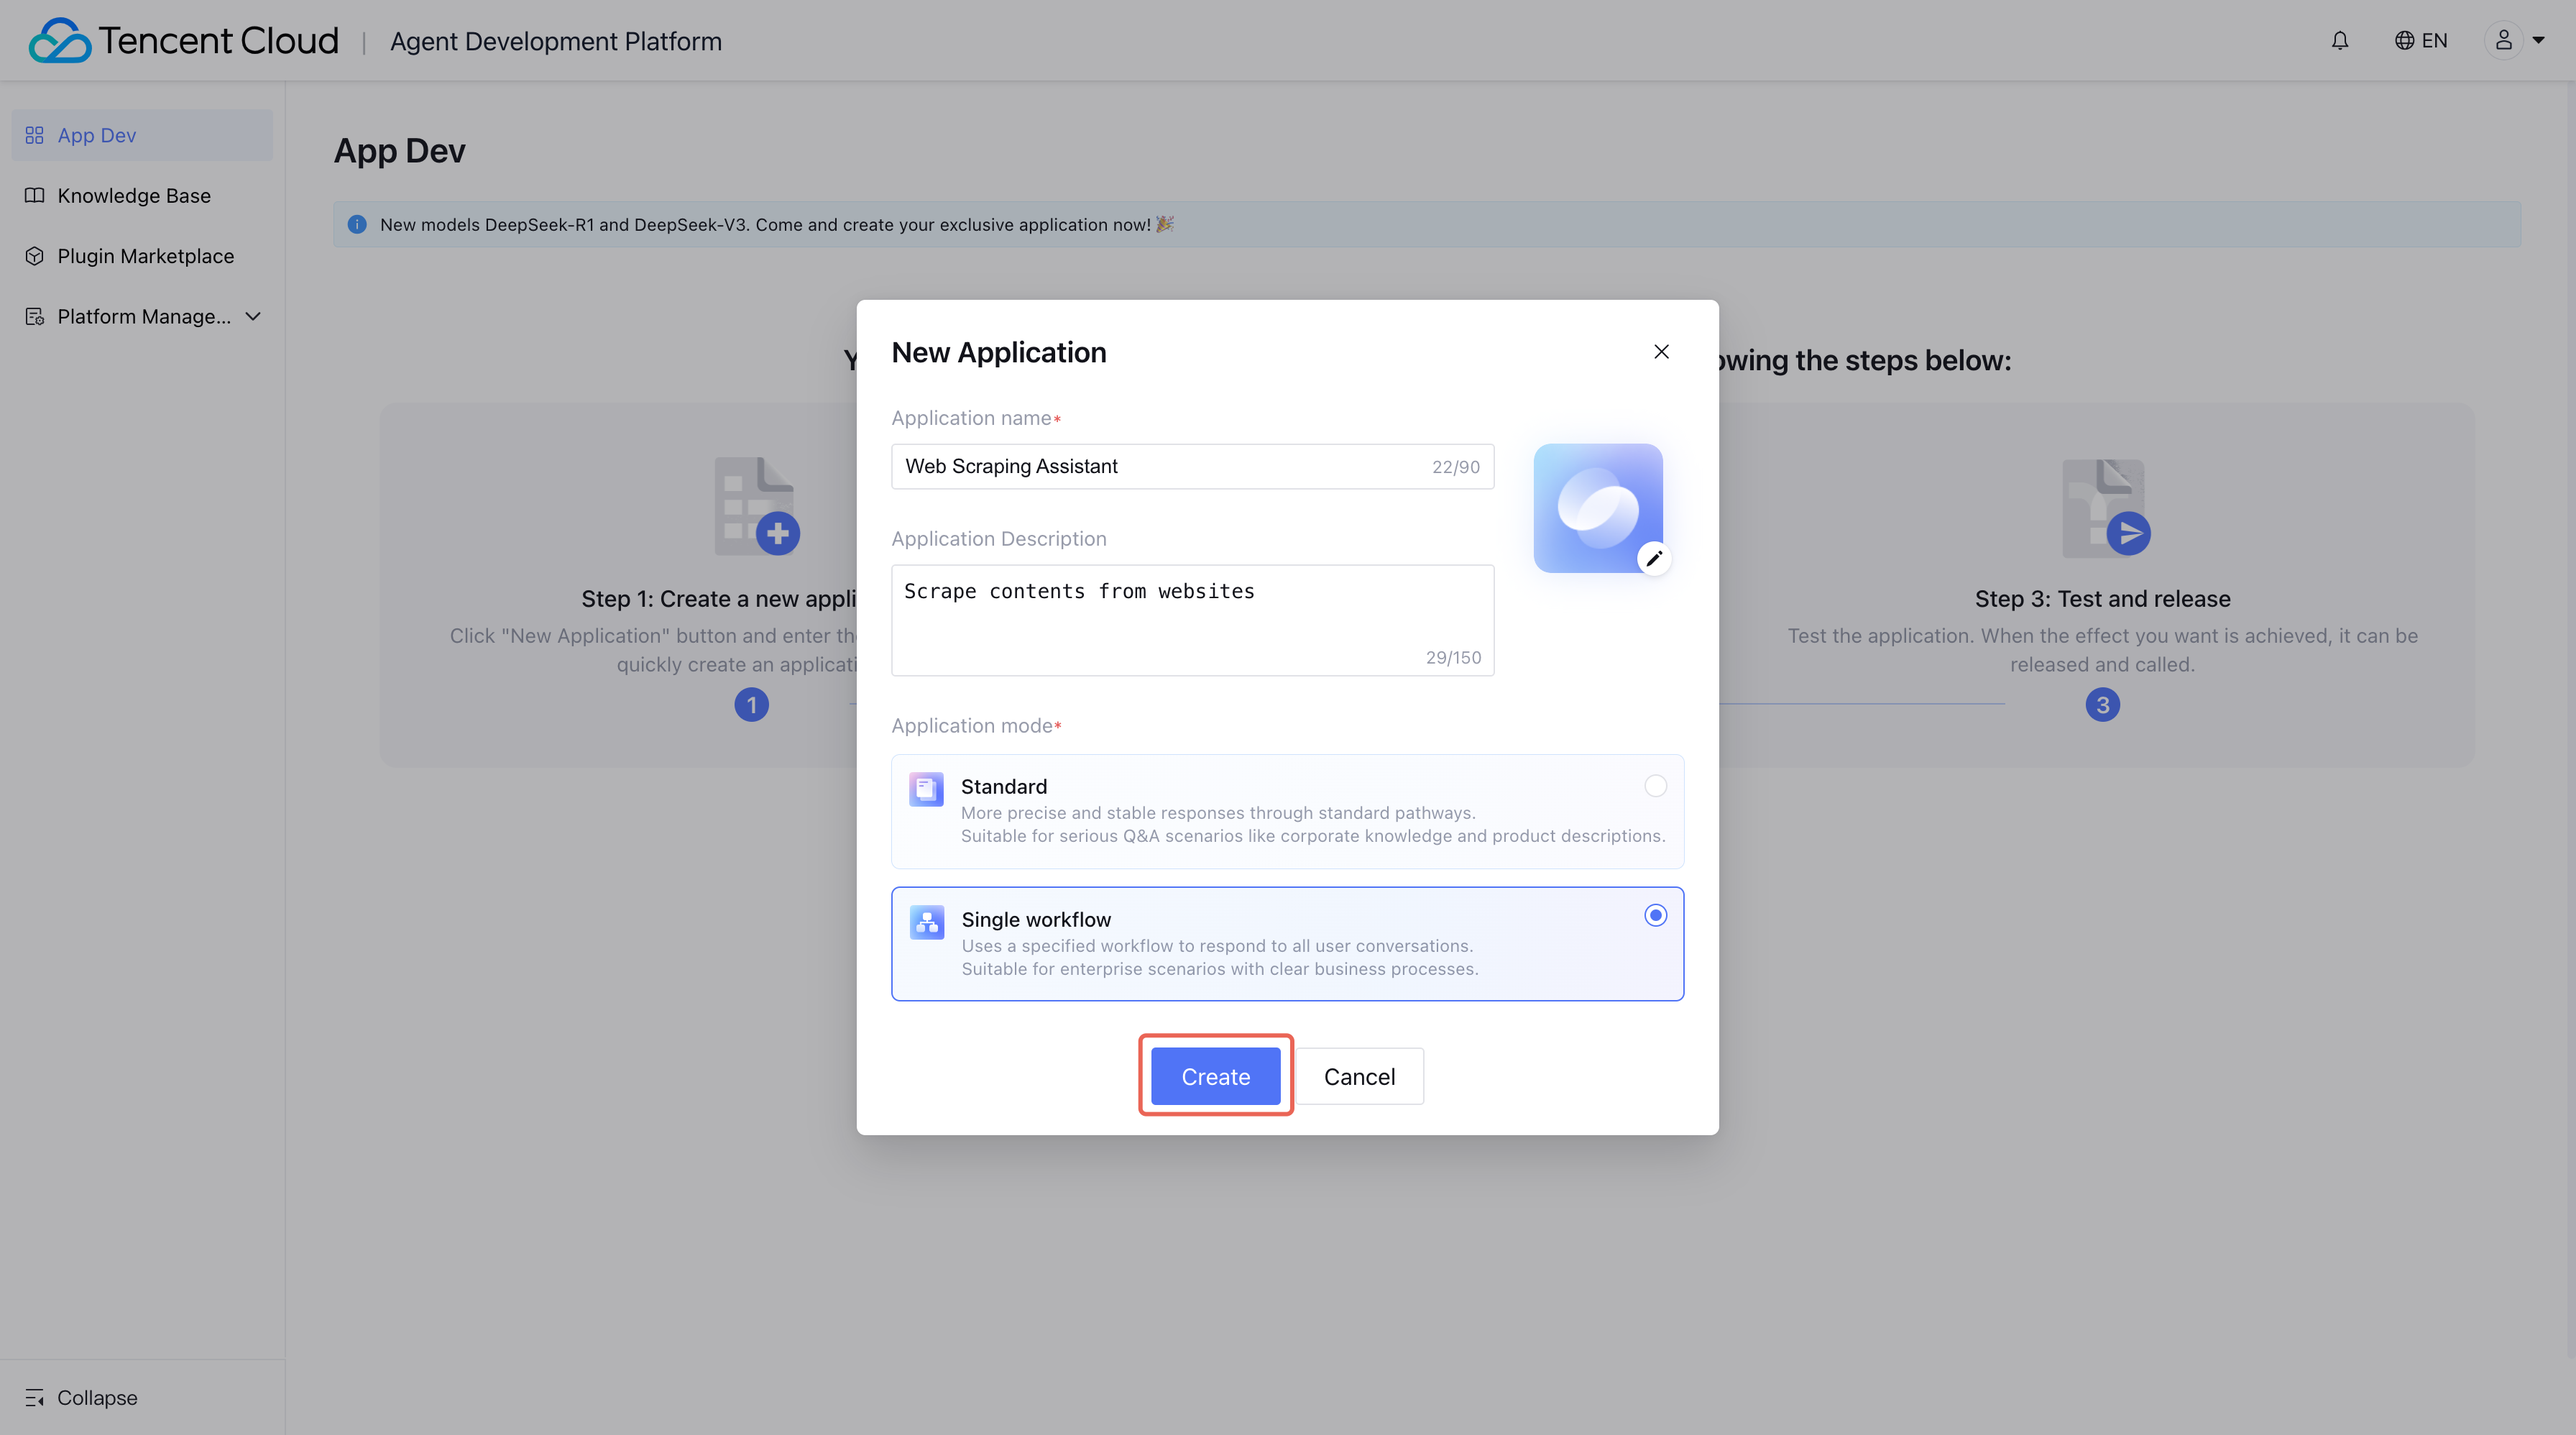
2.2. Click New Application, enter application name and application description, and select Single Workflow Mode for application mode.
2.3. Click Create, and it will automatically redirect to a new workflow page.
Step 2: Creating and Setting Up a Workflow
1. Create a workflow.
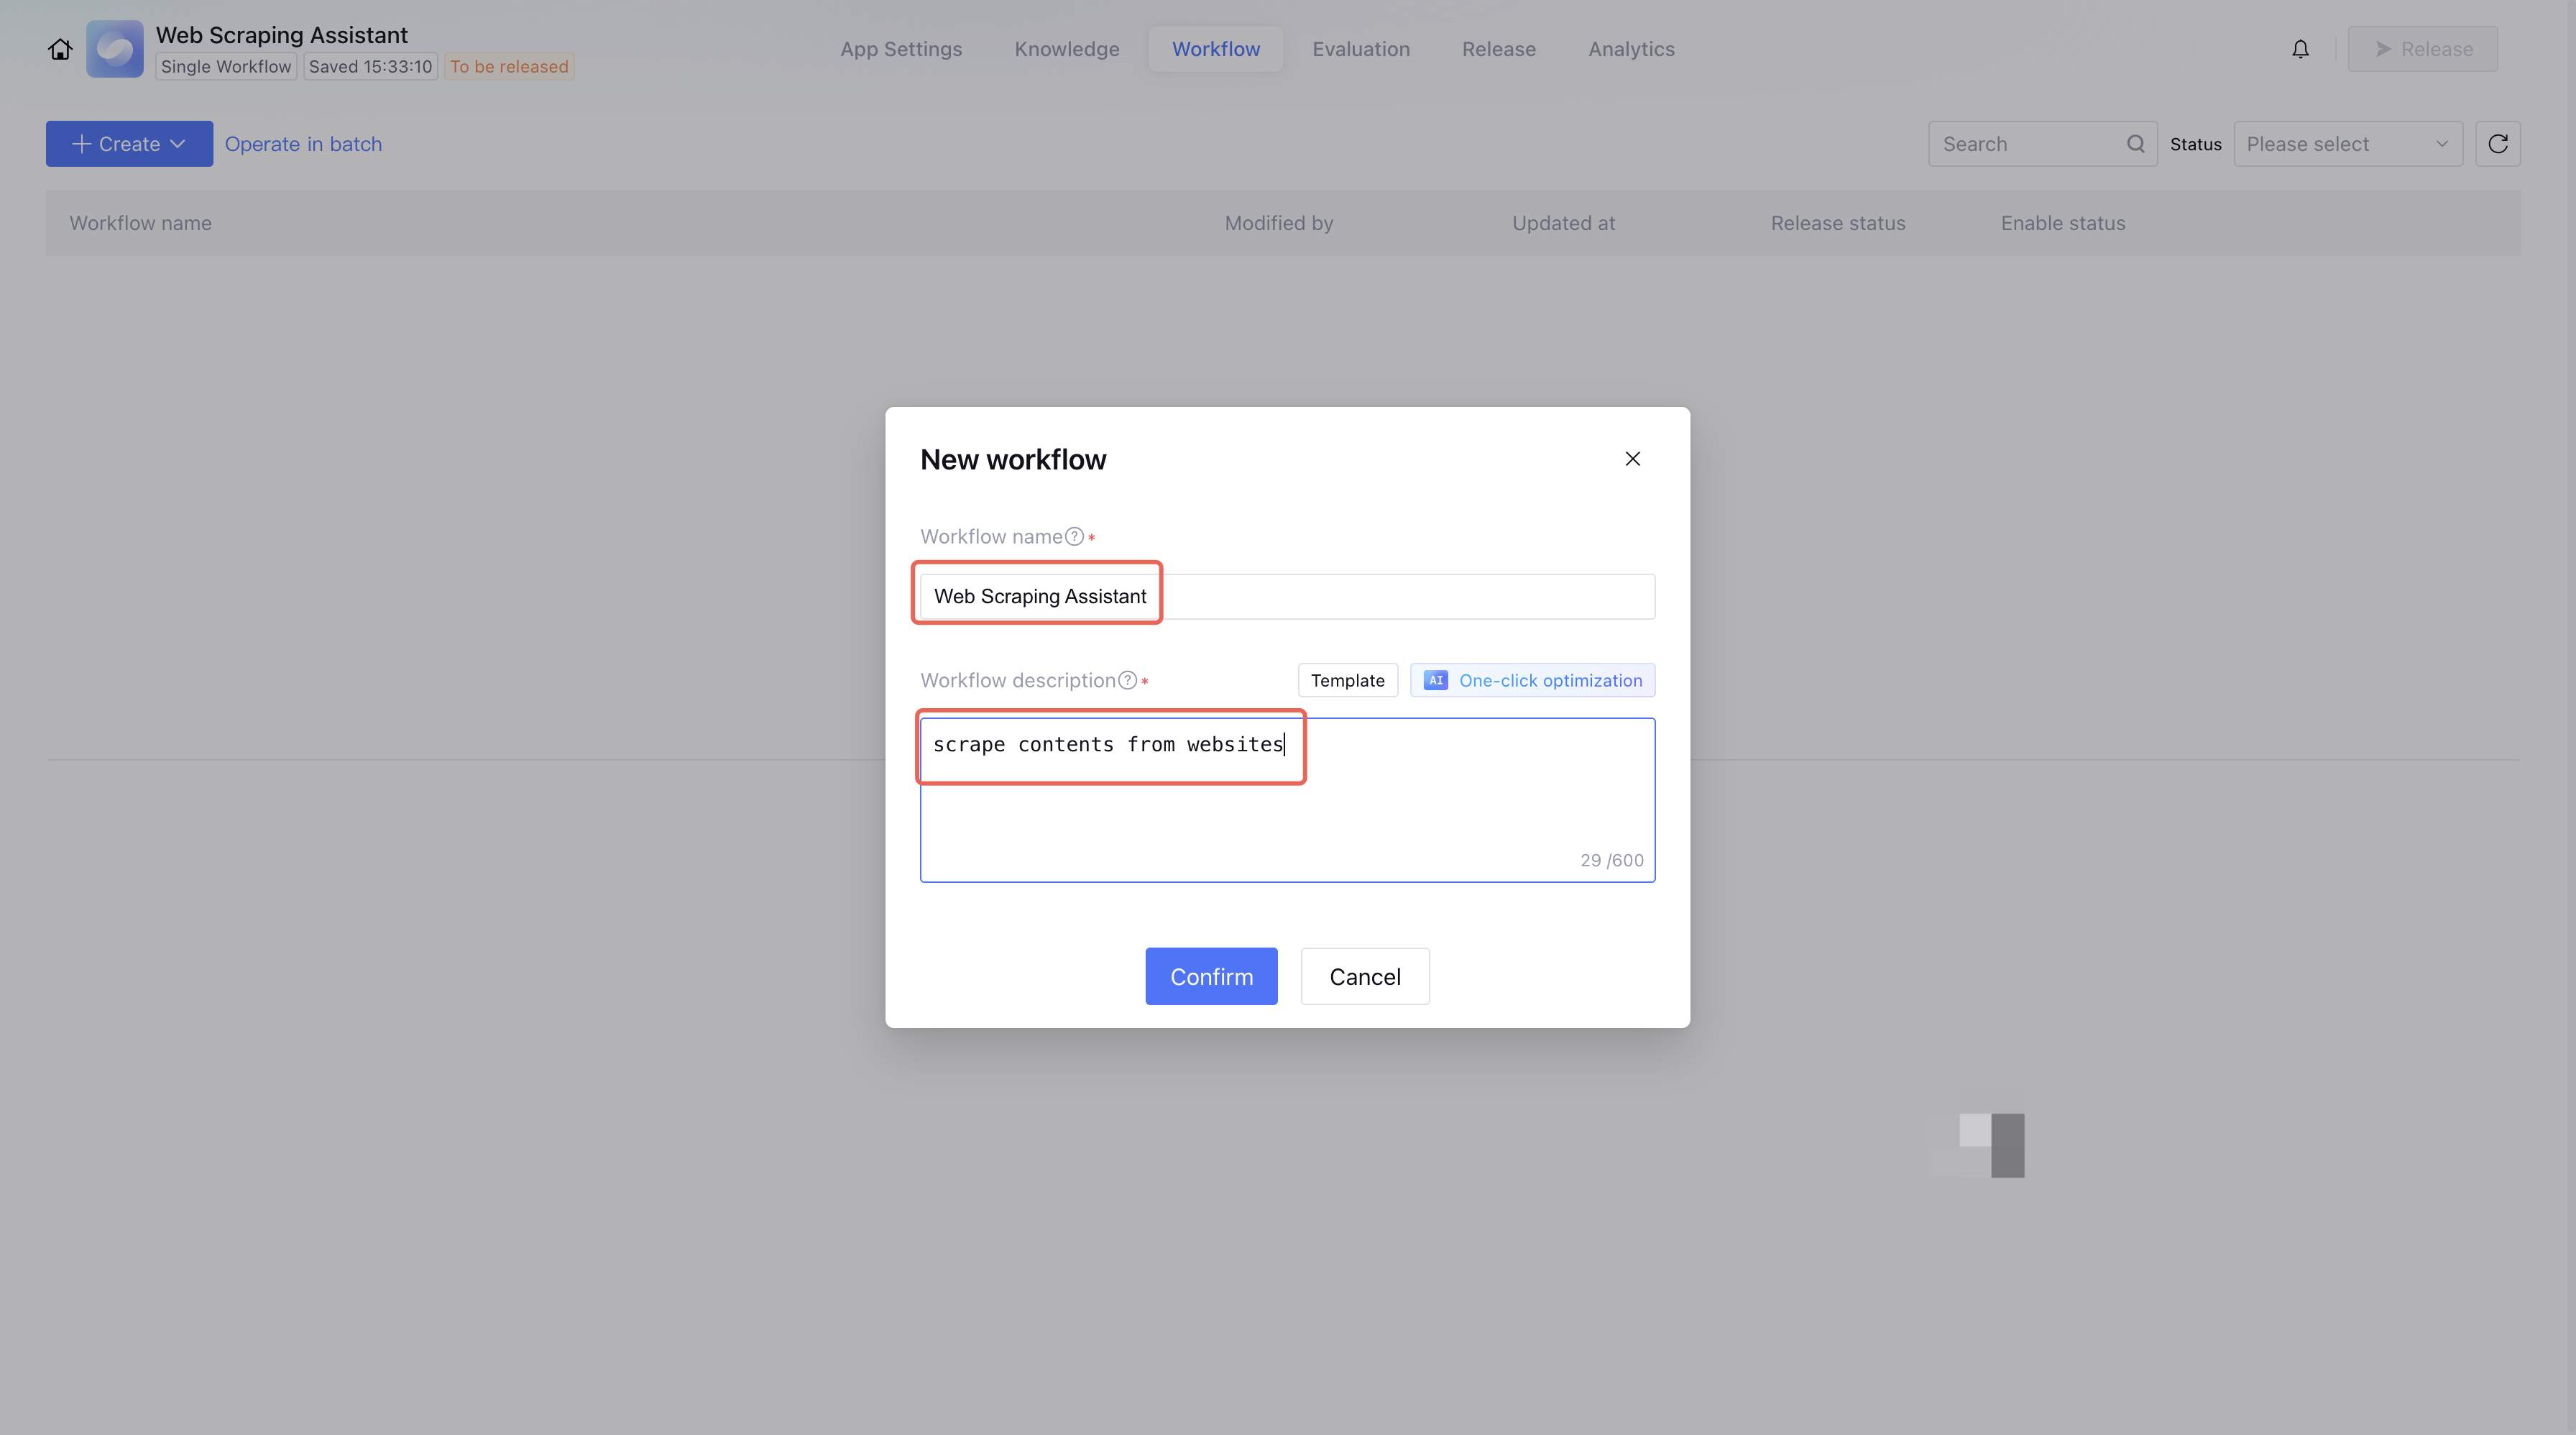
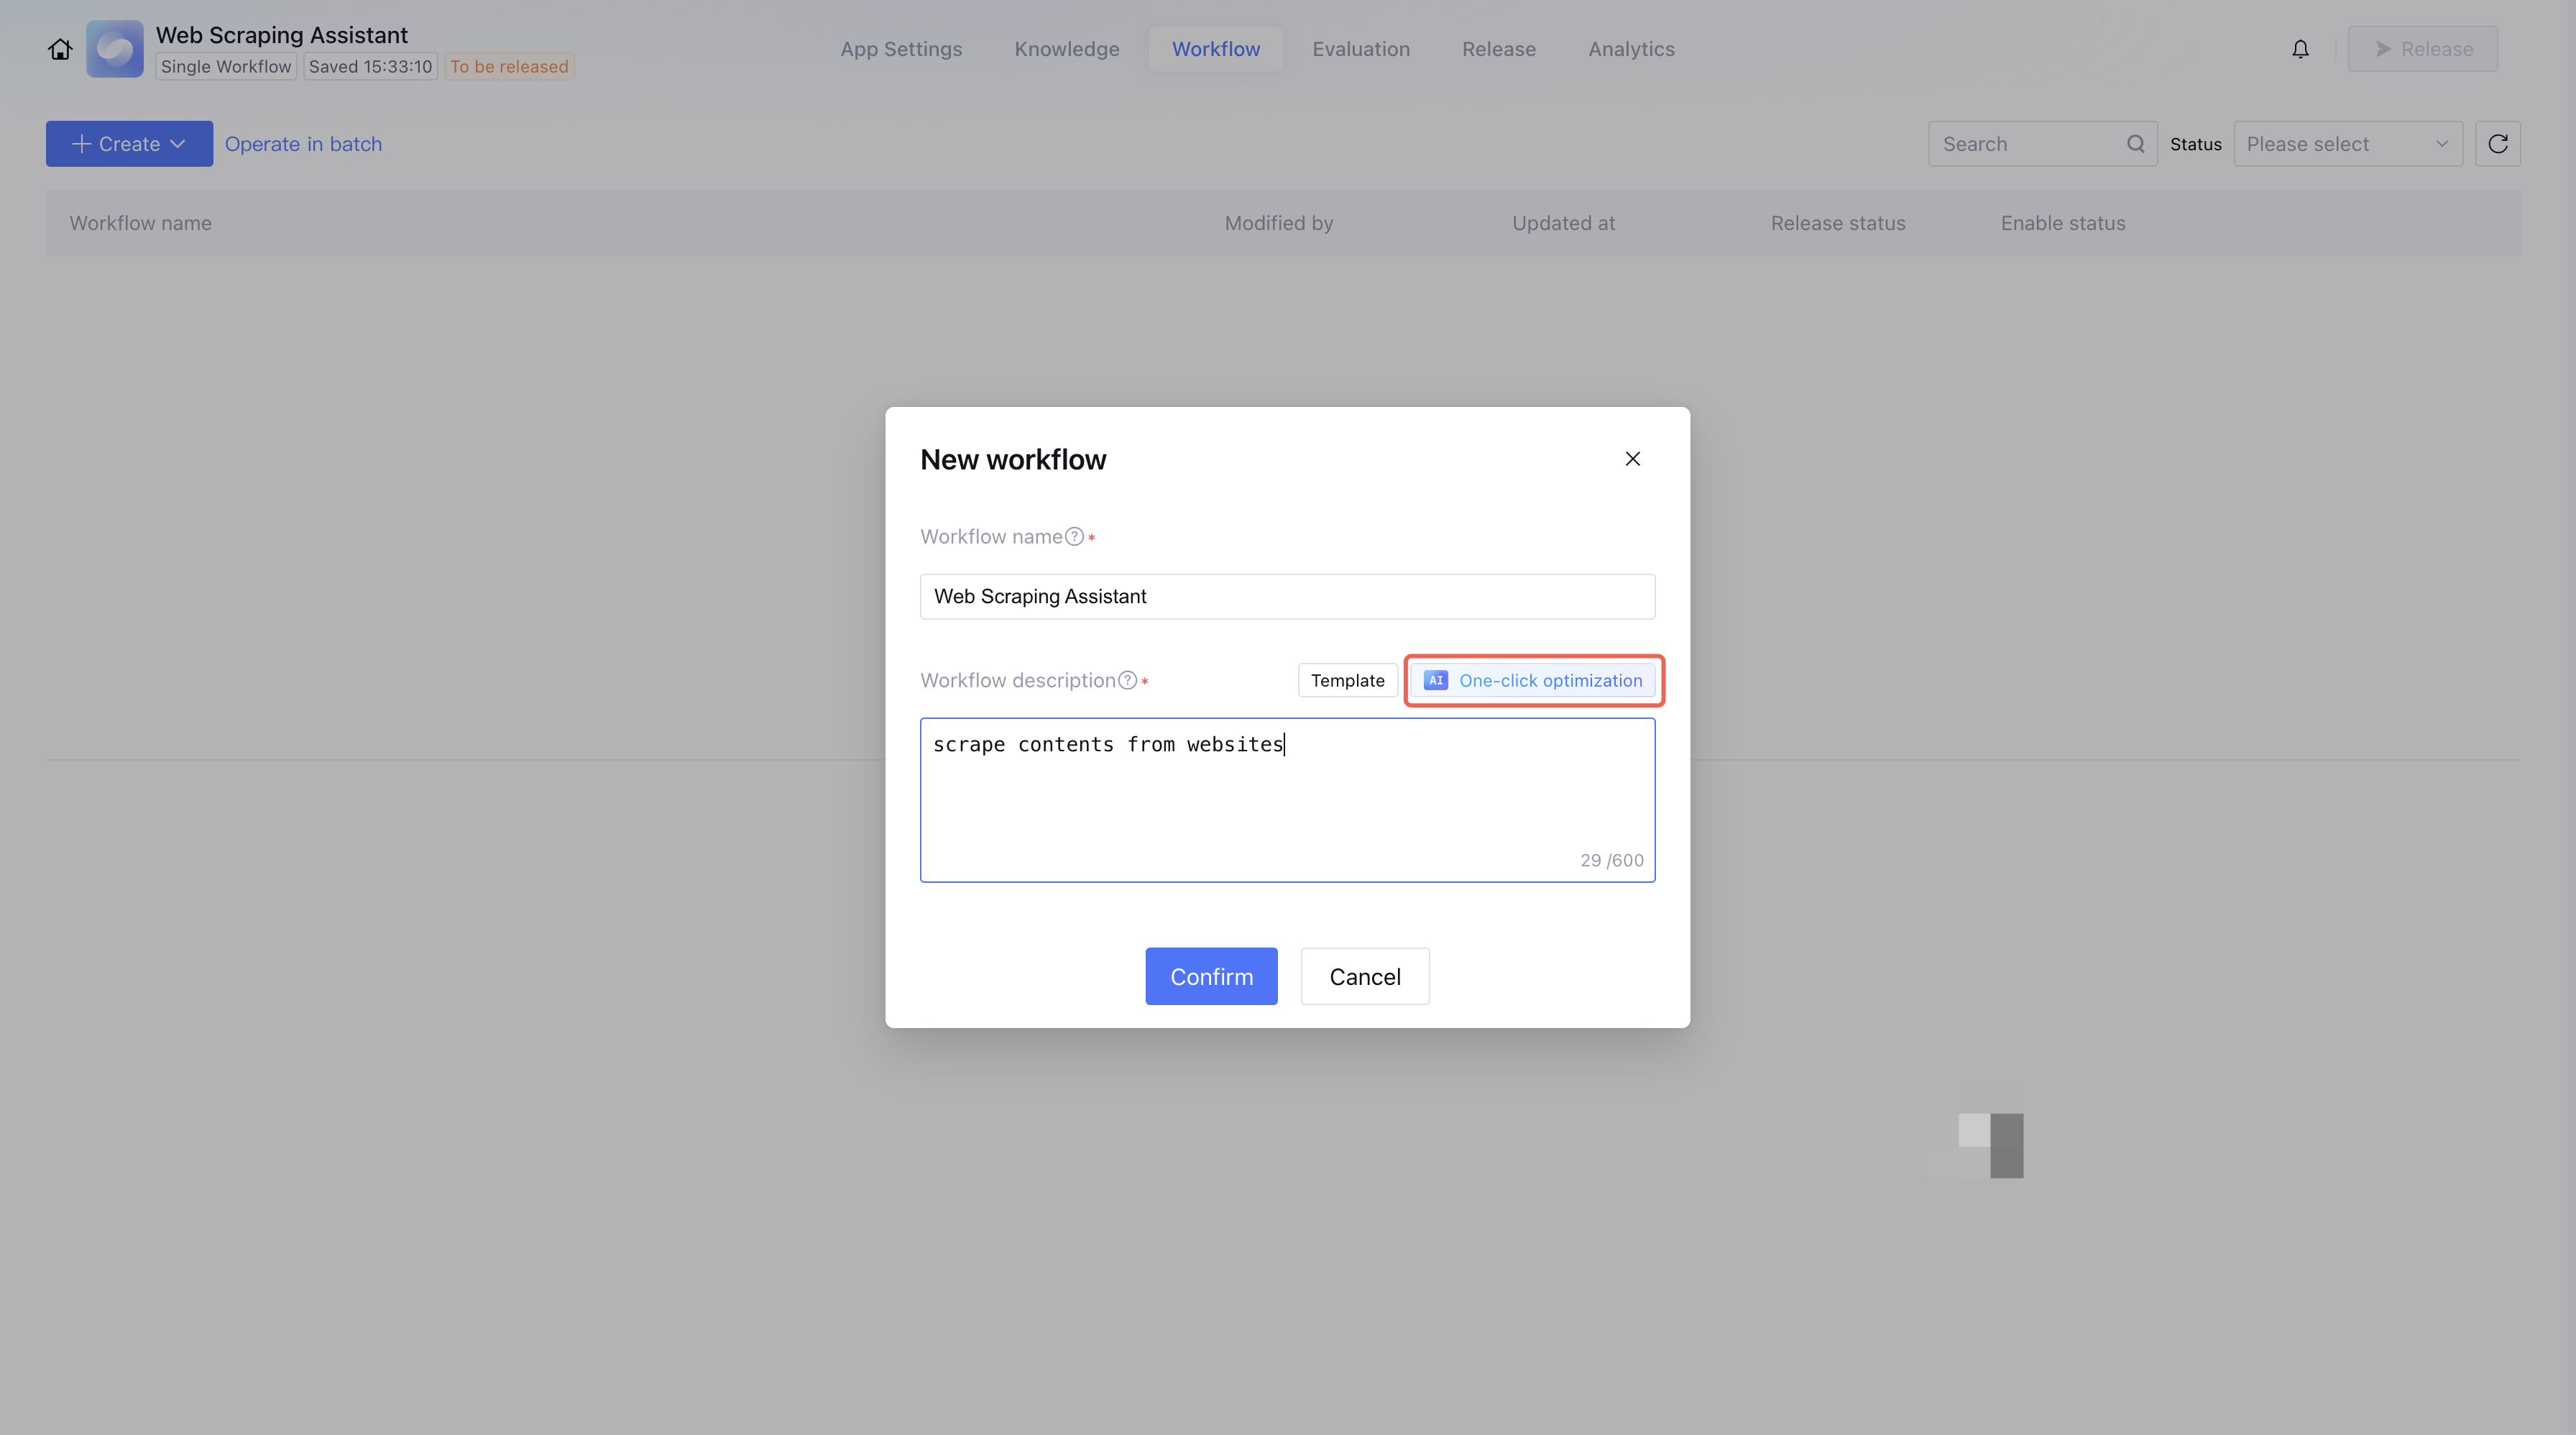
Enter the workflow name and workflow description, then click Confirm to create a workflow.
You can also use AI One-click optimization to optimize the workflow description you entered, allowing the LLM to refine the content entered by user into structured content so that the model can understand when to trigger workflow better.
Note:
The One-click optimization feature will consume token resources.
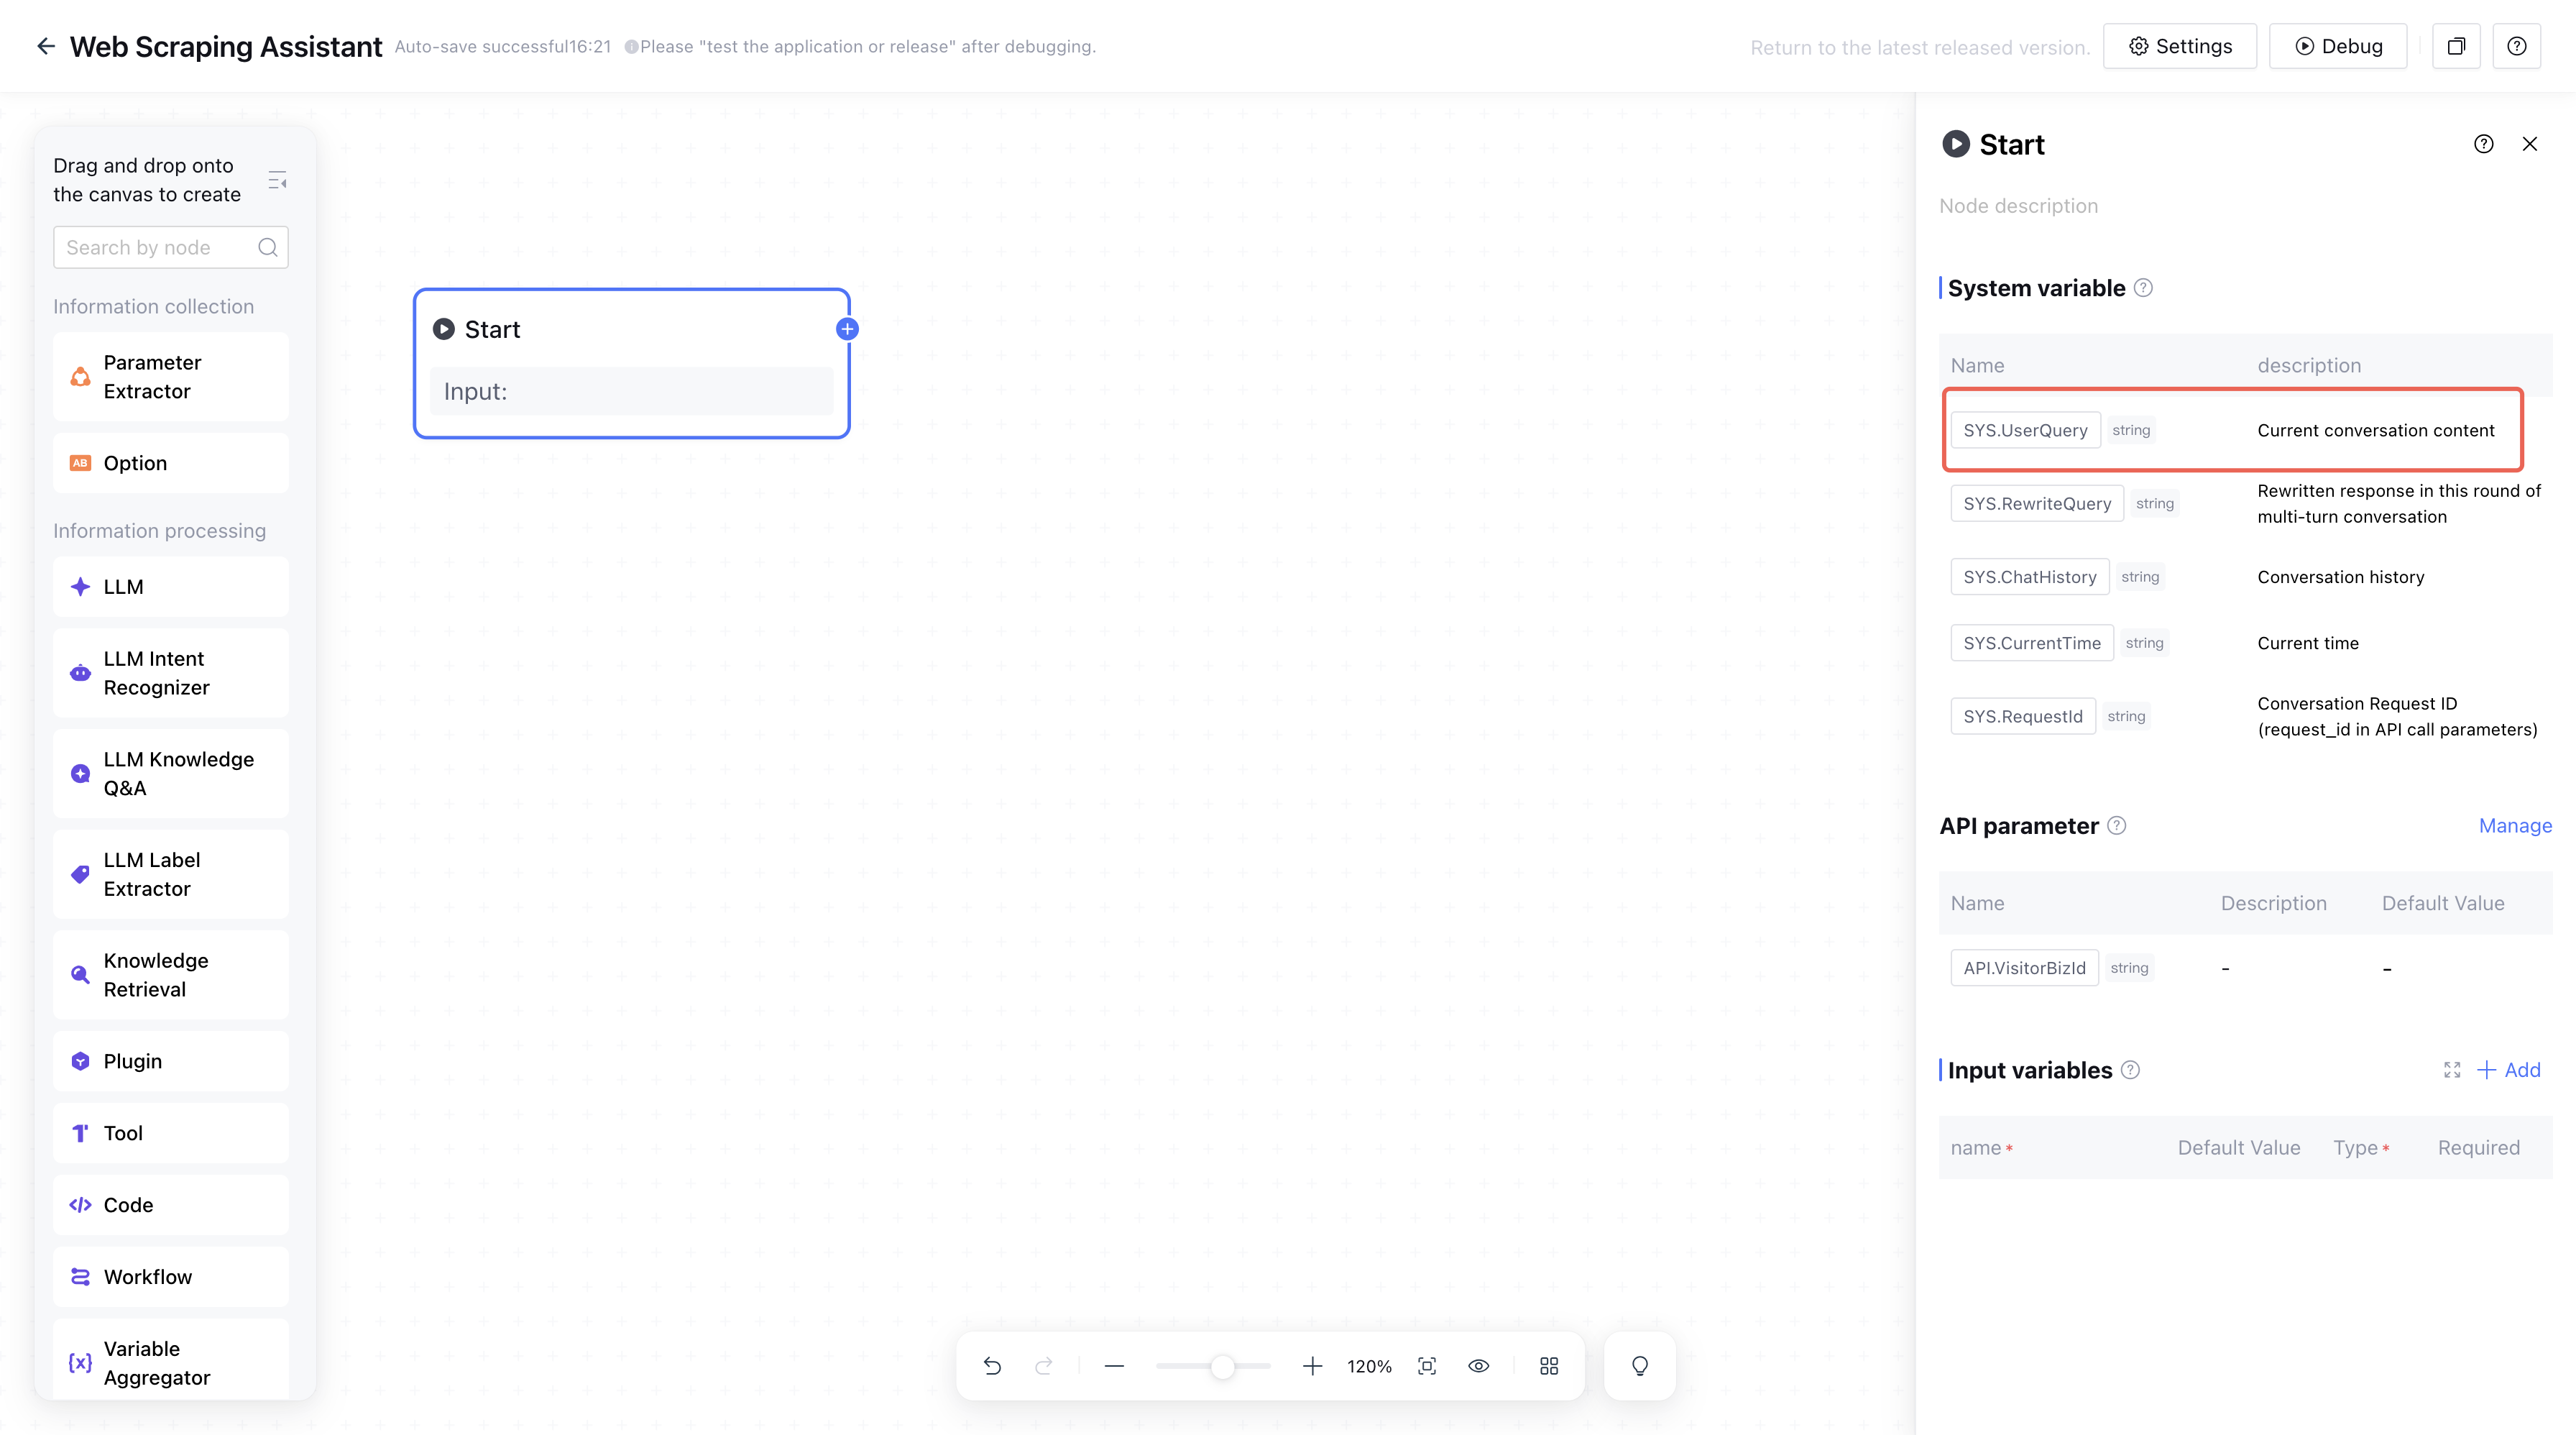
2. Add a start node.
The start node is used to set the information required to launch the workflow. In this scene, users need to provide the webpage link to be parsed. The link is imported by default through the SYS.UserQuery system variable of the start node, no need to add other variables.
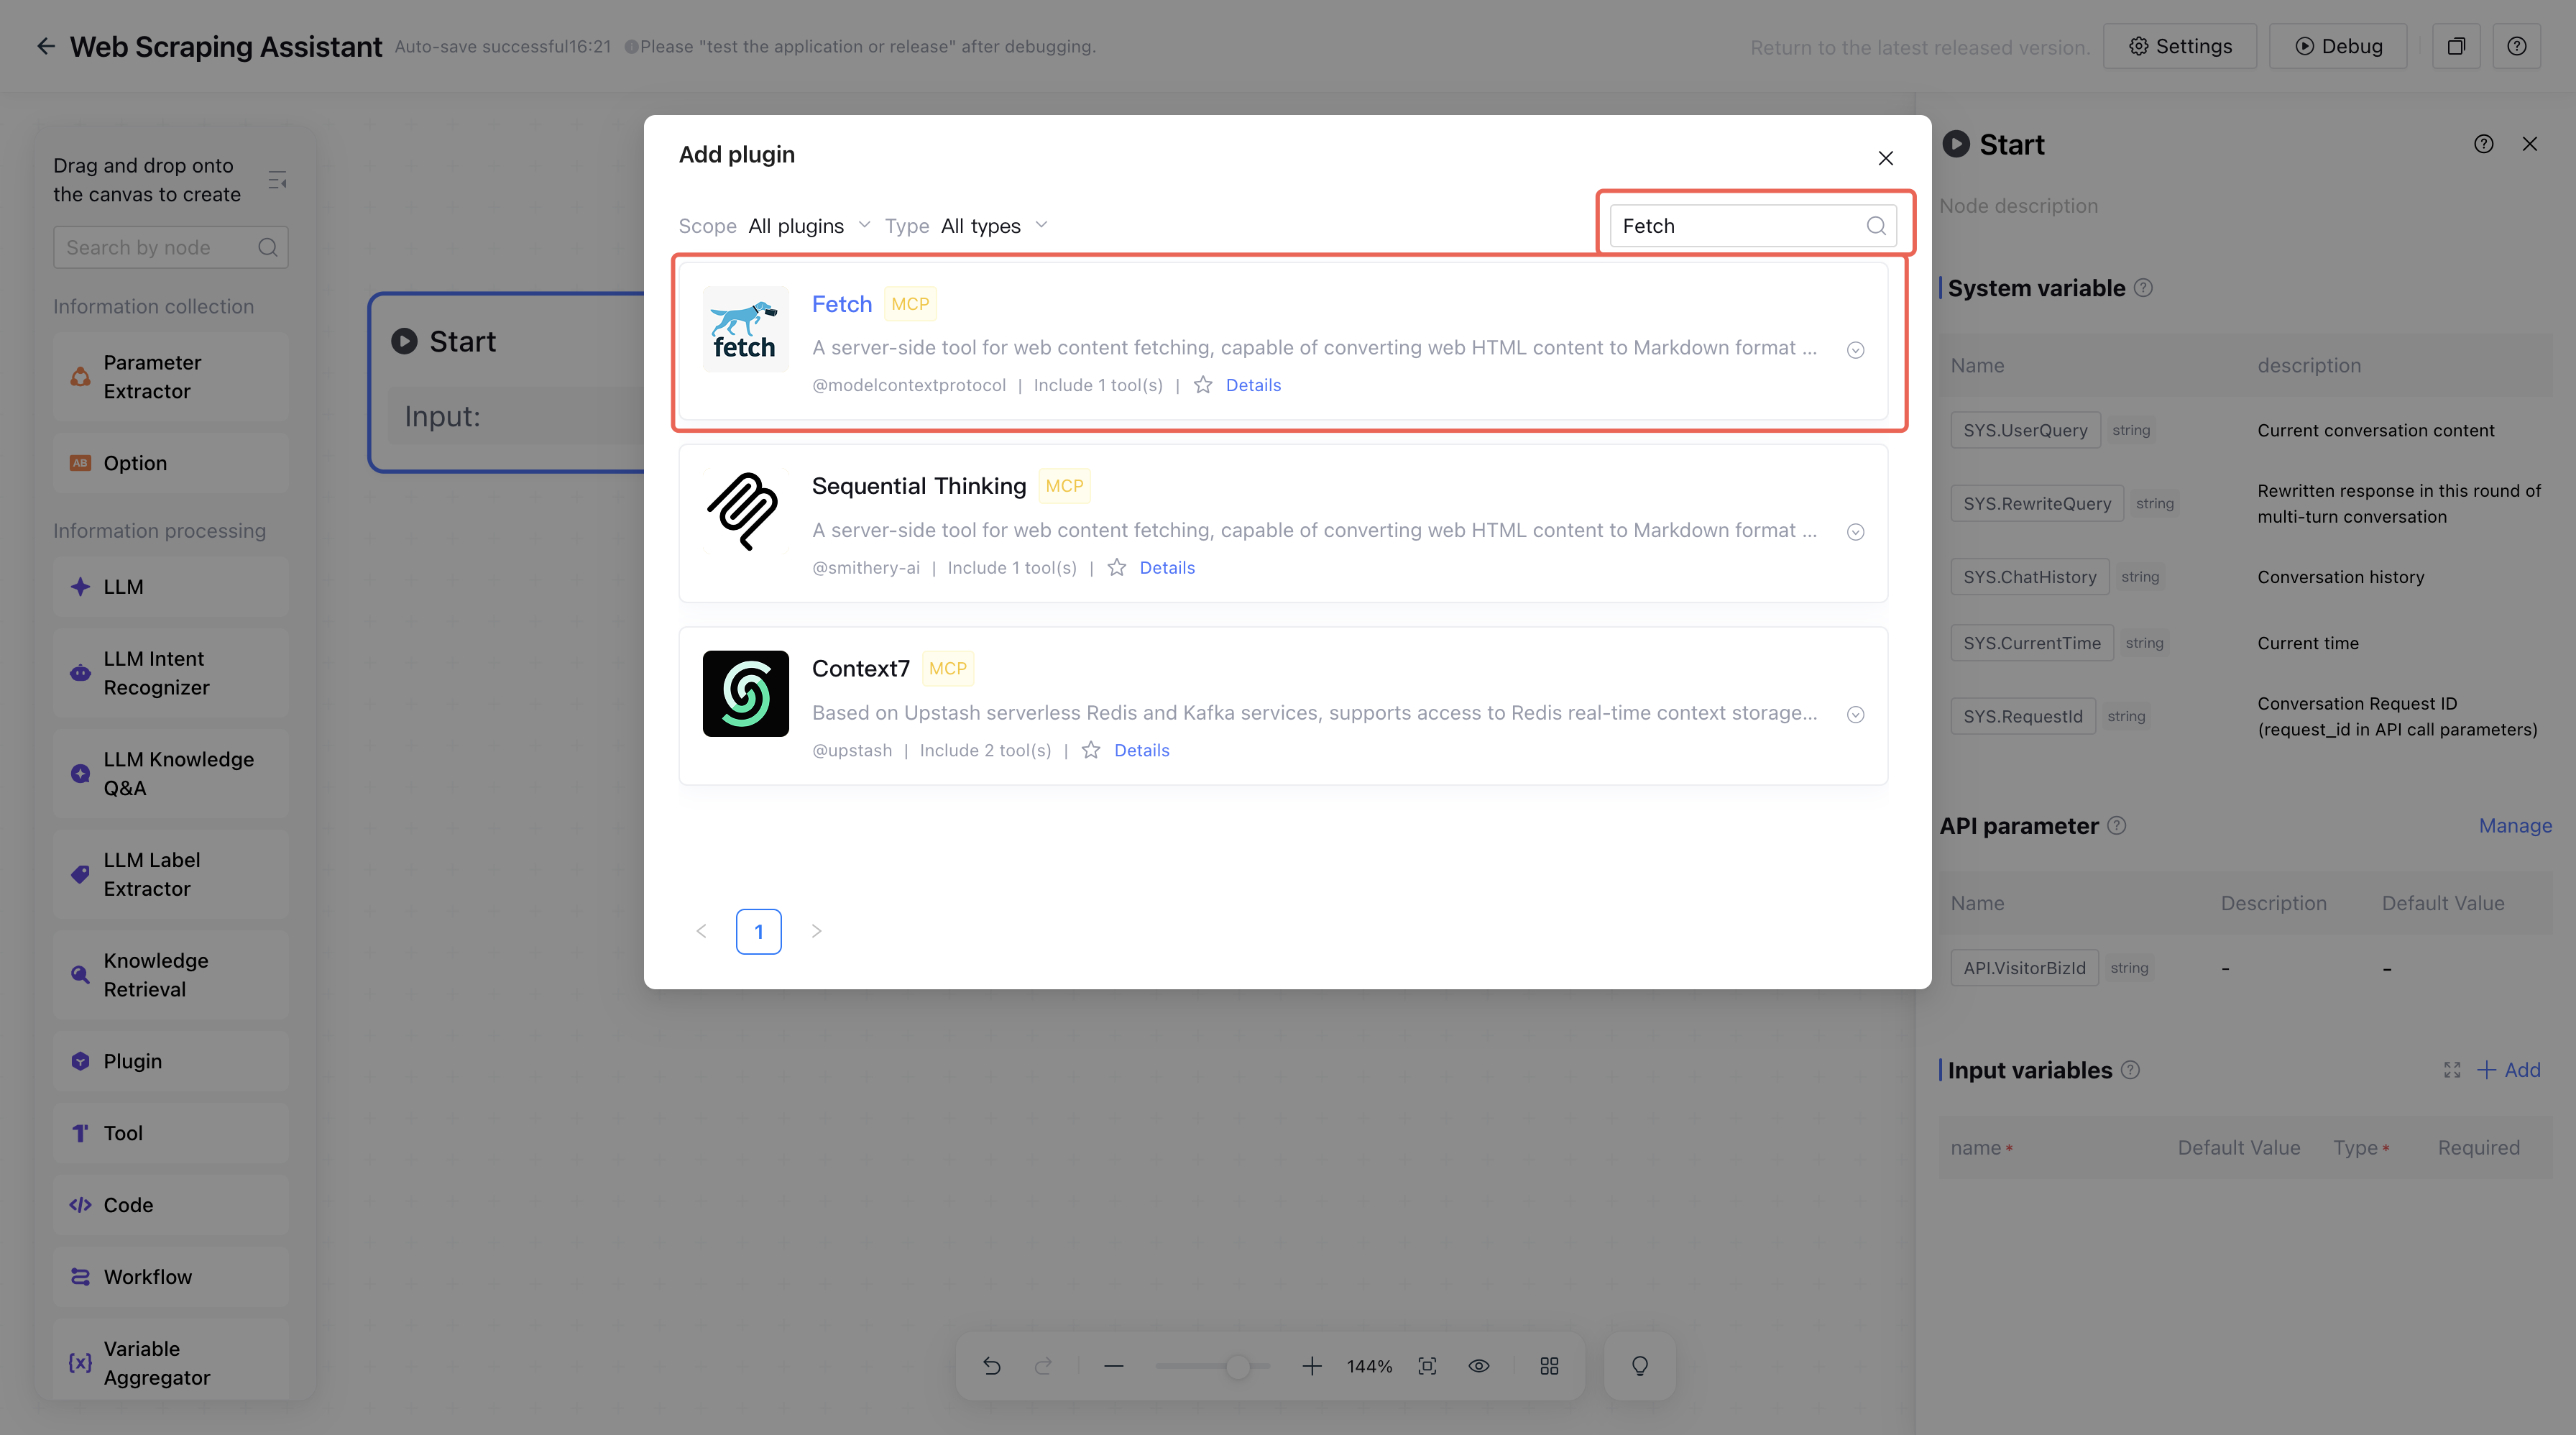
3. Add a webpage scraping plugin node.
The plugin node enables quick setup of listed plugins in the Agent Development Platfrom store or third-party plugins, making application development simple and enhance the power of the agents.
3.1 On the left side of the canvas, select the plugin node in information collection, search for the Fetch plugin, and add it.
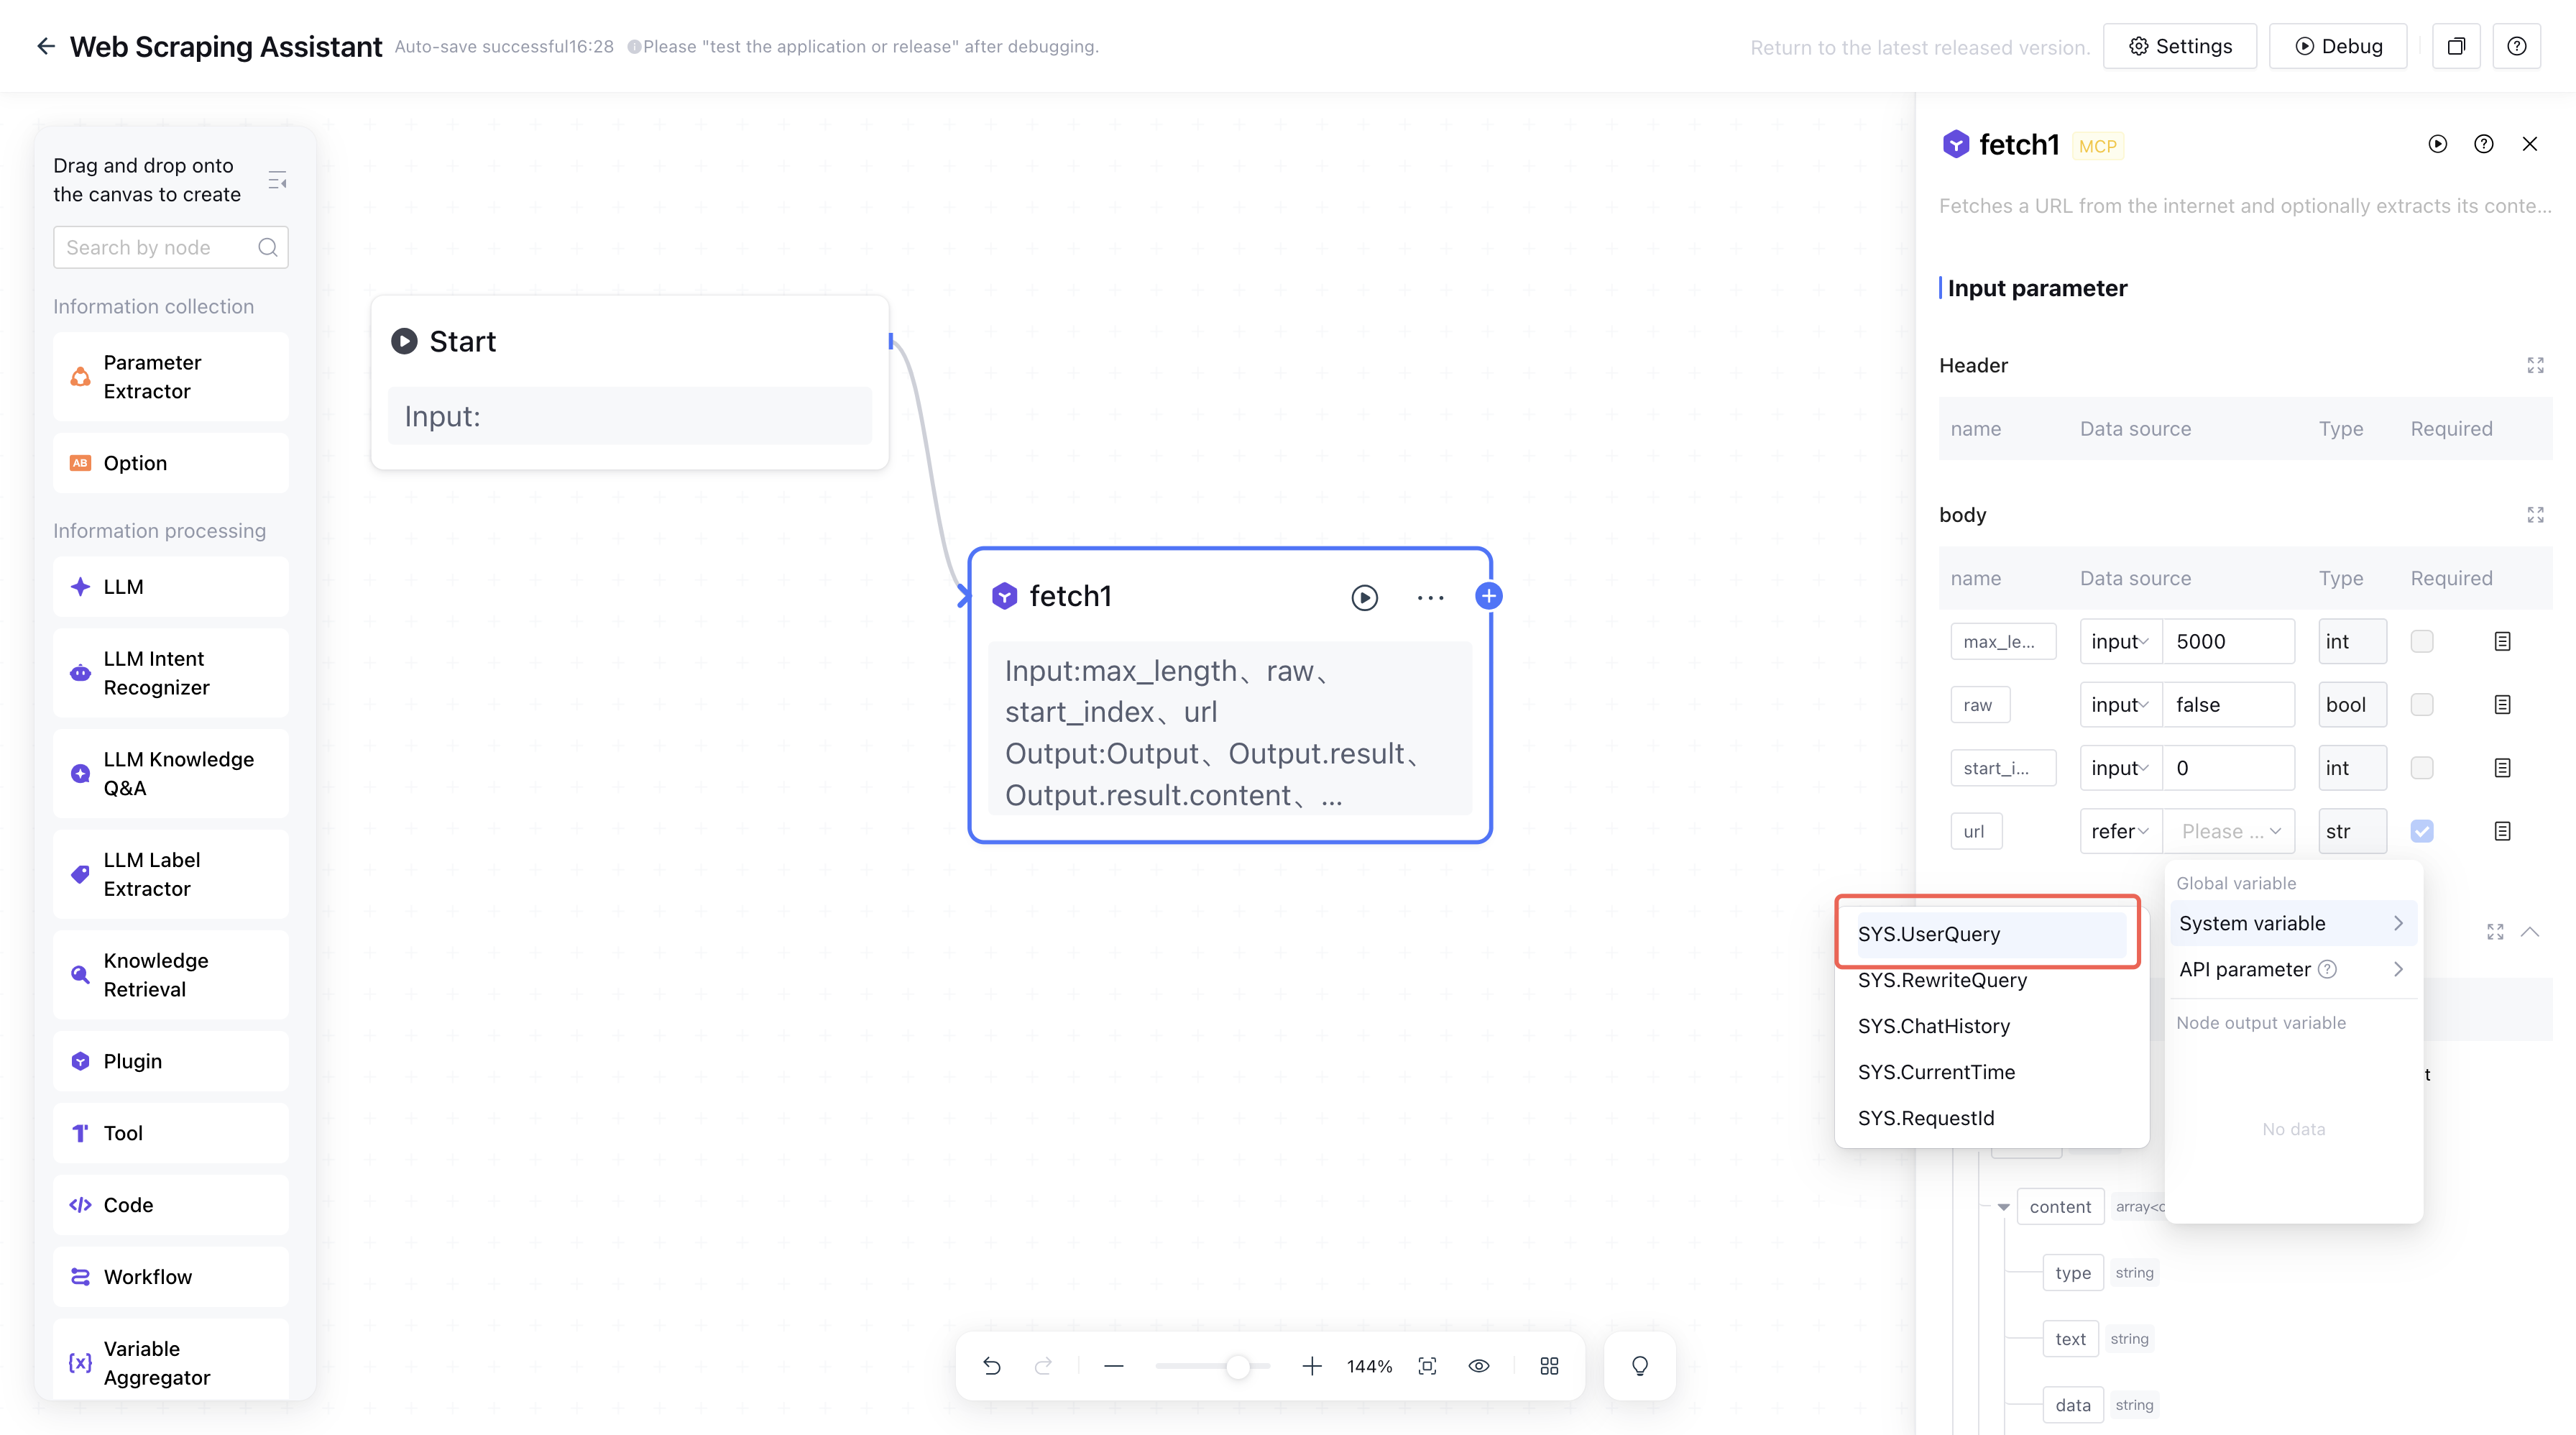
3.2. Set the variable url to refer to the system variable SYS.UserQuery, and use defaults values for other input variables.
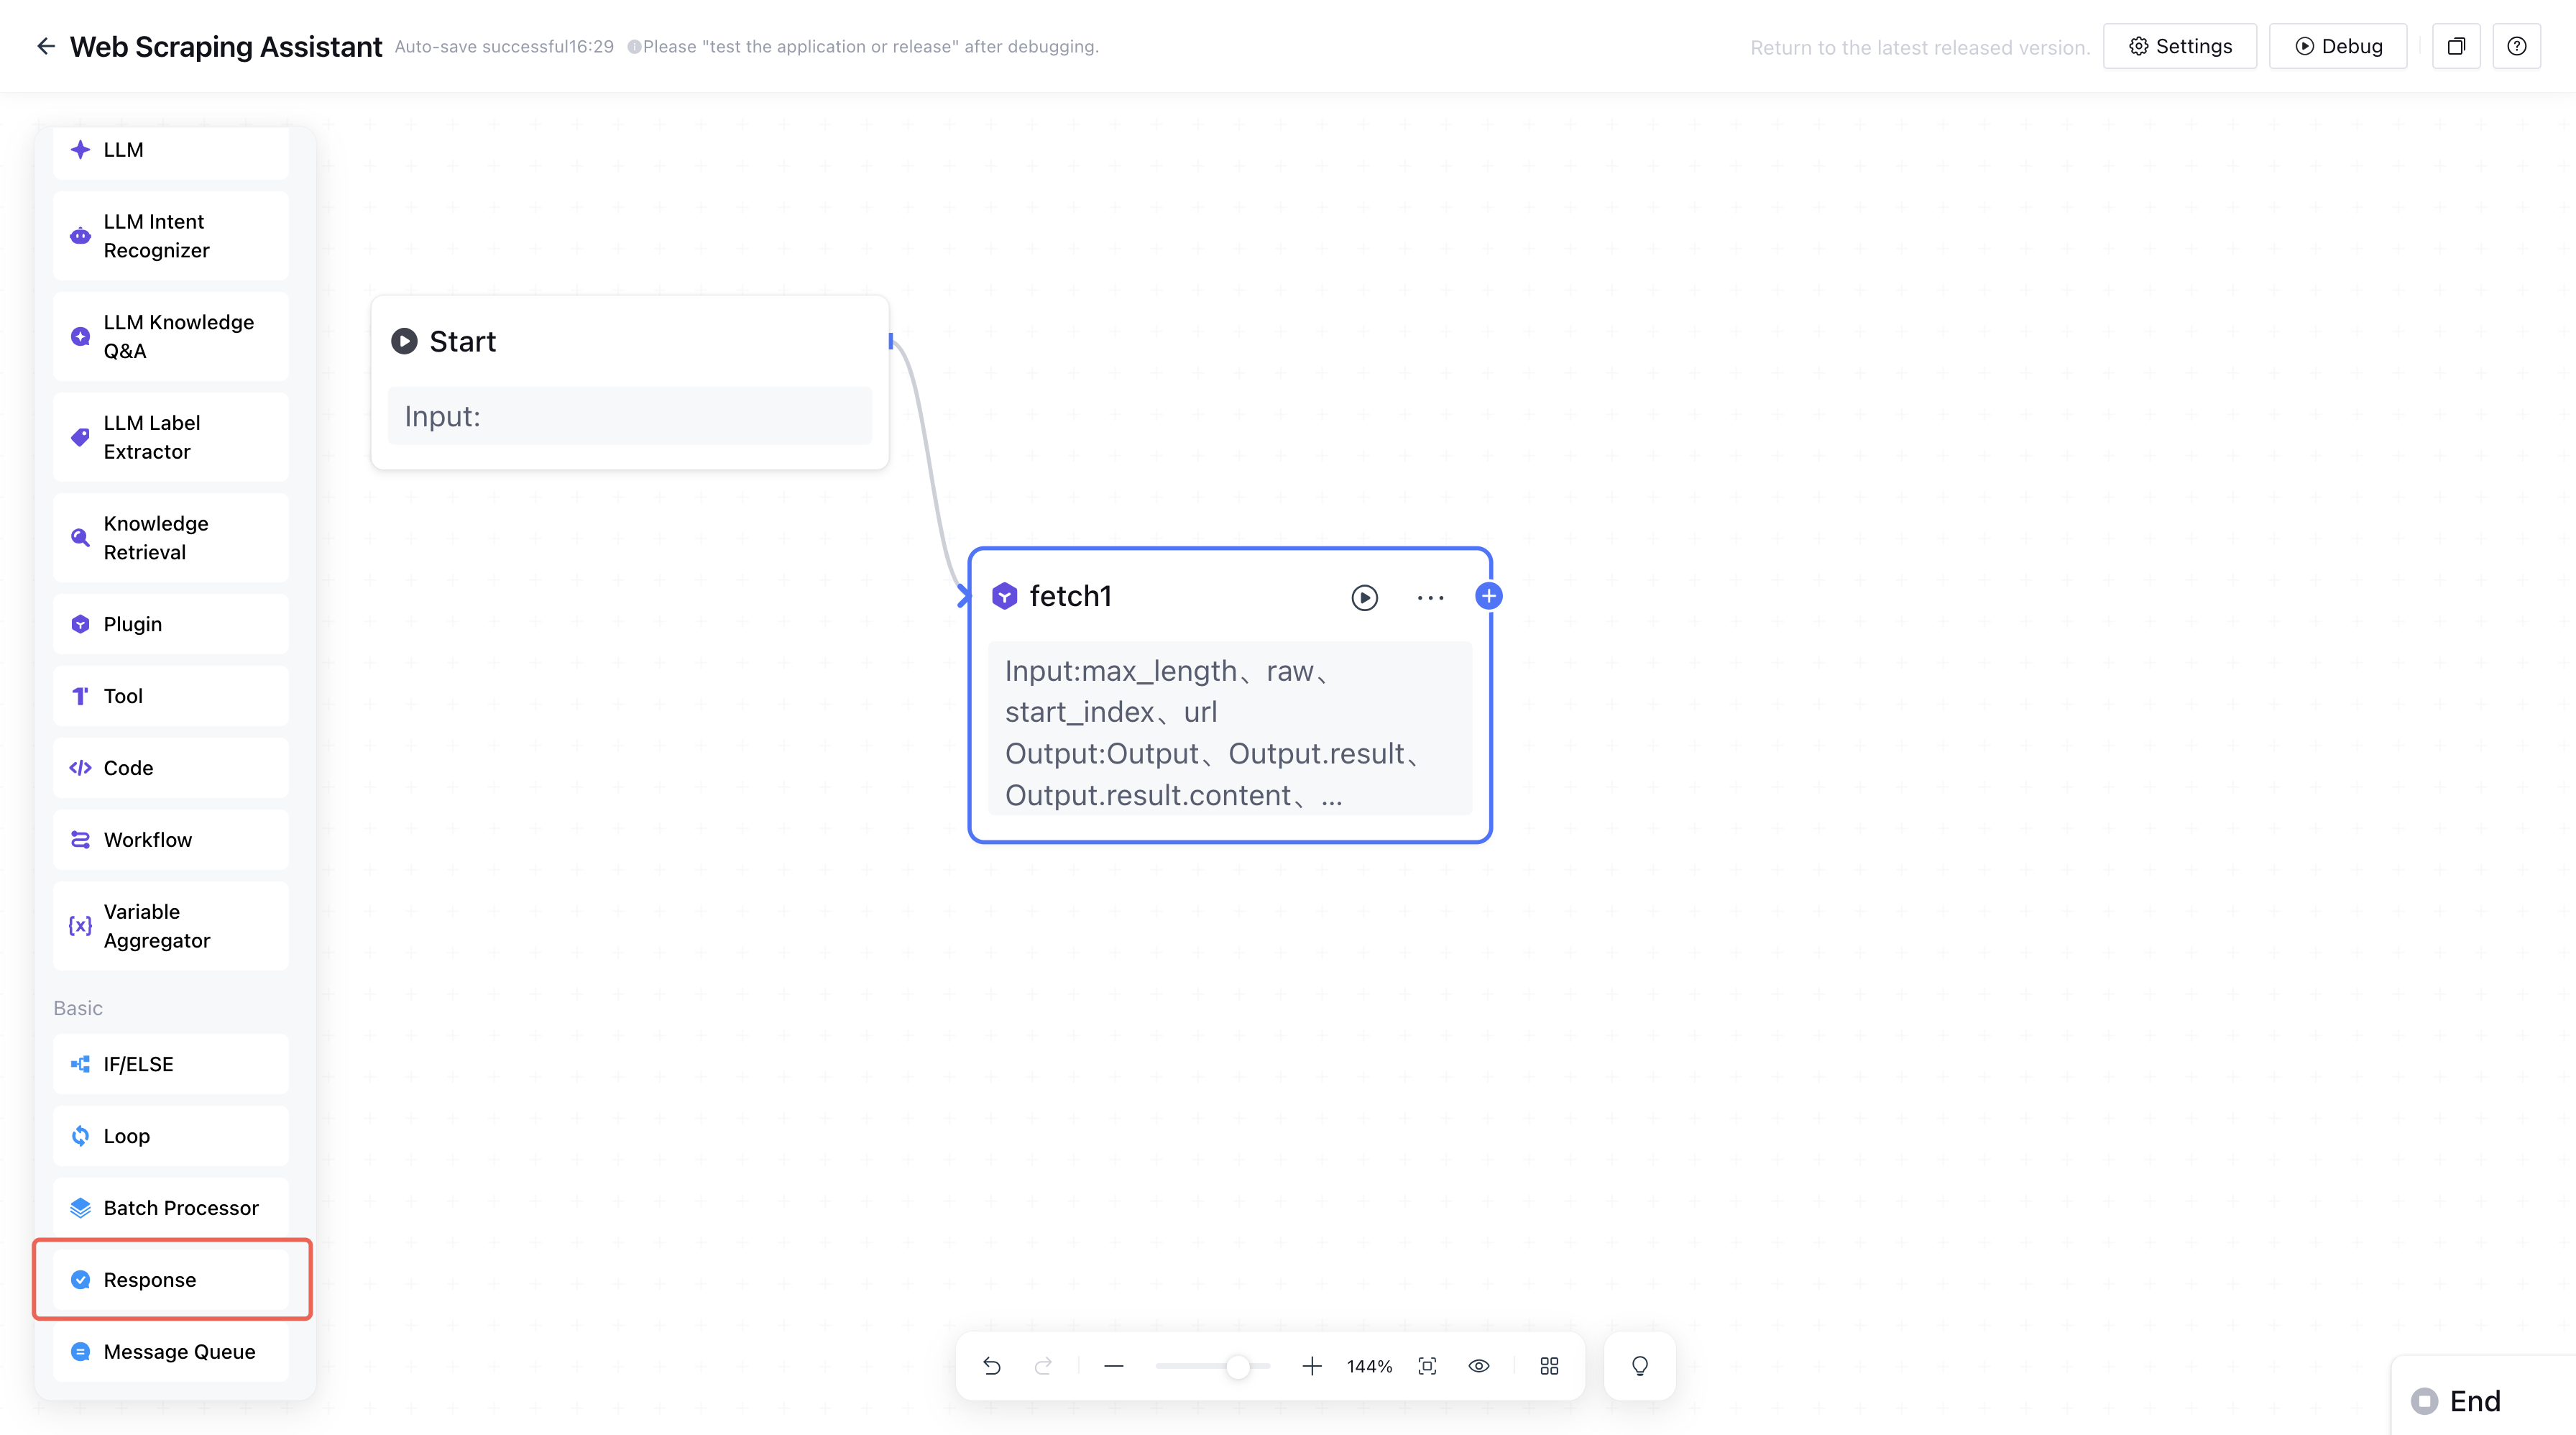
4. Add a response node.
The response node is used to reply to the dialogue. The content you set will be presented to users.
4.1. Select the response node from the basic nodes on the left side of the canvas and add it.
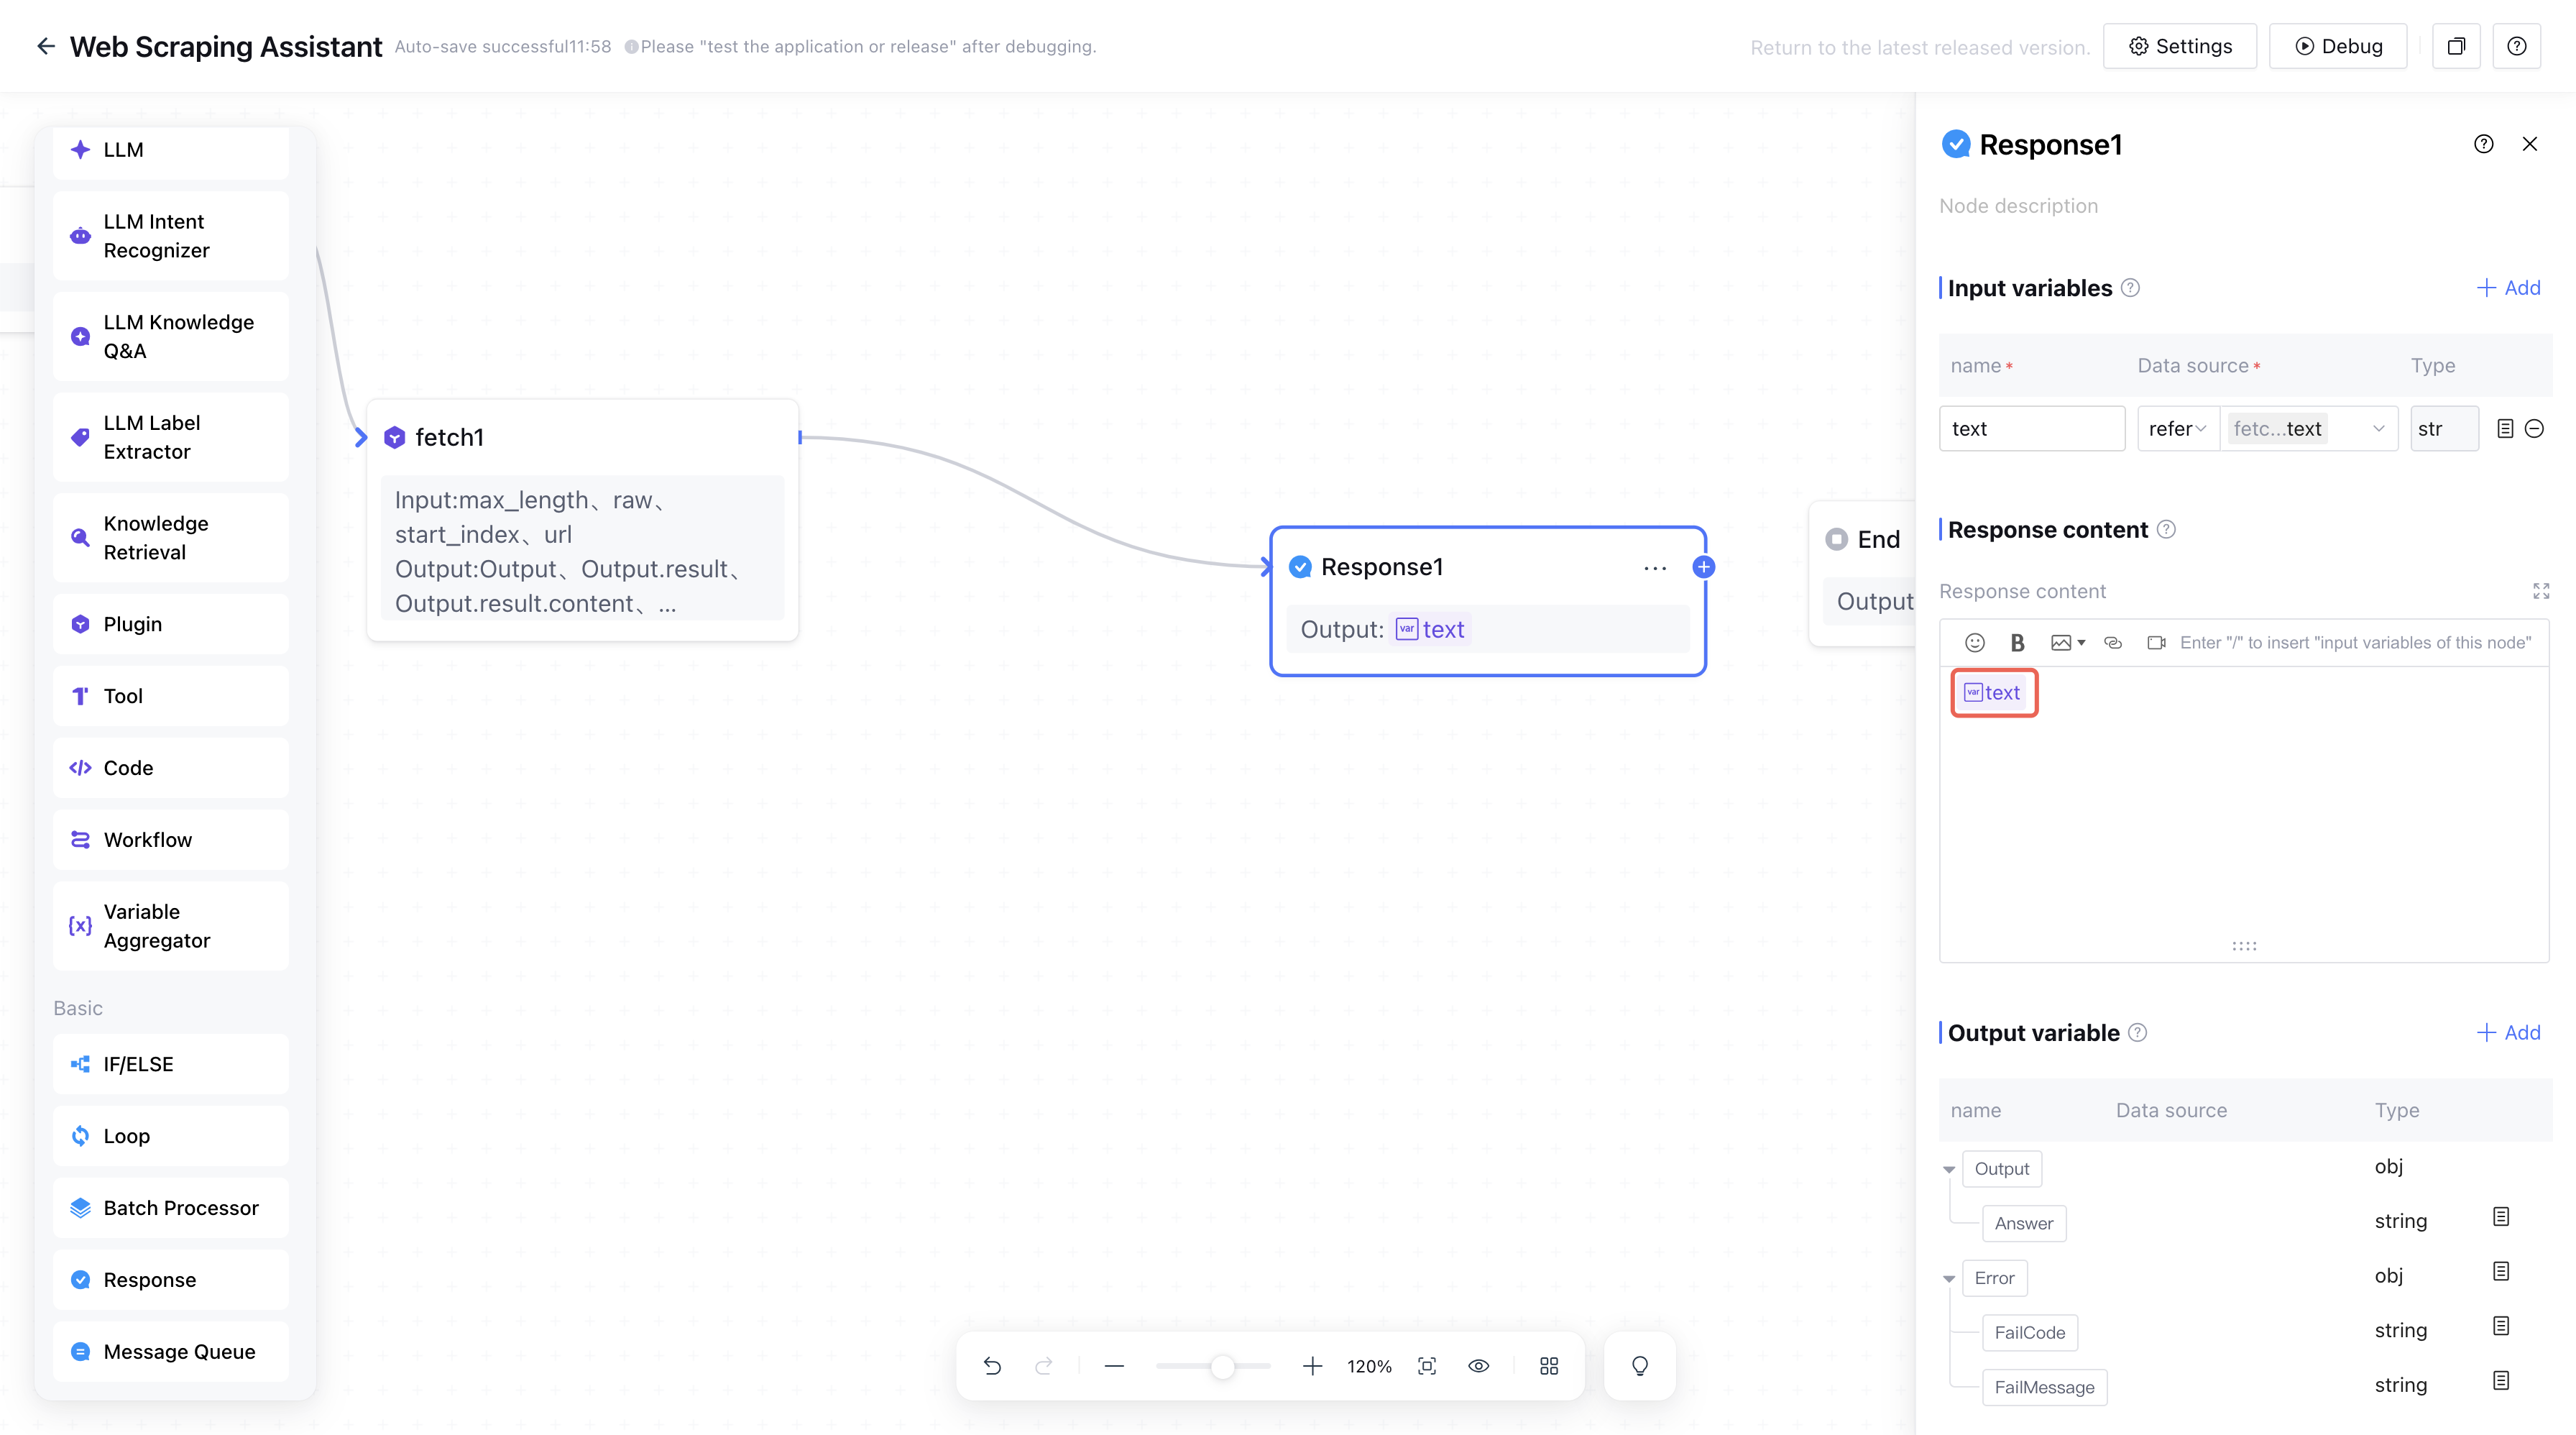
4.2. Create a text variable, select the data source as the output variable Output.result.content.text from the fetch1 node.
4.3. In the response content, type / to insert node variables, then select the input variable text from the current node.
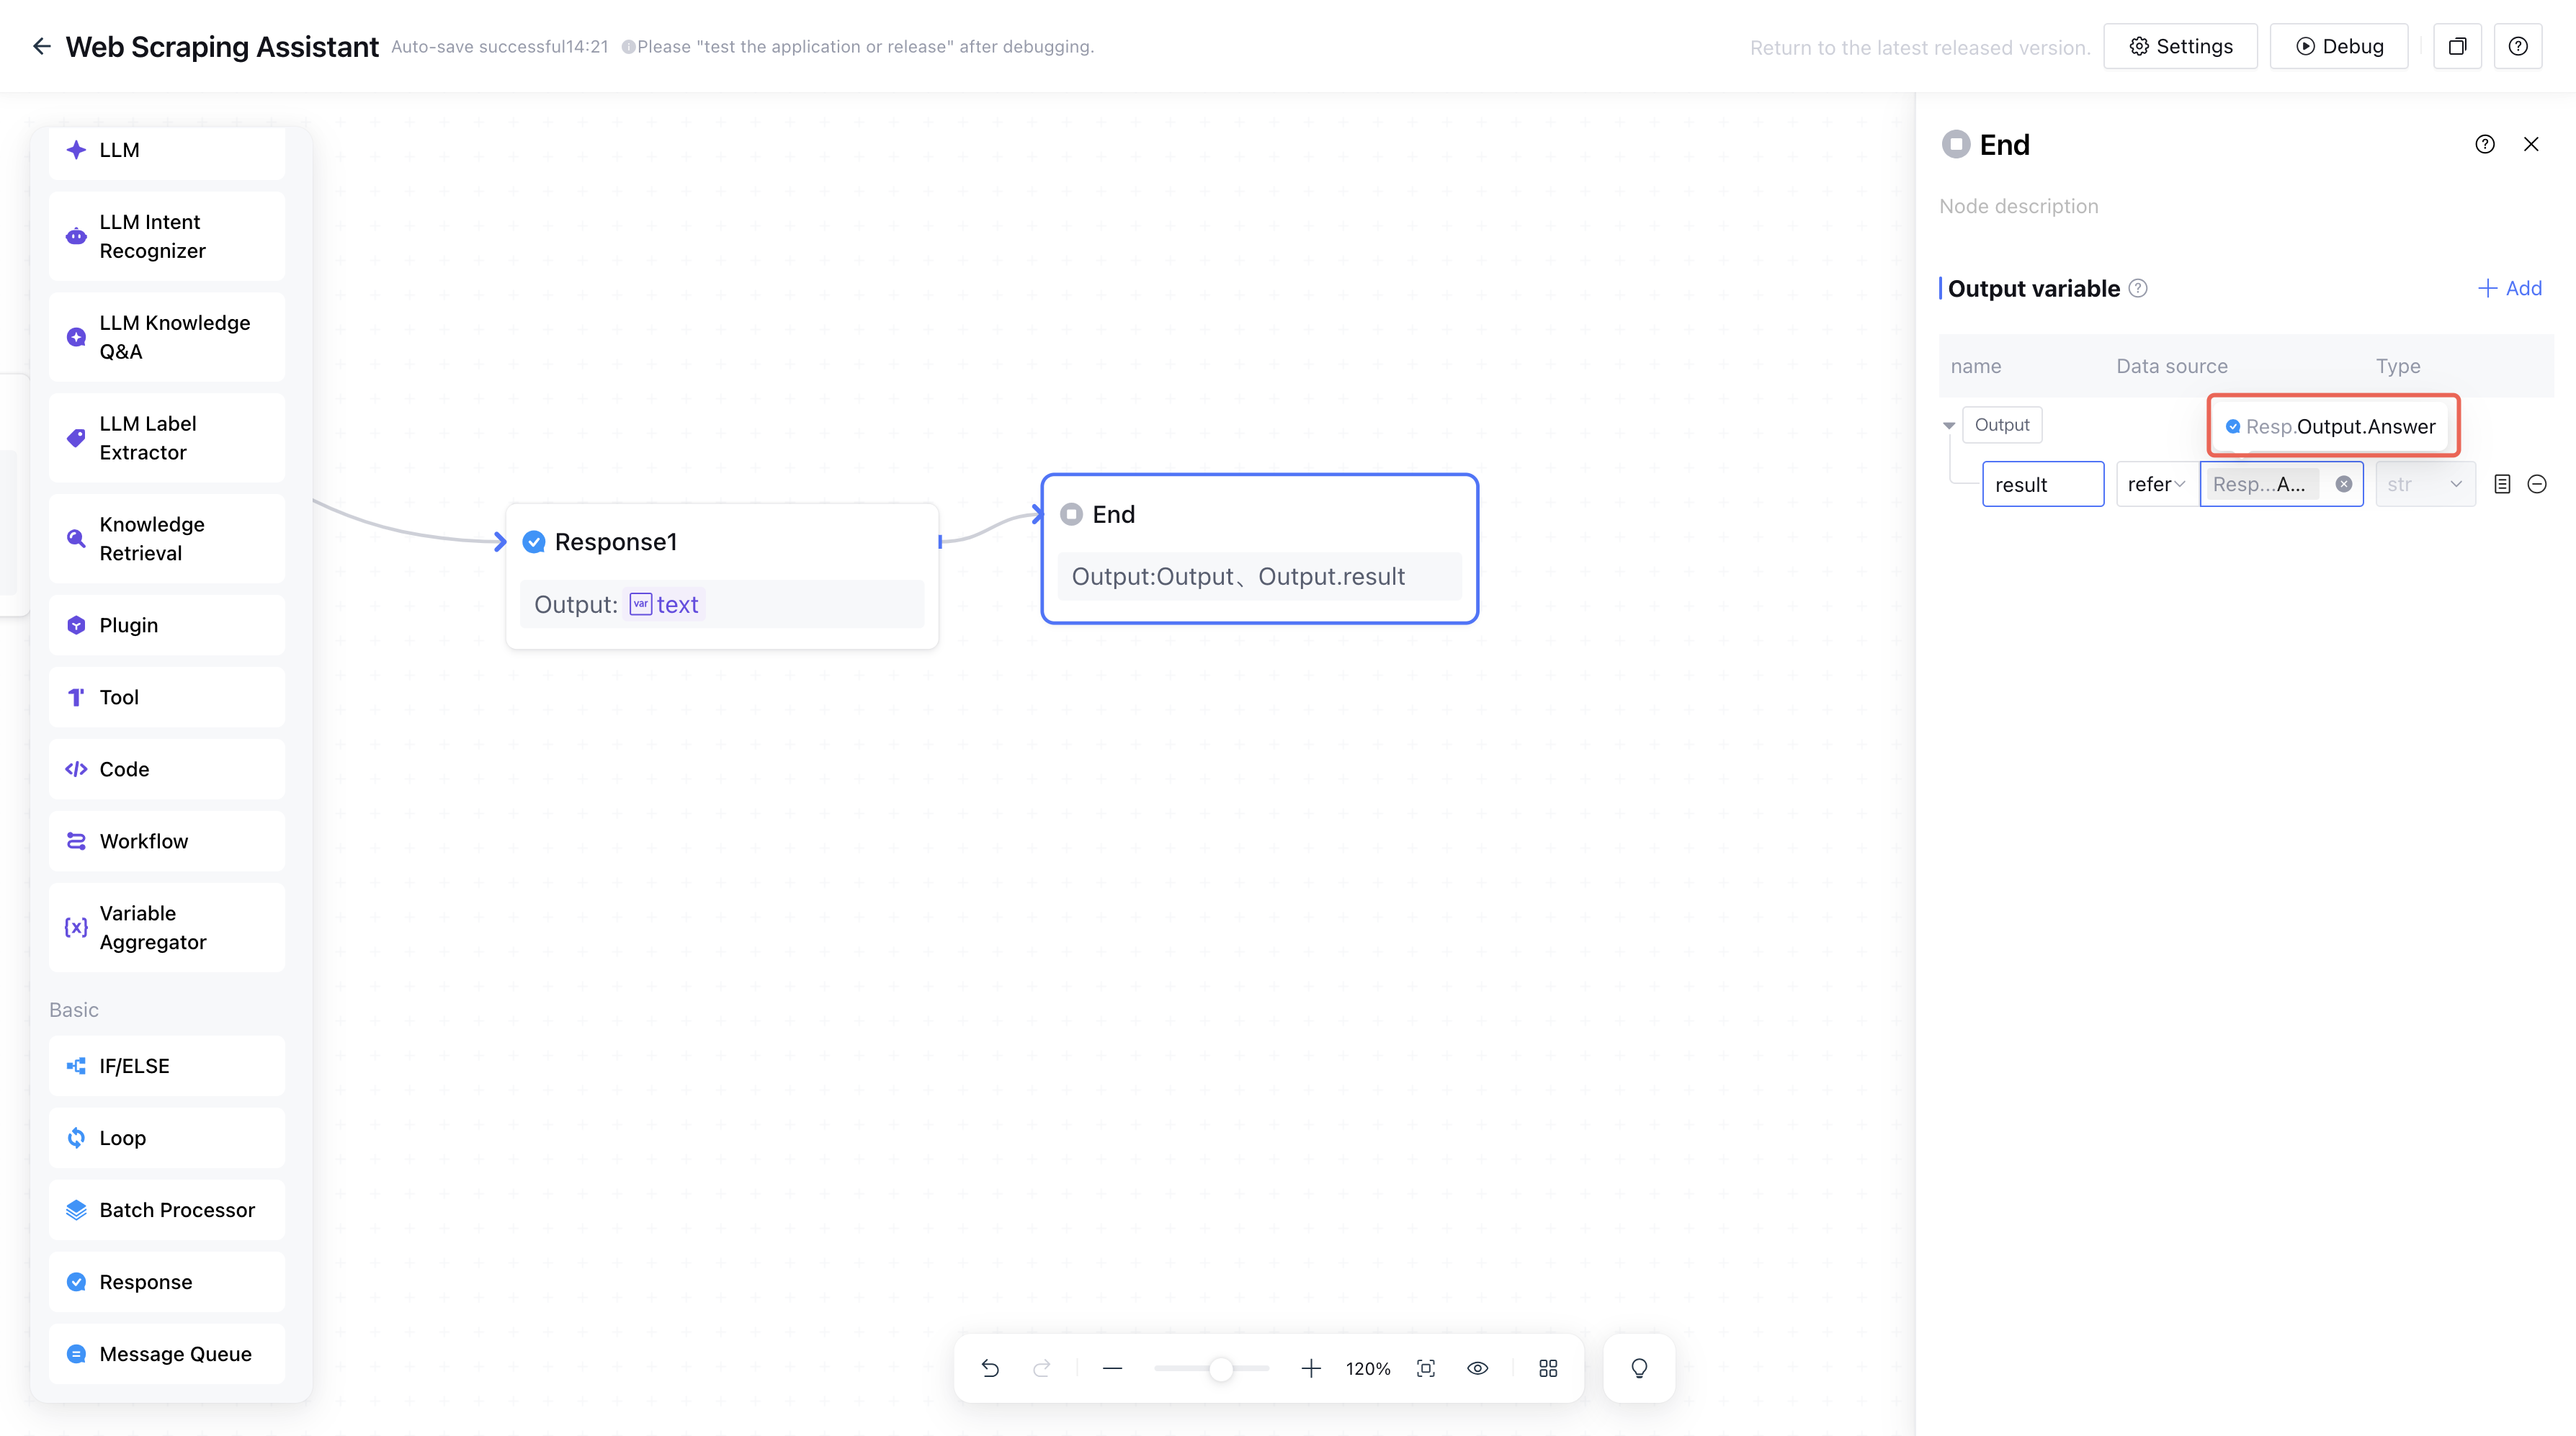
5. Add an end node.
The end node is the final node of the workflow, used for returning the workflow result.
Note:
The output result of the end node is only used as an output variable. To present the output content to users, you need to add a response node.
Create an output variable called result , select Output.Answer from Reply 1 node as the reference of the output variable.
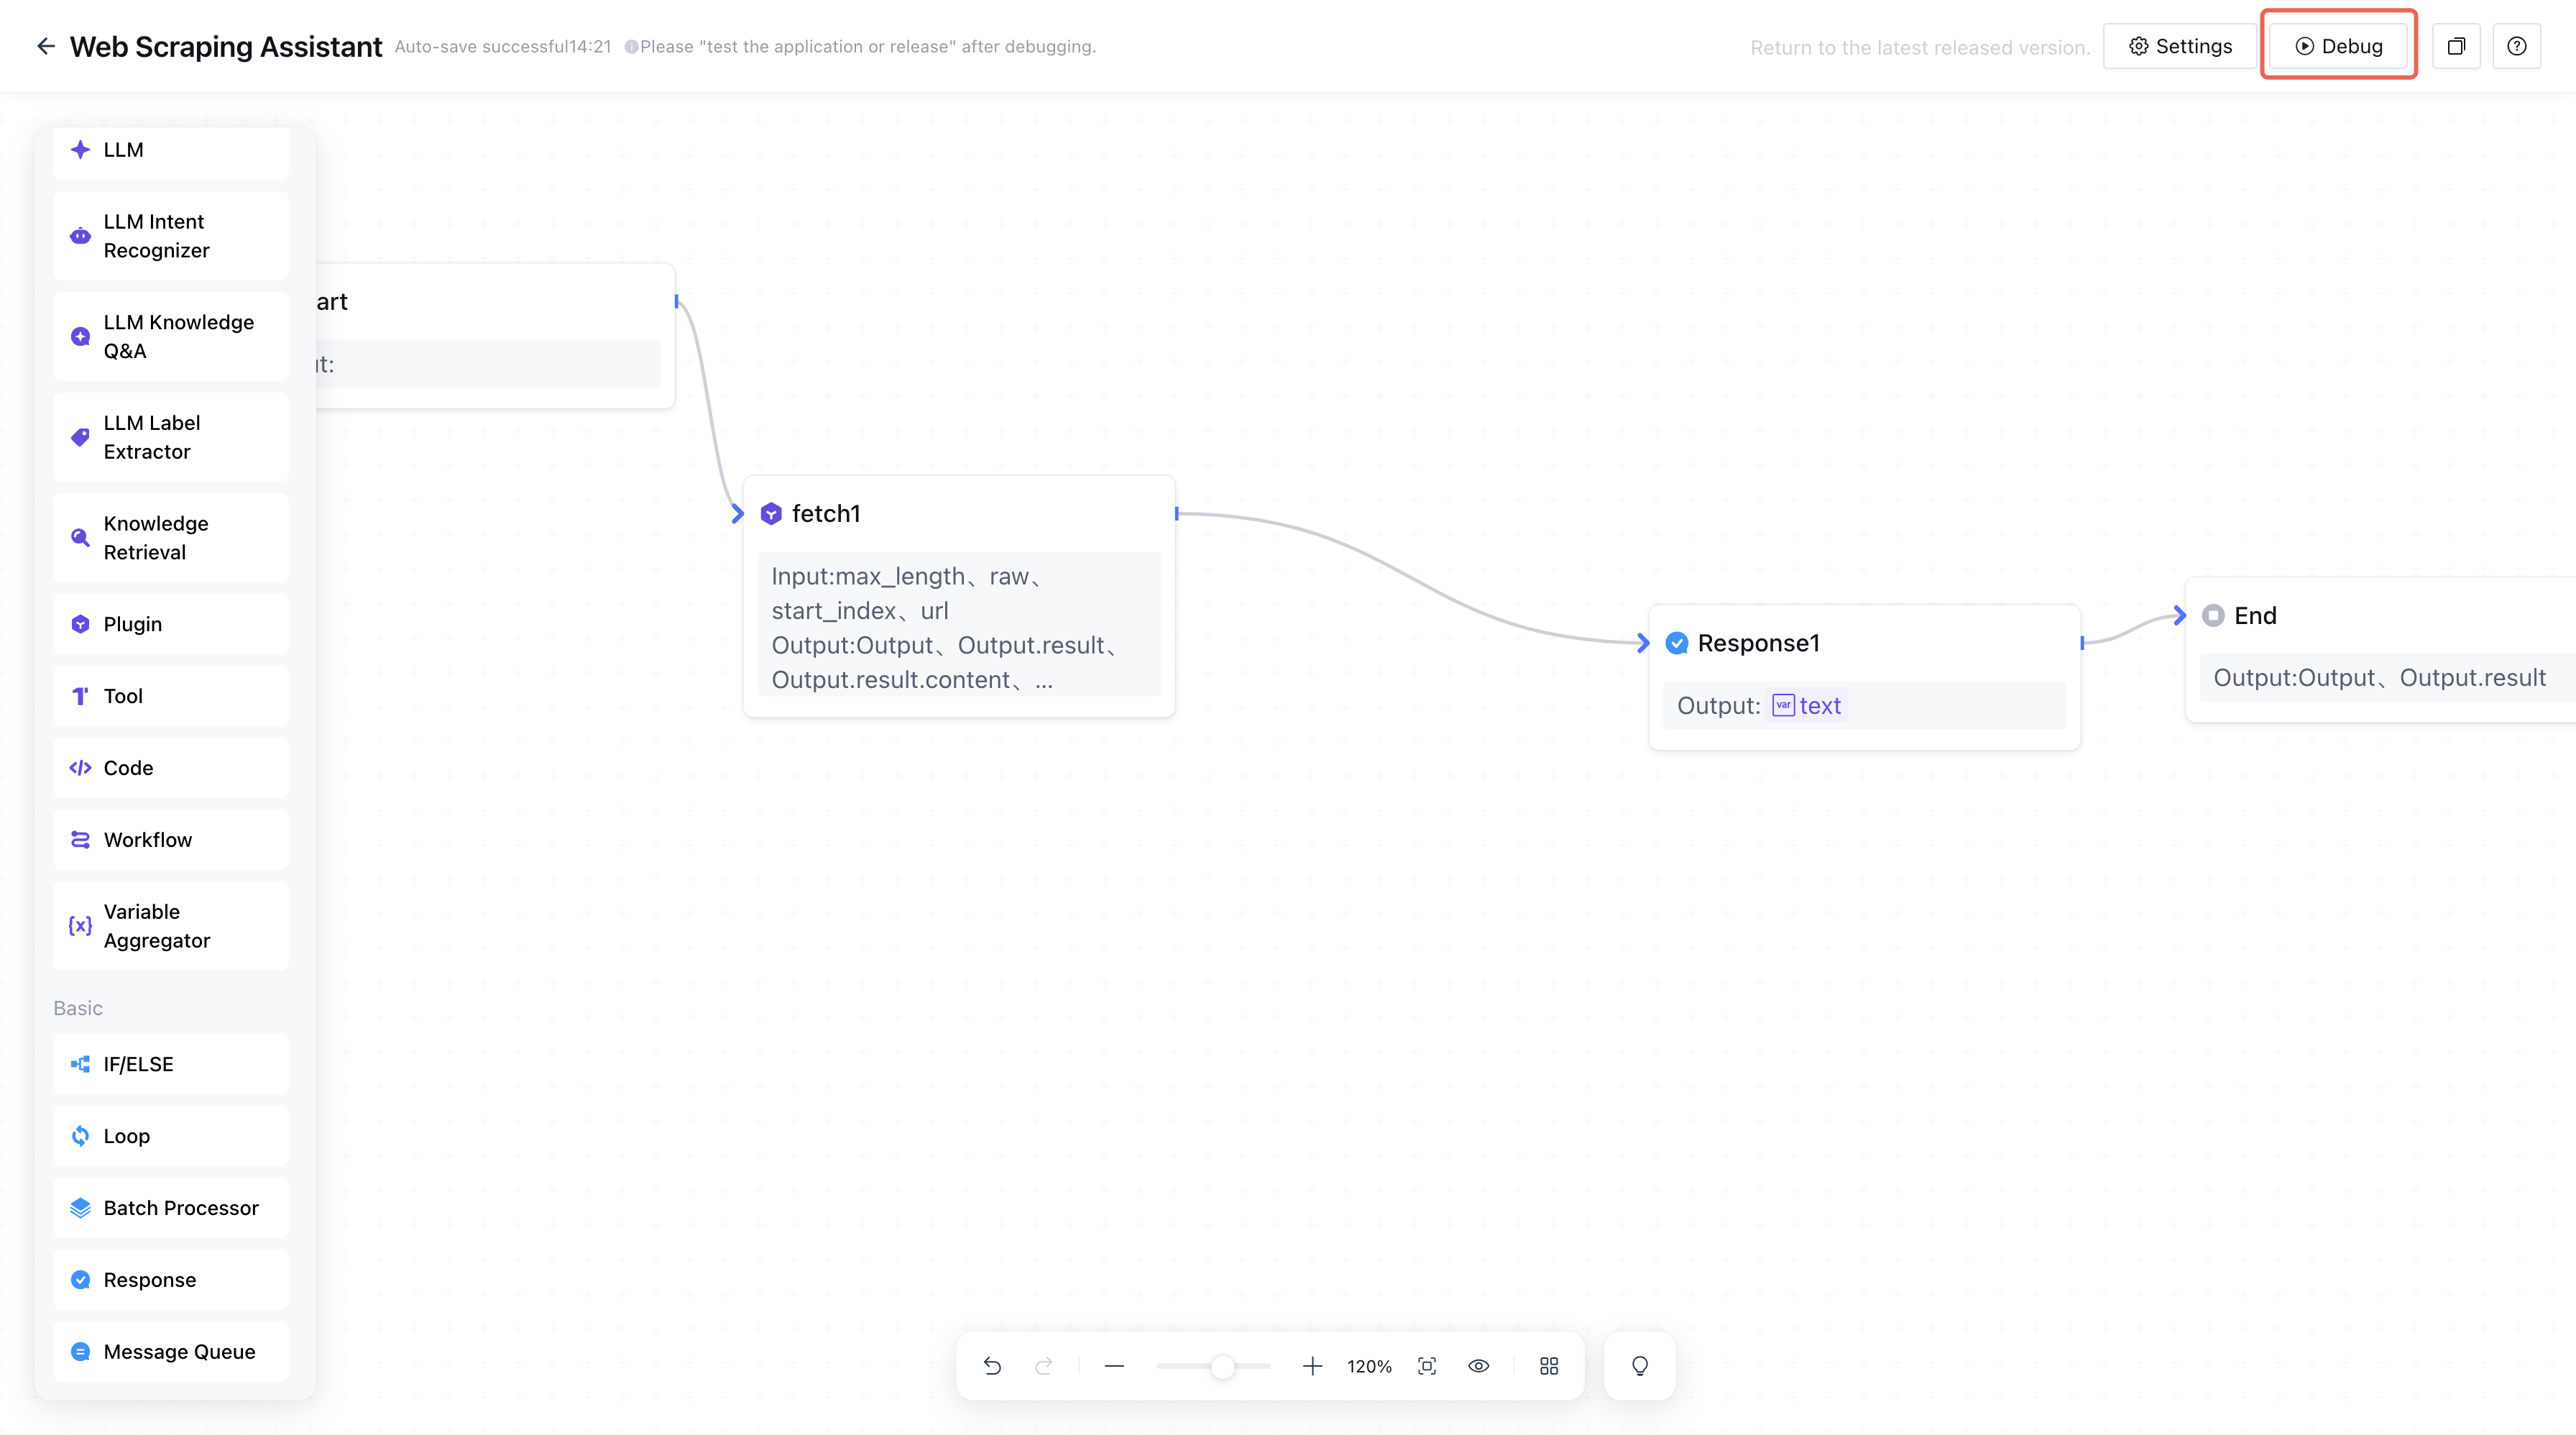
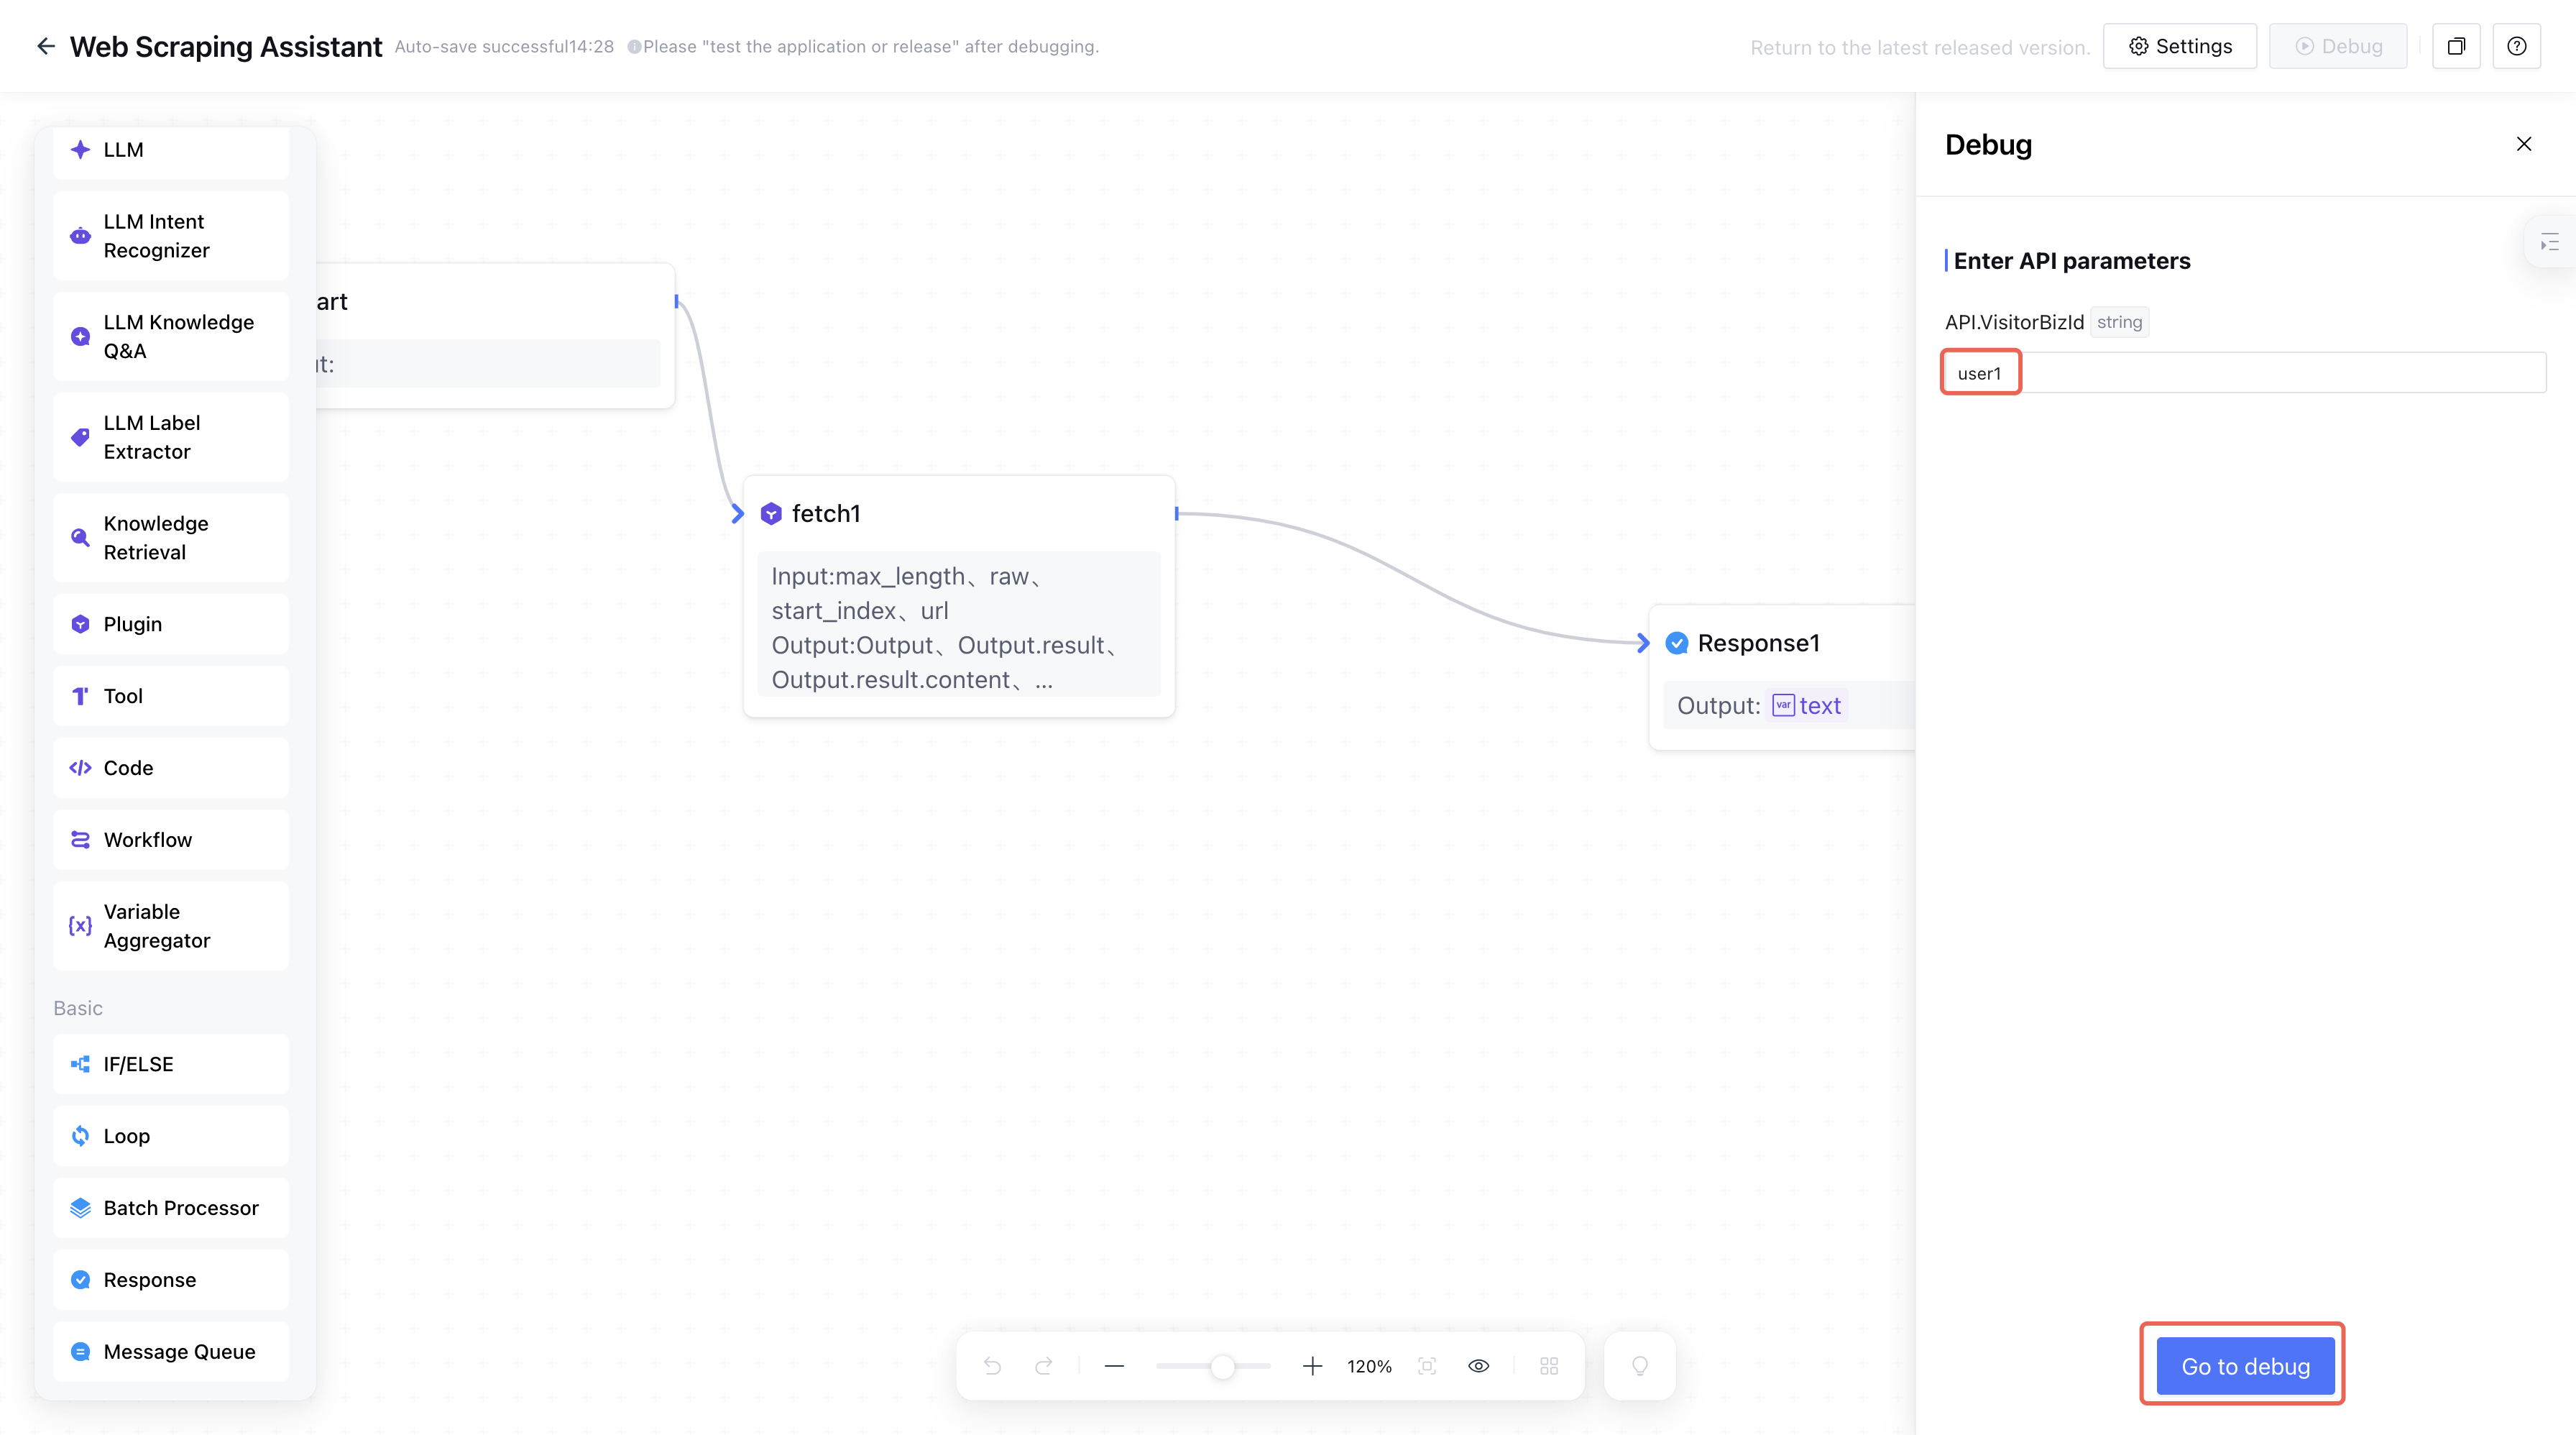
6. Debug the workflow.
6.1. Click Debug on the right side of the canvas.
6.2. Manually set the VisitorBizId value to indicate current session user integration, then click Debug.
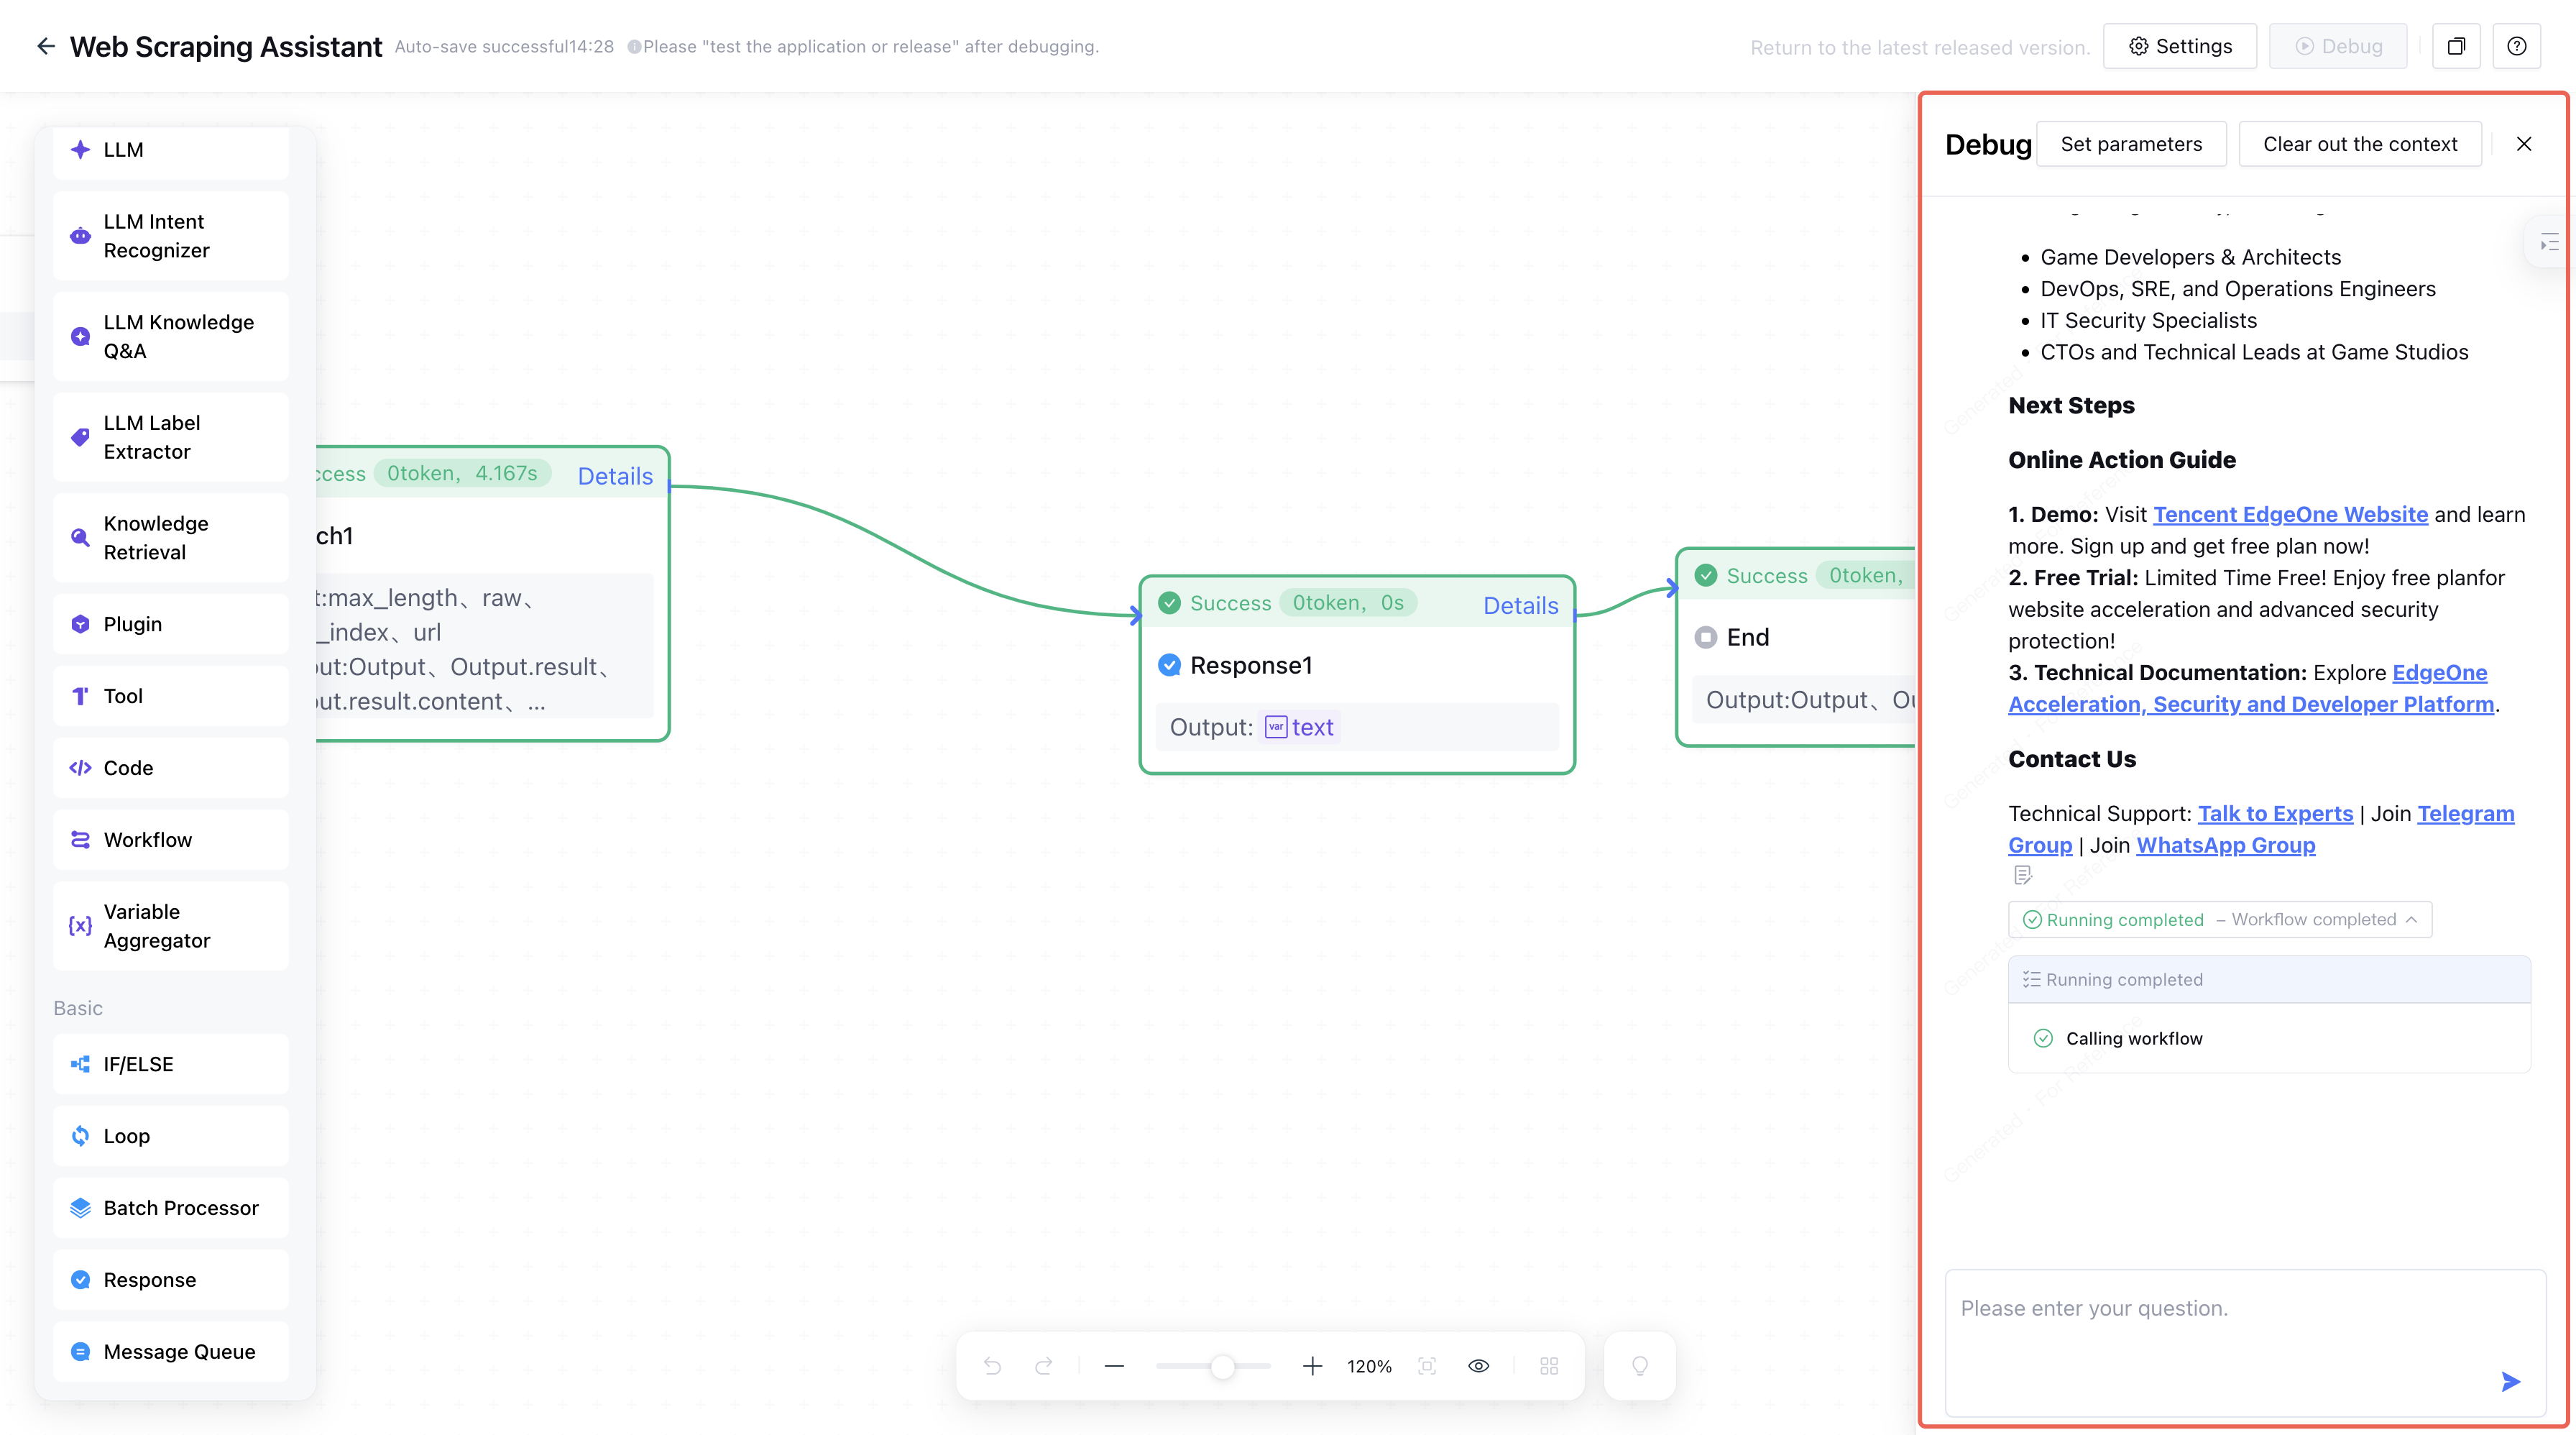
6.3. Enter the website link and press Enter to check the output of the workflow. During debugging, you can observe the workflow execution on the canvas to verify whether the workflow is configured correctly.
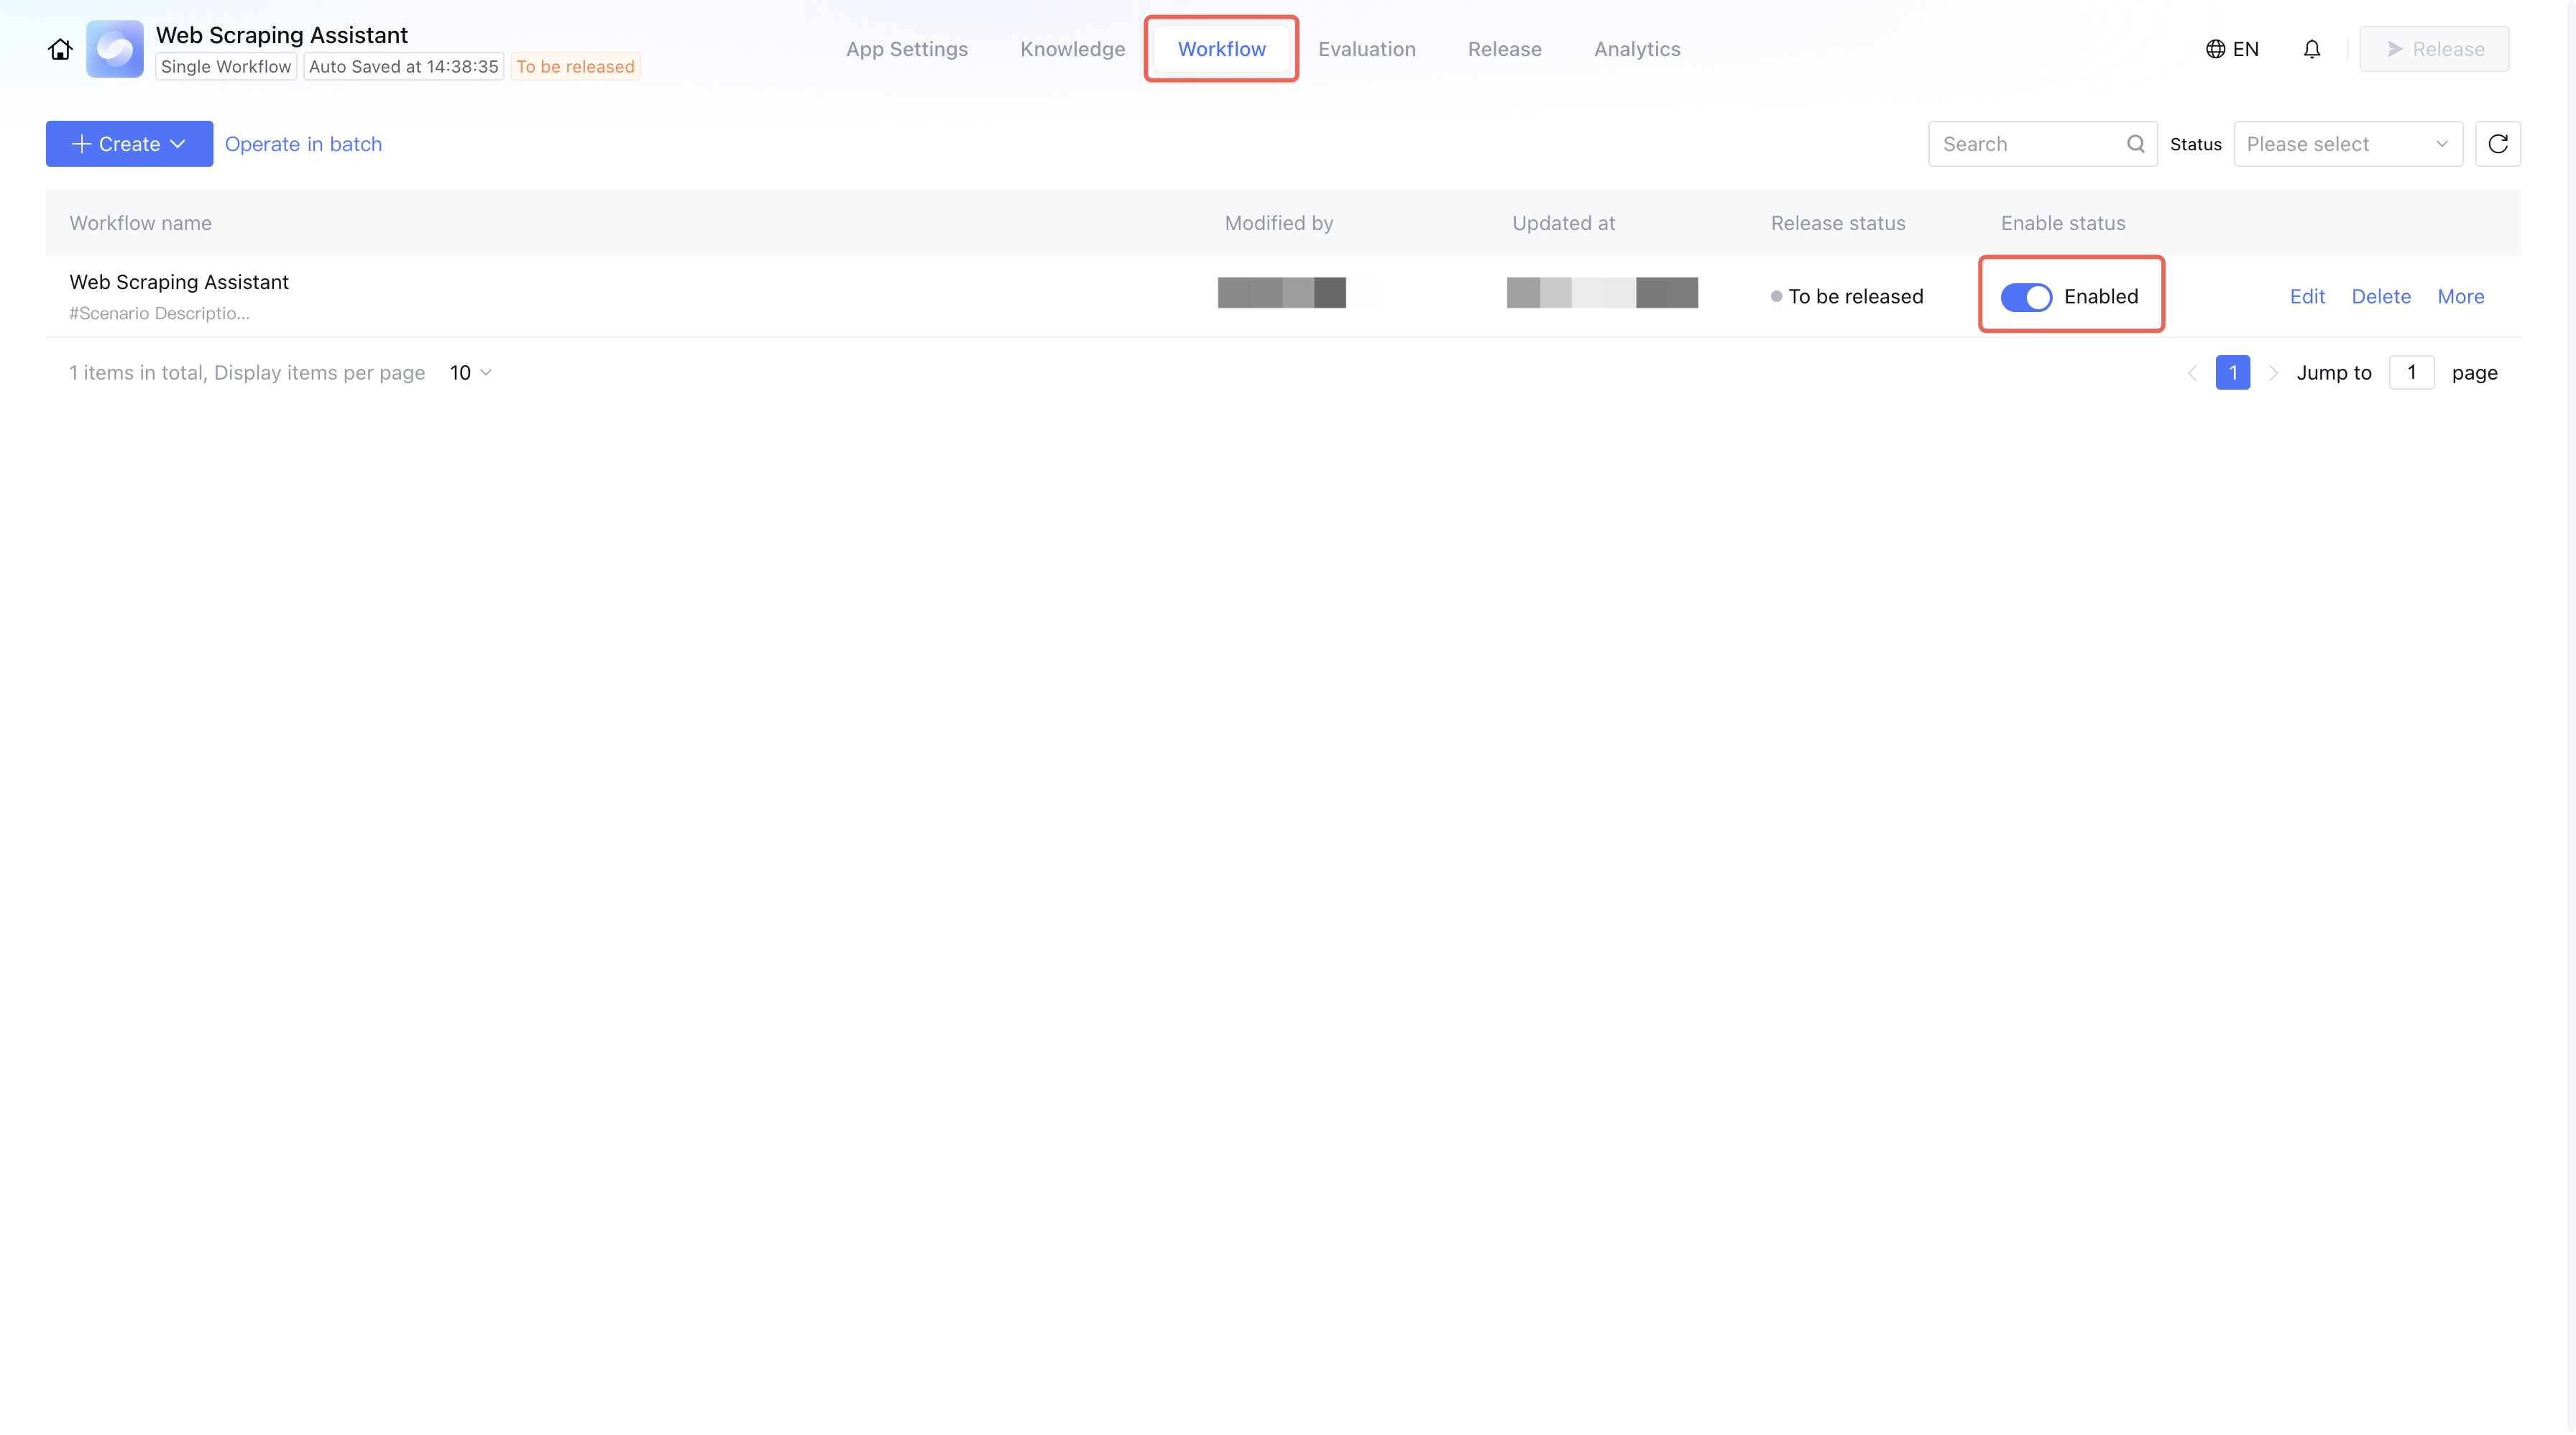
7. Enable workflow.
Return to the workflow settings page and enable the created workflow.
Step 3: Setting the App
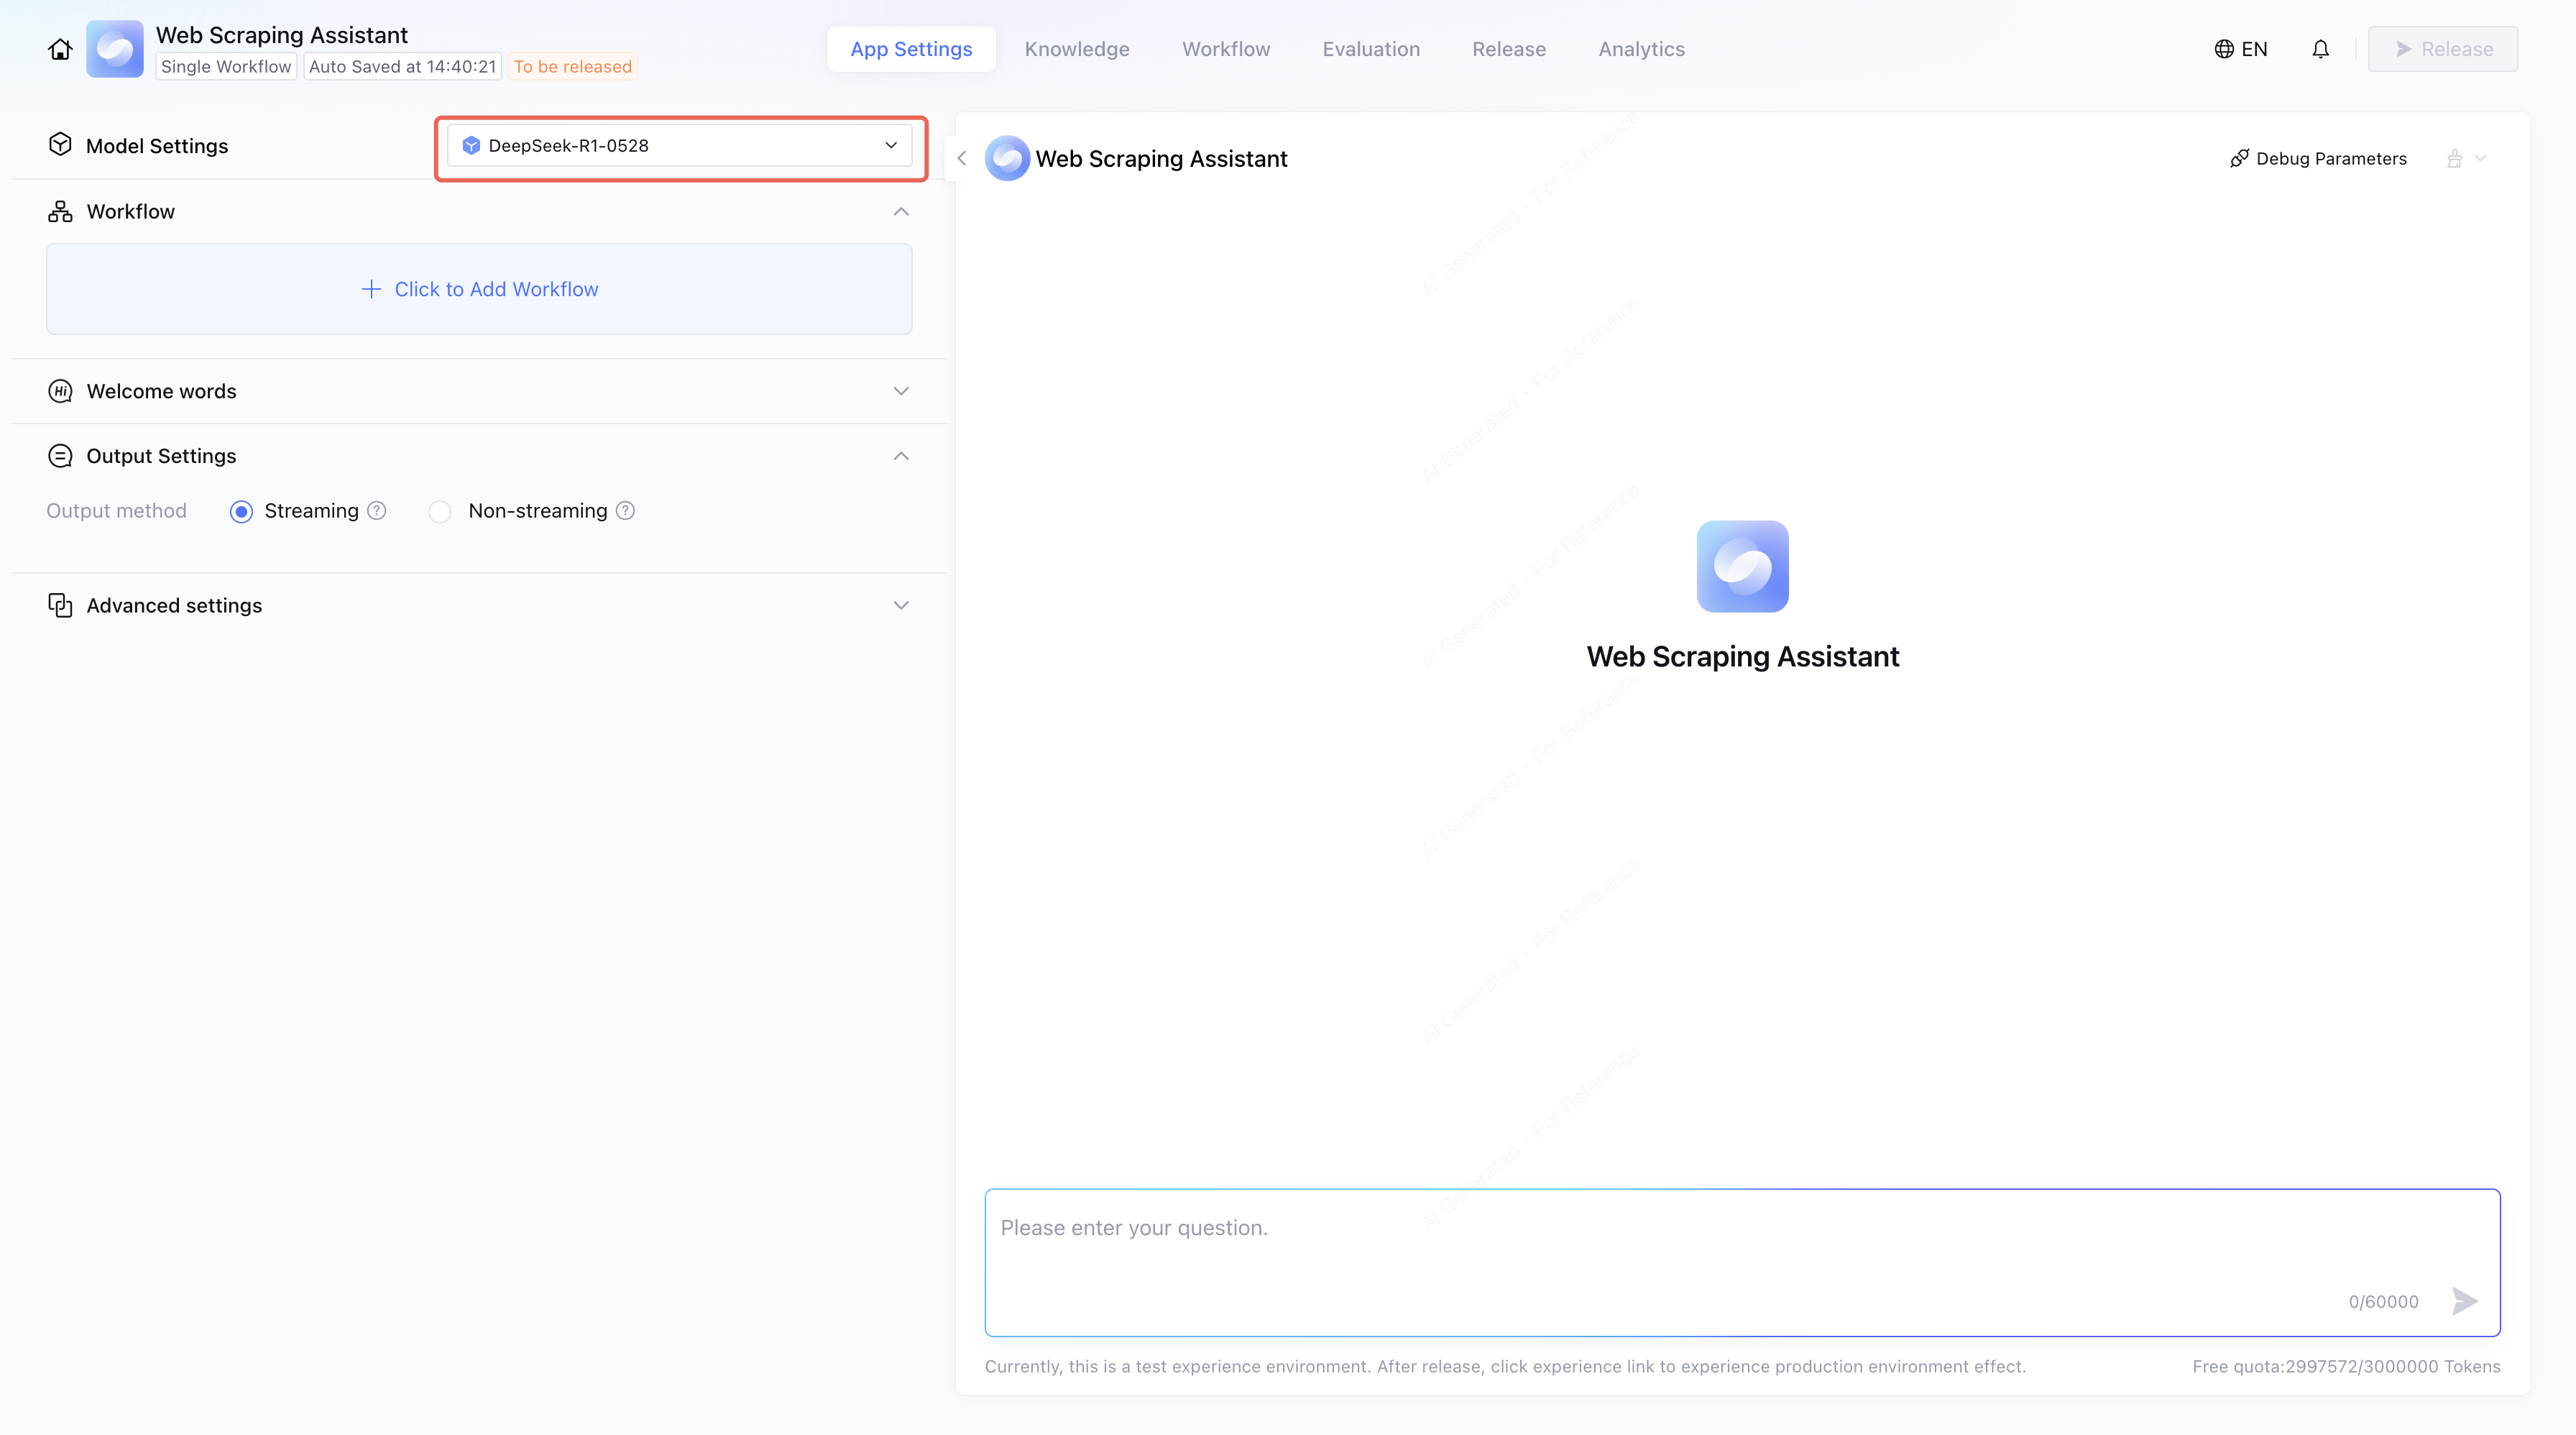
1. Set the model.
Enter the Application Settings Page, click Model Settings to select a model for understanding user input.
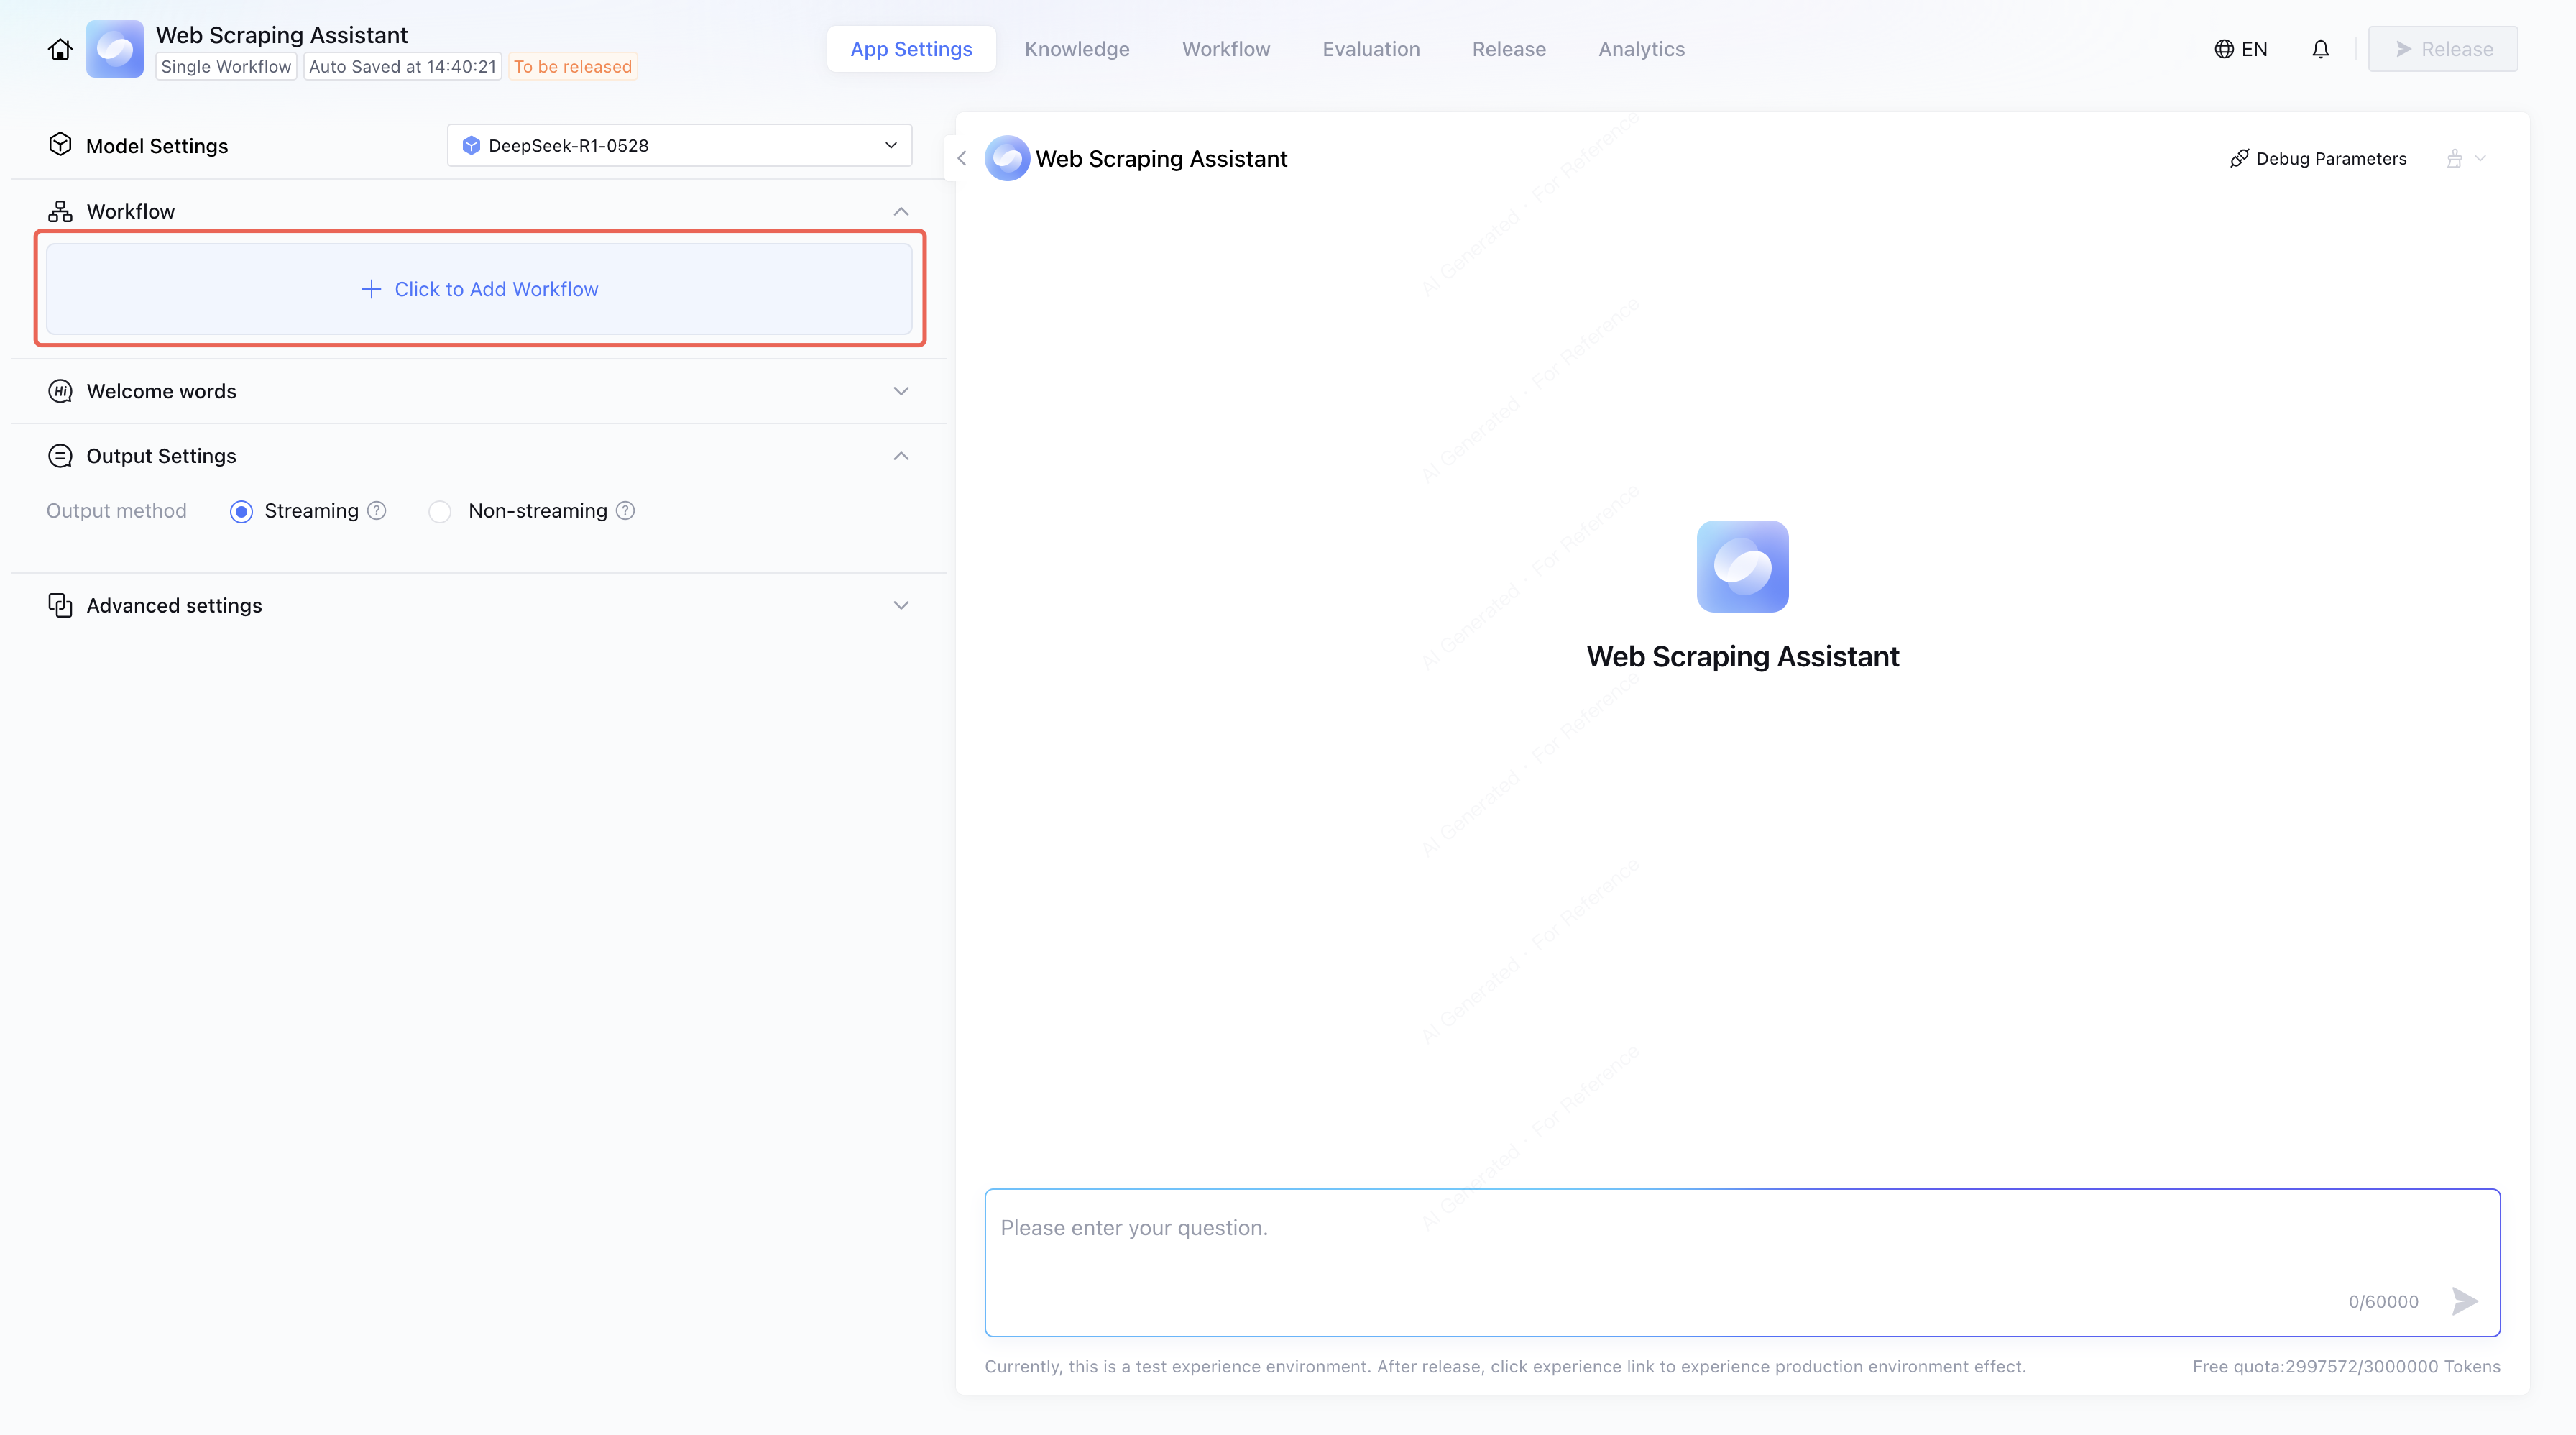
2. Add workflow.
Click Click to Add Workflow to add the Web Scraping Assistant workflow.
Note:
The workflow must be debugged successfully before it can be added.
Moreover, you can choose to add welcome words, voice, and avatar to enhance the experience.
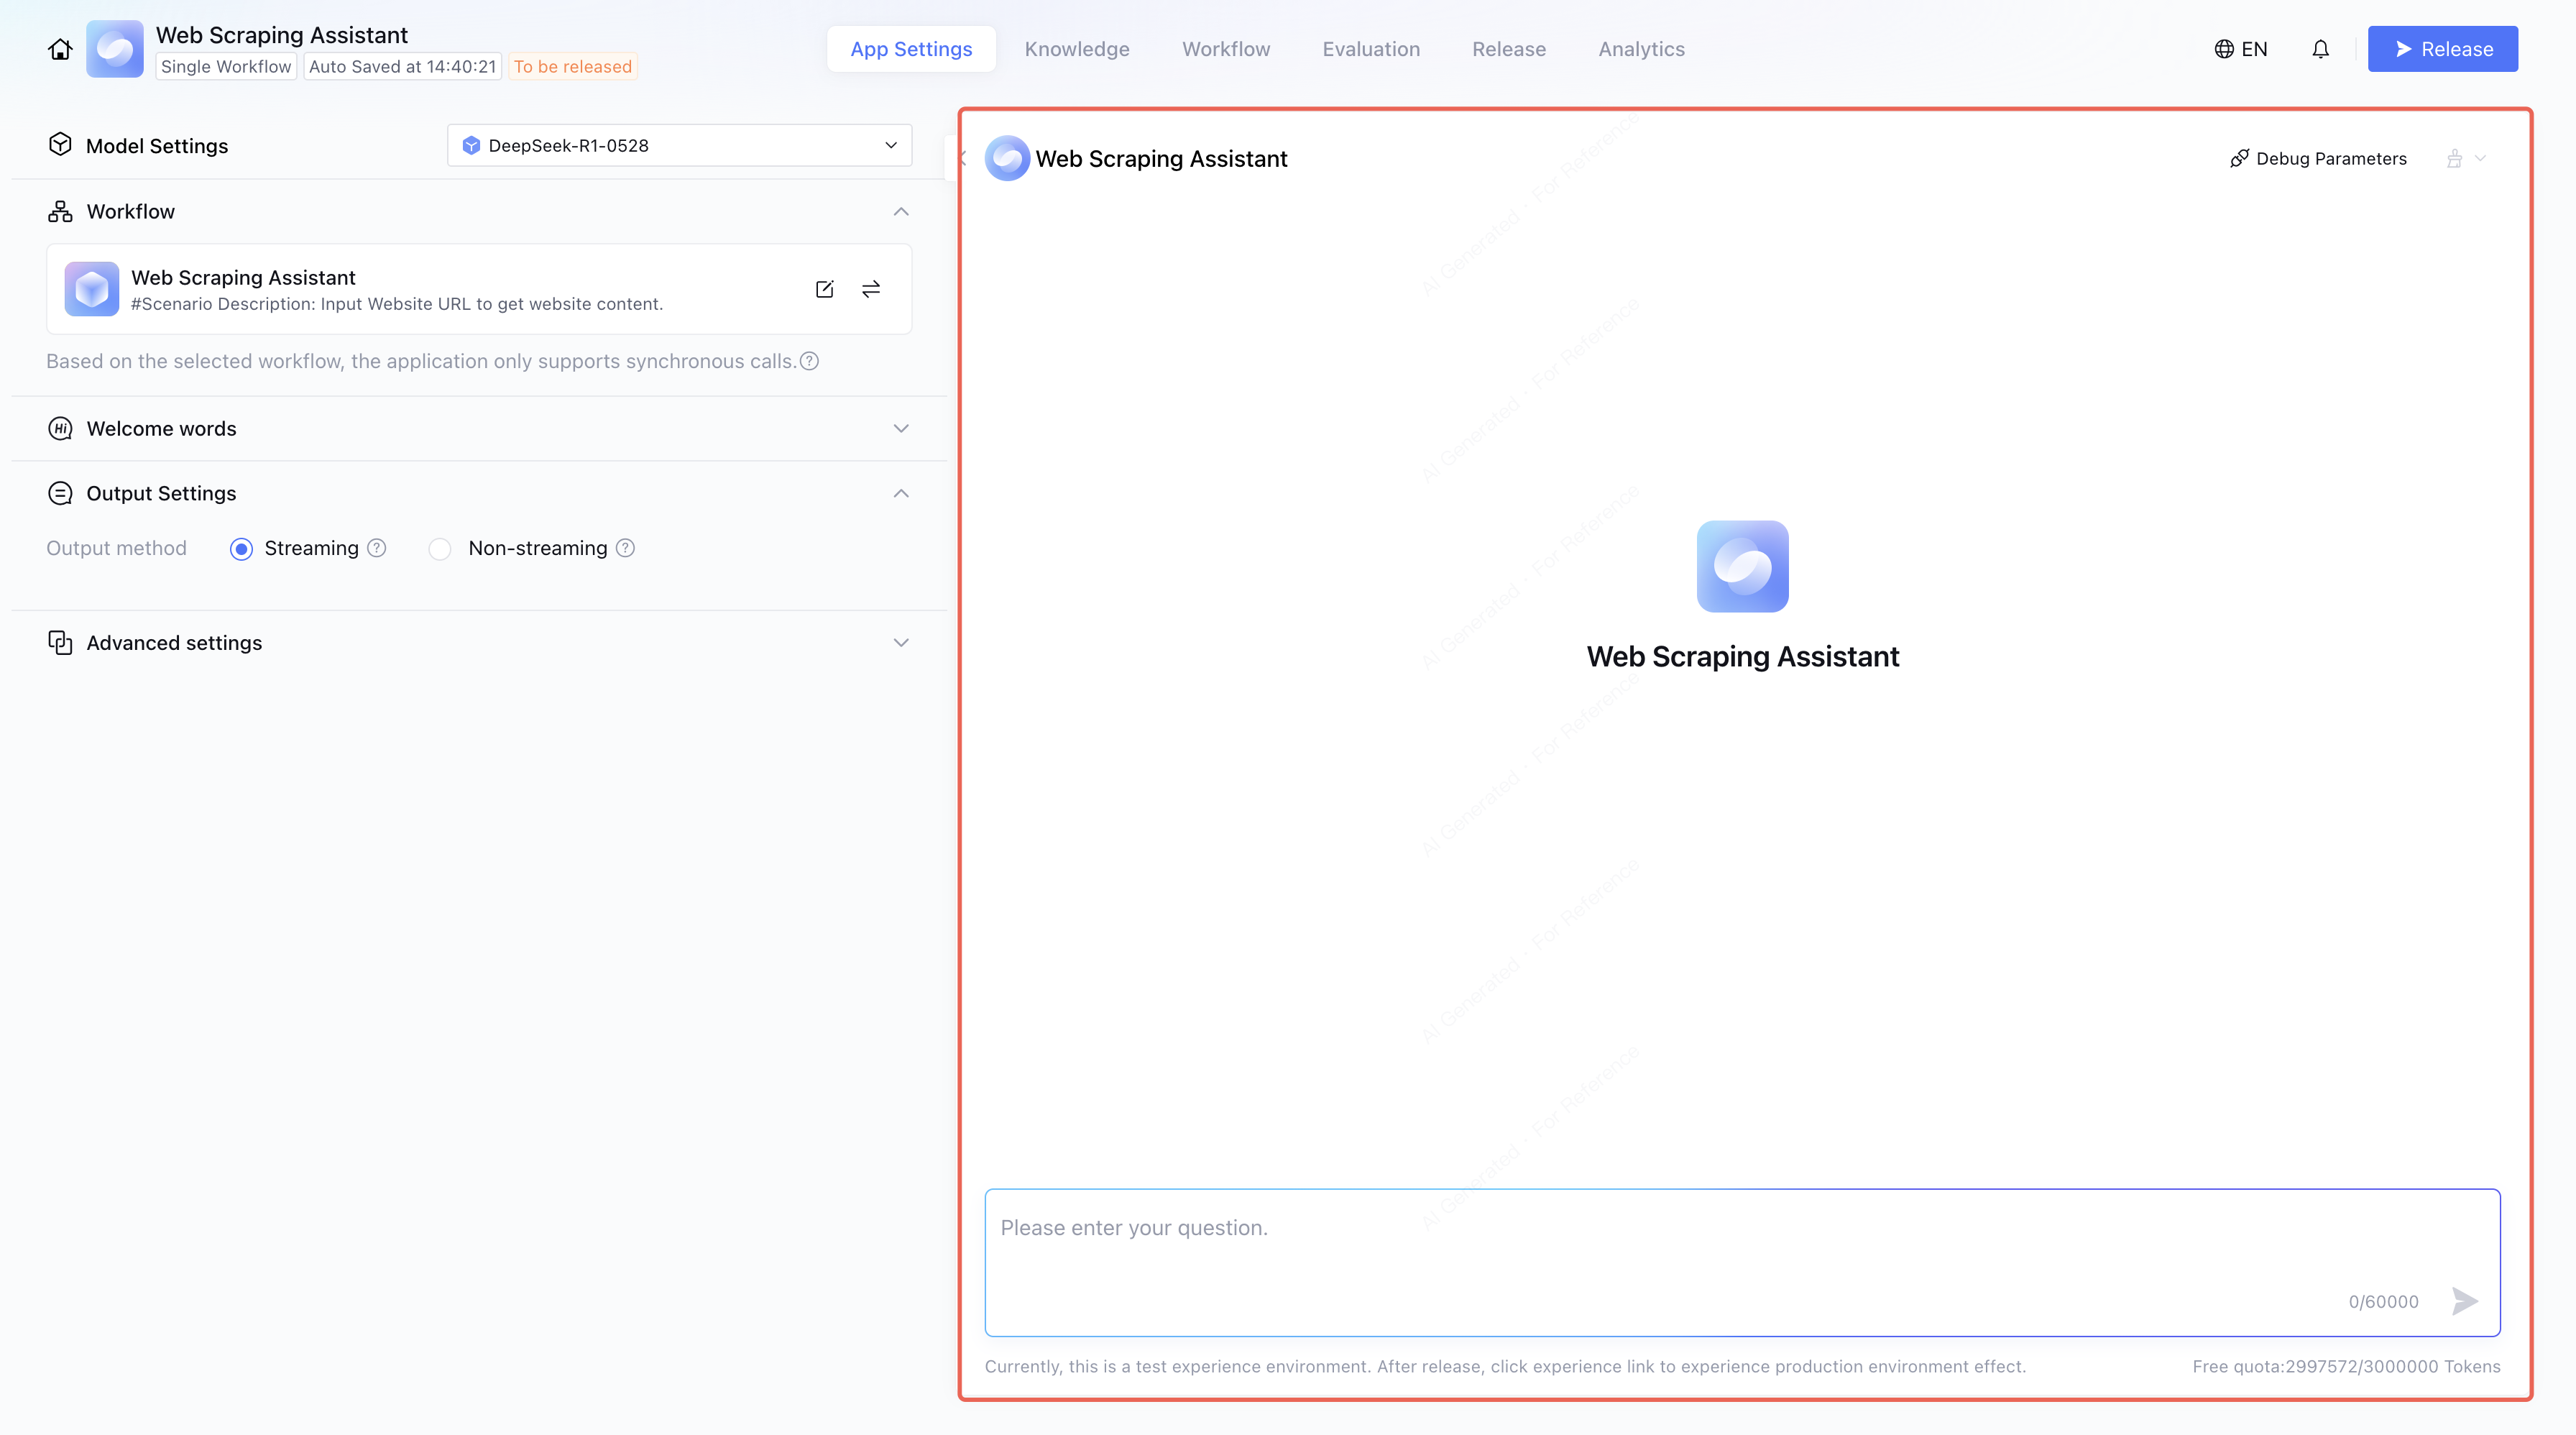
Step 4: Debugging the Application
After setting up the application, you can test whether it meets the expectations in the debug area on the right.
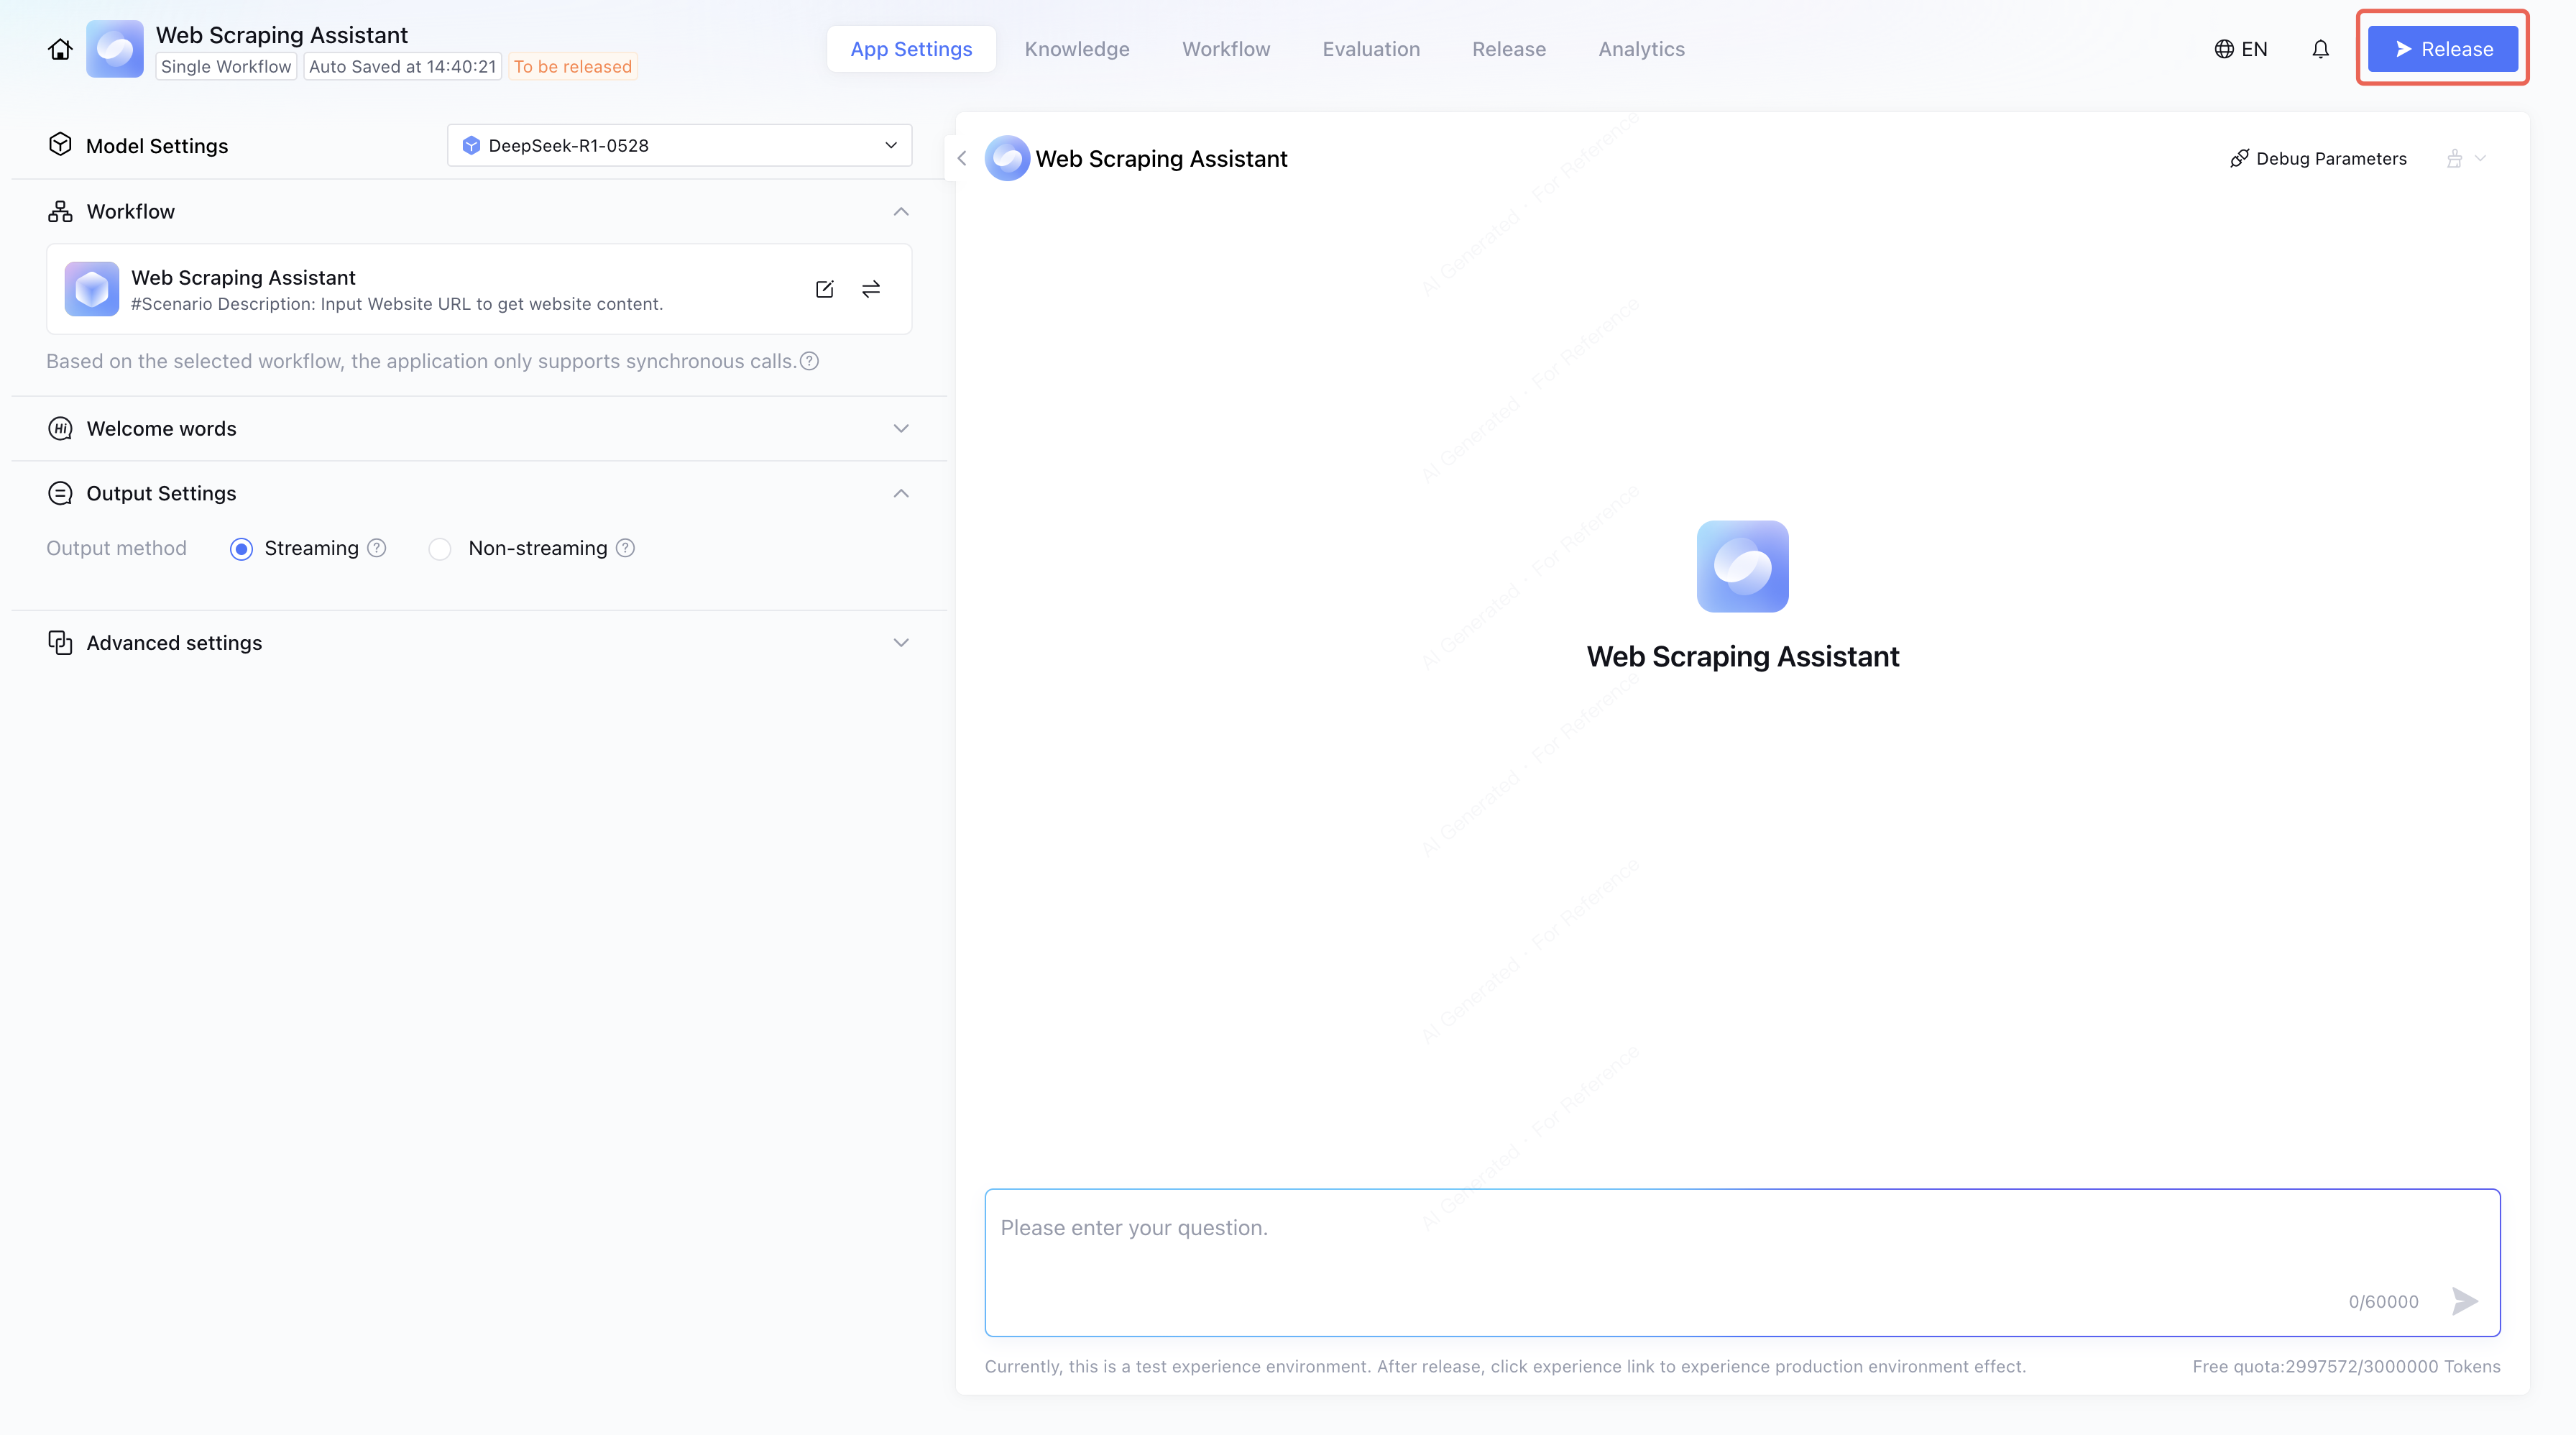
Step 5: Releasing the Application
Once the debug result meets the expected outcome, click Release to release the application.
After the application is released, go to Release > Service Status to get the Experience Link and API informations.
To release your application on platforms such as WeChat or WeCom, go to Release - Release Publishing Channels. For more details, check Application Release Overview.
You have now created a "Webpage Scraping Assistant" using "Single Workflow Mode". For instructions on creating applications in Standard mode and Multi-Agent mode, refer to: