This document describes how to quickly deploy a local Next.js SSR project to the cloud through an HTTP-triggered function.
Note:
What's the difference between Application Console deployment and direct function deployment?
Both Application Console deployment and function deployment allow you to quickly deploy common Web frameworks based on Web Functions.
If you only focus on code logic development and don't need to create additional resources, you can use the Serverless Console to complete quick deployment.
If you need more capabilities or resource creation in addition to code deployment—such as automatic layer hosting for dependencies, one-click static asset separation, and direct code repository pulling—you can use the Application Console to create your Web application.
Template deployment: Quick deployment of Next.js project
1. Log in to the SCF console and click Functions on the left sidebar.
2. Select the region and namespace where to create a function at the top of the page and click Create to enter the function creation process.
3. Select Template, enter webfunc in the search box to filter function templates, select the Next.js template, and click Next.
4. On the Create page, you can view and modify the specific configuration information of the template project.
5. Click Complete. After creating the HTTP-triggered function, you can view its basic information on the Function management page.
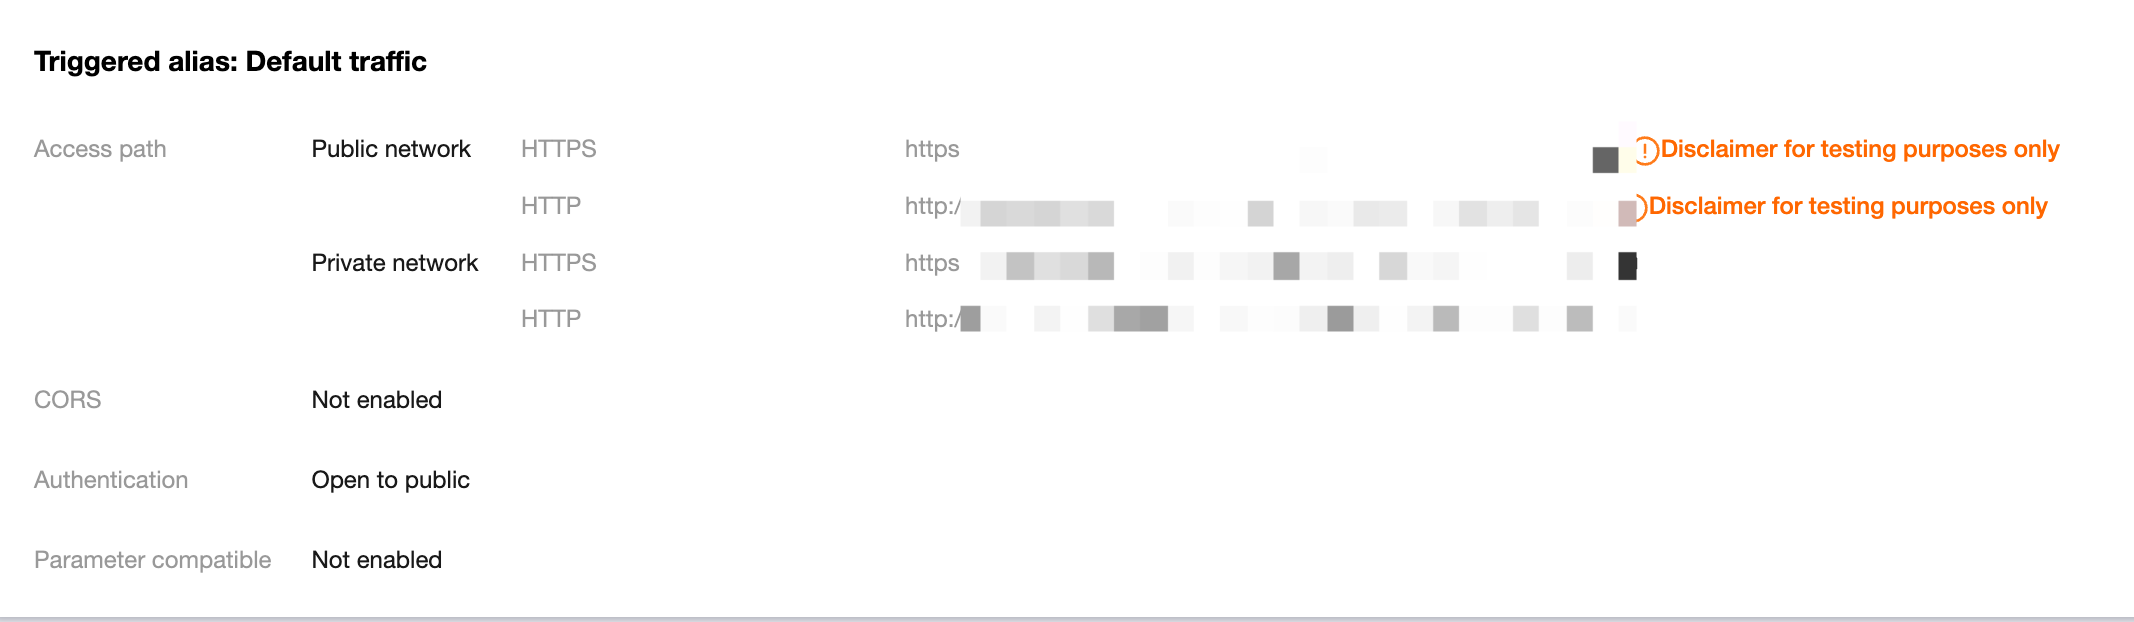
6. Click Function URL on the left to view the access path and access your deployed Next.js project as shown below:
7. Once deployed, you can invoke your service directly through the Function URL. To access it as a web page in a browser, we recommend binding a Custom Domain.
Note:
As the Next.js framework needs to be rebuilt before each deployment, be sure to update the code locally and run build again before deploying.
Custom deployment: Quick migration of local project to cloud
Prerequisites
The Node.js runtime environment is already installed locally.
The subsequent discussion will use the "Folder Upload" or "Code Repository" method of code upload as an example:
Local development
1. Refer to Getting Started to install and initialize your Next.js project:
npx create-next-app
2. In the root directory, run the following command to directly start the service locally.
cd my-app &&npm run dev
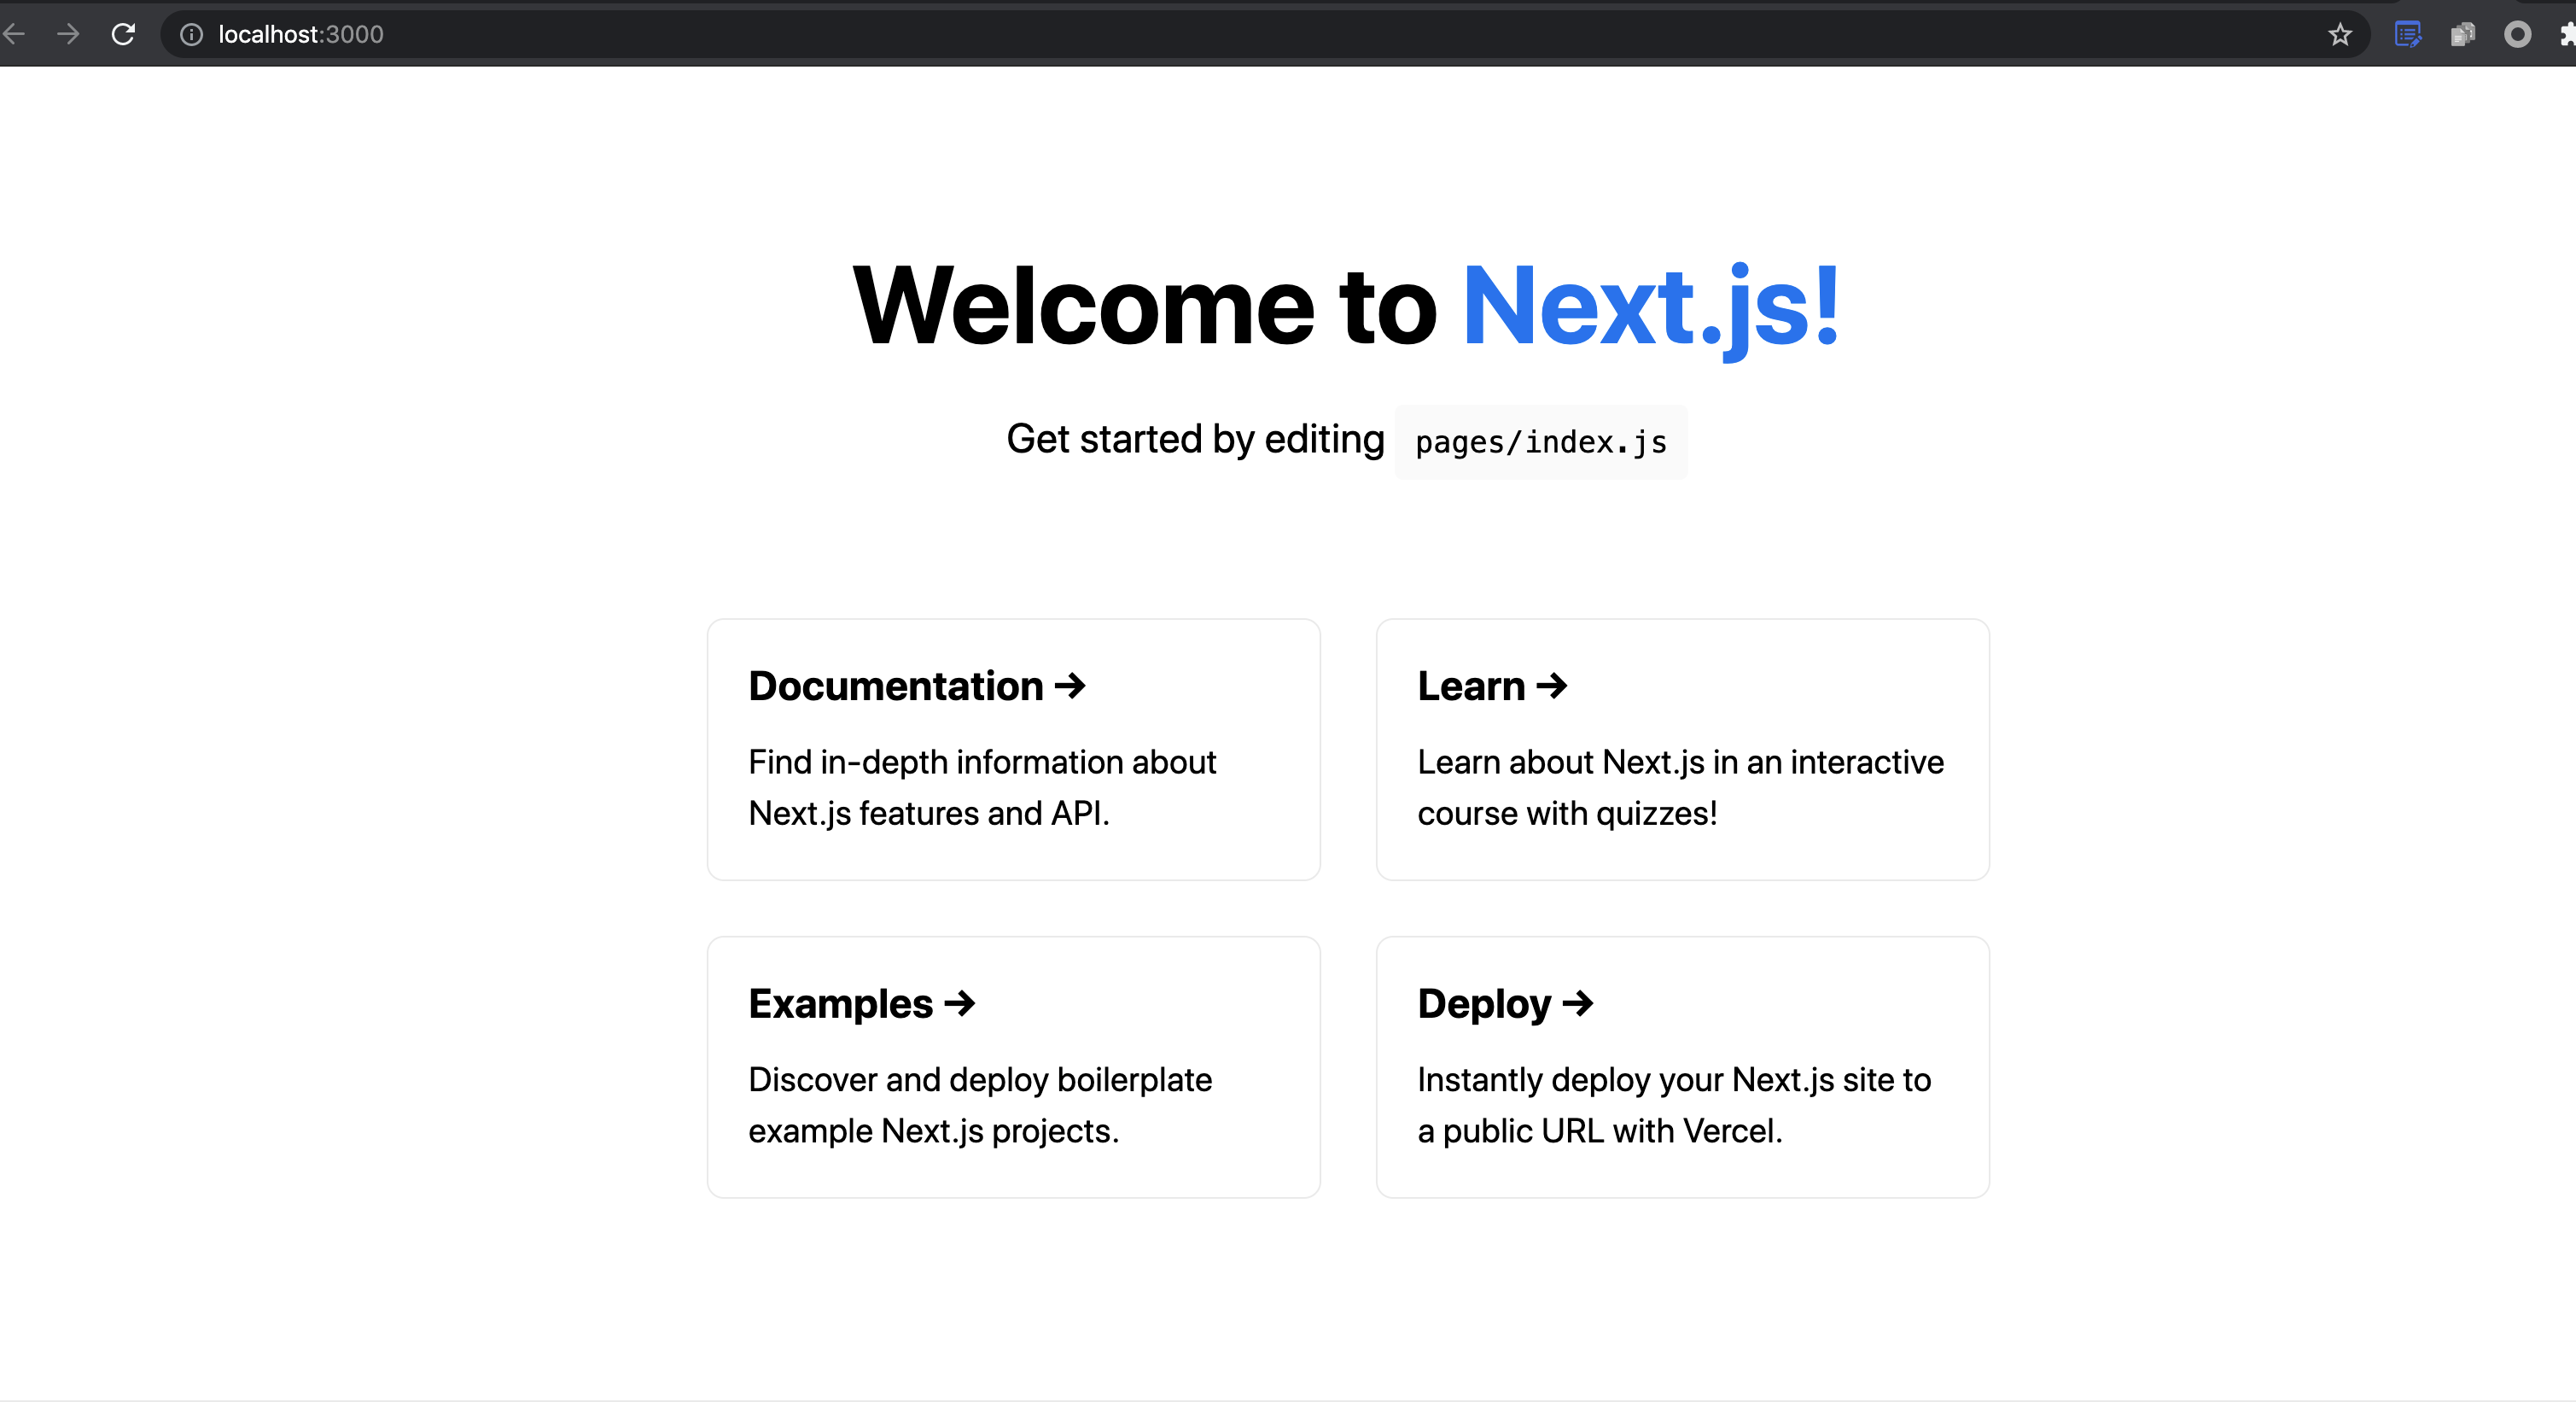
3. Visit http://localhost:3000 in a browser, and you can access the sample Next.js project locally as shown below:
Deployment in cloud
You need to make simple modifications to the initialized project, so that the project can be quickly deployed through an HTTP-triggered function. The project transformation here is usually divided into the following two steps:
Change the listening address and port to 0.0.0.0:9000.
Add the scf_bootstrap bootstrap file.
The detailed directions are as follows:
1. Create the scf_bootstrap bootstrap file in the project root directory and add the following content to it (which is used to start services and specify the bootstrap port):
Here is only a sample bootstrap file. Adjust the specific operations according to your actual business scenario.
The sample uses the standard node environment path of SCF. When debugging locally, you need to change it to your local path.
2. After the creation is completed, you need to run the following command to modify the executable permission of the file. By default, the permission 777 or 755 is required for it to start normally. Below is the sample code:
chmod777 scf_bootstrap
3. Log in to the SCF console and click Functions on the left sidebar.
4. Select the region where to create a function at the top of the page and click Create to enter the function creation process.
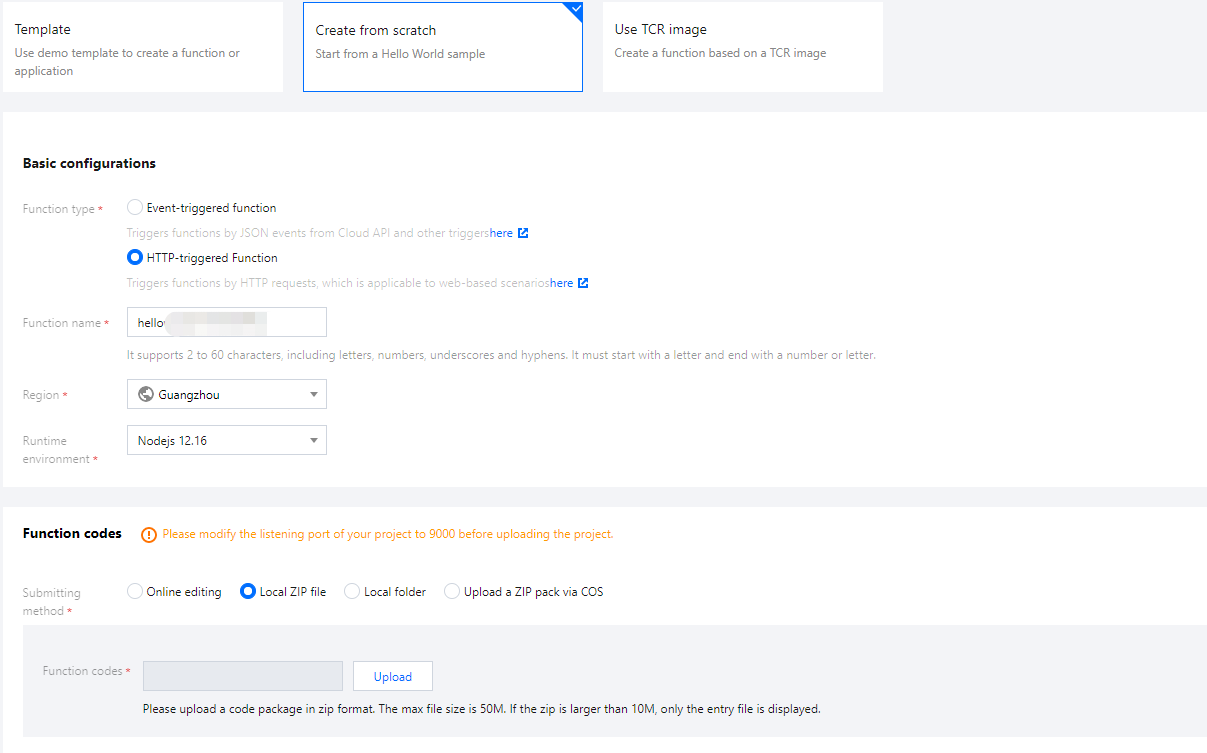
5. Select Create from scratch and configure the options as prompted as shown below:
Function type: Select HTTP-triggered function.
Function name: Enter the name of your function.
Region: Enter your function deployment region, which is Guangzhou by default.
Runtime environment: Select Nodejs 12.16.
Submitting method: Select Local folder and upload your local project.
Function codes: Select the specific local folder where the function code is.
6. Click Complete.
Development management
After the deployment is completed, you can quickly access and test your web service in the SCF console and try out various features of SCF, such as layer binding and log management. In this way, you can enjoy the advantages of low cost and flexible scaling brought by the serverless architecture.