This document describes how to attach a cloud disk to any Lighthouse instances in the same availability zone in the console.
Note:
Up to 5 data disks can be attached to one Lighthouse instance.
Directions
You can attach the cloud disks in the following ways:
Select an instance to associate
Select a cloud disk to attach
1. Log in to the Lighthouse console and click Cloud Disk on the left sidebar.
2. Select a region at the top of the Cloud Disk page, find the target cloud disk, and click More > Attach.
3. Open Attach to the instance > Select an instance.
Select the target instance, and complete the parameters Attaching options.
Unified expiry time with the instance (XXX)
Monthly auto-renewal (recommended)
Attach directly
4. Click Next, and note the following in Subsequent operations:
After attaching the cloud disk, you need to log in to the instance and initialize the disk.
5. Click Attach now.
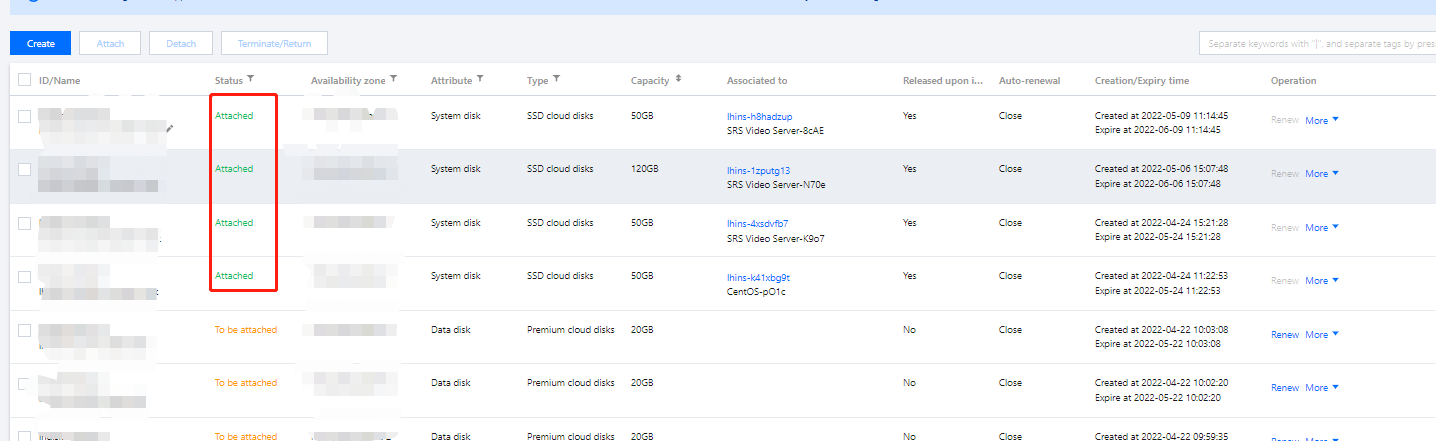
If the status of the cloud disk changes to Attached, the attachment is successful.
1. Log in to the Lighthouse console and select the target instance and enter the details page.
2. Select the Cloud disk tab, and click Attach cloud disk.
3. In the pop-up window, "select a cloud disk":
Select the cloud disk that needs to be attached, and complete the parameters Attaching options.
Unified expiry time with the instance (XXX)
Monthly auto-renewal (recommended)
Attach directly
4. Click Next,
After attaching the cloud disk, you need to log in to the instance and initialize the disk.
Subsequent Operations
After attaching the cloud disk, you need to log in to the instance and initialize the disk first before using it. For details, see Initializing a Cloud Disk.