This document describes how to develop a Java application locally, access a Polaris (North Star) instance via Spring Cloud, and implement service registration and discovery.
Prerequisite
1. Before starting development, please ensure you have downloaded and installed Java and Maven.
2. A Polaris (North Star) instance has been created. For detailed steps, see Engine Management.
Operation Steps
For your convenience in quick access, we have prepared a Demo application for you. Click to download.
Step 1: Add Dependencies for Service Registration and Discovery
1. Add the spring cloud tencent Dependency
Modify the pom.xml in the application's root directory to add dependencyManagement:
1. Create an application.yml file in the project's main/resources directory.
2. Configure the application name, Polaris (North Star) server IP address, and other information in the application.yml file. For detailed information on the server IP address, refer to: Engine Management > Client Access Address.
spring:
application:
name: ${application.name}
cloud:
polaris:
enabled:true
address: grpc://${replace with the Polaris service address}:8091
namespace: default
Step 3: Start the Application
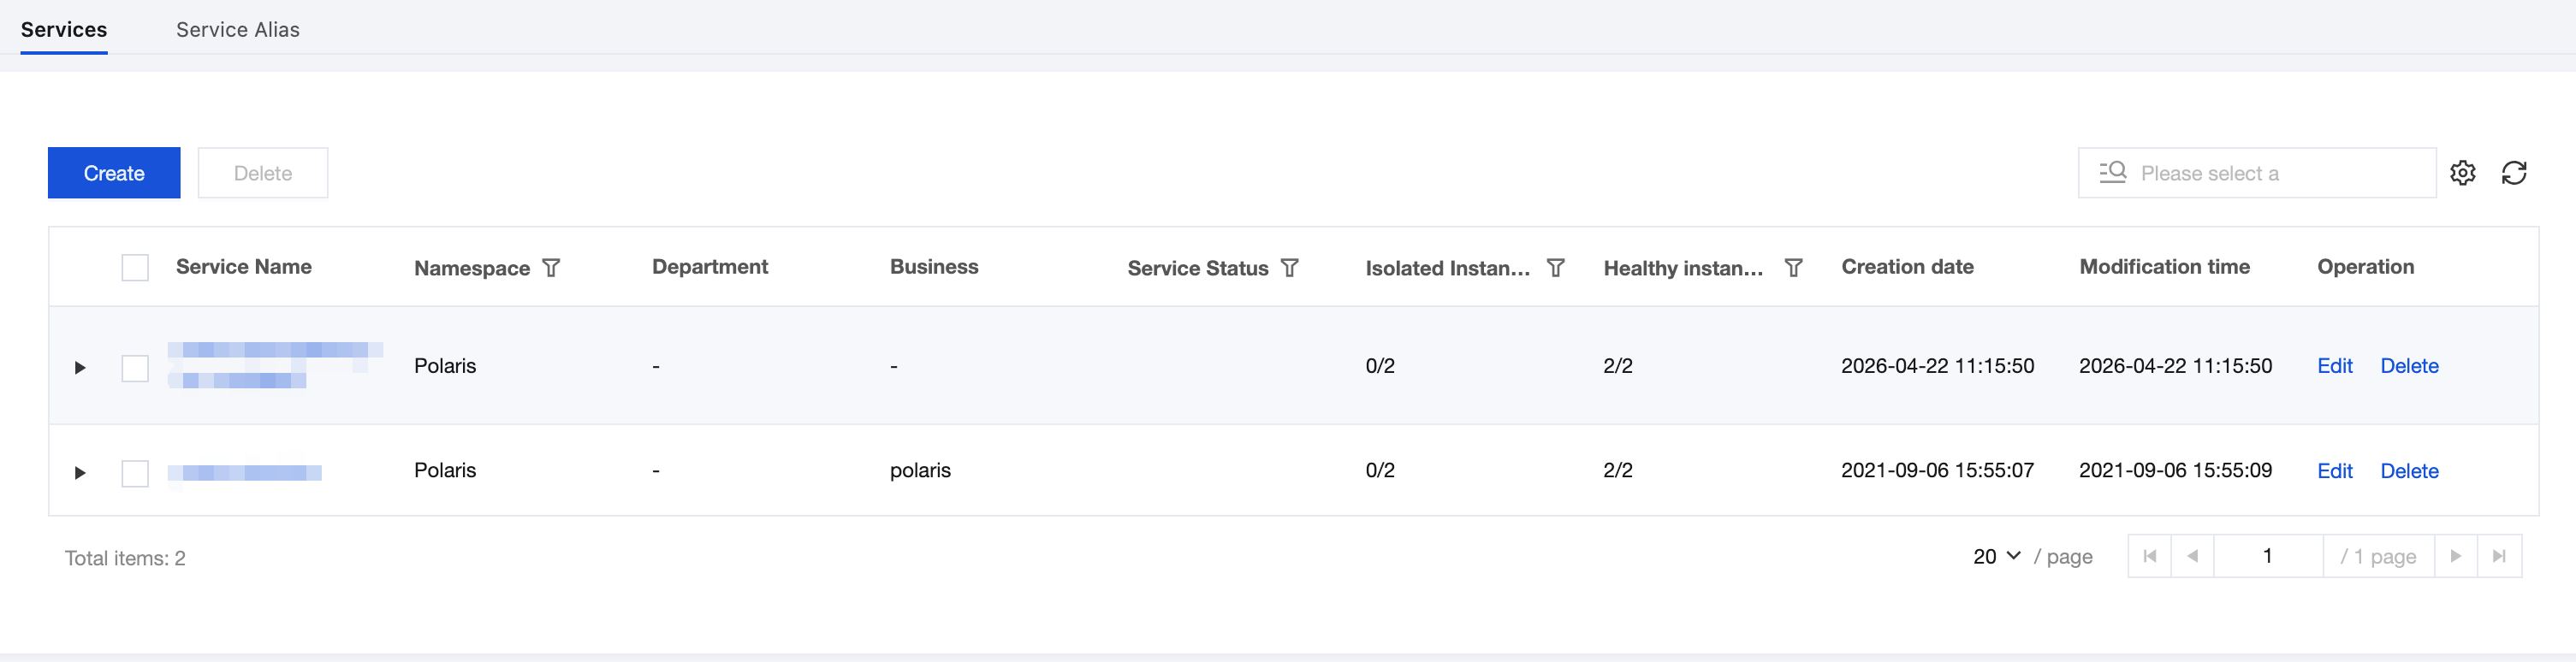
After the application successfully starts, go to the Polaris console to view the service registration information, as shown in the figure below:
Step 4: Service Invocation
In Spring Cloud, you can use RestTemplate or Feign to initiate service calls.
RestTemplate
Simply annotate with @LoadBalanced at the location where you instantiate RestTemplate.
@Bean
@LoadBalanced
publicRestTemplaterestTemplate(){
returnnewRestTemplate();
}
Feign
Through the Feign framework, simply follow the standard Feign approach for invocation.