Creating and Managing an ENI
Download
포커스 모드
폰트 크기
This document describes how to create, view, and delete an Elastic Network Interface (ENI).
Operation Steps
Creating an ENI
1. Log in to the Virtual Private Cloud (VPC) console.
2. In the left sidebar, choose IP and ENI > ENI to go to the ENI list page.
3. Select a region and a VPC and click Create.
4. In the displayed dialog box, enter a name, select a VPC and subnet for the secondary ENI, assign an IP address, and configure other information such as security groups and tags for the ENI based on actual requirements.
Note
The security groups for a secondary ENI need to be configured separately. After a secondary ENI is created, determine its security policy based on business requirements and bind a security group to it. For details, see Configuring a Security Group for an ENI.
Automatic and Manual can be selected for IP Allocation.
Automatic: The system automatically allocates an available private IP address within the CIDR block of the subnet to the ENI.
Manual: You need to enter an available private IP address within the CIDR block of the subnet. For example, if the CIDR block of the subnet is 10.0.0.0/24, the valid private IP address falls within the following range: 10.0.0.2 to 10.0.0.254.
A secondary ENI is configured with a primary IP address by default. If multiple IP addresses are required, click Add Secondary IP to configure multiple secondary IP addresses.
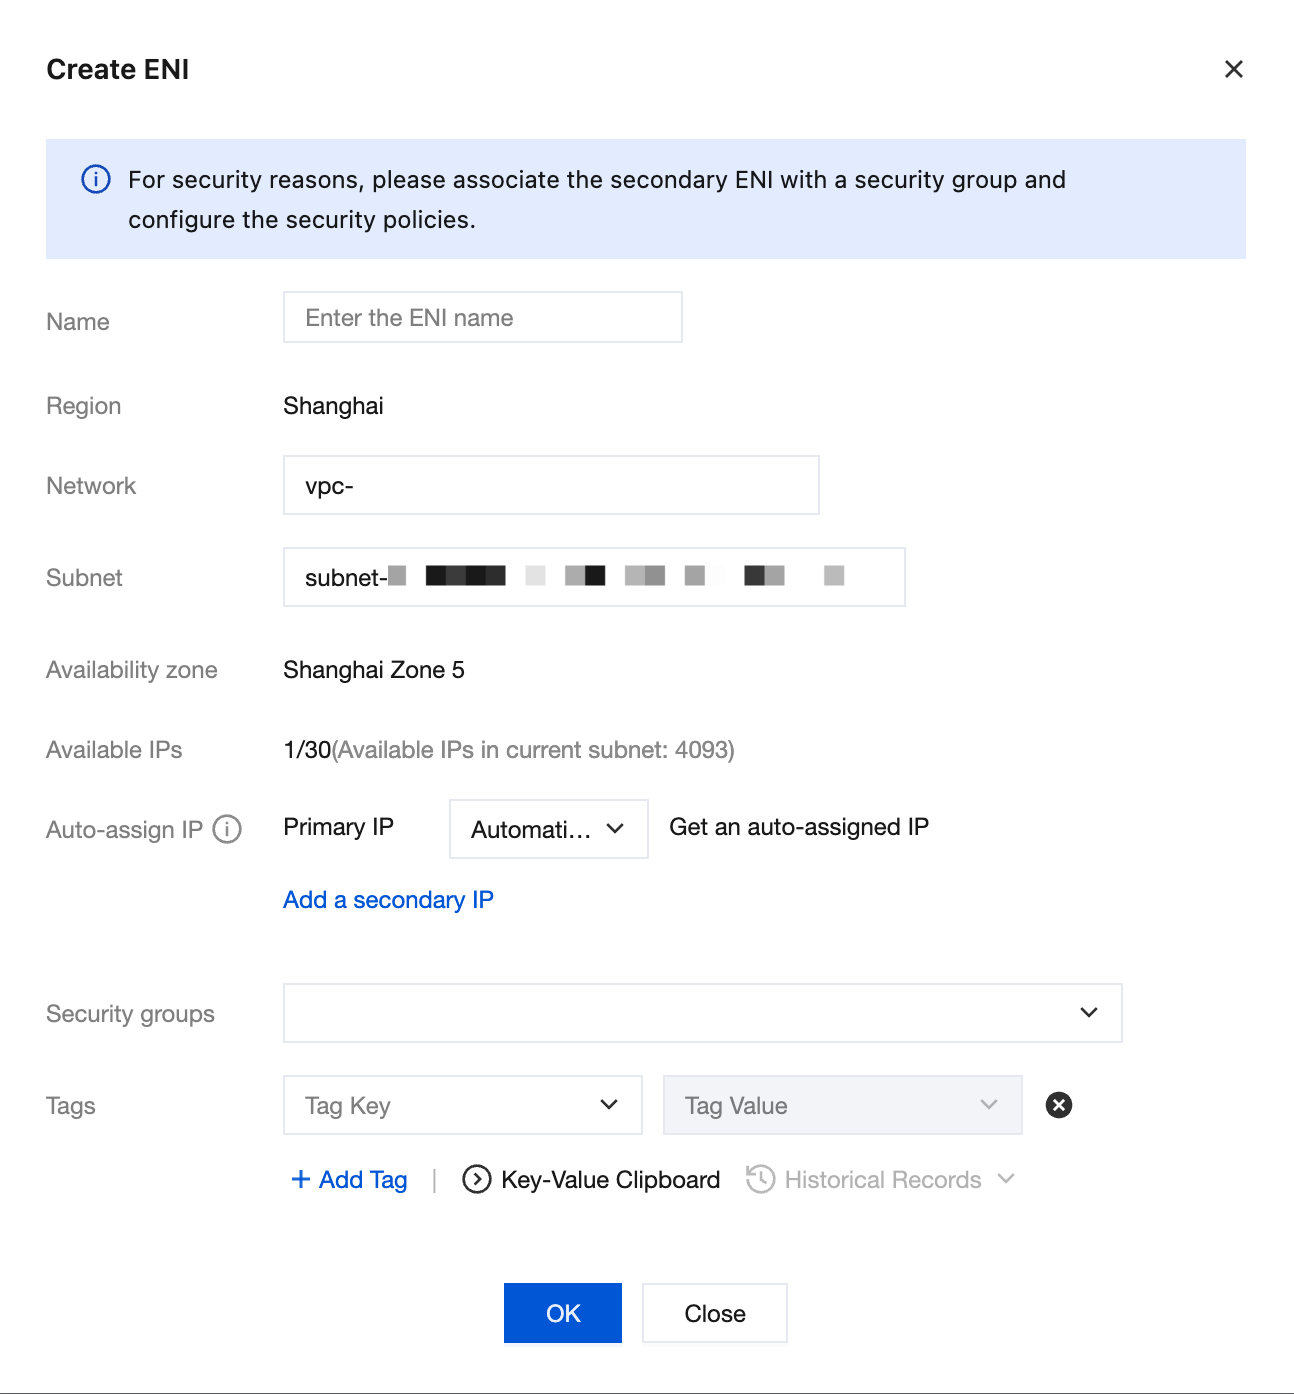
5. Click OK.
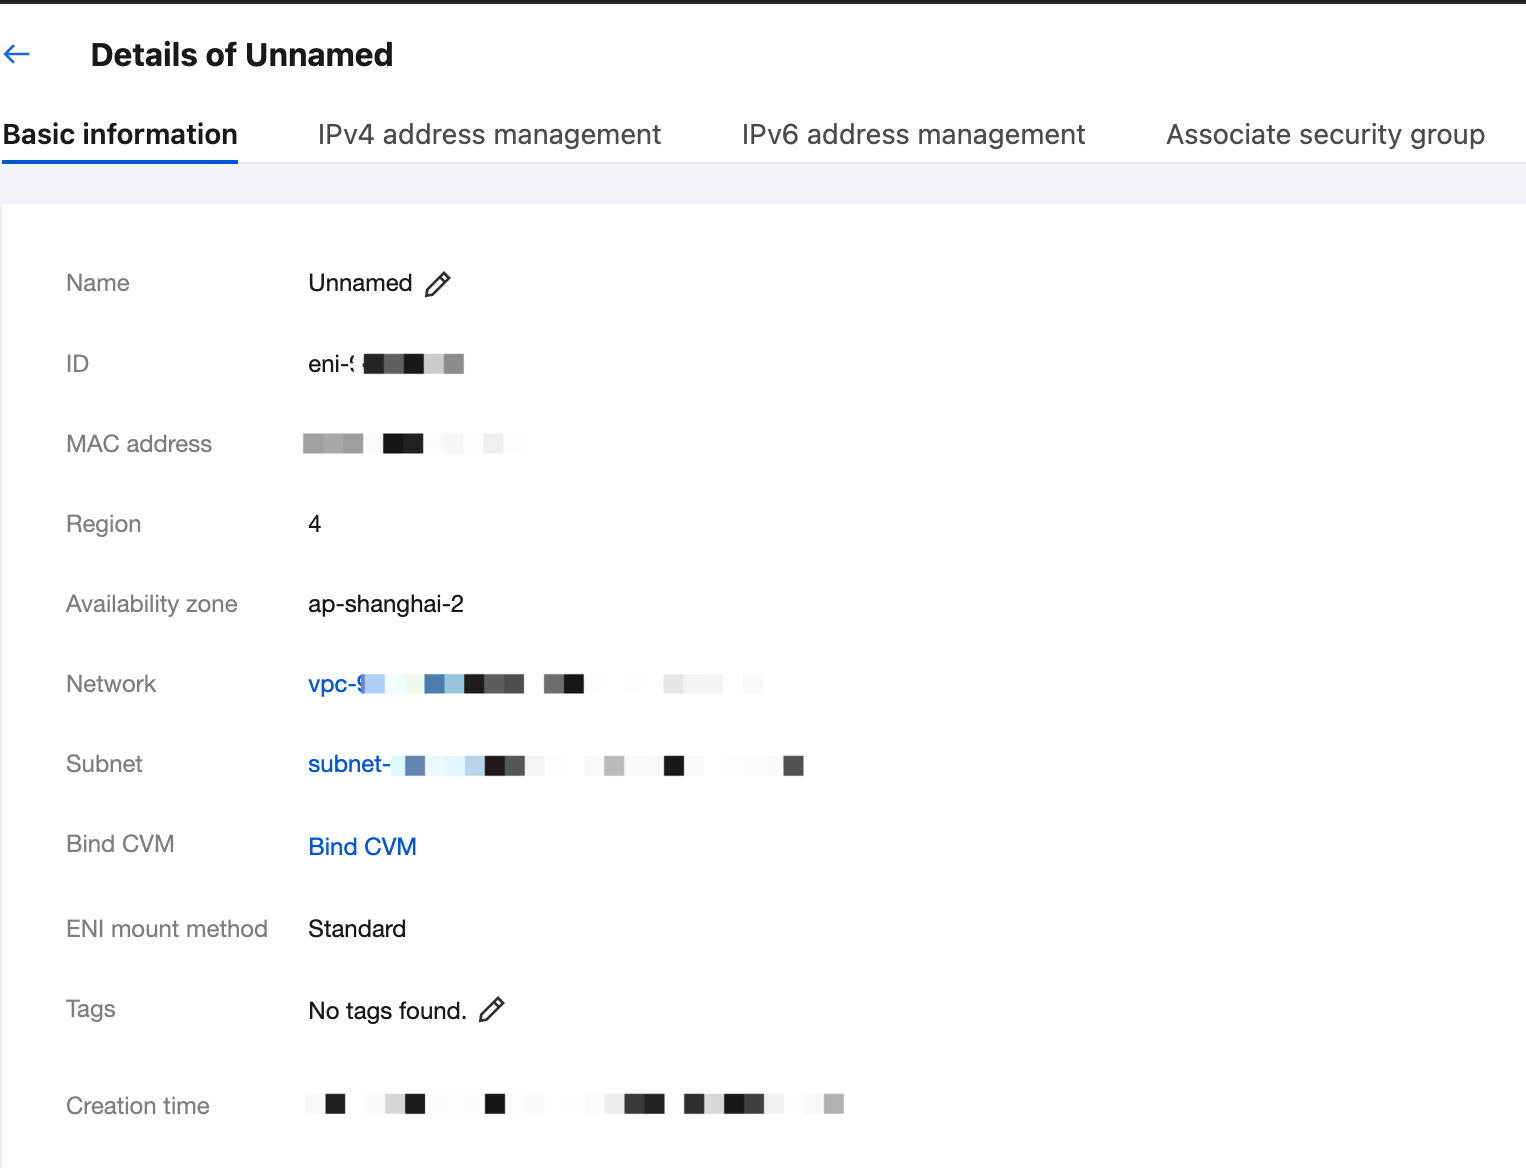
Viewing an ENI
1. Log in to the ENI console.
2. On the ENI list page, click the ID of the instance that you want to view to go to the details page and view the relevant ENI information.
Deleting an ENI
If an ENI is not bound to a Cloud Virtual Machine (CVM) and is no longer required, the ENI can be deleted.
Note:
After an ENI is deleted, the associated private IP addresses, Elastic IPs (EIPs), and security groups are automatically unbound.
Only the ENIs that are not bound to any resources can be deleted.
The primary ENI is deleted after the CVM is deleted.
1. Log in to the ENI console.
2. On the ENI list page, find the row of the ENI that you want to delete and click Delete in the Operation column.
3. In the displayed dialog box, click OK.
피드백