Okta is a solution provider for identification and access management. Tencent Cloud supports identity federation with Security Assertion Markup Language 2.0 (SAML 2.0). SAML 2.0 is an open standard used by many identity providers (IdPs). SAML 2.0-based federation can be used to integrate Okta with Tencent Cloud. Then, federated single sign-on (SSO) can be implemented by using an Okta account, and admins can authorize users that have their federated identity authenticated to log in to the Tencent Cloud console for resource management, eliminating the need to create a CAM sub-user for each employee in the organization.
Directions
Creating an Okta application
Note:
This step creates an Okta application. If you are already using one, skip this operation go straight to configuring CAM.
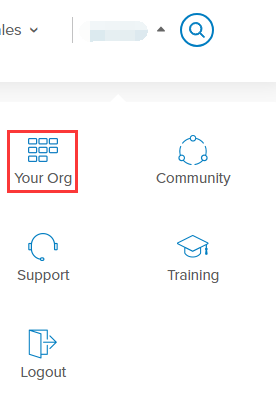
1. Log in to the Okta website, click your username, and select Your Org in the top-right corner as shown below:
2. On the Okta homepage, click Admin in the top-right corner to enter
the Admi
n page.
3. On the Admin page, select Applications to go to the application man
agemen
t page as shown below:
4. On the application management page, click Add Application.
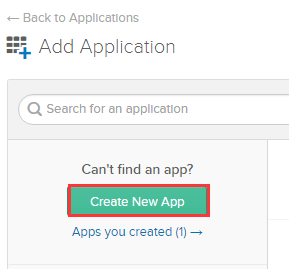
5. On the Add Application page, click Create New App as shown below:
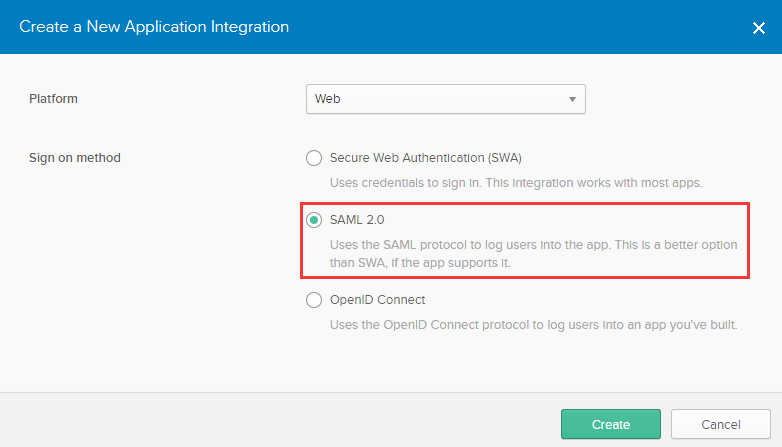
6. In the Create a New Application Integration pop-up window, select the platform, set the sign-on method to SAML 2.0, and click Create as shown below:
7. On the General Settings page, set App name, App logo (optional), and App visibility (optional) and click Next. This application can be used to integrate with Tencent Cloud to implement Okta SSO to the Tencent Cloud console for resource management.
Configuring SAML for the Okta application
Note:
This step maps Okta application attributes to Tencent Cloud attributes to create trust between Okta and Tencent Cloud.
2. On the General page, click Edit in the SAML Settings section, confirm the current App name, App logo (optional), and App visibility (optional), and click Next to enter the Configure SAML page.
3. In the Co
nfig
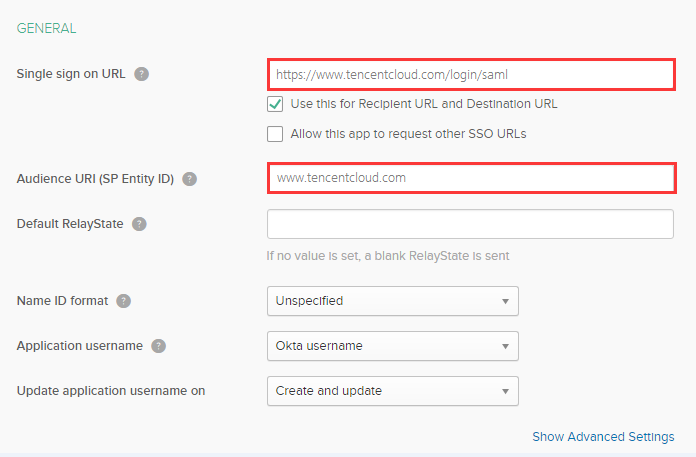
ure SAML page, add the following information to Single sign on URL and Audience URL(SP Entity ID) under GENERAL as shown below:
You can configure it based on the site of your Tencent Cloud account:
Site
Single sign on URL
Audience URL(SP Entity ID)
Tencent Cloud International
https://www.tencentcloud.com/login/saml
www.tencentcloud.com
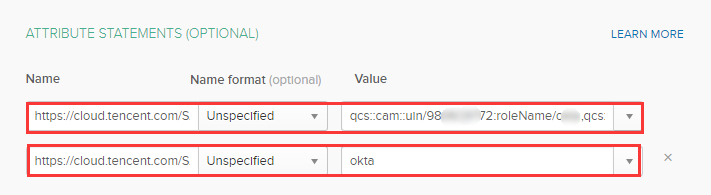
4. In the Configure SAML page, add the following information to ATTRIBUTE STATEMENTS under GENERAL as shown below:
{RoleName}: Replace this with the role name you have created in Tencent Cloud for the IdP. For more information, see Creating Role. Role names can be viewed in Role in the console. If you need to add more, you can add them in this format: qcs::cam::uin/{AccountID}:roleName/{RoleName}. Separate them by semicolons.
{ProviderName}: Replace this with the SAML IdP name that you created on Tencent Cloud. You can view this in IdPs in the console.
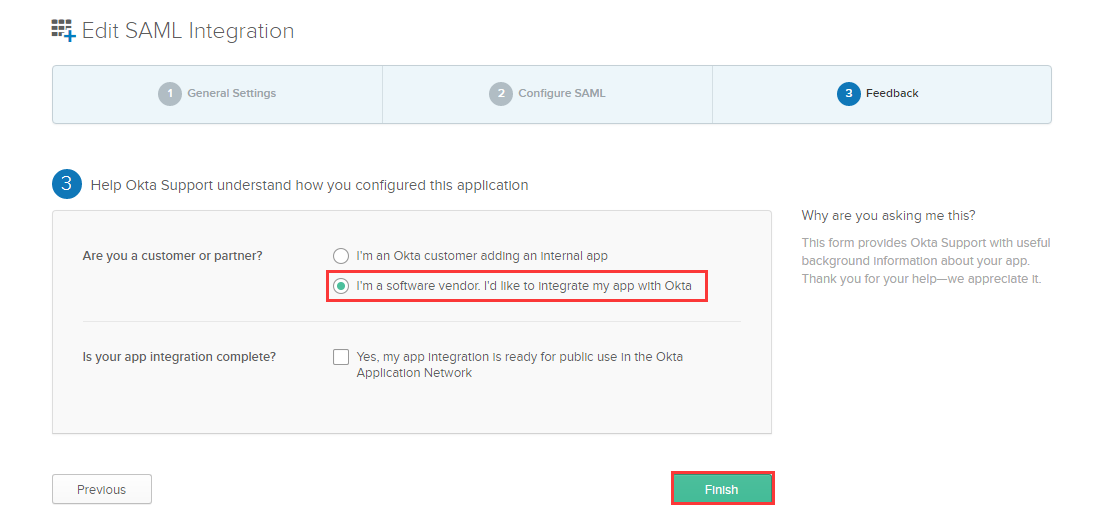
5. Click Next to enter the Feedback page. Select the following information and click Finish to complete the CAM configuration as shown below:
Configuring SAML integration for the Okta application
Note:
This step configures the trust relationship between Okta and Tencent Cloud.
1. Log in to Admin page, and select Applications to go to the application management page.
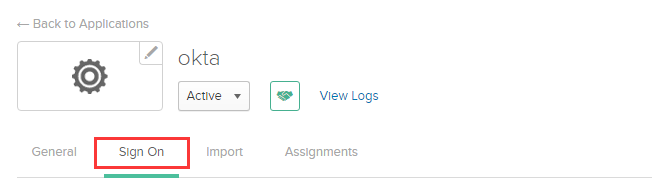
2. On the application management page, click the name of the application you created to enter the application details page. Click Sign On as shown below:
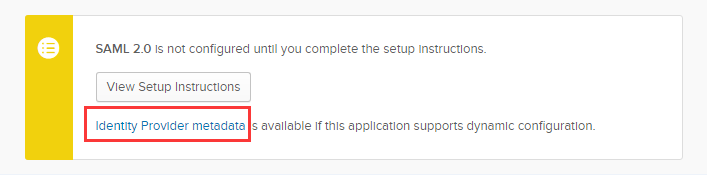
3. On the Sign On page, click Identity Provider metadata to view the metadata of the IdP as shown below:
4. After obtaining the identity provider metadata, you can right click on the viewing page to save it locally.
5. Create the SAML identity provider and roles in Tencent Cloud. For more information, see Creating IdP.
Configuring an Okta user
Note:
This step assigns Tencent Cloud SSO access permissions to Okta users.
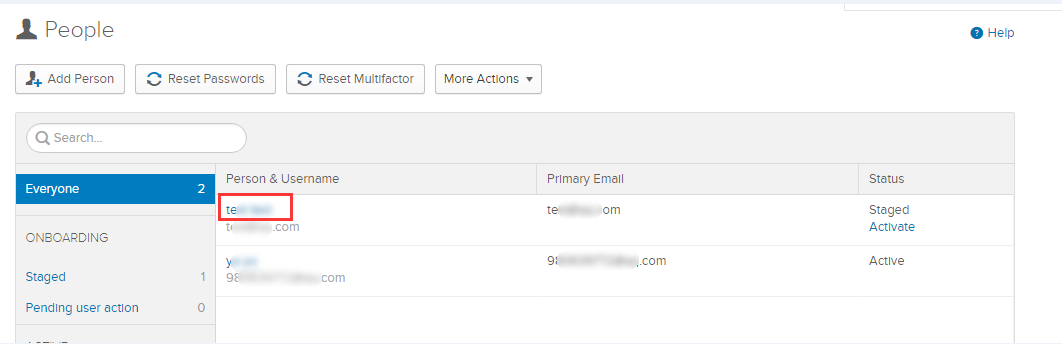
1. Log in to the Admin page and click Directory > People to enter the user management page as shown below:
2. On the user management page, click Everyone in the top-left corner. Locate the target user as shown below:
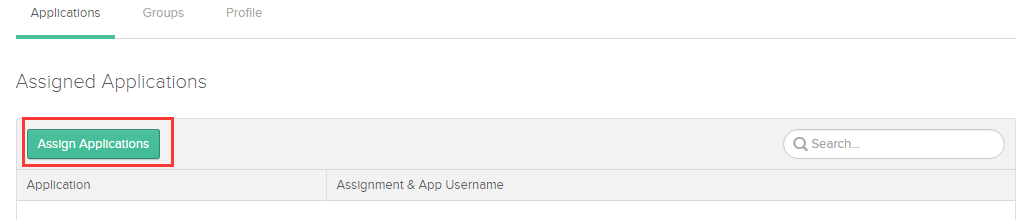
3. Click the username to enter the user details page. Click Assign Applications in the top-left corner as shown below:
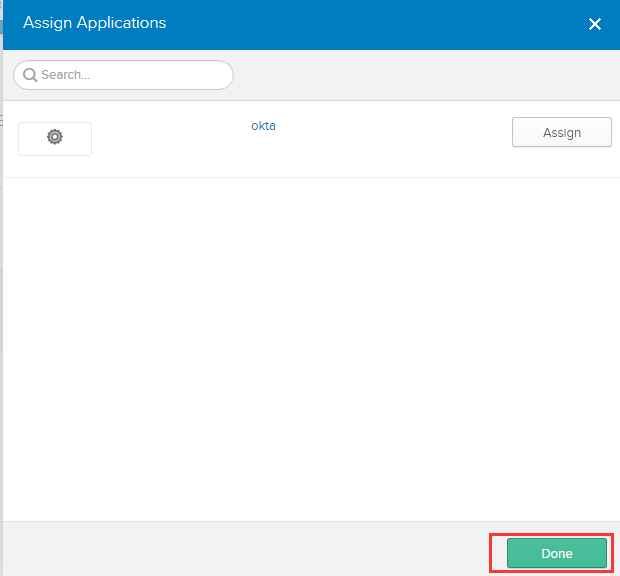
4. In the Assign Applications pop-up window, click Done to complete the configuration of the Okta user as shown below:
5. Go to the application management page , and click the name of the application you created to enter the application details page..
6. In the application details page, select General. Copy Embed Link under the App Embed Link box and log in to the Tencent Cloud console.