JAR jobs must be executed in a private cluster. If you don't have one yet, see Creating a Private Cluster.
Step 1. Prepare your JAR package
To create a JAR job, you need to develop your own JAR package. You can also download our word count example JAR package (flink-hello-world-1.0.0.jar).
Step 2. Upload the JAR package
Log in to the Stream Compute Service console. Select Dependencies on the left sidebar and click Create dependency. Select the same region as the private cluster. For the upload method, Local is selected by default. Click Select and, in the window that pops up, select and upload the JAR package in step 1. Enter a package name, package description, and version description and click Confirm. The package will appear in the package list.
Step 3. Create a JAR job
Log in to the Stream Compute Service console. Enter a workspace and click Jobs on the left menu. On the Jobs page, click Create job, select JAR job as the type, enter a job name, select a running cluster (where the job will be executed), and click Confirm.
Step 4. Grant access to related services
Select the job created and click Development & Testing. If you haven't granted Stream Compute Service access to related services, in the window that pops up, click Authorize now to allow Stream Compute Service to access services such as CKafka and TencentDB. For detailed directions, see Granting access to other services.
Step 5. Configure the JAR job
In Development & Testing, from the drop-down list of Main package, select the package you uploaded. In Main class, type com.tencent.cloud.oceanus.wordcount.WordCount. You can click Job parameters to modify the default operator parallelism and add external dependencies.
Step 6. Publish and run the JAR job
1. Click Publish draft to run and check the job and then click Confirm to publish the job. A version of the job will be created, and a version number will be automatically generated.
2. Under Manage version, you can view and switch to different versions of the job.
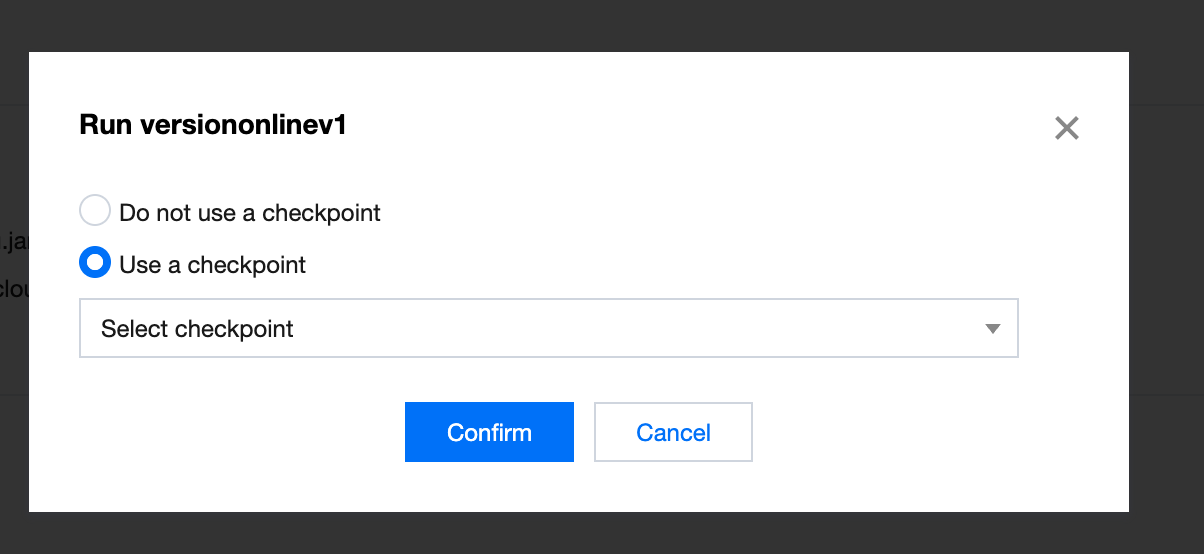
3. Select the version you want to run, click Run version, and then click Confirm to run the job.
Step 7. View job execution details
After you click Confirm, the job status will become "Operating" first and change to "Running" after the job is successfully run. After the job is successfully run, you can view its execution details via Monitoring, Log, and Flink UI.