Plugin can be used to add additional ability to Intelligent Agent applications, supporting developer customization of plugin function. You can refer to the steps below to create plugin based on published application, making it user-friendly to reuse published application ability across different applications on the platform.
Note:
Use supports multiple rounds, but after being created as a tool, it only supports single-round calls.
1. Applications containing workflows are not recommended to set user interaction nodes (such as tab nodes, parameter extraction nodes, extract file nodes) in the workflow, otherwise serious effectiveness issues will occur.
2. To ensure the debug performance matches the post-release performance, it is advisable to set the input and output context round to 0 in the application configuration during the debug stage.
1. Create a Plugin.
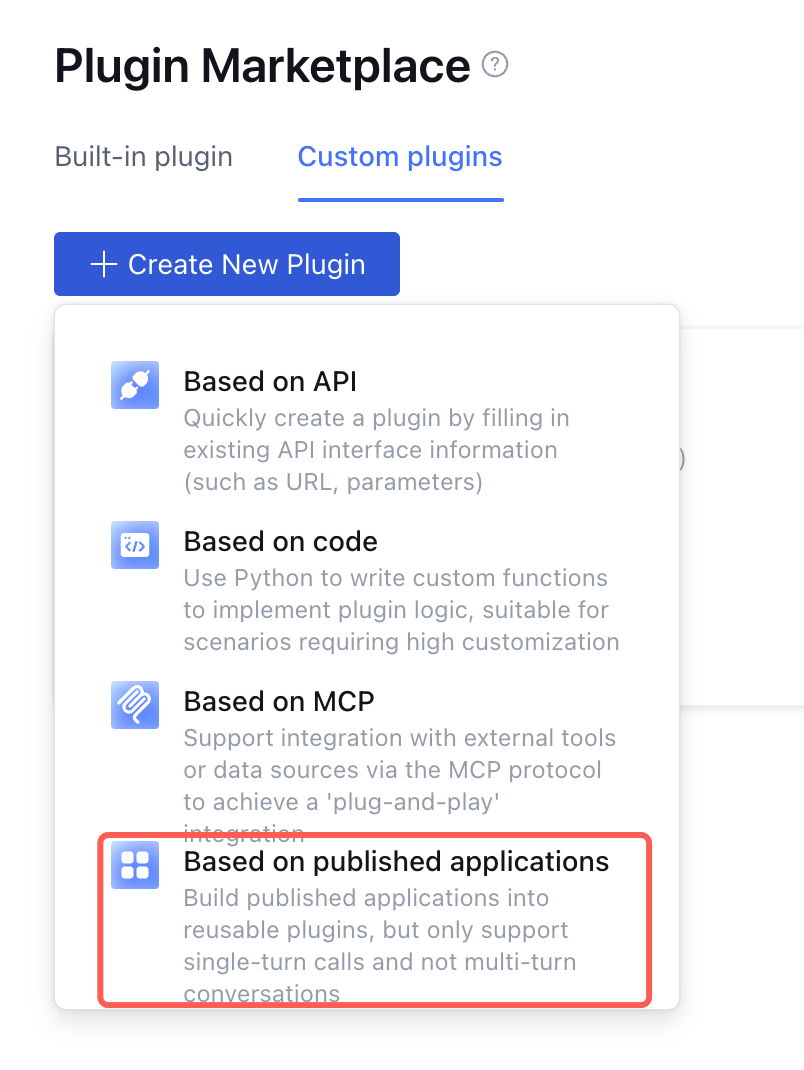
Enter the Plugin Maketplace, click Custom plugins > Create New Plugin, and select Based on Published Applications.
2. Select an Application
In the released application list, select an application and click OK.
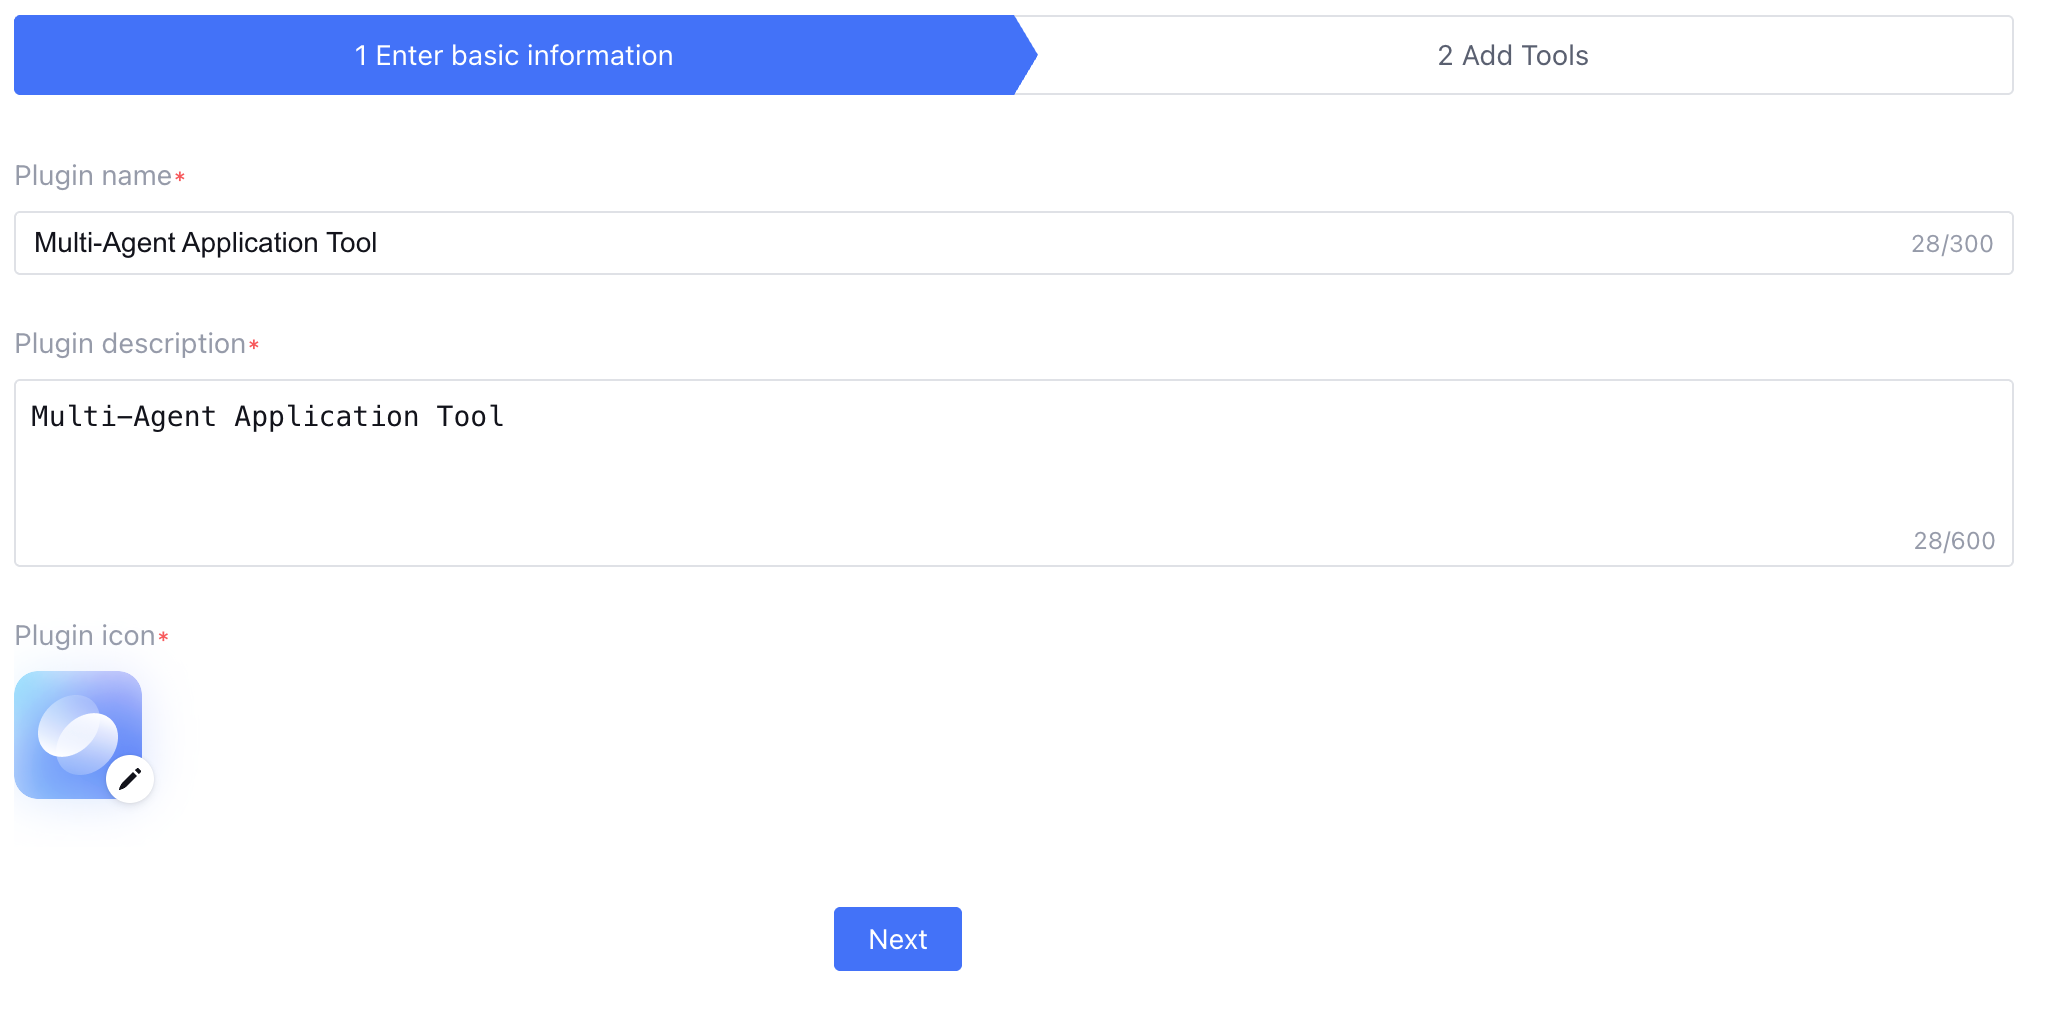
3. Fill in Basic Information
Fill in basic information, edit the plugin name, plugin description, and plugin icon. The application name, application description, and avatar are displayed by default, supporting user modification.
Upon success, click Next.
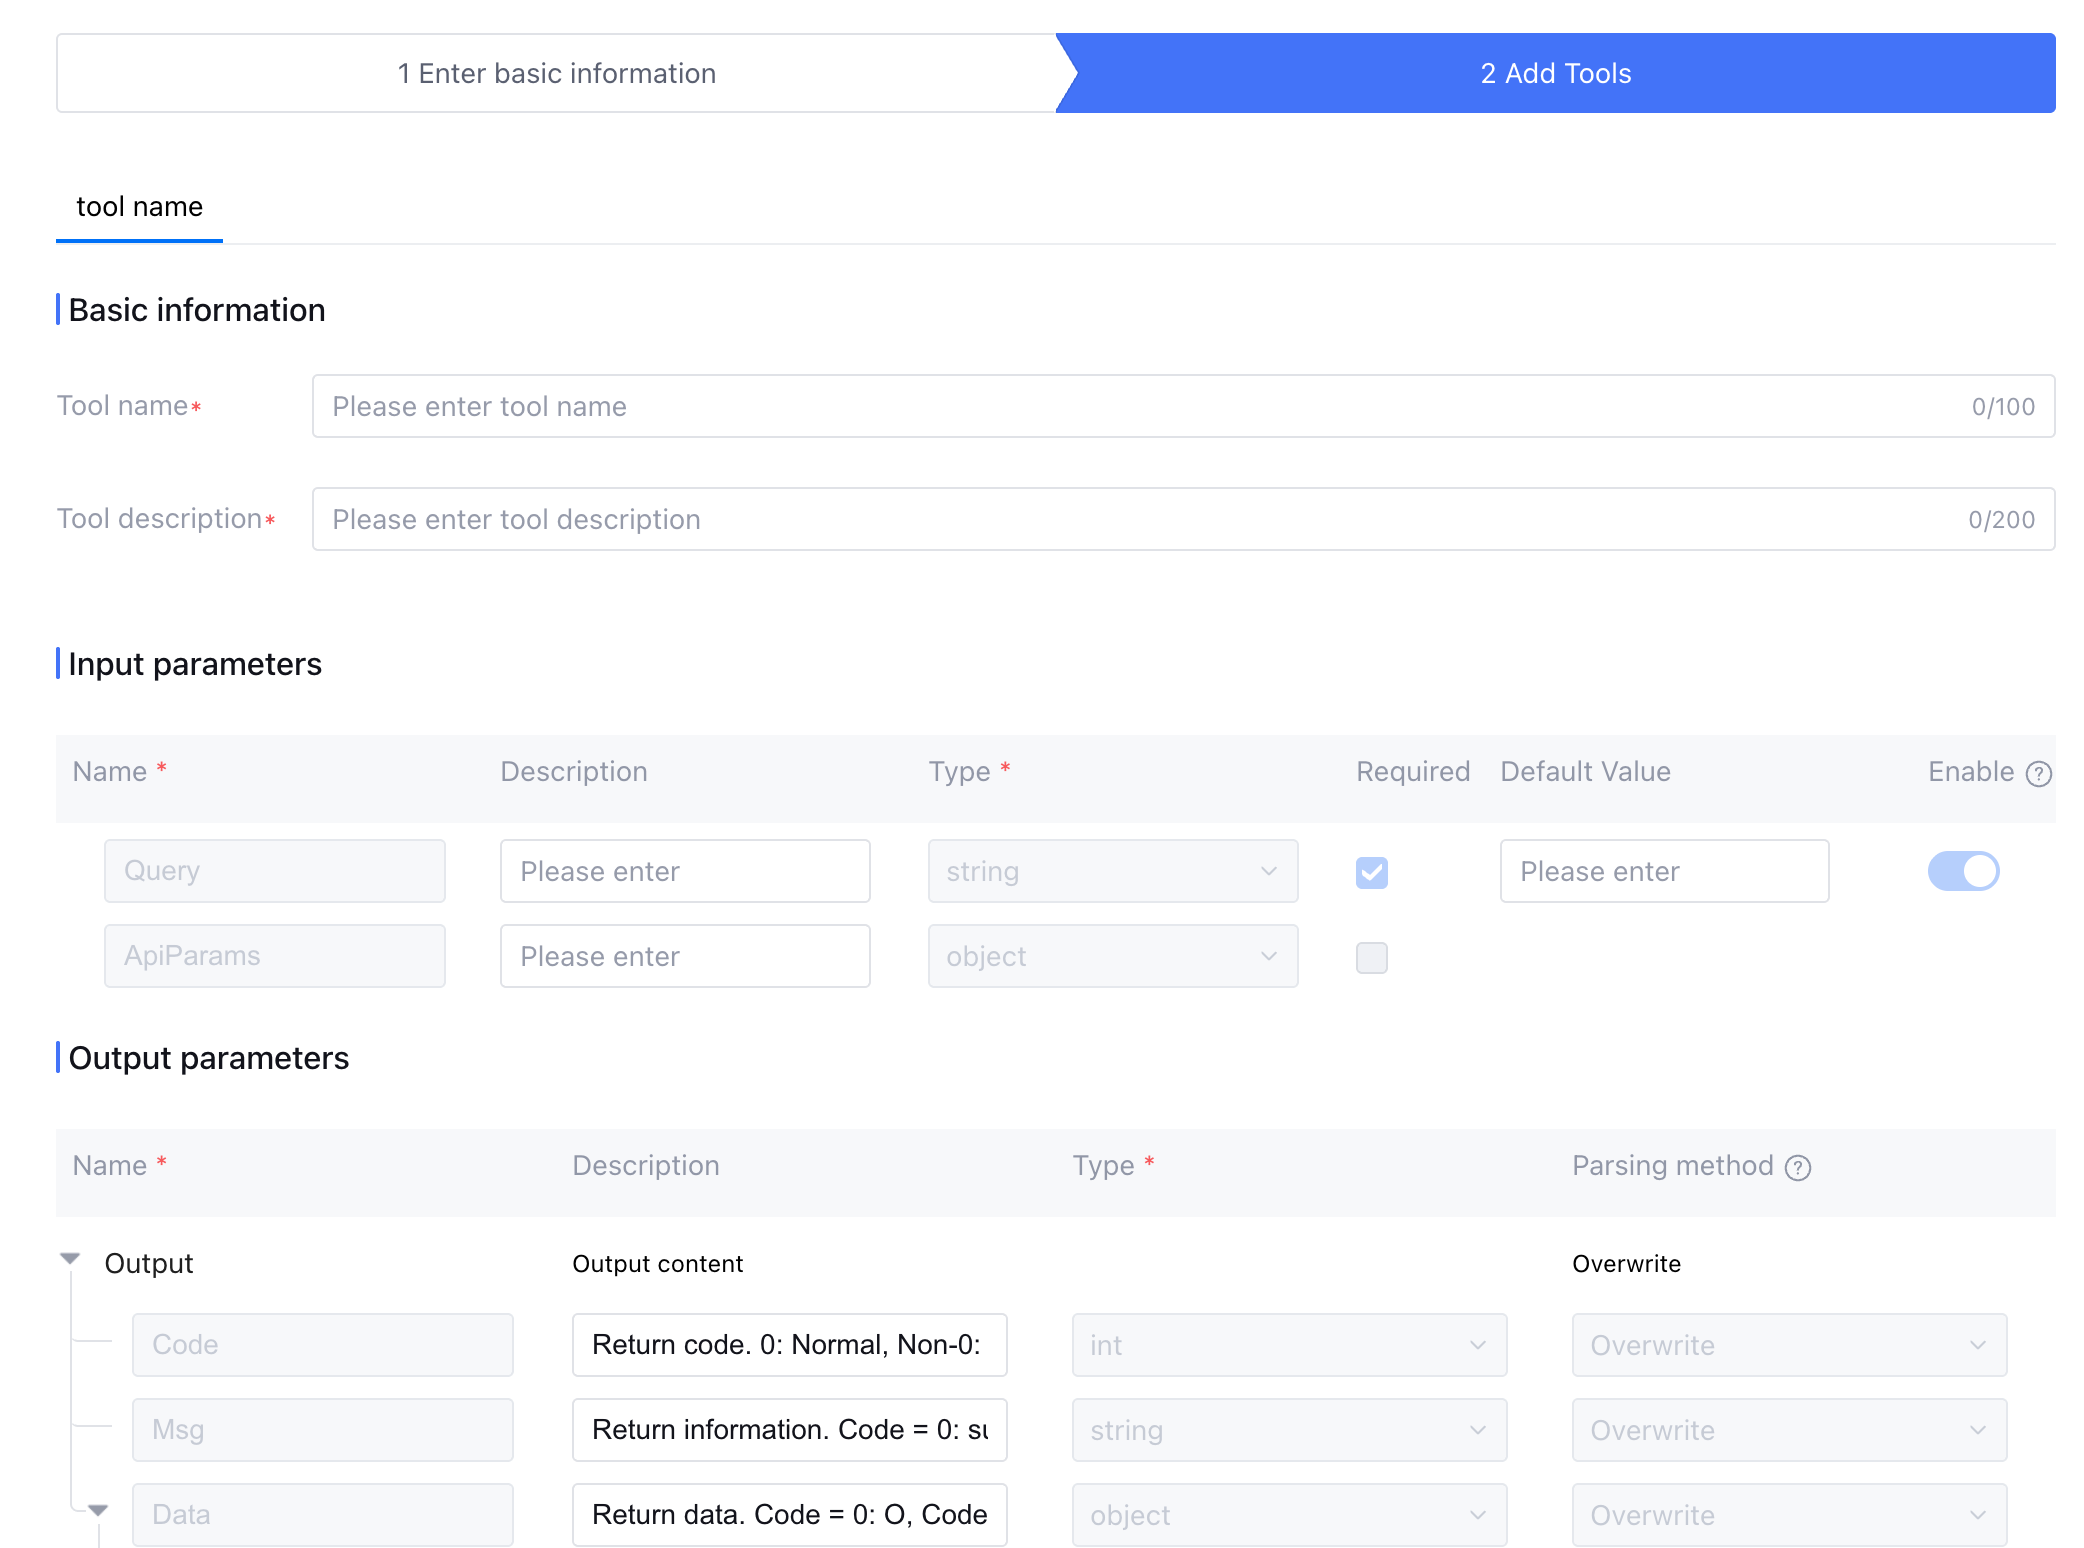
4. Add Tool
Fill in the tool name and description. For input parameters, only the parameter description can be edited. The parameter name and data type are non-editable. For single workflow mode applications, the input parameters are the input parameters of the workflow start node, and the output parameters are the output parameters of the workflow end node.
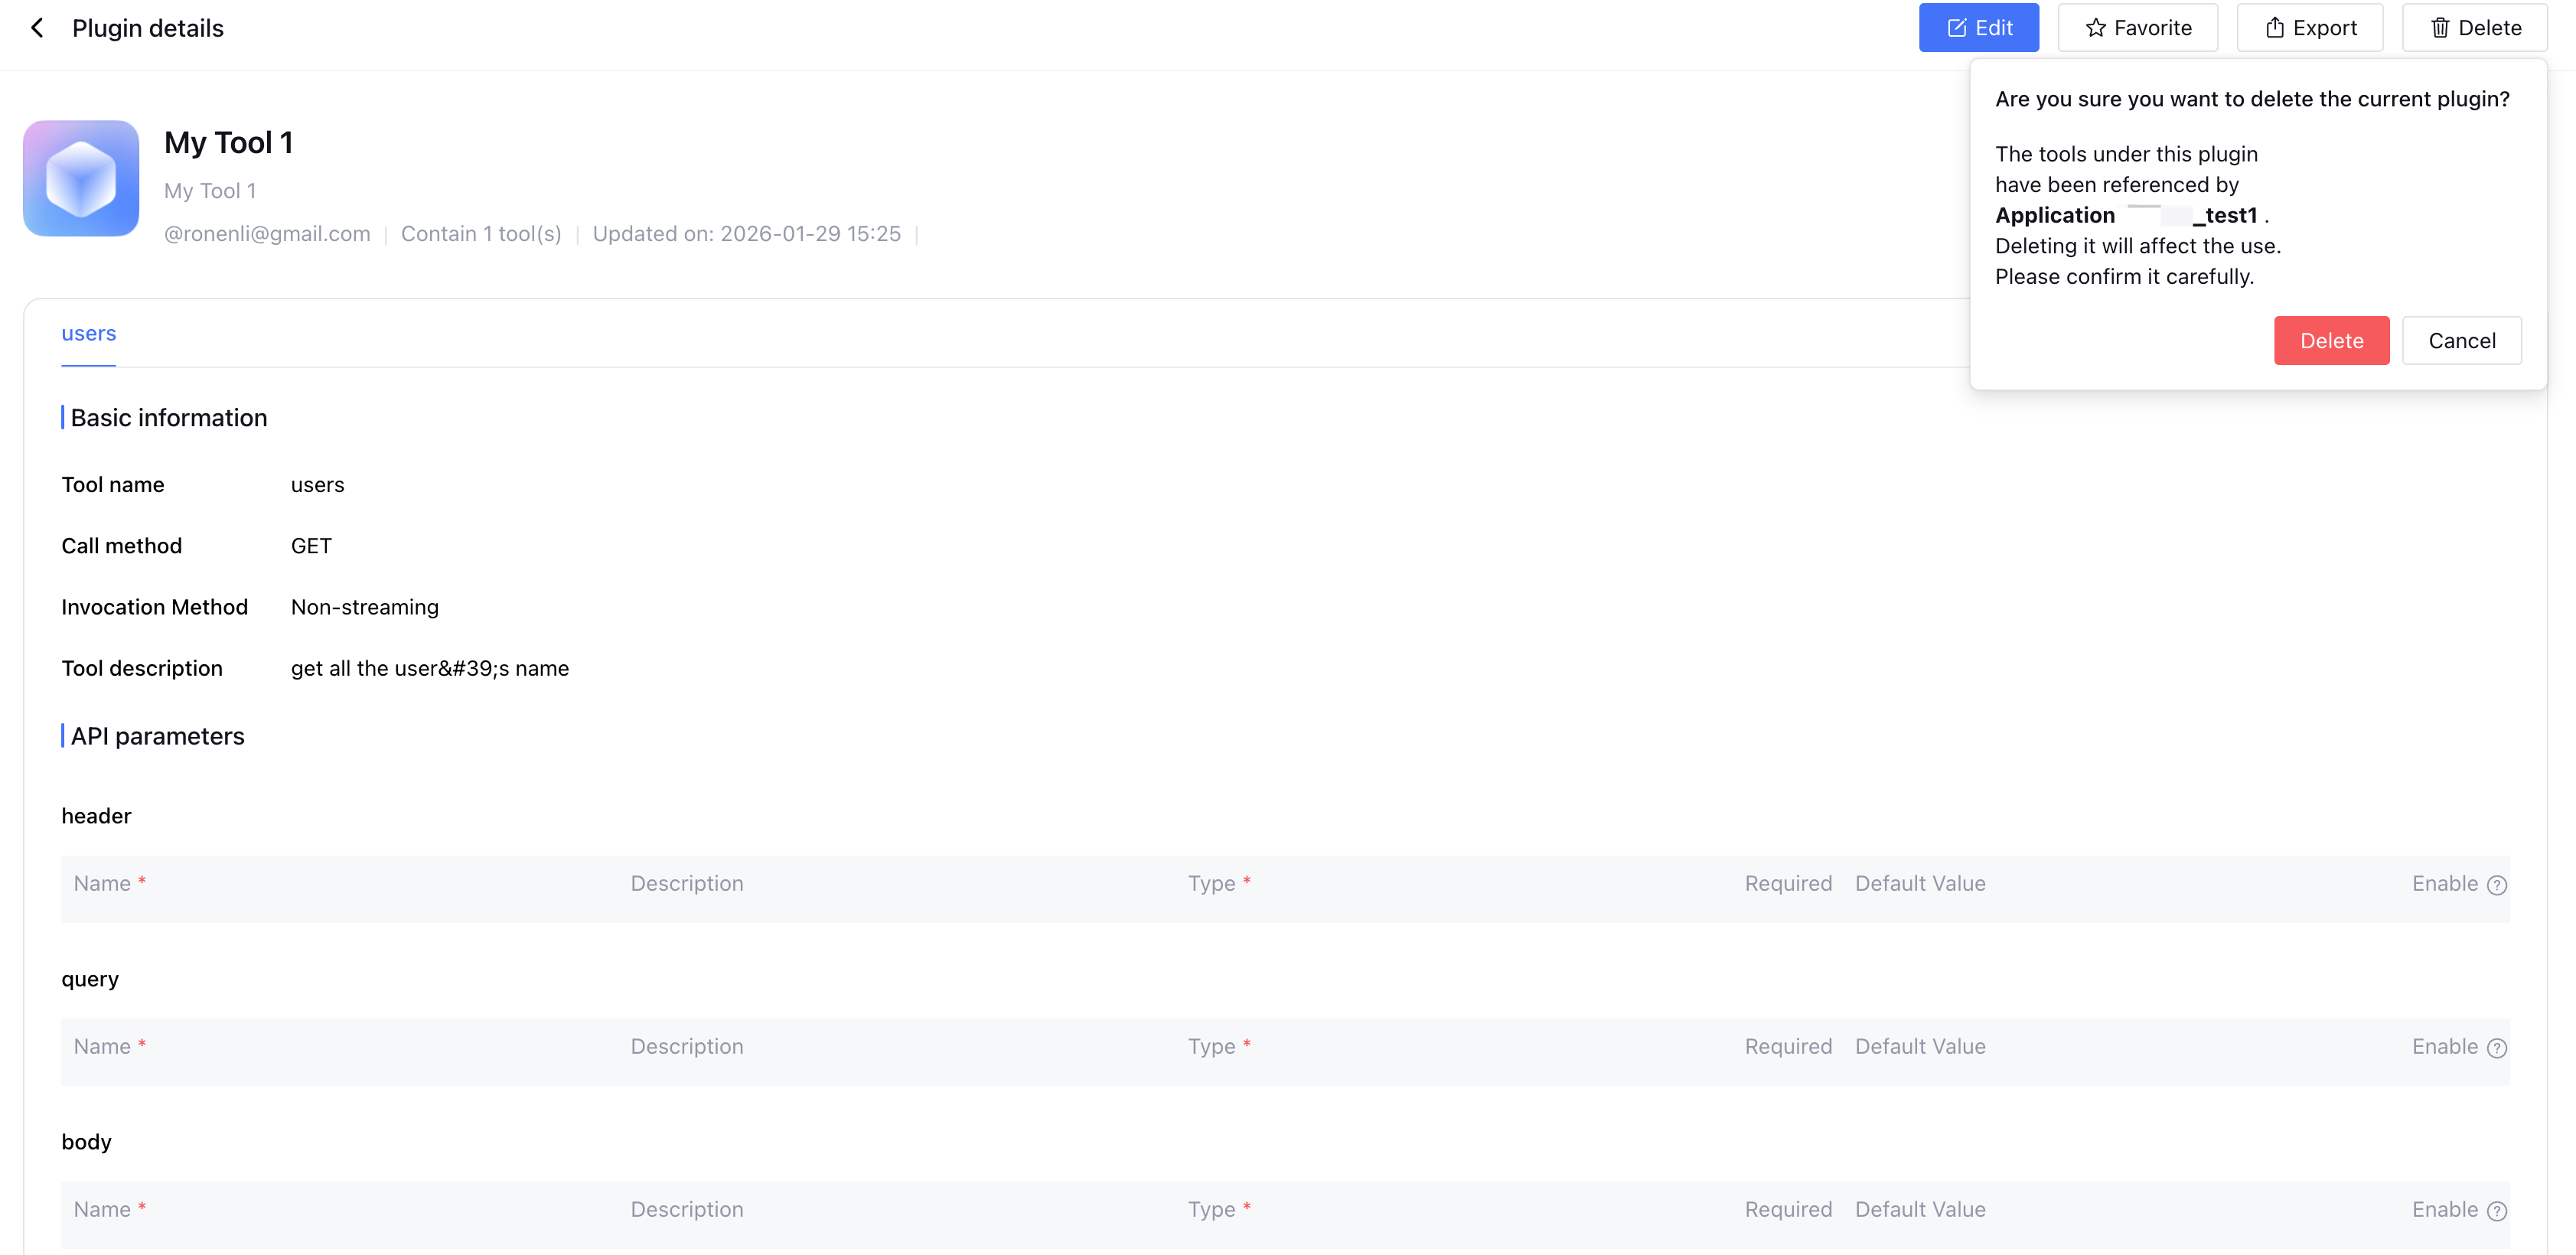
Upon completion, click Save, and creation succeeded. Plugins can be added and used in the workflow or Agent Mode. For details, see Using the Plugin. 5. Delete Plugin
When deleting a custom plugin, if the plugin is referenced, a delete prompt will be displayed.