This document describes how to configure an Elastic Network Interface (ENI) for a Windows Cloud Virtual Machine (CVM).
Note:
This document uses Windows Server 2012 as an example.
Operation Steps
DHCP Enabled for the Windows Operating System
If Dynamic Host Configuration Protocol (DHCP) is enabled for the Windows operating system, no configuration is required and the system automatically identifies a secondary ENI and its IP addresses. To view them, perform the following steps:
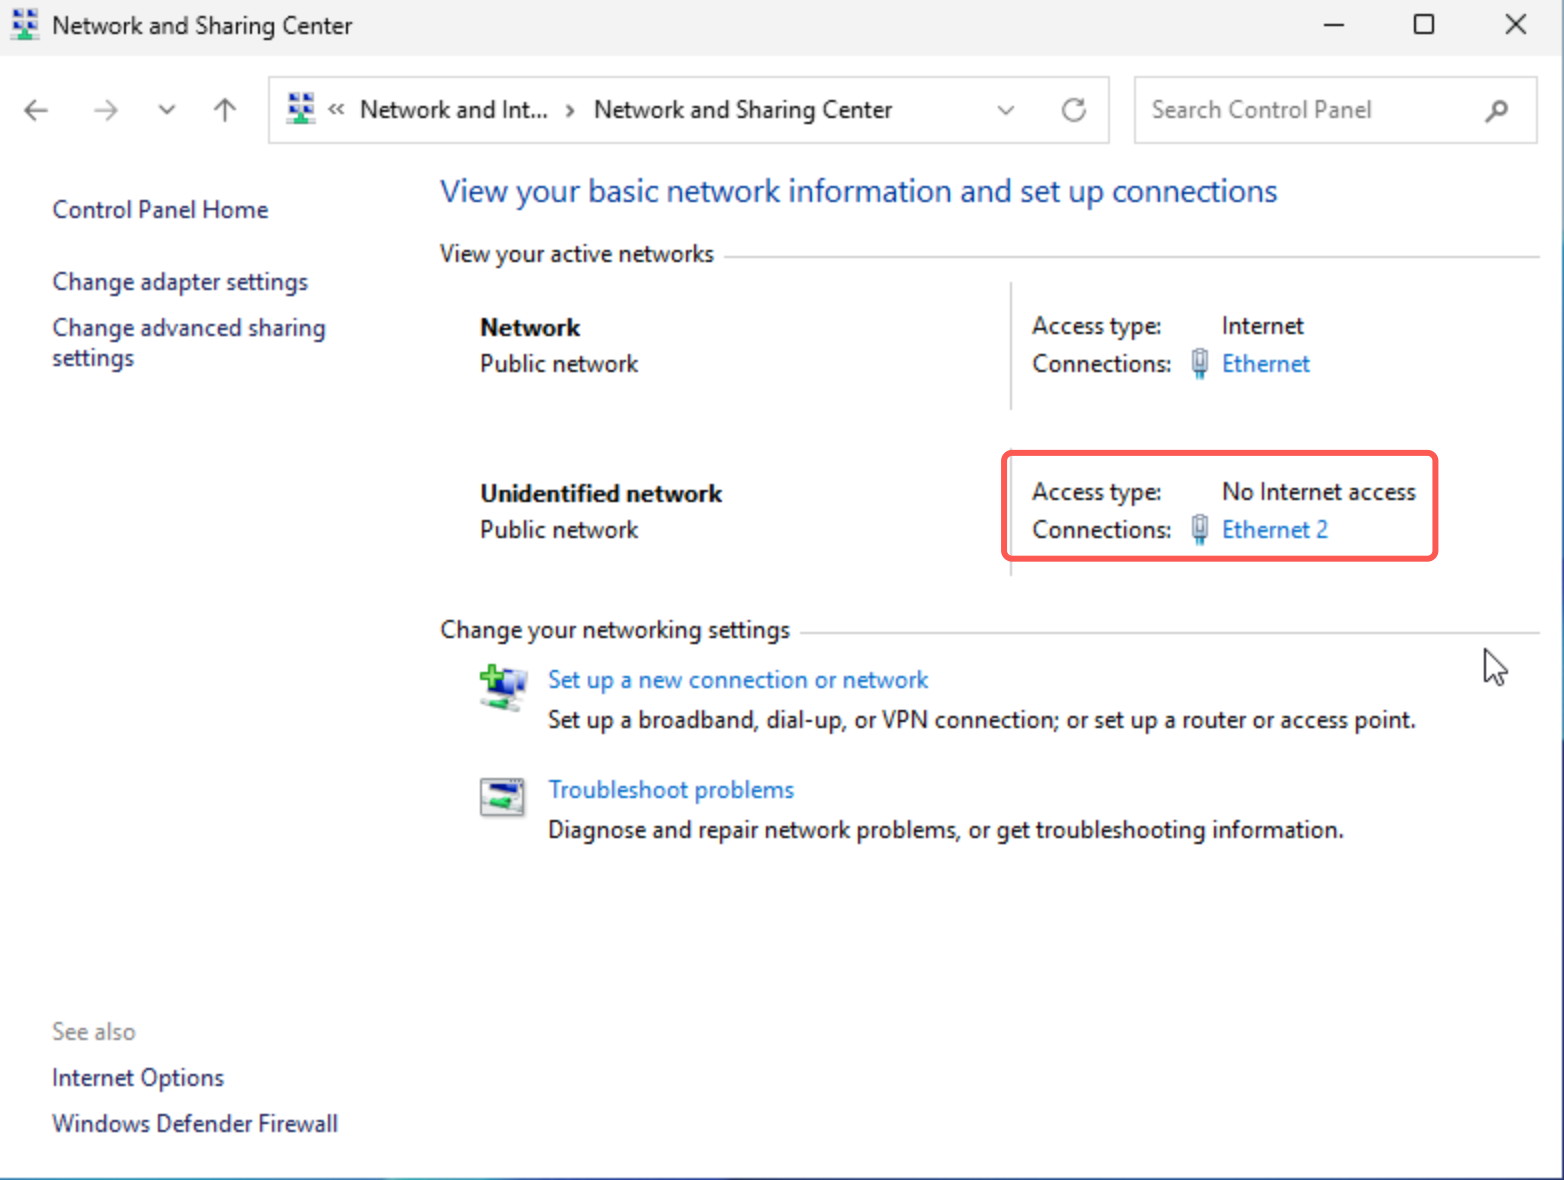
1. Log in to the CVM, choose Control Panel > Network and Internet > Network and Sharing Center in the operating system, and view the secondary ENI that is automatically identified.
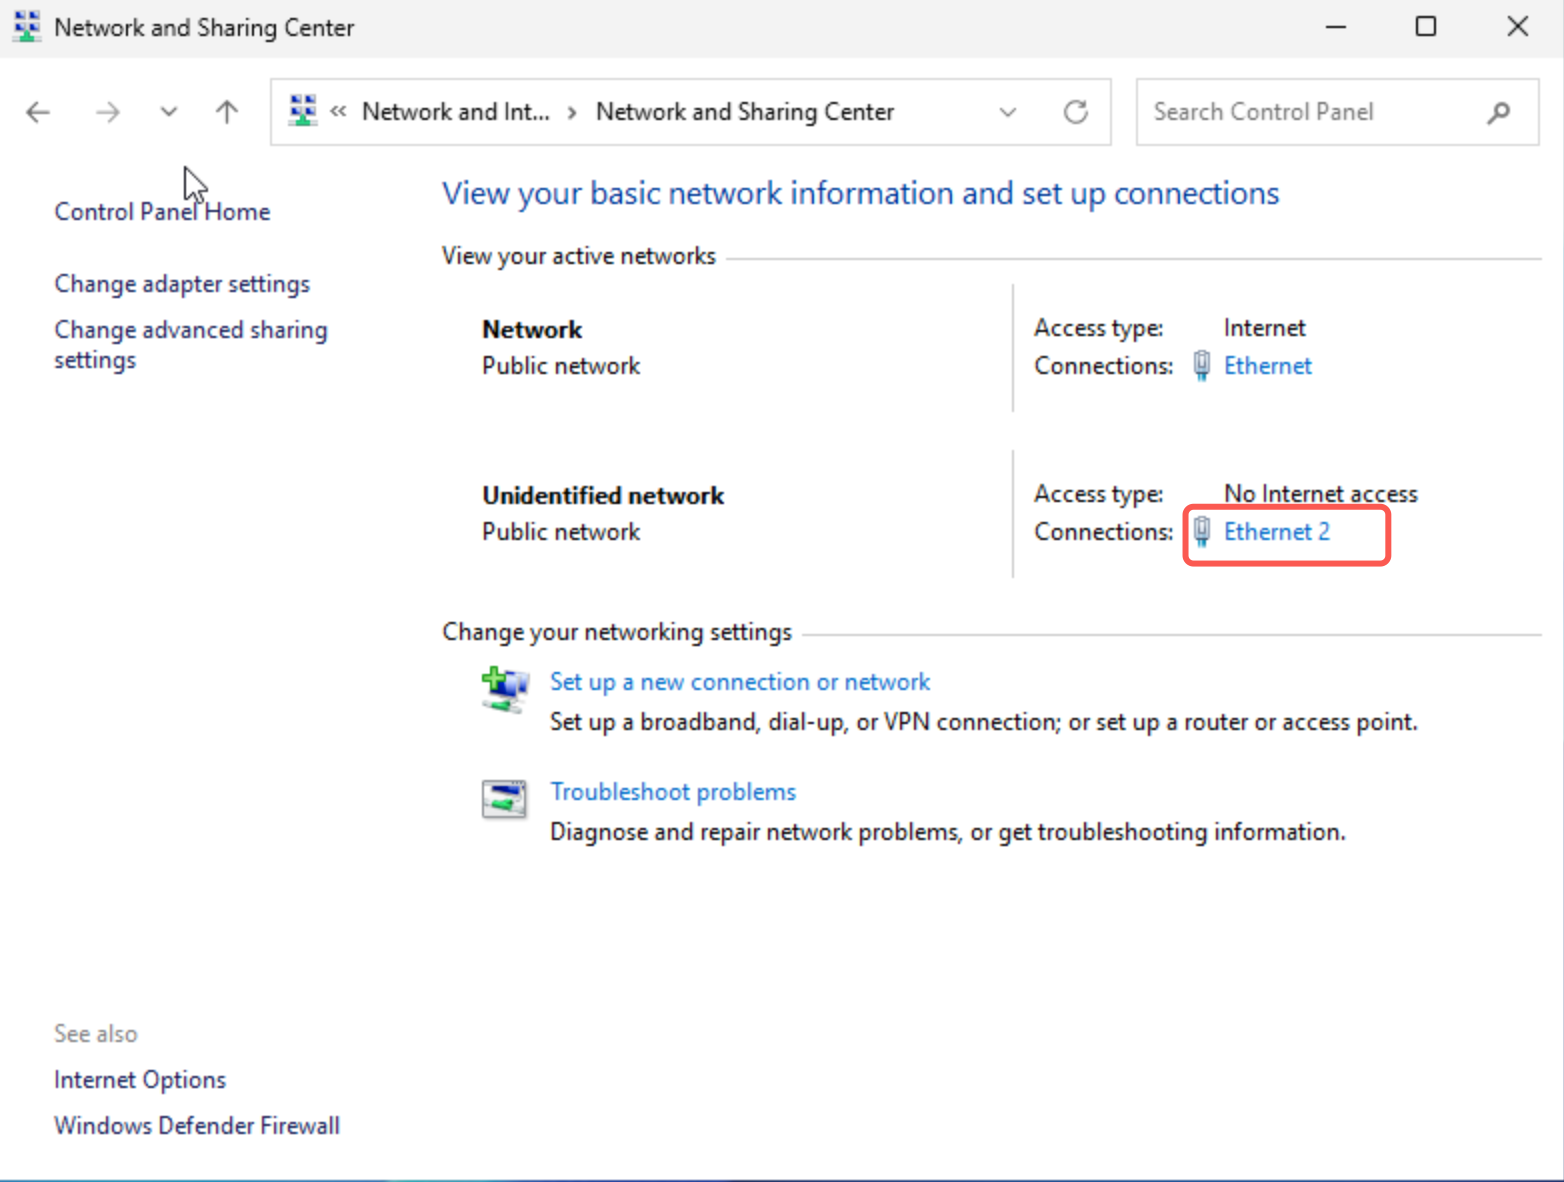
2. Click the secondary ENI named Ethernet 2 to view information.
3. In the Ethernet 2 Status dialog box, click Properties.
4. In the Ethernet 2 Properties dialog box, double-click Internet Protocol Version 4 (TCP/IPv4).
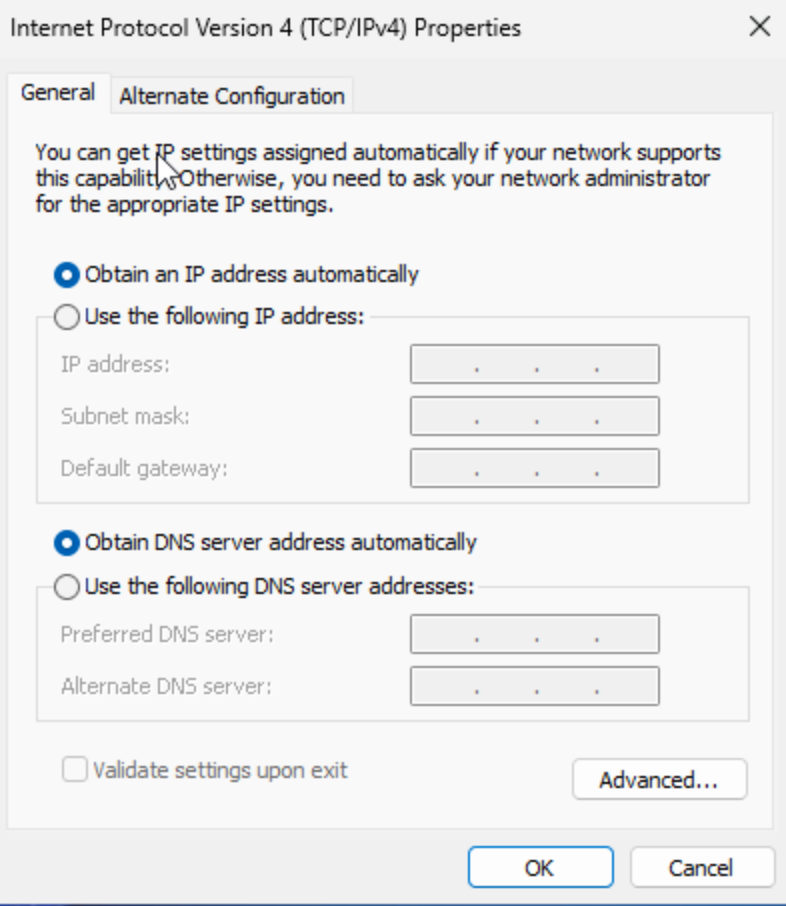
5. In the Internet Protocol Version 4 (TCP/IPv4) Properties dialog box, verify that Automatically Obtain IP is selected and no manual entry is required.
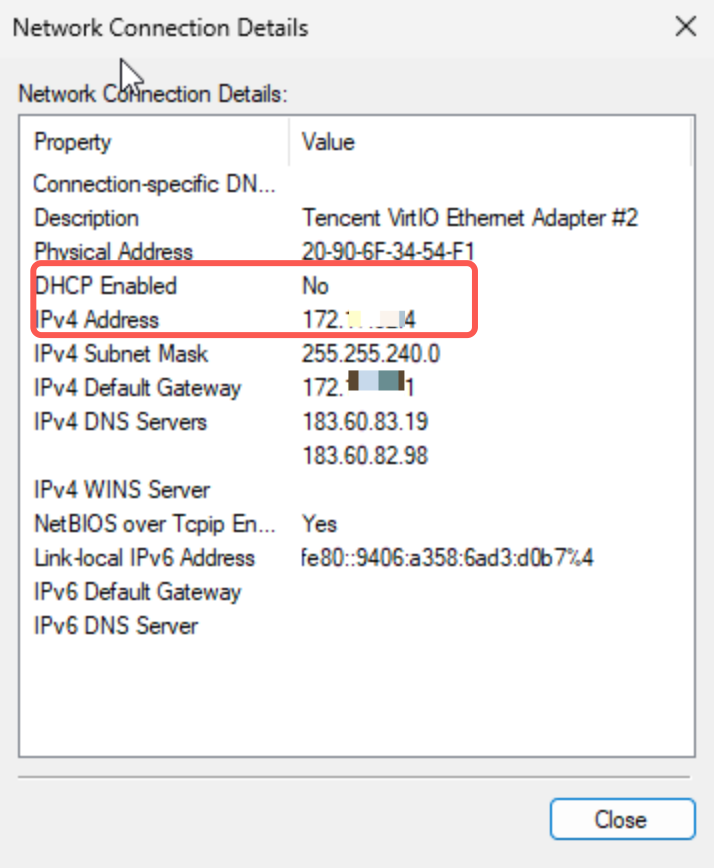
6. Return to the Ethernet 2 Status dialog box, click Details, and verify that DHCP is enabled and the IP address is automatically identified.
DHCP Disabled for the Windows Operating System
If DHCP is disabled for the Windows operating system, you need to manually configure the private IP address in the operating system. The steps are as follows:
2. Log in to the CVM and choose Control Panel > Network and Internet > Network and Sharing Center in the operating system.
3. Click the secondary ENI named Ethernet 2 to modify it.
4. In the Ethernet 2 Status dialog box, click Properties.
5. In the Ethernet 2 Properties dialog box, double-click Internet Protocol Version 4 (TCP/IPv4).
6. In the Internet Protocol Version 4 (TCP/IPv4) Properties dialog box, click OK.
Note:
Perform the following operations to obtain information about the following parameters that need to be manually set:
IP and Subnet Mask: Log in to the ENI console and obtain the information from the corresponding ENI details page.
Default Gateway: Enter the first available IP address in the subnet.
DNS Server: Enter the default Tencent Cloud DNS server address, for example, 183.60.83.19 and 183.60.82.98.
7. In the Ethernet 2 Properties dialog box, click OK to complete the configuration.
8. In the Ethernet 2 Status dialog box, click Details to view the manually entered IP address information when DHCP is disabled.
9. Use a CVM in the same subnet to ping the private IP address. If the ping succeeds, the configuration is successful. If no other available CVMs exist, bind the private IP address of the secondary ENI to an Elastic IP (EIP) and ping the EIP for verification.