tencent cloud

Tencent Cloud Lighthouse

Release Notes and Announcements
Image Release Notes
Announcements
Product Introduction
Overview
Basic Concepts
Strengths
Scenarios
Use Limits
Region and Network Connectivity
Product Comparison
User Guide
Billing
Billing Overview
Instance Package
Pricing Details
Purchase Methods
Configuration Adjustment (for Upgrade Only)
Overdue Payments
Refund
Getting Started
One-Click Application Creation Using Lighthouse
Quick Instance Creation
User Guide
Instances
Cloud Disks
Images
Firewall
Private Network Interconnection
Data Backup and Restoration Using Snapshots
Cloud Access Management
OPS and Monitoring
File Transfer
Use Cases
Website Building
Development Environment Building
Cloud Storage System Building
E-commerce Platform Building
Personal Live Streaming Room Building
FTP Service Building
SSL Certificate Installation
Troubleshooting
Windows Instance: RDP Connection to the Remote Computer Fails
Windows Instance: Offline Password Resetting Fails or Invalid
Linux/Windows Instance: Online Password Resetting Fails or Invalid
API Documentation
History
Introduction
API Category
Making API Requests
Image APIs
Firewall APIs
Key APIs
Instance APIs
Snapshot APIs
CCN APIs
Other APIs
Cloud Disk APIs
Scene APIs
Package APIs
Quota APIs
Region APIs
Data Types
Error Codes
FAQs
Agreements
Privacy Policy
Data Processing And Security Agreement
Contact Us
문서Tencent Cloud LighthouseUser GuideInstancesGrouping and Managing Instance Resources by Tags

Grouping and Managing Instance Resources by Tags

PDF
포커스 모드
폰트 크기
마지막 업데이트 시간: 2022-05-12 12:24:12

Overview

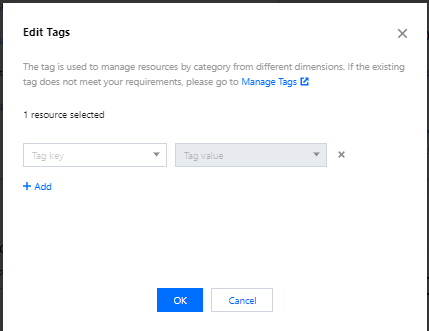
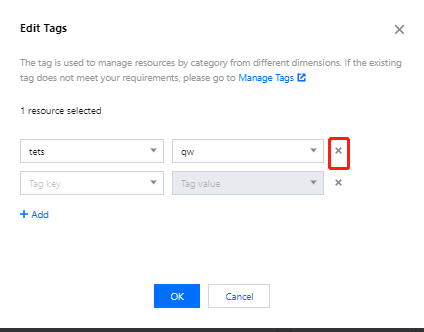
Tags are key-value pairs provided by Tencent Cloud for easy resource identification. You can use tags to categorize and manage your Lighthouse resources.
This document describes how to manage instance tags in the Lighthouse console.

Usage Limits

There are certain limits on the tag quantity and naming rules. For more information, see Usage Limits.

Directions

Setting instance tag

1. Log in to the Lighthouse console and select an instance.
2. In Instance information on the overview tab, click

after Tag.
3. In the Edit tag pop-up window, select target instance tags as shown below:

4. Click OK.
5. After a message indicating that the edit was successful is prompted, click OK.

Removing instance tag

1. In Instance information, click

after Tag.
2. In the Edit tag pop-up window, click

after the target tag as shown below:

3. Click OK.
4. After a message indicating that the edit was successful is prompted, click OK.

References

도움말 및 지원

문제 해결에 도움이 되었나요?

피드백