Release Notes
Announcements
Core Feature | Feature Description |
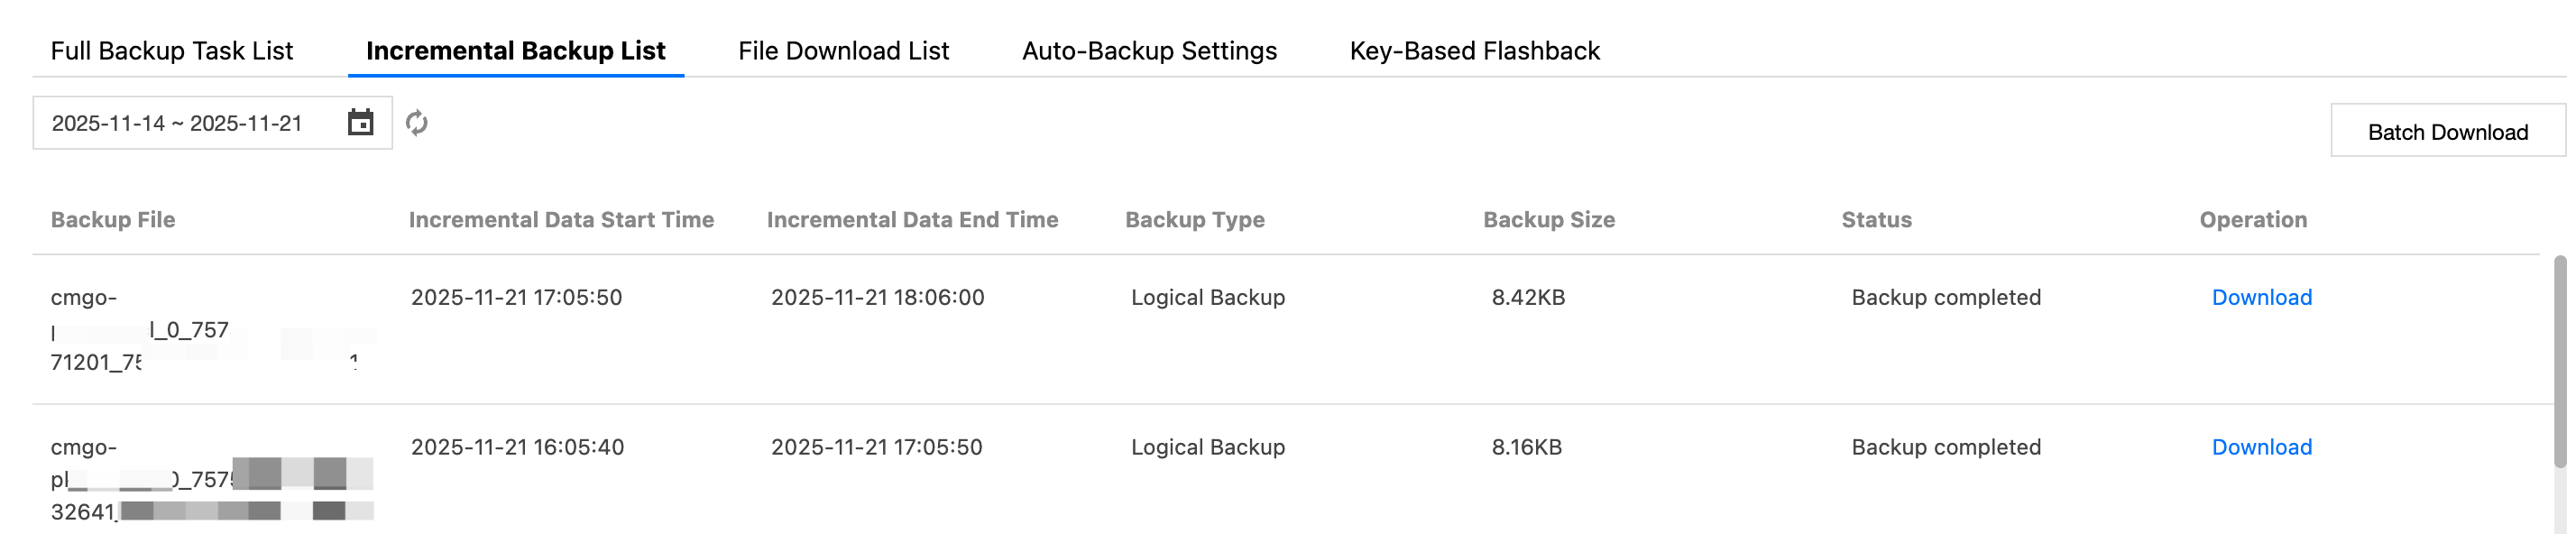
Backup file management view | The backup file list centrally displays the generation records and download progress of all files, and you can directly download or delete files. |
Public network download | You can enable public network download with one click and set passwords for backup files to ensure secure access. |
Download permission control | You can configure the download and access permissions for backup files through IP addresses and VPCs, effectively preventing unauthorized access and ensuring data security. |

Parameter | Description | |
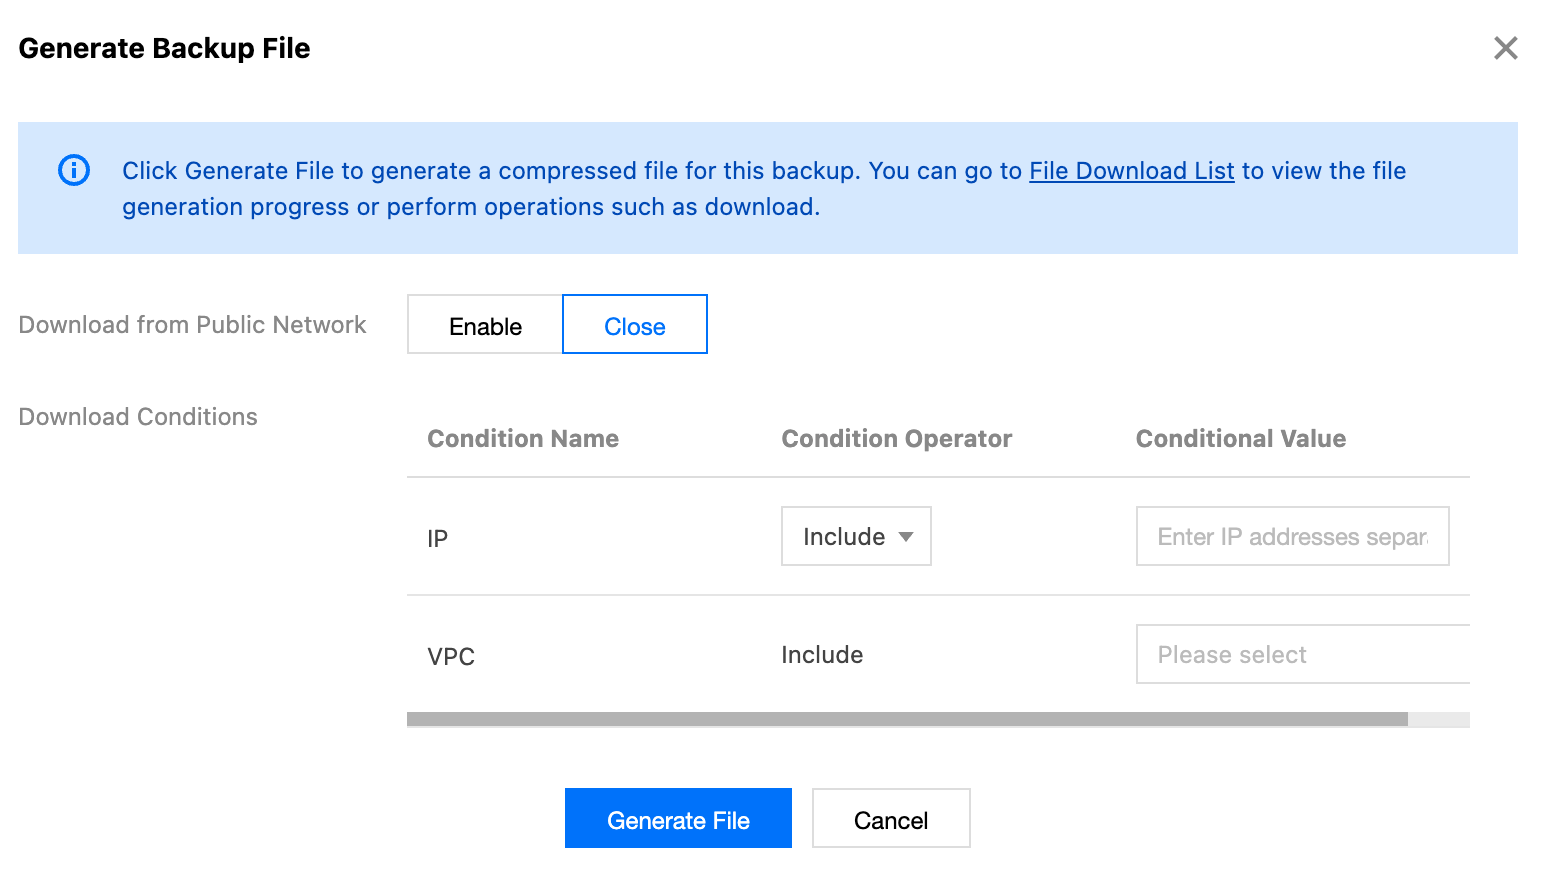
Public network download | Public network download | Sets whether to enable public network download. |
| Public Network File Encryption | To enable public network download, click  |
| Set Password | In the input box, set the password for file encryption. Click Generate Random Password to randomly generate a password in the input box. Note: In the encryption process, the PBKDF2 algorithm is used to derive a high-strength key based on the set password, and then the AES-256 algorithm is used to encrypt the file, strengthening file security. For details about decryption instructions, see Decrypting Encrypted Files. |
Download Conditions | IP | Restricts the client access source IP addresses that are allowed to download backup files in the condition operator and condition value. Only when the client IP address matches the preset IP range, can backup files be downloaded. |
| VPC | Restricts the client access source VPCs that are allowed to download backup files in the condition operator and condition value. The download permission is available only when a request is from the specified VPC. |

openssl enc -aes-256-cbc -d -pbkdf2 -iter 10000 \\-in [encrypted file name] \\-out [decrypted file name] \\-k "[your password]"
openssl enc -aes-256-cbc -d -pbkdf2 -iter 10000 \\-in encrypted.tar \\-out decrypted.tar \\-k "12345"
API | Description |
DescribeDBBackups | |
DescribeBackupDownloadTask | |
CreateBackupDownloadTask |
피드백