This document uses the Node.js client as an example to describe how to access TDMQ for CKafka (CKafka) via the Virtual Private Cloud (VPC) network and send and receive messages.
3. Run the following command to install C++ dependency libraries.
yum install librdkafka-devel
Step 2: Installing Node.js Dependency Libraries
1. Run the following command to specify the OpenSSL header file path for the preprocessor.
exportCPPFLAGS=-I/usr/local/opt/openssl/include
2. Run the following command to specify the OpenSSL library path for the connector.
exportLDFLAGS=-L/usr/local/opt/openssl/lib
3. Run the following command to install Node.js dependency libraries.
npminstall i --unsafe-perm node-rdkafka
Step 3: Preparing for Configurations
Create the CKafka configuration file setting.js.
module.exports ={
'bootstrap_servers':["xxx.xx.xxx:xxxx"],
'topic_name':'xxx',
'group_id':'xxx'
}
Parameter
Description
bootstrap_servers
Access network. On the Basic Info page of the instance in the console, select the Access Mode module and copy the network information from the Network column.
topic_name
Topic name. Copy the name on the Topic List page in the console.
group_id
You can define the name and see the consumer on the Consumer Group page after successful demo running.
Step 4: Sending Messages
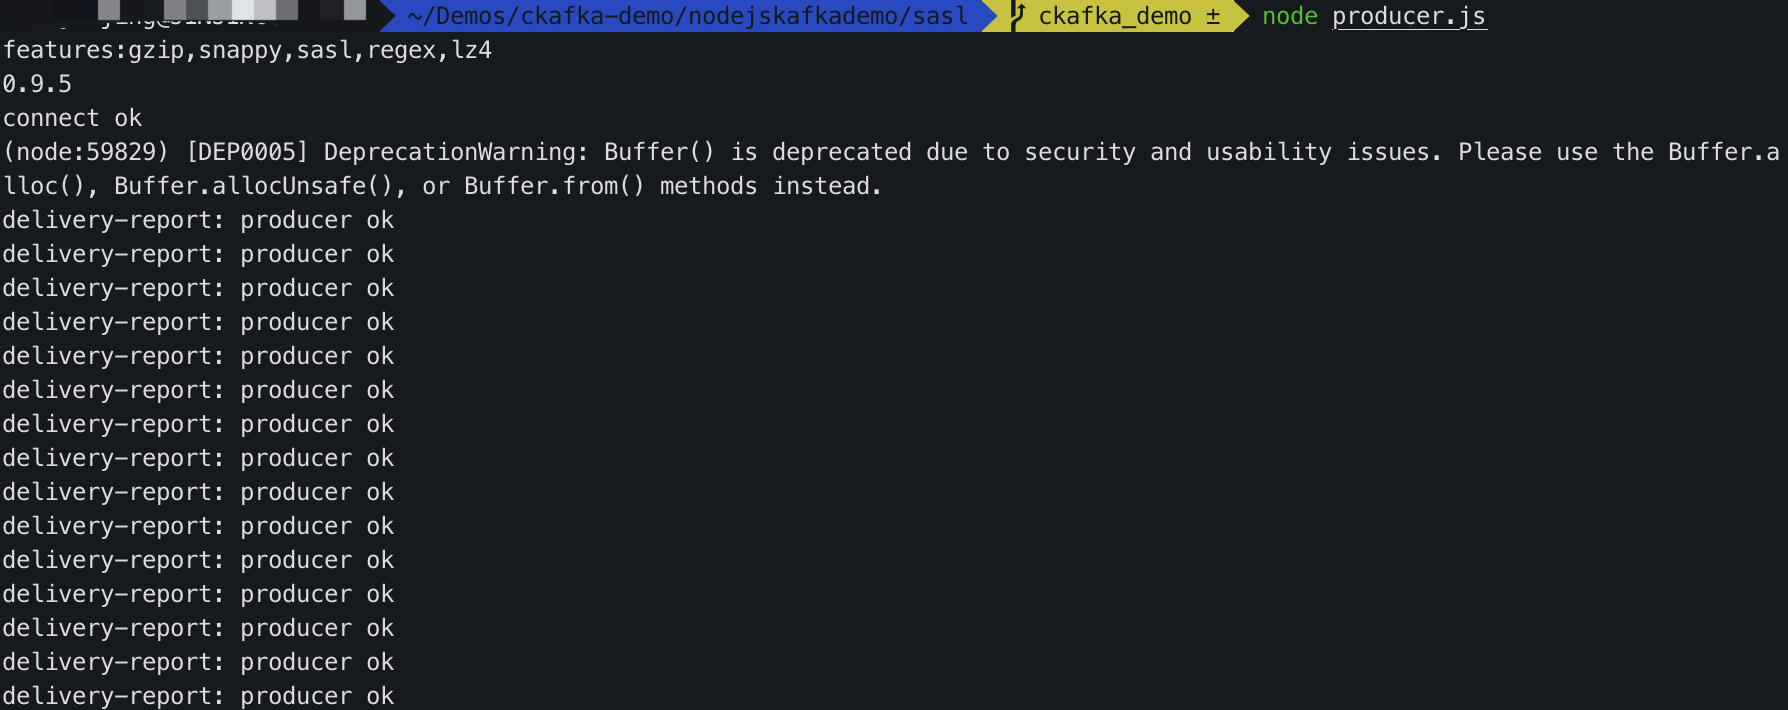
1. Write the message production program producer.js.
const Kafka =require('node-rdkafka');
const config =require('./setting');
console.log("features:"+ Kafka.features);
console.log(Kafka.librdkafkaVersion);
var producer =newKafka.Producer({
'api.version.request':'true',
// Set the entry service. Obtain the corresponding service address in the console.
'bootstrap.servers': config['bootstrap_servers'],
'dr_cb':true,
'dr_msg_cb':true,
// The number of retries when a request error occurs. It is recommended to set this value to greater than 0 to ensure that the message is not lost to the maximum extent during failed retries.
'retries':'0',
// The time between the failed request transmission and the next retry request.
"retry.backoff.ms":100,
// The timeout period for producer network requests.
'socket.timeout.ms':6000,
});
var connected =false
producer.setPollInterval(100);
producer.connect();
producer.on('ready',function(){
connected =true
console.log("connect ok")
});
producer.on("disconnected",function(){
connected =false;
producer.connect();
})
producer.on('event.log',function(event){
console.log("event.log", event);
});
producer.on("error",function(error){
console.log("error:"+ error);
});
functionproduce(){
try{
producer.produce(
config['topic_name'],
null,
newBuffer('Hello CKafka Default'),
null,
Date.now()
);
}catch(err){
console.error('Error occurred when sending message(s)');
4. On the Topic list page in the CKafka console, select the target topic, and choose More > Message Query to view the message just sent.
Step 5: Subscribing to Messages
1. Create the message consumption program consumer.js.
const Kafka =require('node-rdkafka');
const config =require('./setting');
console.log(Kafka.features);
console.log(Kafka.librdkafkaVersion);
console.log(config)
var consumer =newKafka.KafkaConsumer({
'api.version.request':'true',
// Set the entry service. Obtain the corresponding service address in the console.
'bootstrap.servers': config['bootstrap_servers'],
'group.id': config['group_id'],
// Consumer timeout interval when the Kafka consumer group mechanism is used. If the broker does not receive the heartbeat from the consumer within this interval,
// the consumer is considered to be failed, and the broker initiates the rebalancing process again.
'session.timeout.ms':10000,
// Client request timeout period. If no response is received after this period, the request times out and fails.
'metadata.request.timeout.ms':305000,
// Set the interval of internal retries on the client.
'reconnect.backoff.max.ms':3000
});
consumer.connect();
consumer.on('ready',function(){
console.log("connect ok");
consumer.subscribe([config['topic_name']]);
consumer.consume();
})
consumer.on('data',function(data){
console.log(data);
});
consumer.on('event.log',function(event){
console.log("event.log", event);
});
consumer.on('error',function(error){
console.log("error:"+ error);
});
consumer.on('event',function(event){
console.log("event:"+ event);
});
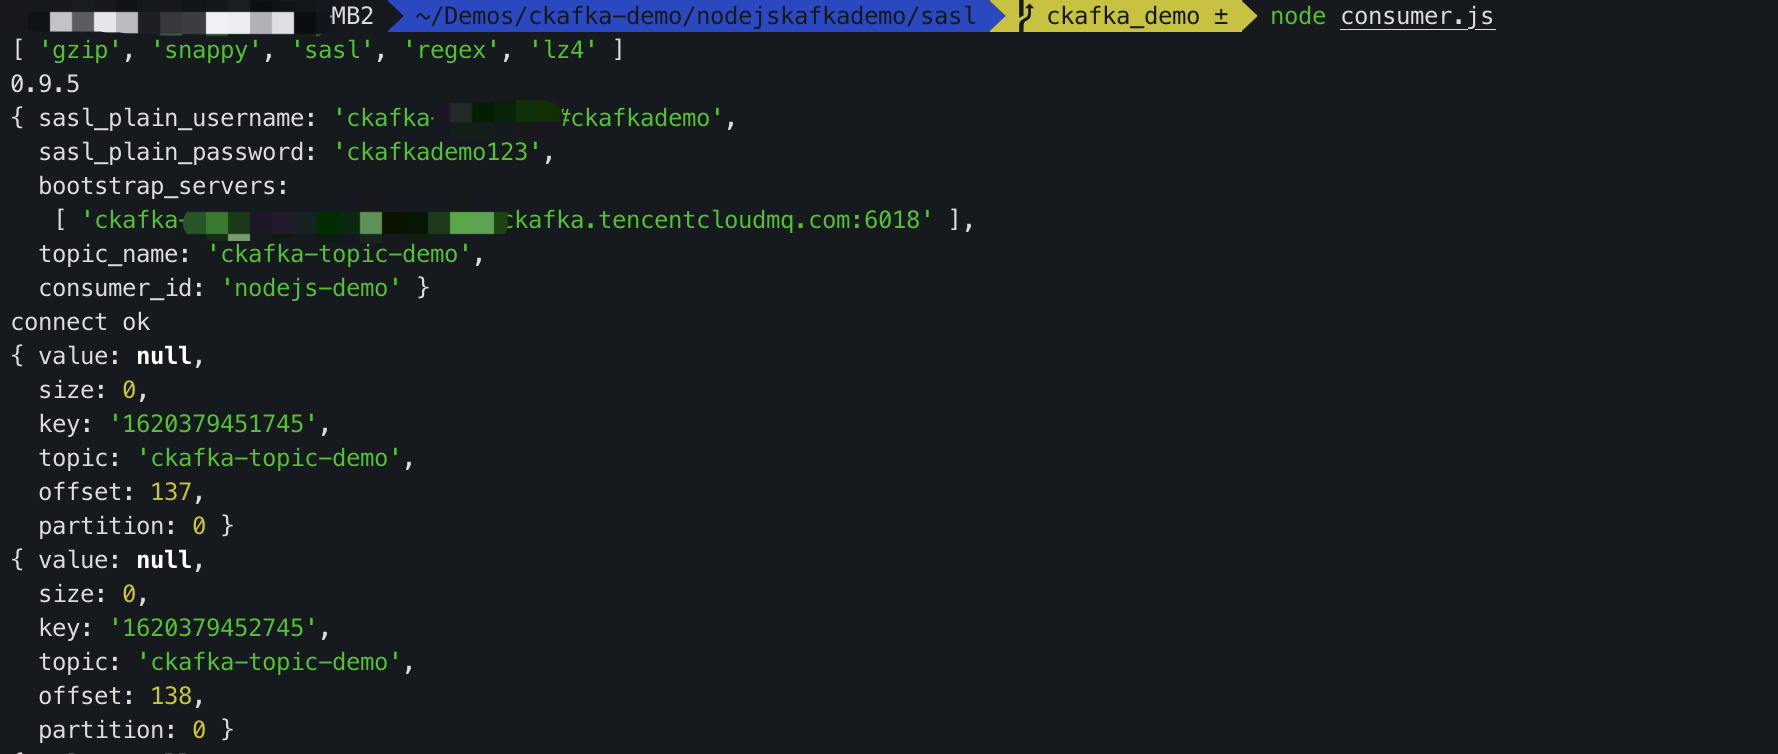
2. Run the following command to consume messages.
node consumer.js
3. View the running results.
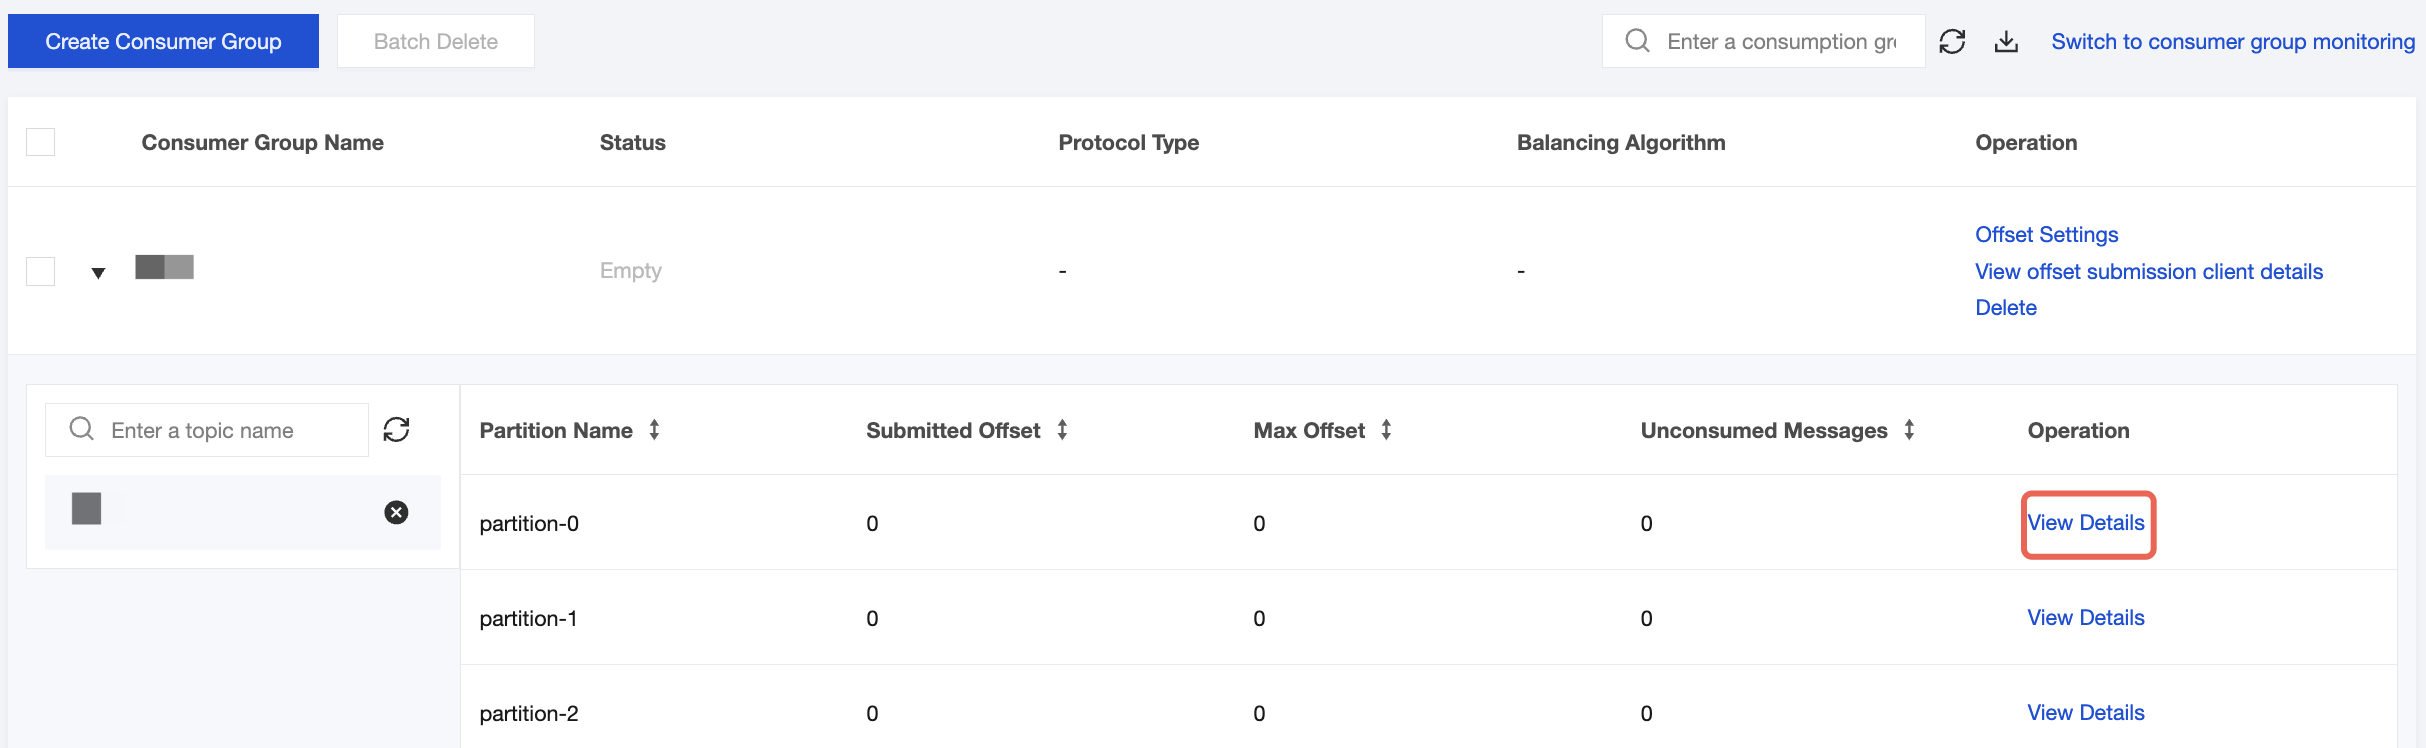
4. On the Consumer Group page in the CKafka console, select the target consumer group, enter the topic name in the Topic Name area, and click View Details to view consumption details.