Android
Download
フォーカスモード
フォントサイズ
Android SDK Quick Run
Tencent Cloud Contact Center Android SDK enables agents to handle calls via PC, SIP phones, or mobile.
This guide shows how to quickly set up and run the Android SDK.
Developer Environment Requirements
Android Studio 3.5+.
Android 4.1 (SDK API 16) or later.
Integrating SDK (aar, jar)
Manual Download (aar, jar)
1. Download the latest version of TCCC Agent SDK.
2. Copy aar file into app/libs directory of your project.
3. Specify the local repository path in build.gradle in the root directory of your project.
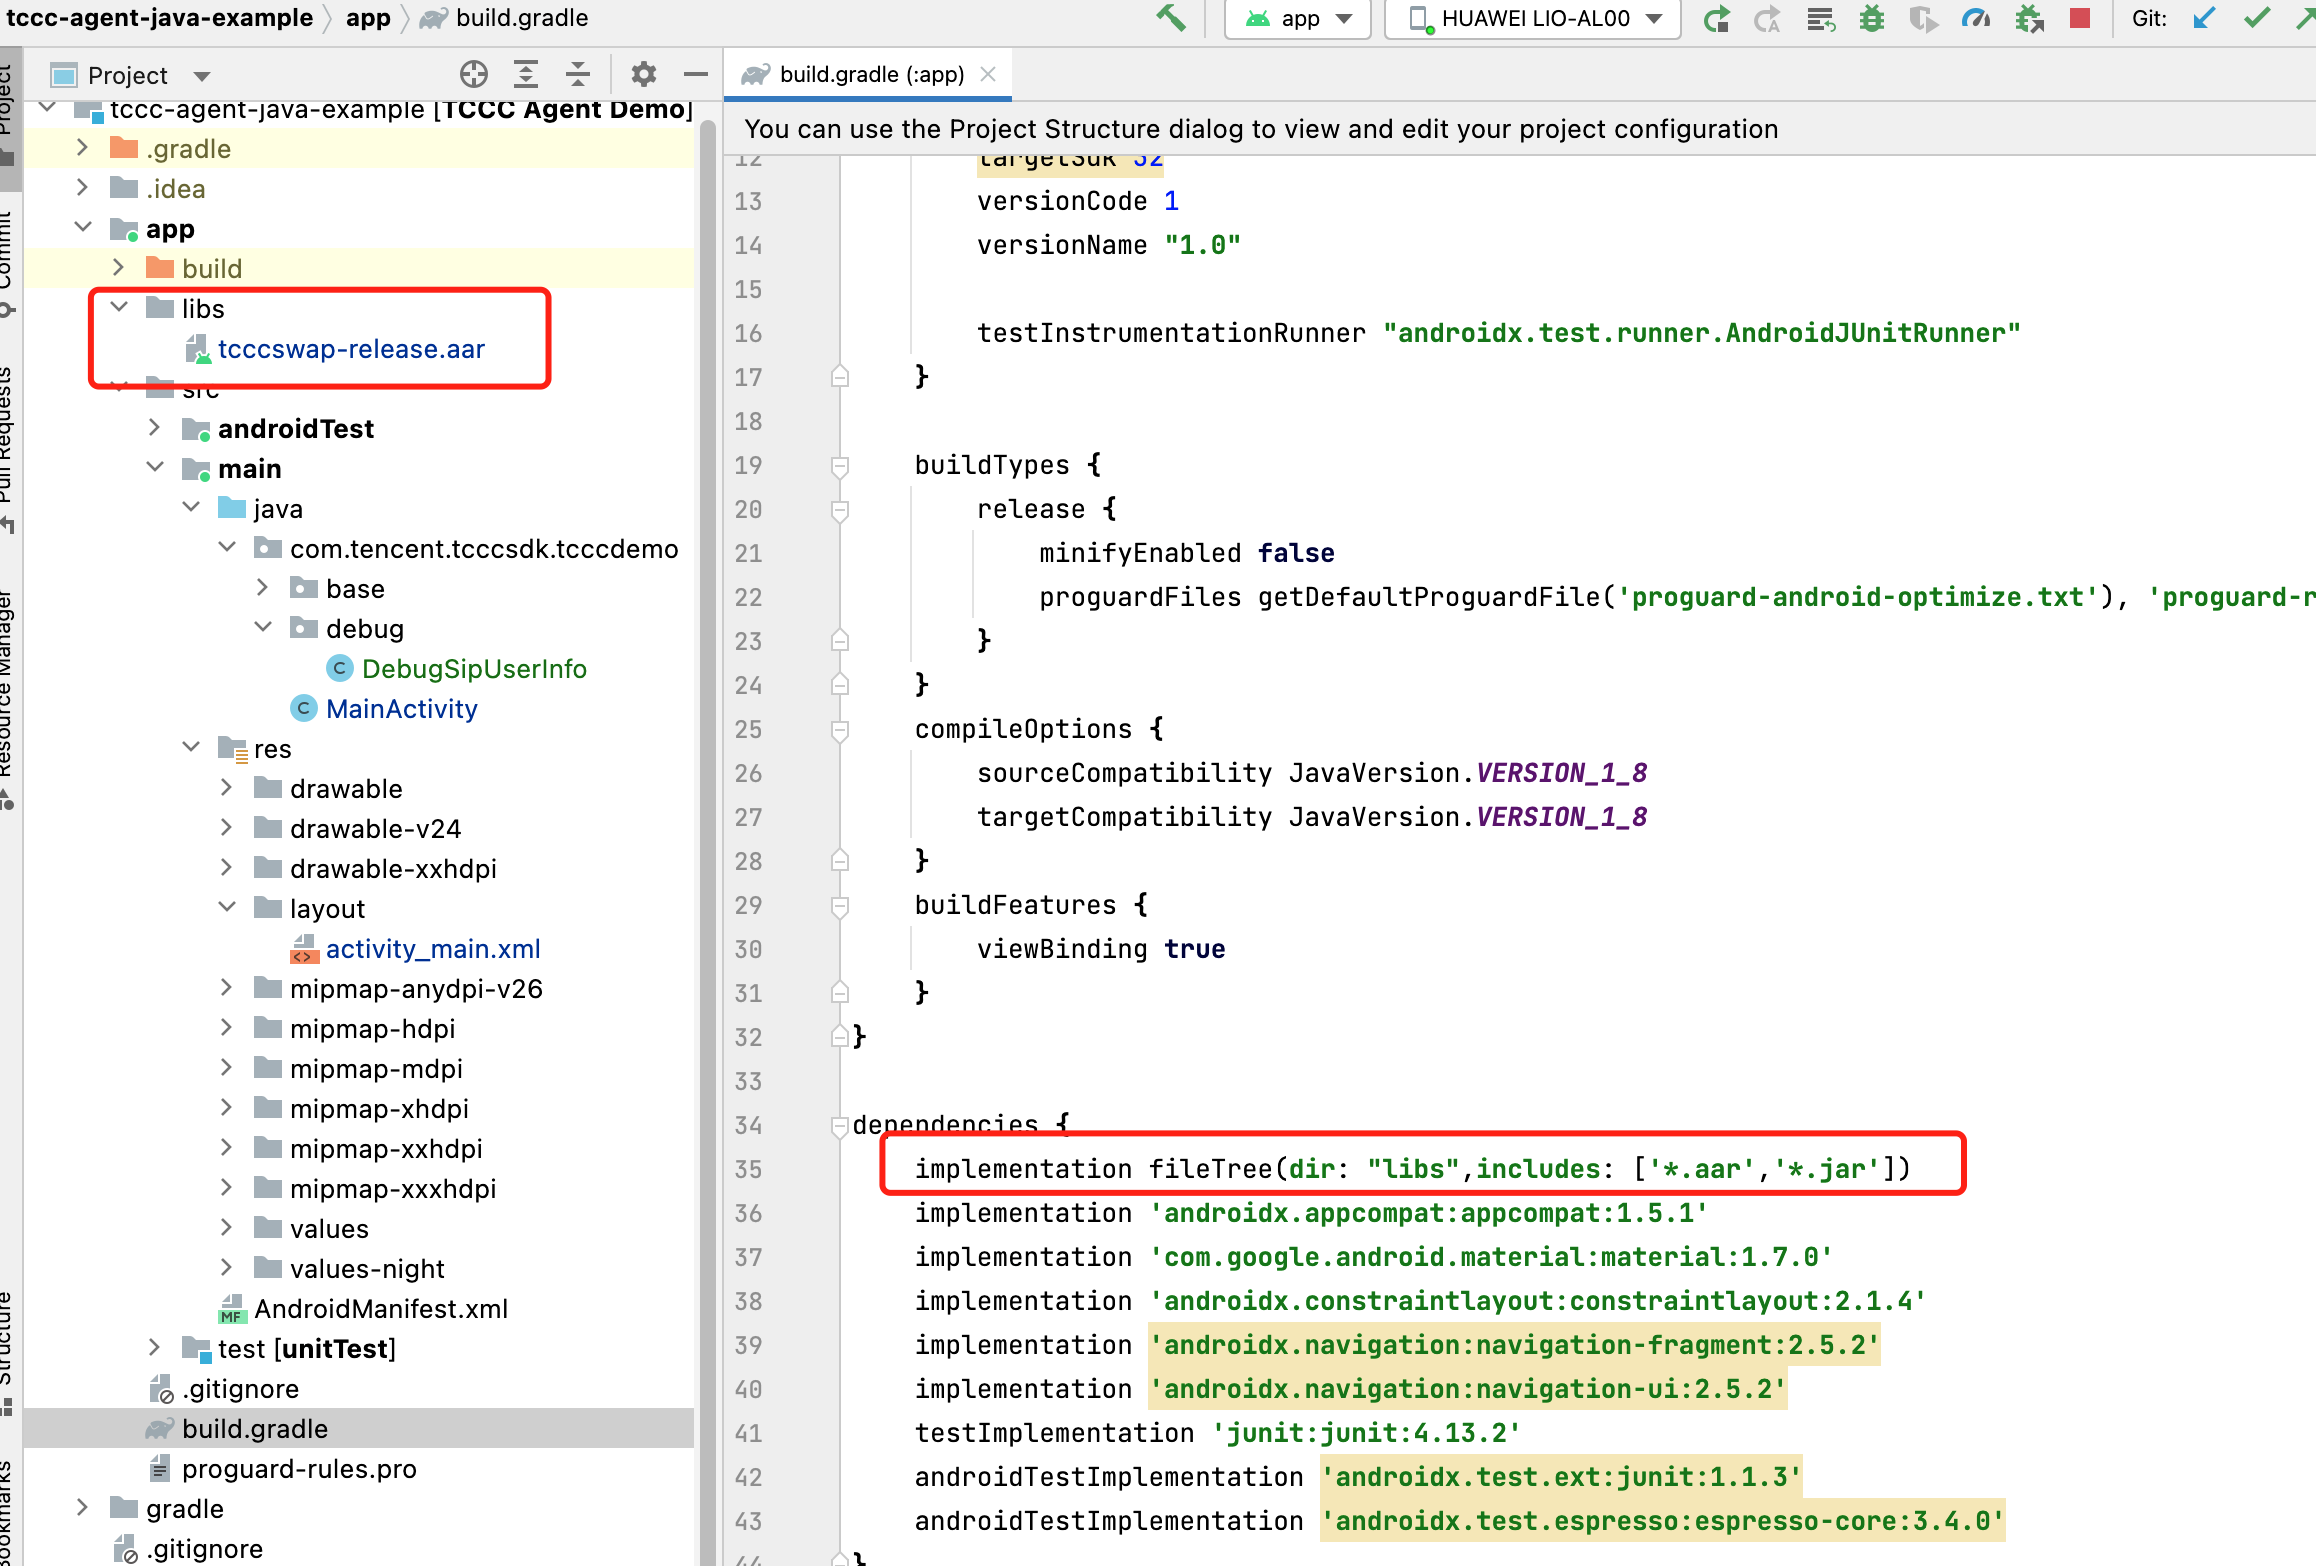
implementation fileTree(dir: "libs",includes: ['*.aar','*.jar'])
4. Specify the CPU architecture used by the app in defaultConfig in app/build.gradle.
defaultConfig {ndk {abiFilters "armeabi", "armeabi-v7a", "arm64-v8a"}}
Note:
TCCC Agent SDK currently supports armeabi, armeabi-v7a, and arm64-v8a.
5. In 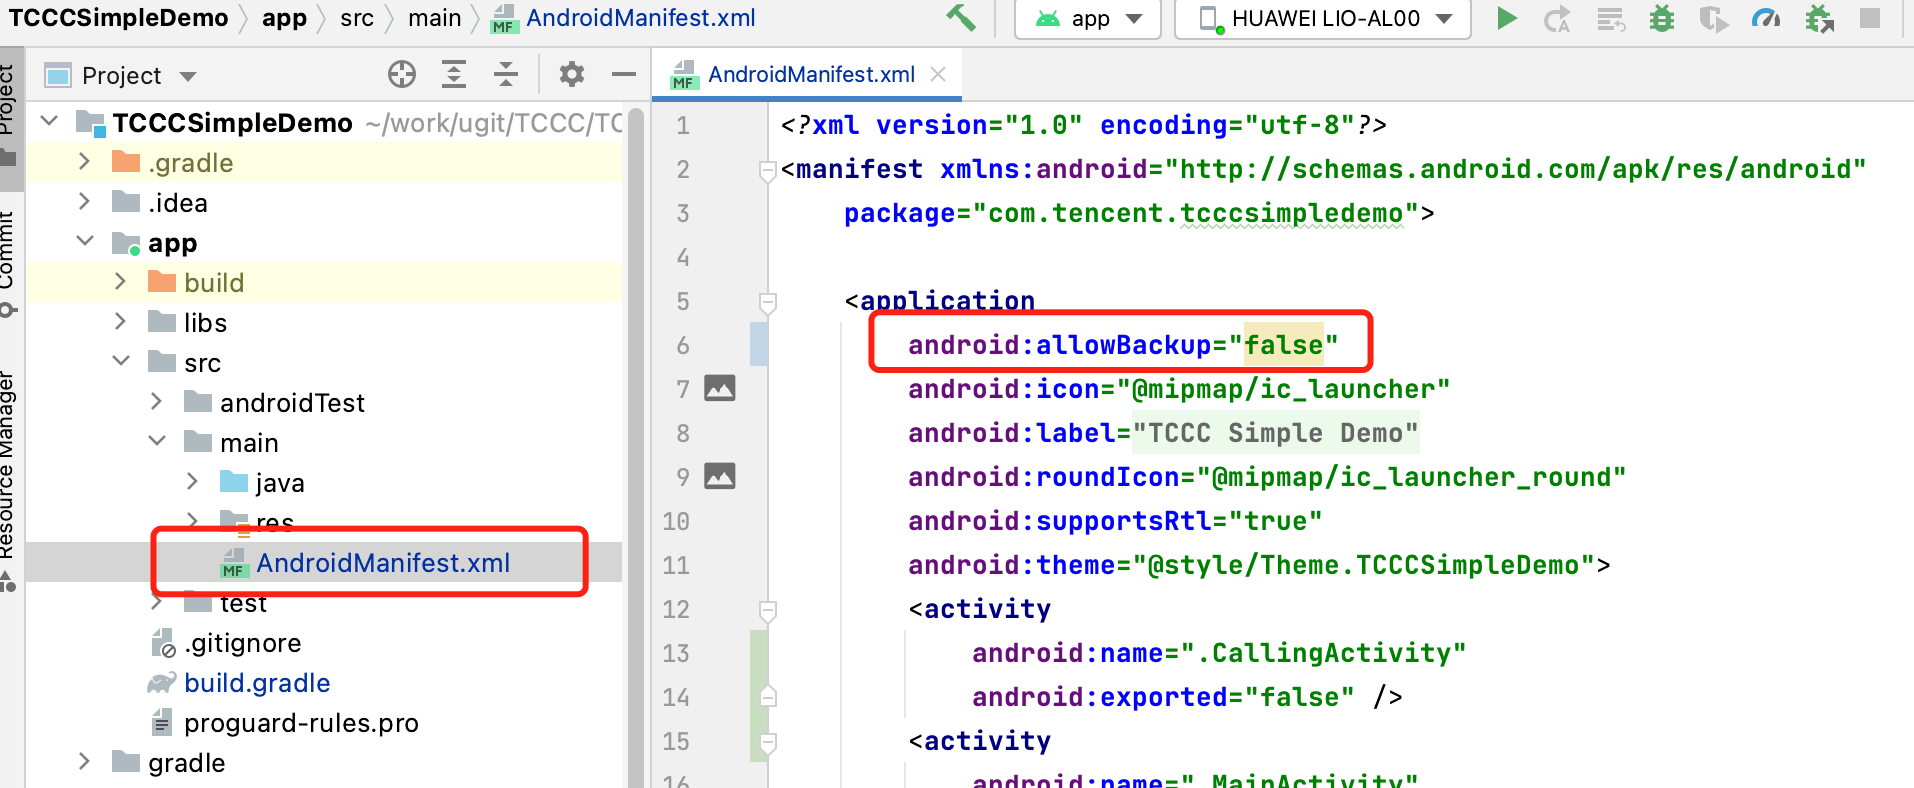
app/src/AndroidManifest.xml, change allowBack equal to false and restore infrastructure.
6. Click 
Configure APP Permission
In AndroidManifest.xml, TCCC Agent SDK needs the following permissions:
<uses-permission android:name="android.permission.INTERNET" /><uses-permission android:name="android.permission.ACCESS_NETWORK_STATE" /><uses-permission android:name="android.permission.ACCESS_WIFI_STATE" /><uses-permission android:name="android.permission.WRITE_EXTERNAL_STORAGE" /><uses-permission android:name="android.permission.READ_EXTERNAL_STORAGE" /><uses-permission android:name="android.permission.RECORD_AUDIO" /><uses-permission android:name="android.permission.MODIFY_AUDIO_SETTINGS" /><uses-permission android:name="android.permission.BLUETOOTH" /><uses-permission android:name="android.permission.READ_PHONE_STATE" />
Setup Obfuscation Rules
In the proguard-rules.pro file, add the related classes of the TCCC SDK to the non-obfuscated list:
-keep class com.tencent.** { *; }
Code Implementation
フィードバック