1. In the TBaaS Console, select Fabric > Blockchain Networkin the left sidebar to enter the network card page. Click the corresponding card to enter the network details page.
2. Select the Contract Management tab. On the corresponding page, you can select a Channel ID and switch to the channel where a contract needs to be created.
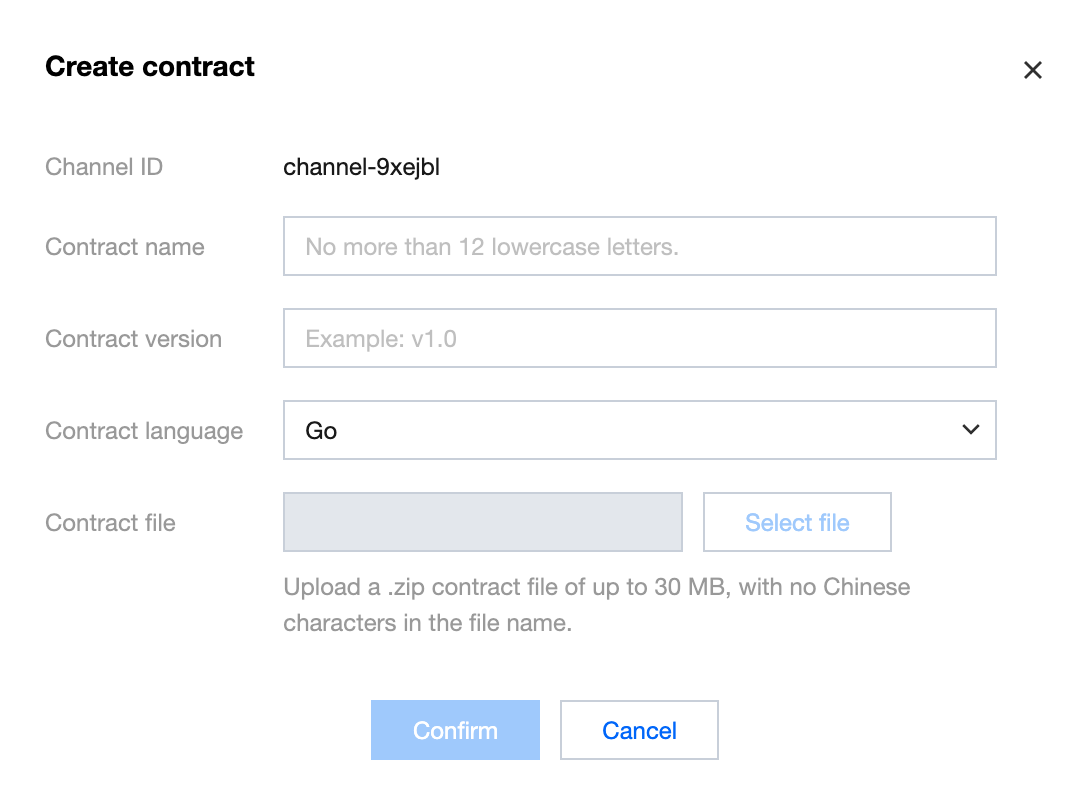
3. Click Create a Contract, fill in the corresponding contract name, version, etc. information in the popup, and upload the contract file. As shown below:
4. Click OK.
Notes:
Fabric contracts support three languages: Go, Java, and NodeJs.
Detailed development instructions for Fabric contracts can be found in Development Guide.
Install and Instantiate a Contract
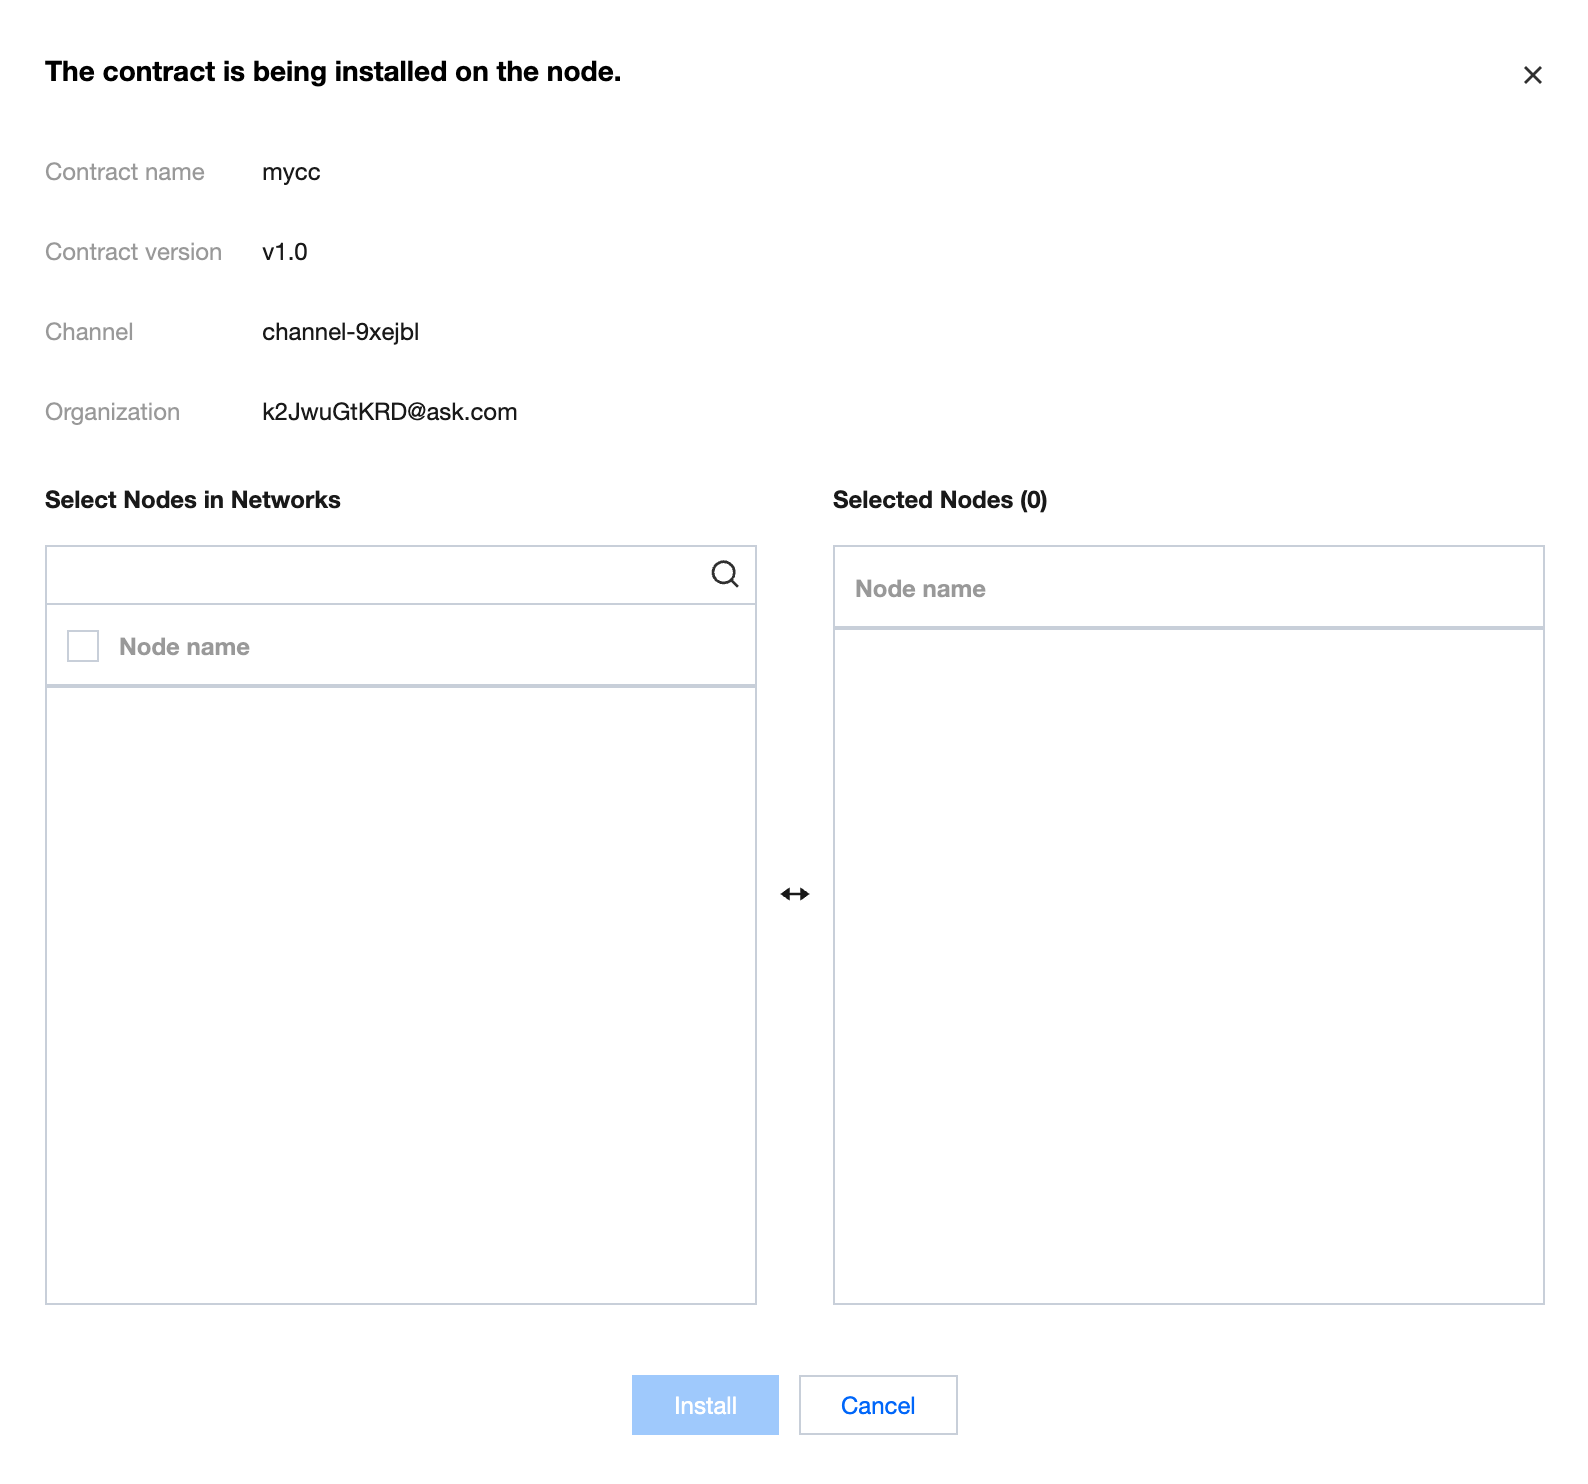
The newly created contract needs to be installed on the Peer Node and instantiated before it can be called. After creating a contract on the Contract Management page, you can see the newly created contract in the contract list, with a status of "not instantiated". Click Install in the list operation column, select the Peer to be installed in the pop-up, and click Install after checking to complete. As shown below:
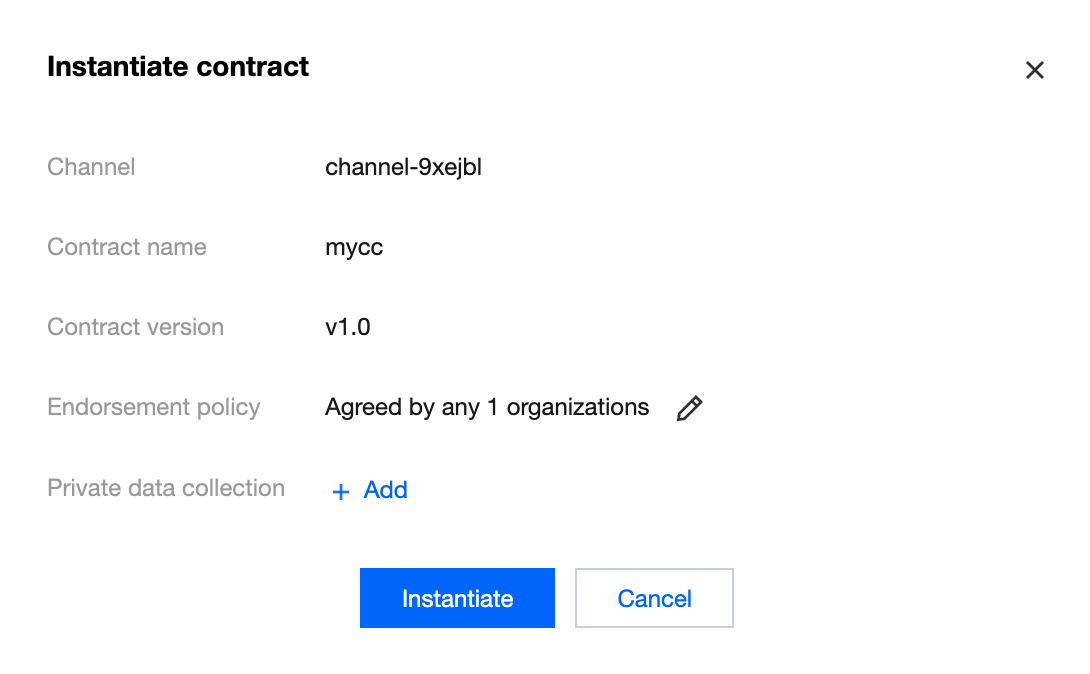
The installed contract can be instantiated. On the Contract Management page, click Instantiate in the list operation column of the contract list. In the instantiation pop-up, you can set the endorsement policy, private data set and other information as needed. After confirmation, you can start instantiation. As shown below:
Click the name of the contract in the contract list to enter the contract details page of the corresponding contract. You can view the basic information, installed nodes, contract logs and other information of the contract.
Upgrading a Contract
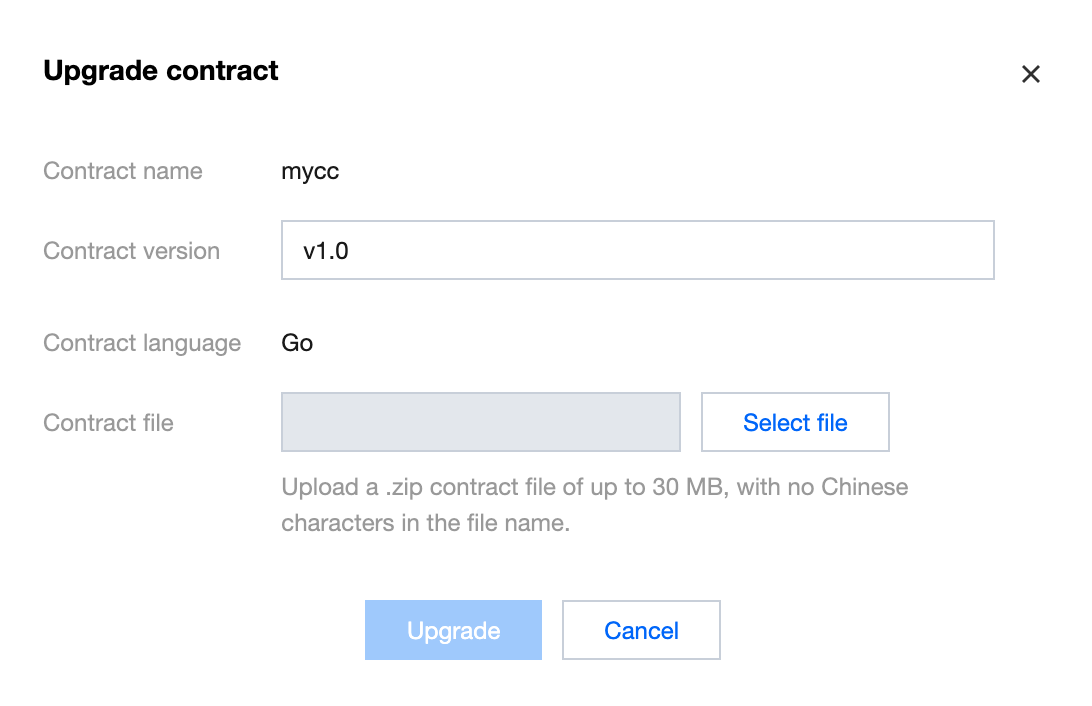
In the Contract Management tab, click Upgrade in the column on the right side of the contract list. Fill in the new version number and upload the new contract file in the pop-up to complete the contract upgrade. As shown below: