This document describes how to use CFS Turbo on Linux clients. The standard login method, that is, login via WebShell, is used in the example below.
For other login methods, see Logging In to Linux Instance.
If the file system uses Cloud Connect Network(CCN) for cross-region communication, please ensure the CCN is associated with the VPC of the Linux client and the corresponding routes are enabled. For purchase and configuration, refer to Getting Started with Cloud Connect Network.
If the file system uses VPC, it is recommended to configure it in the same AZ as the Linux client's VPC.
The bidirectional traffic for ports 512-1023 from all IP addresses of CFS Turbo has been allowed in the Linux client's security group.
Compatibility
OS Type
OS Version
CentOS
7.9,7.8,7.7,7.6,7.5,7.4,7.3,7.2
Ubuntu
22.04,20.04,18.04
TencentOS
3.1(TK4),2.4(TK4)
Note:
The client version is not only related to the OS version, but more importantly, has a mapping with the kernel. You can check the kernel version number by using the command uname -r.
Currently, Turbo supports the kernels of the default public images in the compatibility list. If you need a special kernel, submit a ticket to contact us.
2. Find the CVM you just purchased in the instance list and click Log In in the operation column on the right side.
3. In the Log In to Linux Instance pop-up window, select Standard Login Method and click Log In Now.
4. On the Webshell Login page, enter your username and password and click OK.
Open network ports
Before mounting CFS Turbo parallel file storage, ensure network reachability between the client and the file system. Allow the ports in the security group in advance. Details are as follows:
Network Protocol
Port direction
Open port numbers
TCP
Outbound + Inbound
512-1023
Note:
To ensure high service availability, the CFS server adopts a redundant multi-port mechanism. When detecting an abnormal connection on the current port, the system will automatically iterate downward through port numbers (from 1023 to 512) until a valid connection is established. It is strongly recommended to open all ports in the range 512 - 1023 in the security policy.
For the network configuration of the CFS Turbo service, bidirectional communication must be enabled for all IP address ports on the server. For example, if you select the CCN type for the Turbo service and specify the 11.0.0.0/24 network segment, you must configure inbound and outbound rules for ports 512 - 1023 of this network segment in the security group, rather than only opening the mount target port. This configuration is essential for ensuring normal service communication.
If the connection fails, check the client security group rules to ensure access to the specified ports is allowed, and include the CFS IP address in both the source and destination address fields. For more information, see Adding a Security Group Rule.
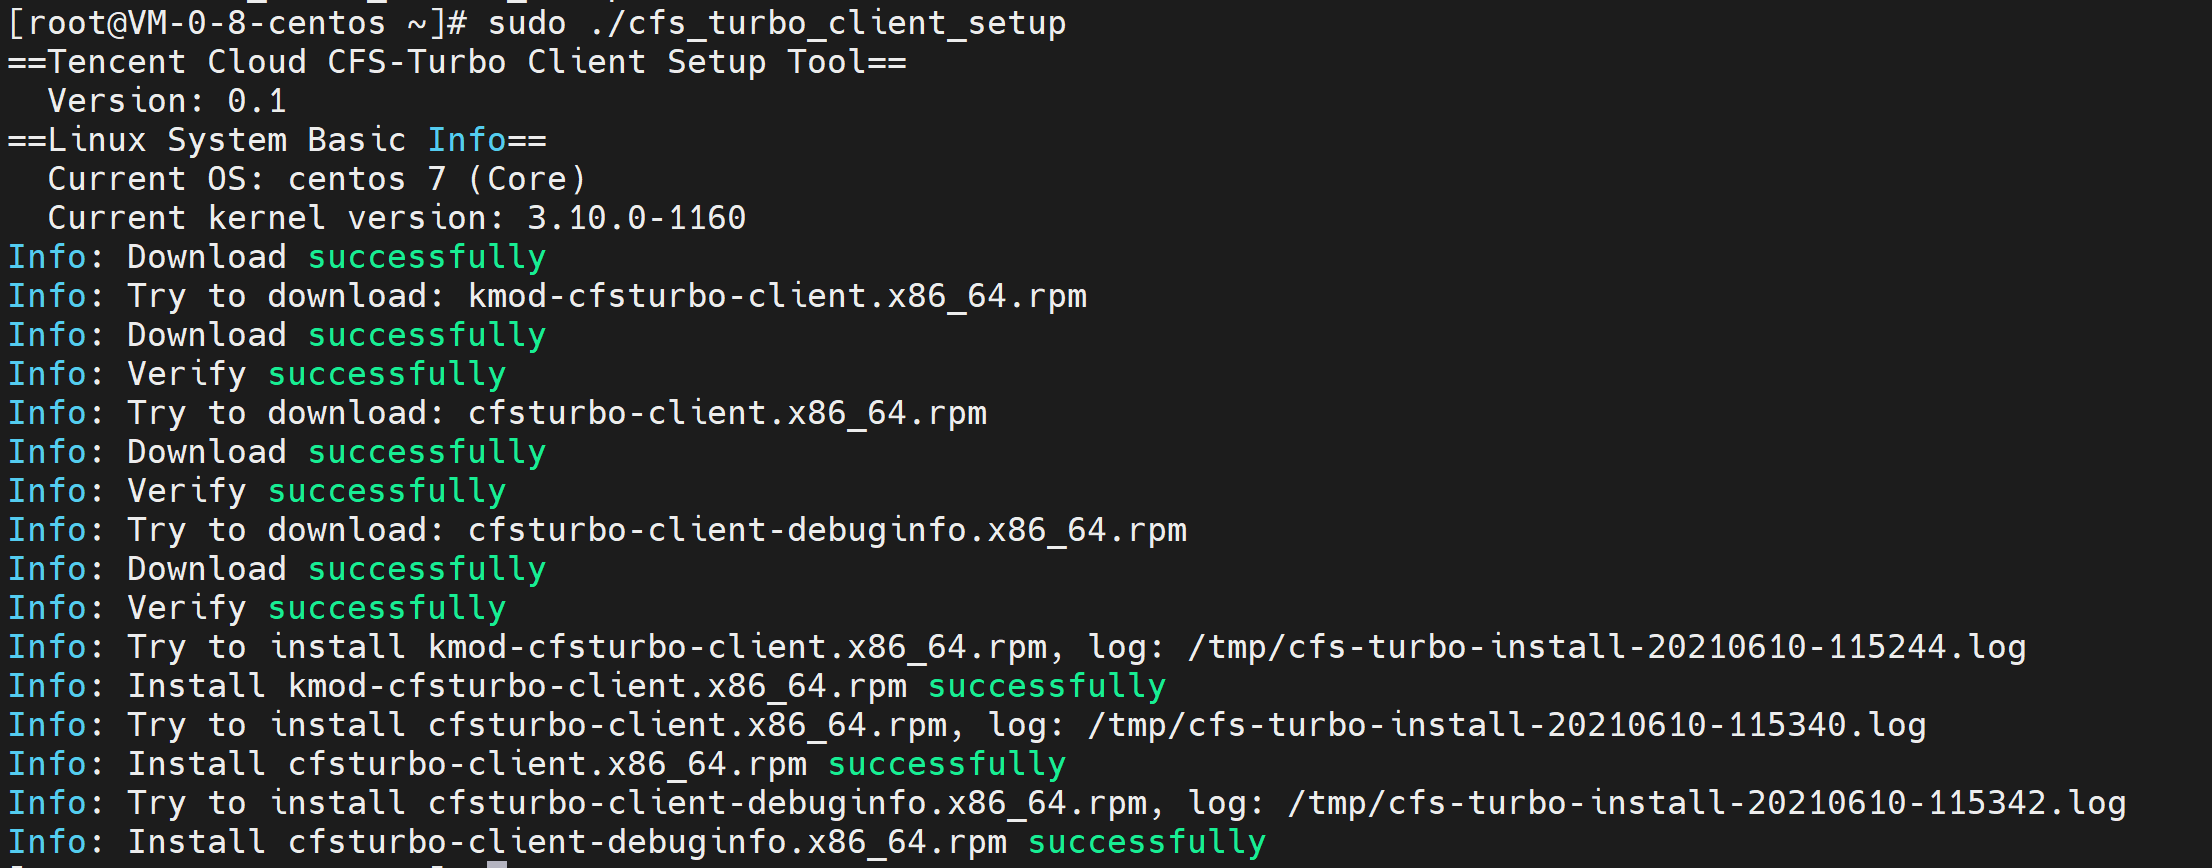
Install the CFS Turbo client
Run the following command to download the client, and install it:
If the following message is returned, it indicates that the installation is successful.
If the information similar to the following is returned, the kernel version is not supported. In this case, please submit a ticket.
Mounting file system
1. Log in to the CFS console and go to the File System page.
2. Click the ID of the target Turbo file system to go to the File System Mount Point page.
3. In the File System Mount Point page, click
to copy the required command.
4. Switch to the CVM instance to run the mount command copied. The mount commands are described as follows. You can select one to fit your business needs.
If you want to support extended attributes and all operations to be executed synchronously by default (data will not be lost due to instance reboots, but the performance will be affected), copy and run the following command:
Example:
If you want to support extended attributes but don't need operations to be executed synchronously (some data cached in memory may be lost due to instance reboots, but the performance is good), copy and run the following command:
Example:
If you do not want to support extended attributes or the operations to be executed synchronously (some data cached in memory may be lost due to instance reboots, but the performance is good), copy and run the following command:
Example:
If you want to mount the file system read-only, add the -o ro option when the file system is mounted.
File system subdirectories can be mounted by modifying the corresponding path and executing the mount instruction.
The unmount method is the same as that for a file system that uses the NFS protocol: Run umount /path/to/unmount.
sudo umount /path/to/mount
Note:
If the NFS client and Turbo client are used on the same machine, ensure that the parameter noresvport is added when the NFS client is used for mounting to avoid the NFS client occupying ports in the range 512 - 1023, especially port 988, which may cause mount failures due to port conflicts.