This document describes how to quickly integrate Tencent Cloud LiteAVSDK for Android into your project.
Environment Requirements
Android Studio 4.0 or above
Android 4.4 (SDK API level 16) or above
Integrating the SDK (AAR)
You can use Gradle to automatically load the AAR file or manually download the AAR file and import it into your project.
Method 1: automatic loading (AAR)
Since JCenter has been deprecated, you can configure a Maven Central repository in Gradle to automatically download and update LiteAVSDK.
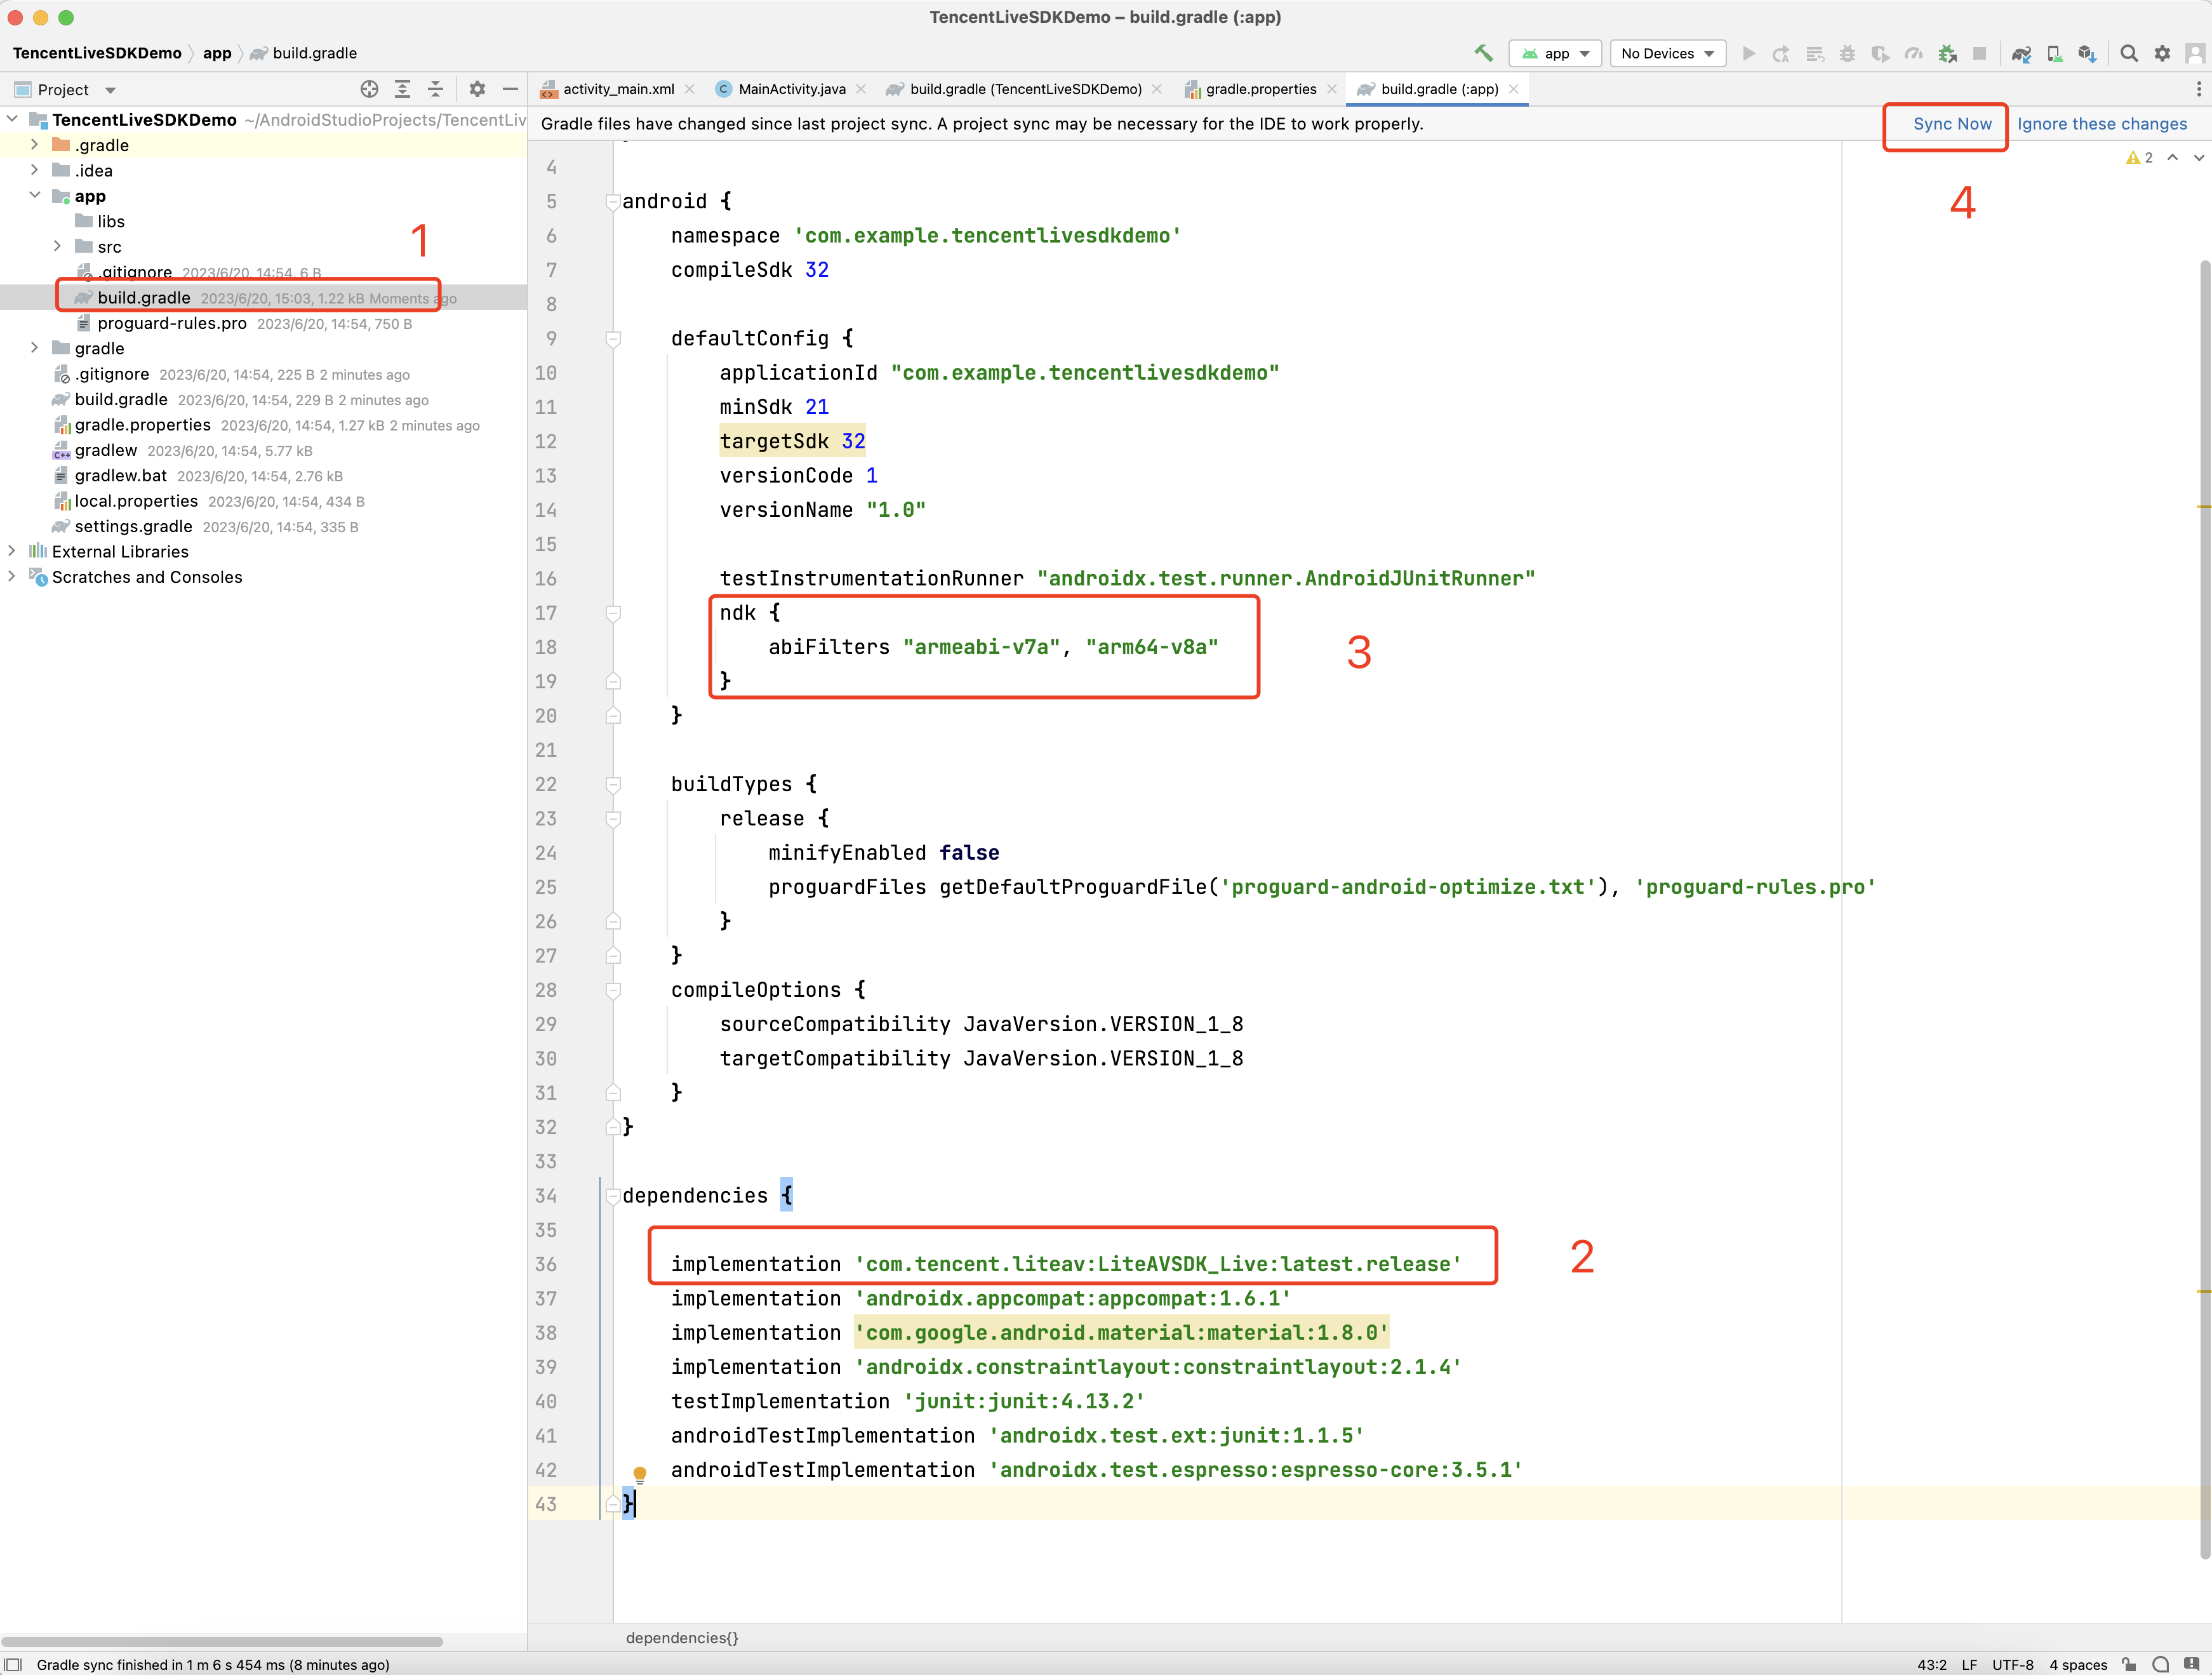
Open your project with Android Studio and modify the build.gradle file as described below to complete the integration.
5. In defaultConfig of app/build.gradle, specify the CPU architecture to be used by the application. Currently, LiteAVSDK supports armeabi, armeabi-v7a, and arm64-v8a.
defaultConfig {
ndk {
abiFilters "armeabi-v7a", "arm64-v8a"
}
}
6. Click Sync Now to complete the integration of LiteAVSDK.
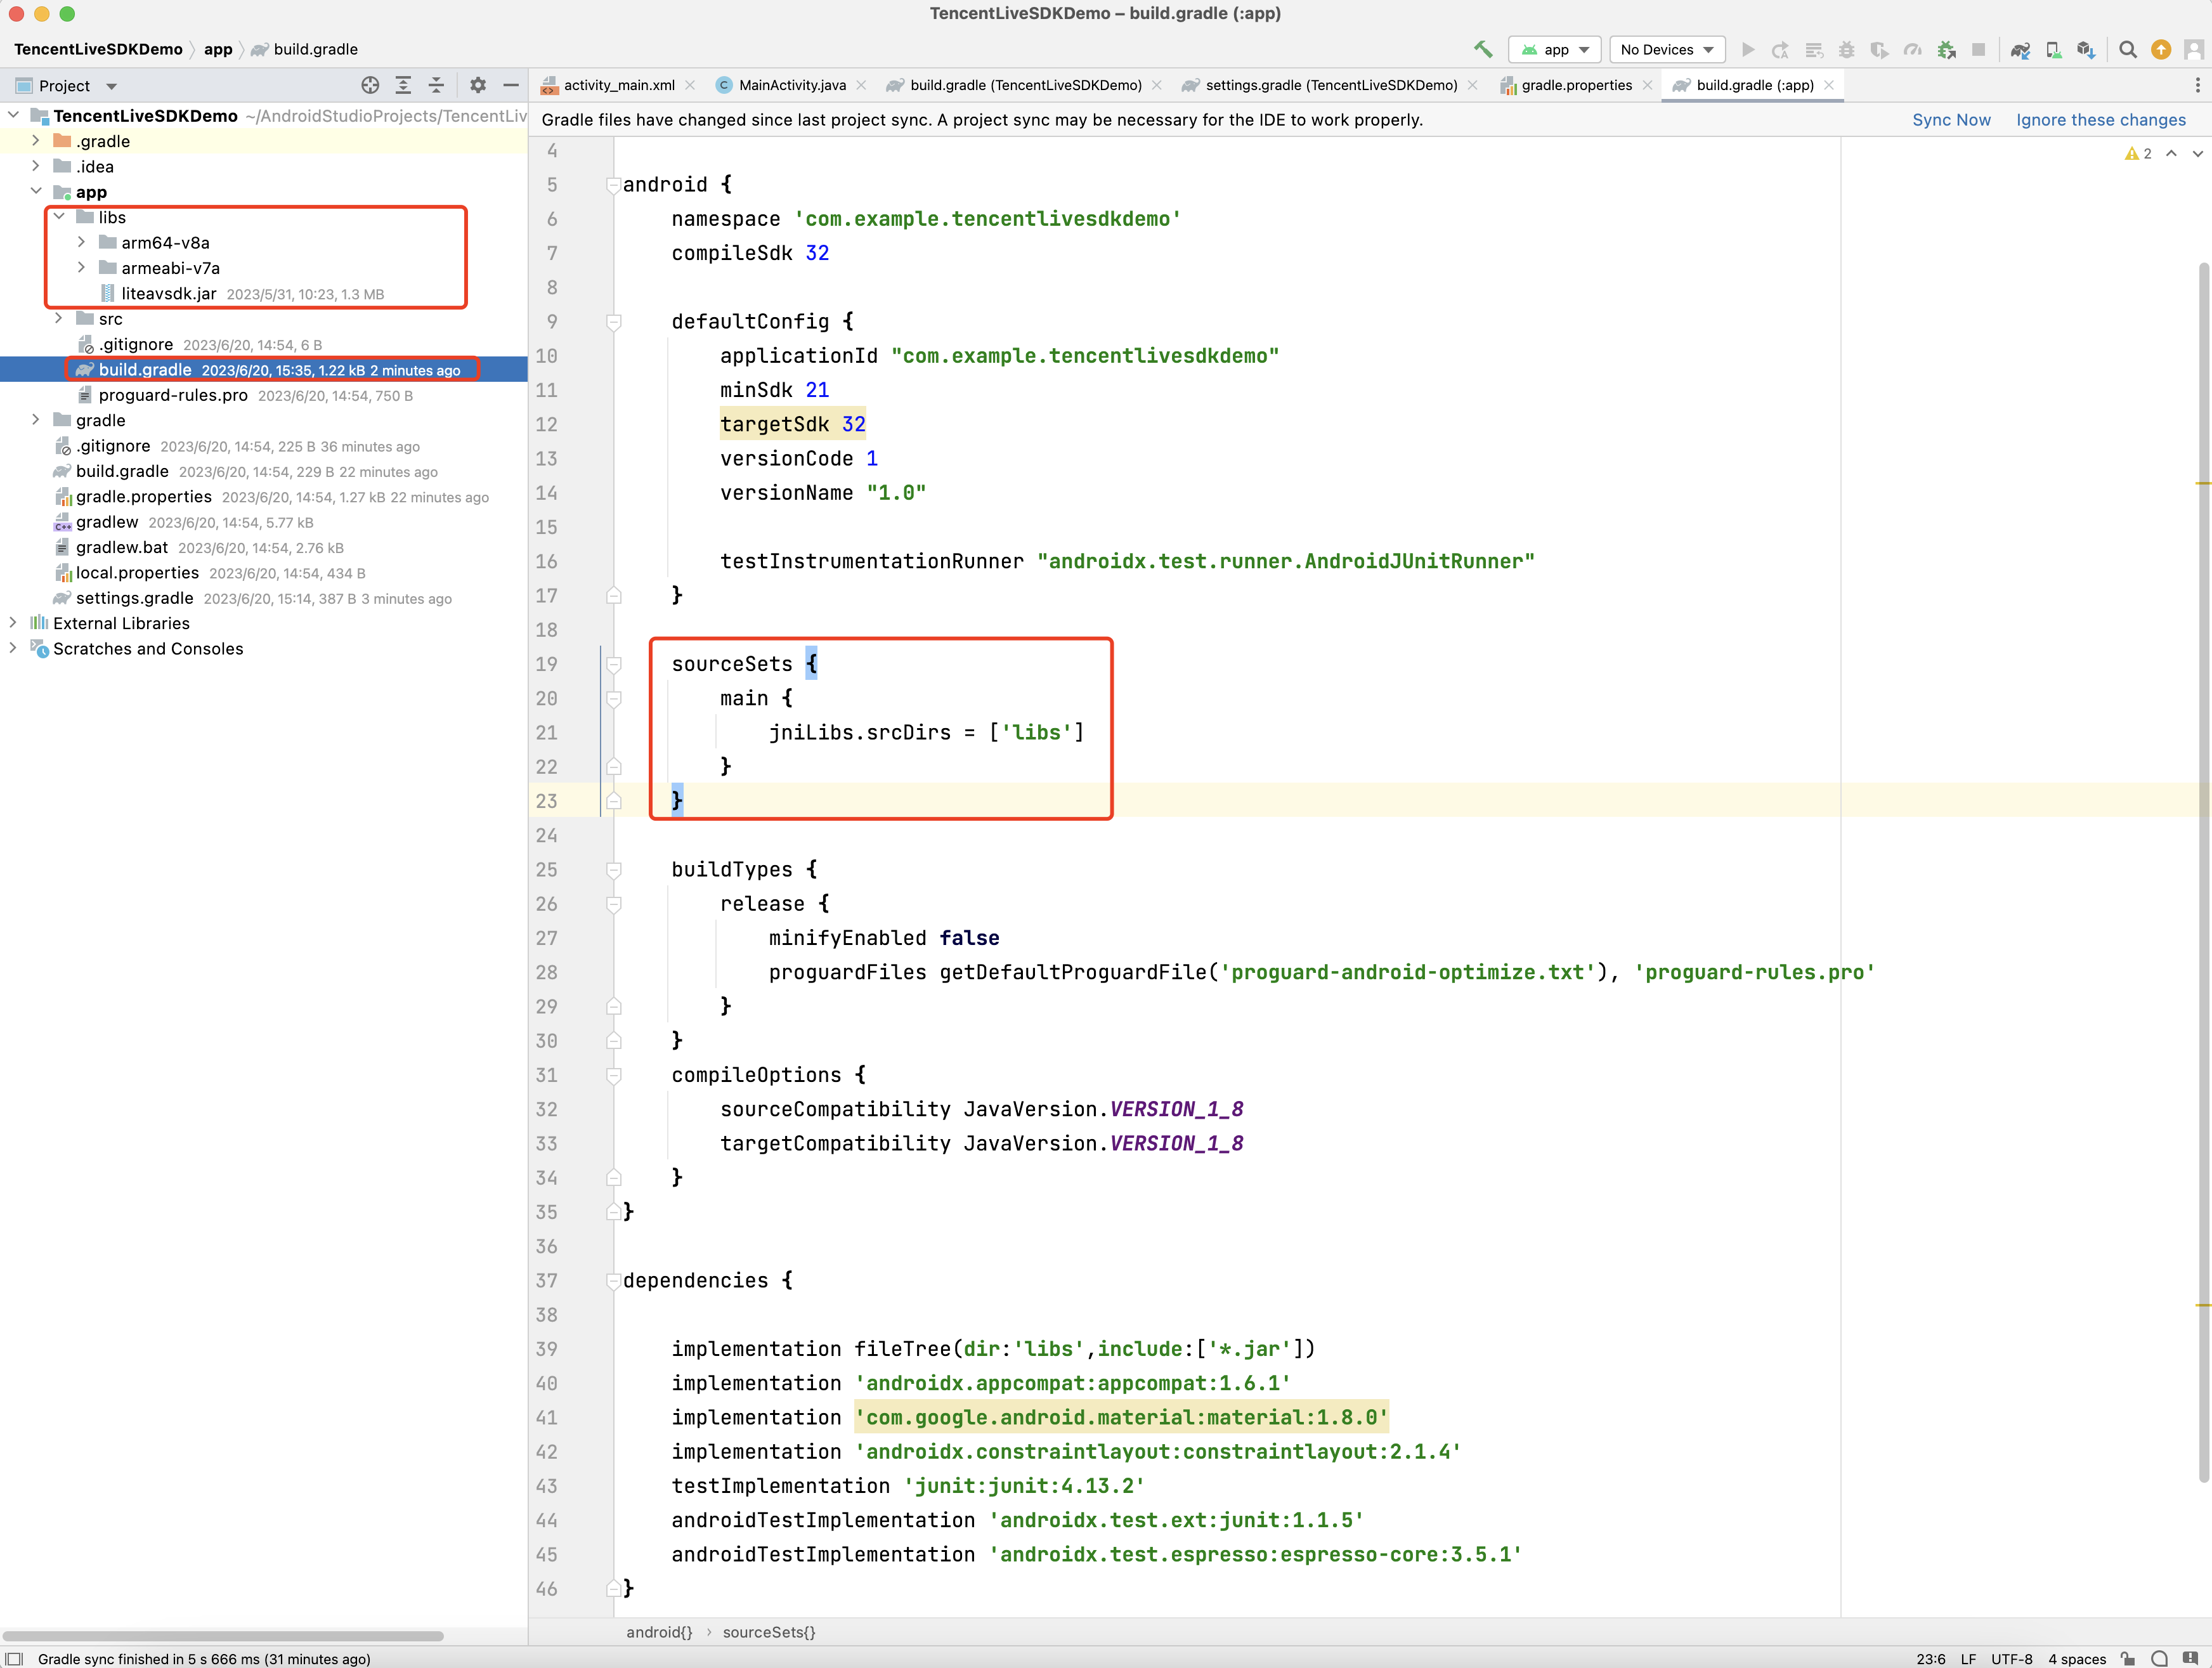
Integrating the SDK (JAR)
If you do not want to import the AAR library, you can also integrate LiteAVSDK by importing JAR and SO libraries.
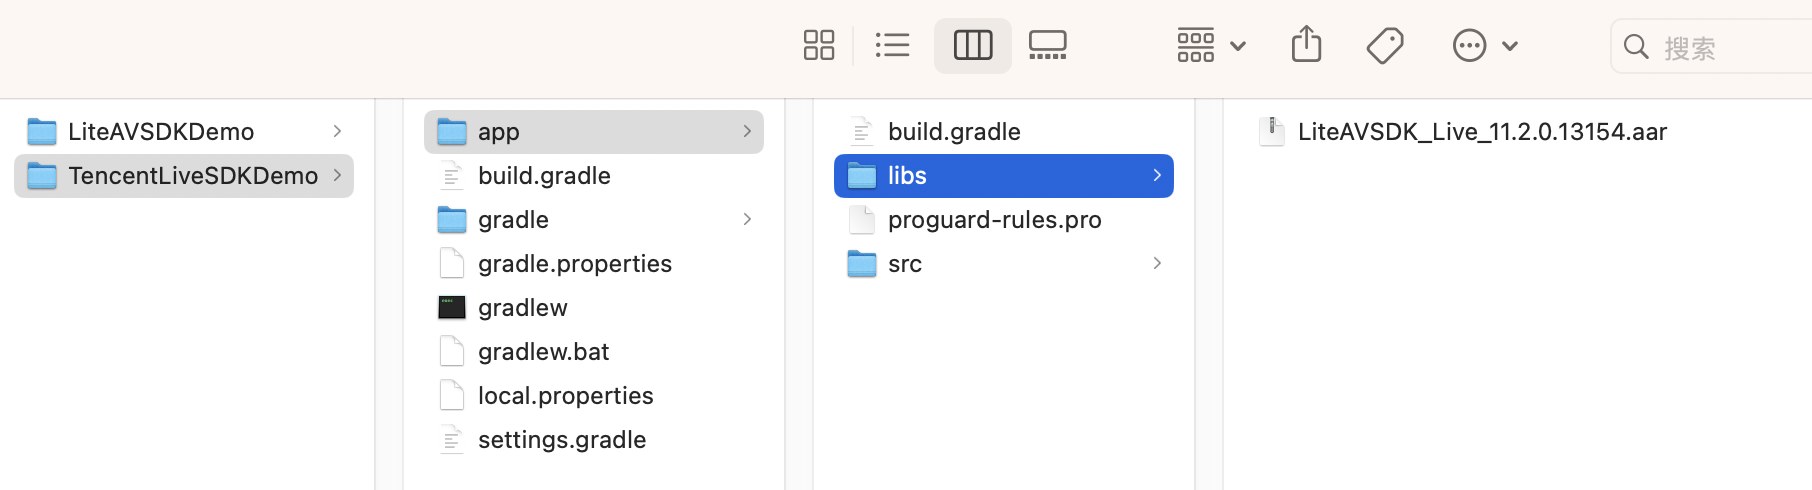
1. Download LiveAVSDK and decompress the file. In the SDK directory, find LiteAVSDK_Live_xxx.zip (xxx indicates the version number of LiteAVSDK).
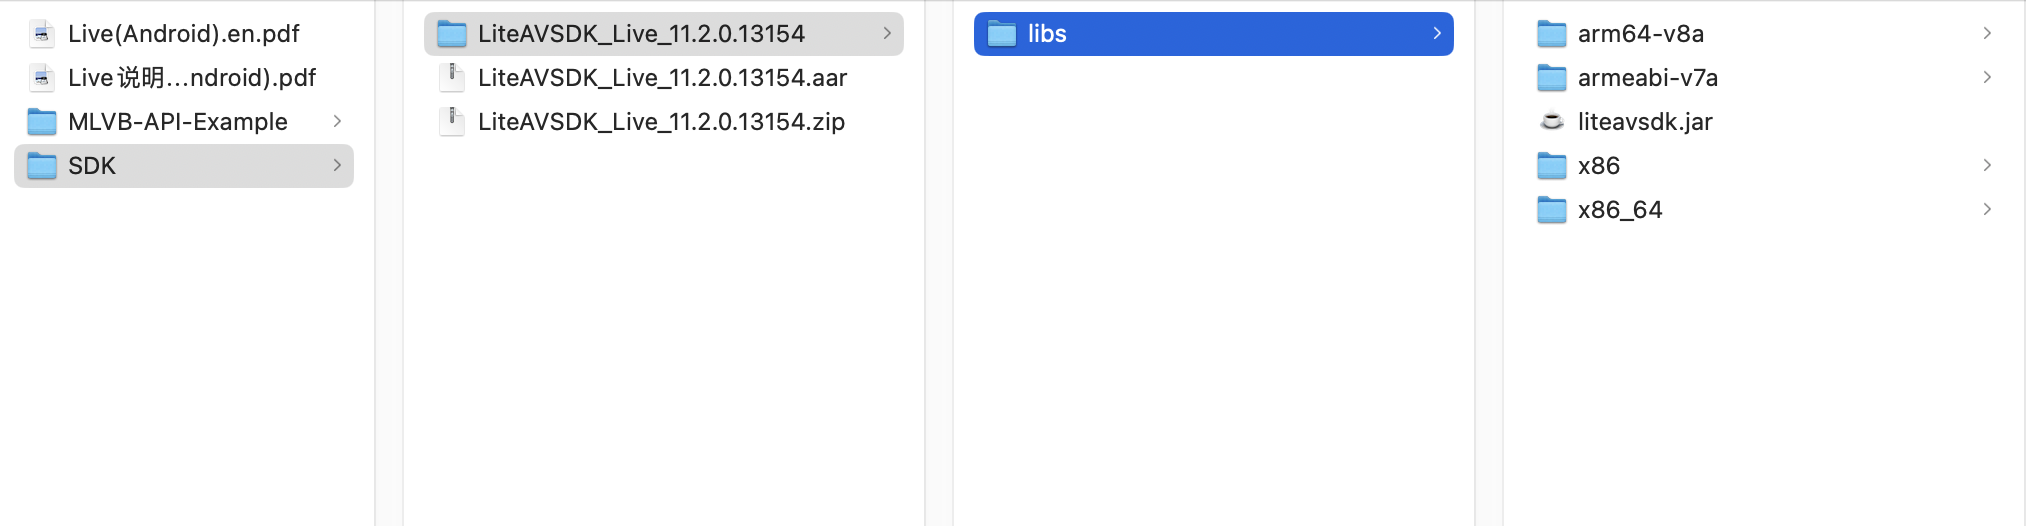
2. Decompress the file, and you will find a libs directory that contains a JAR file and several SO folders, as shown below:
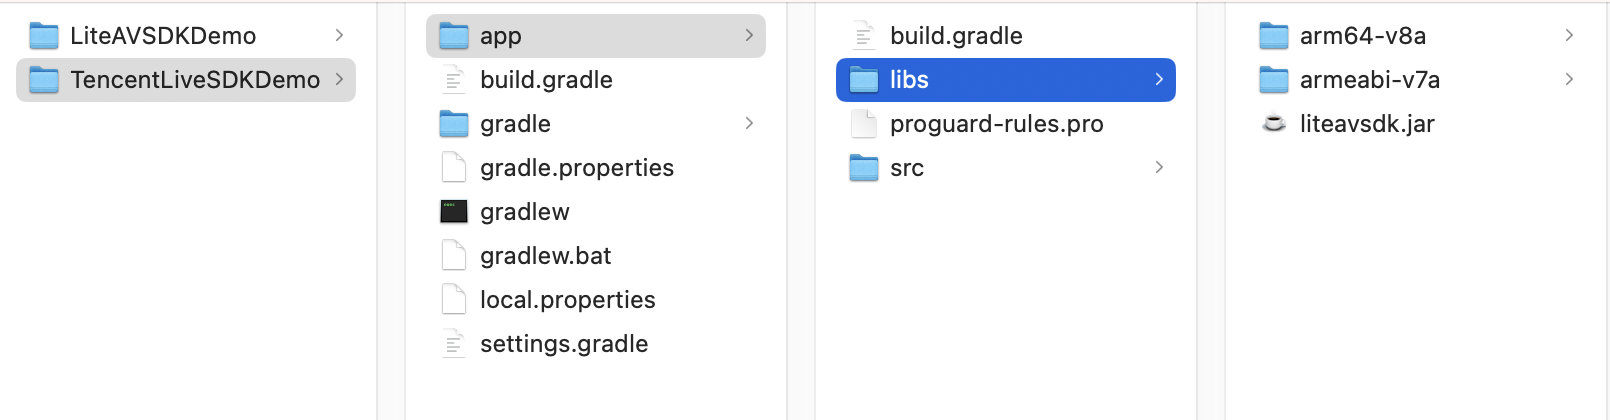
3. Copy the JAR file and armeabi, armeabi-v7a, and arm64-v8a folders to the app/libs directory.
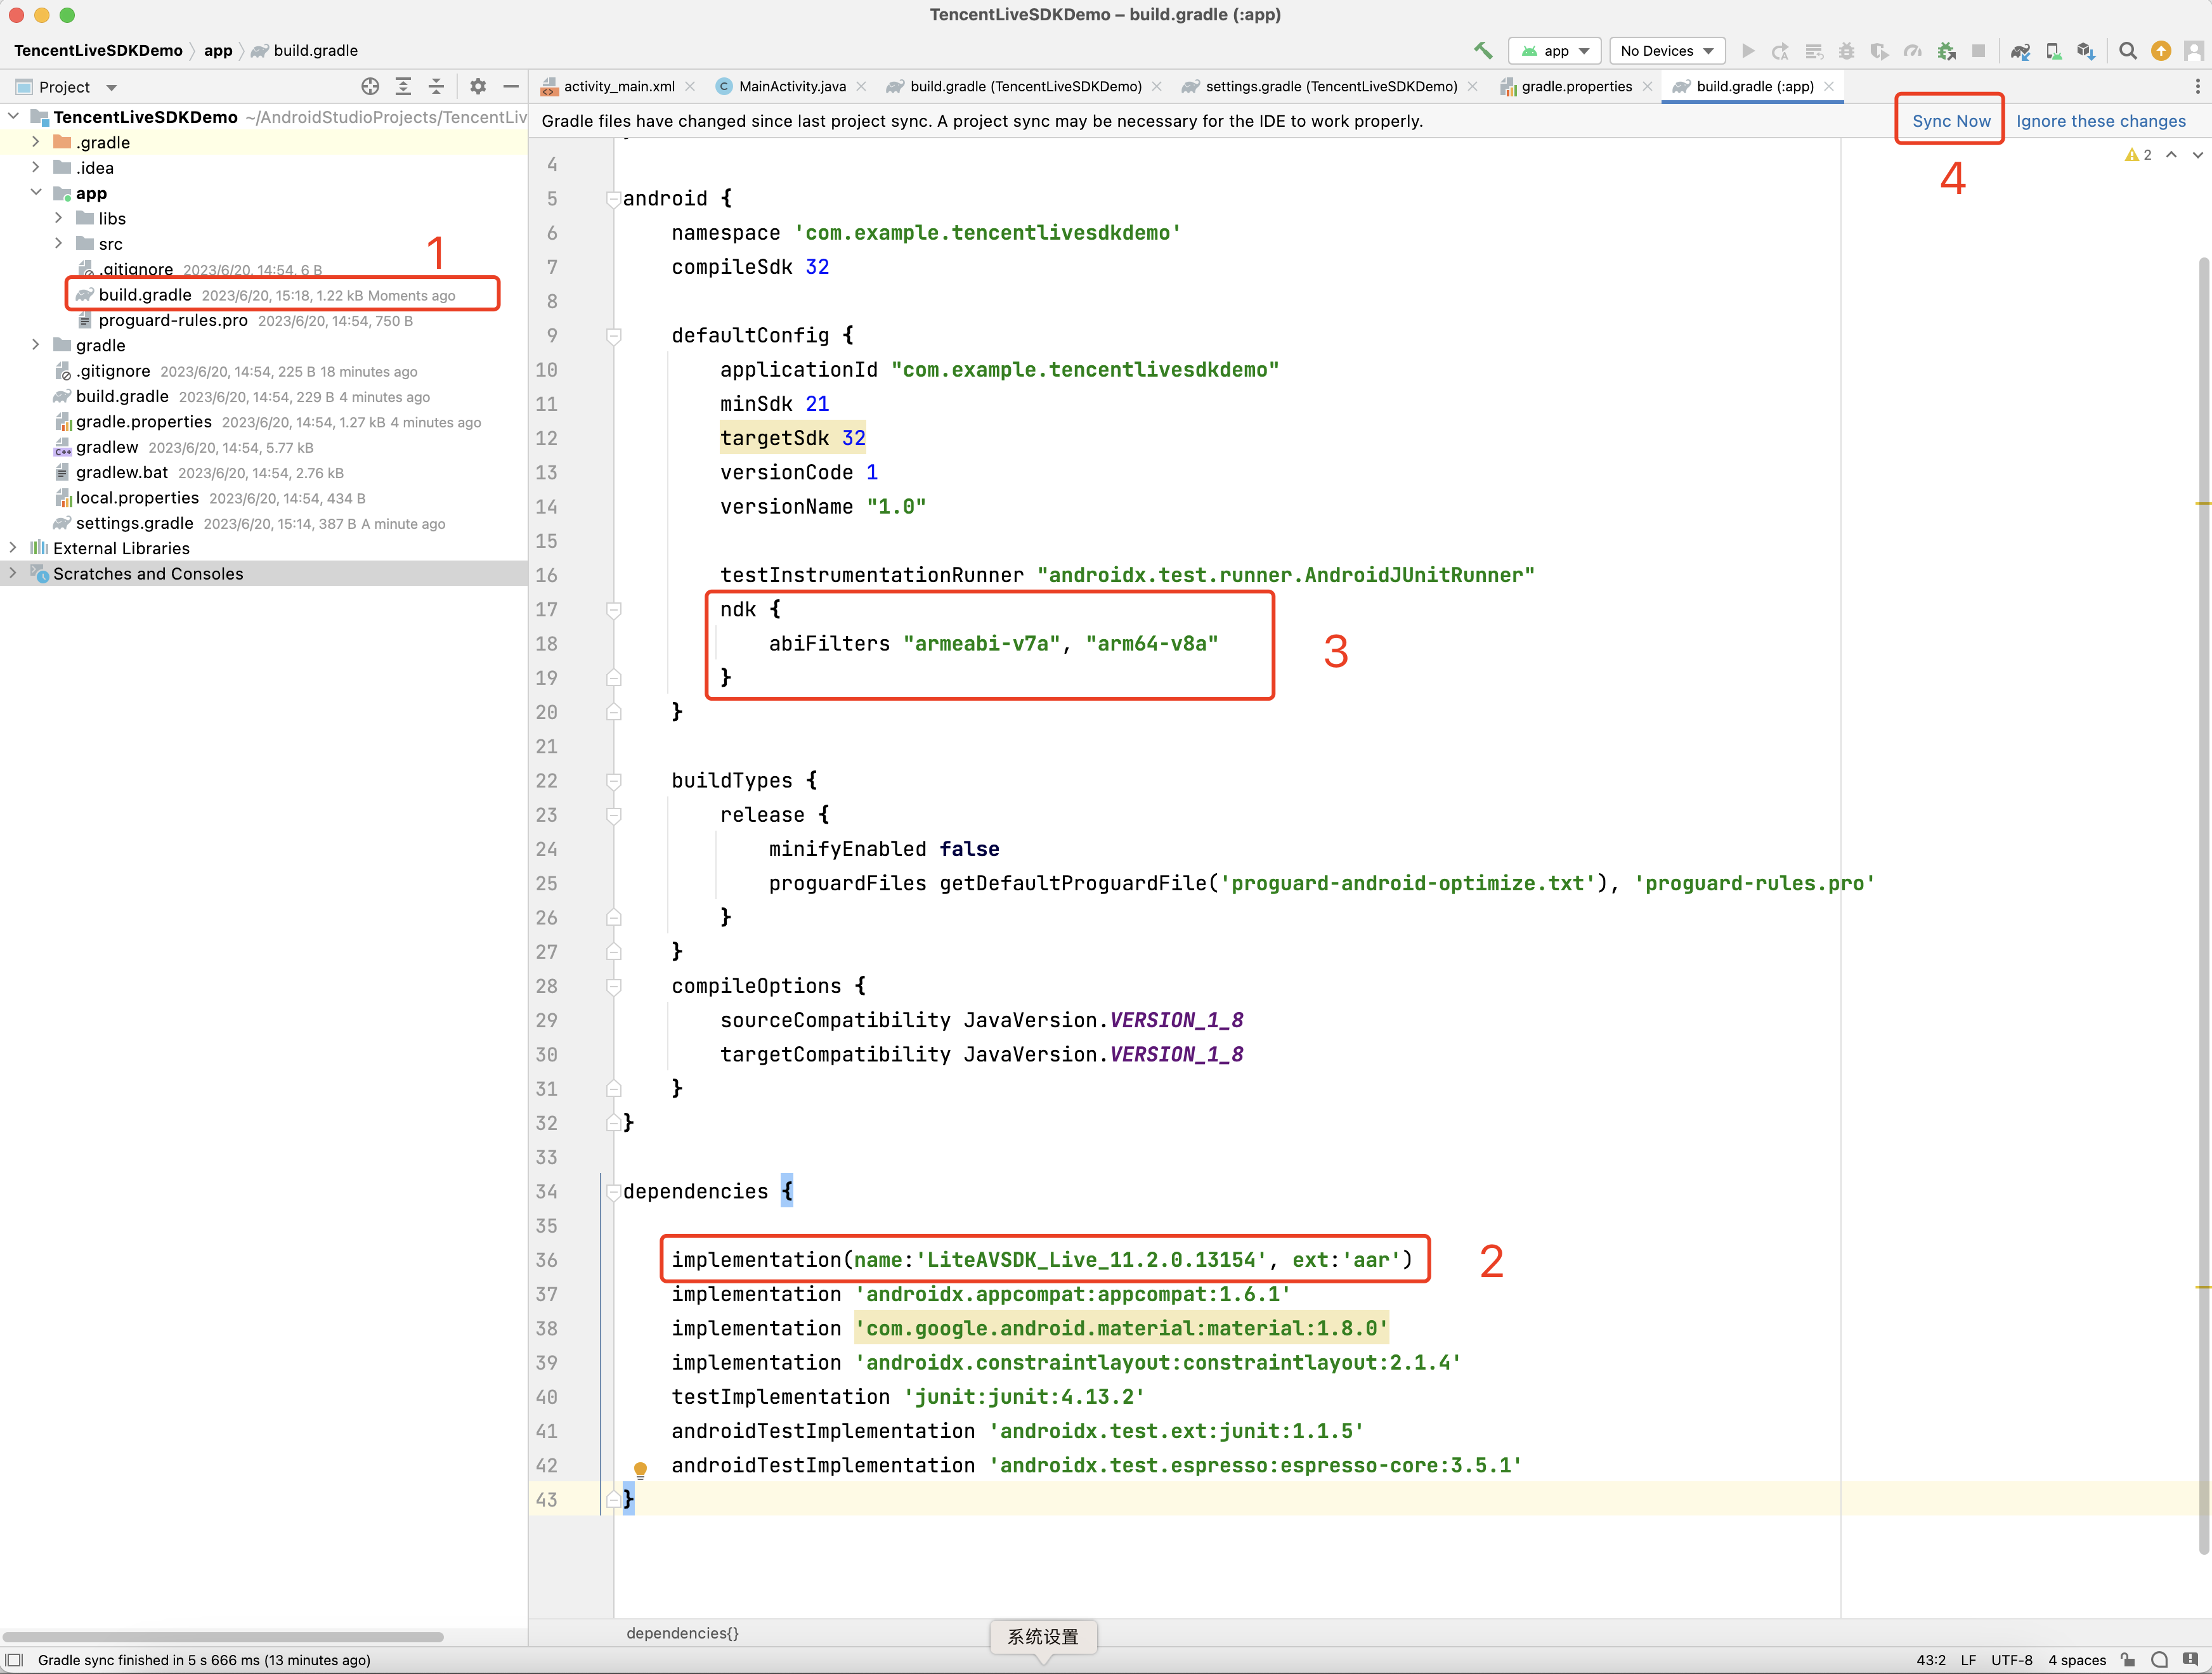
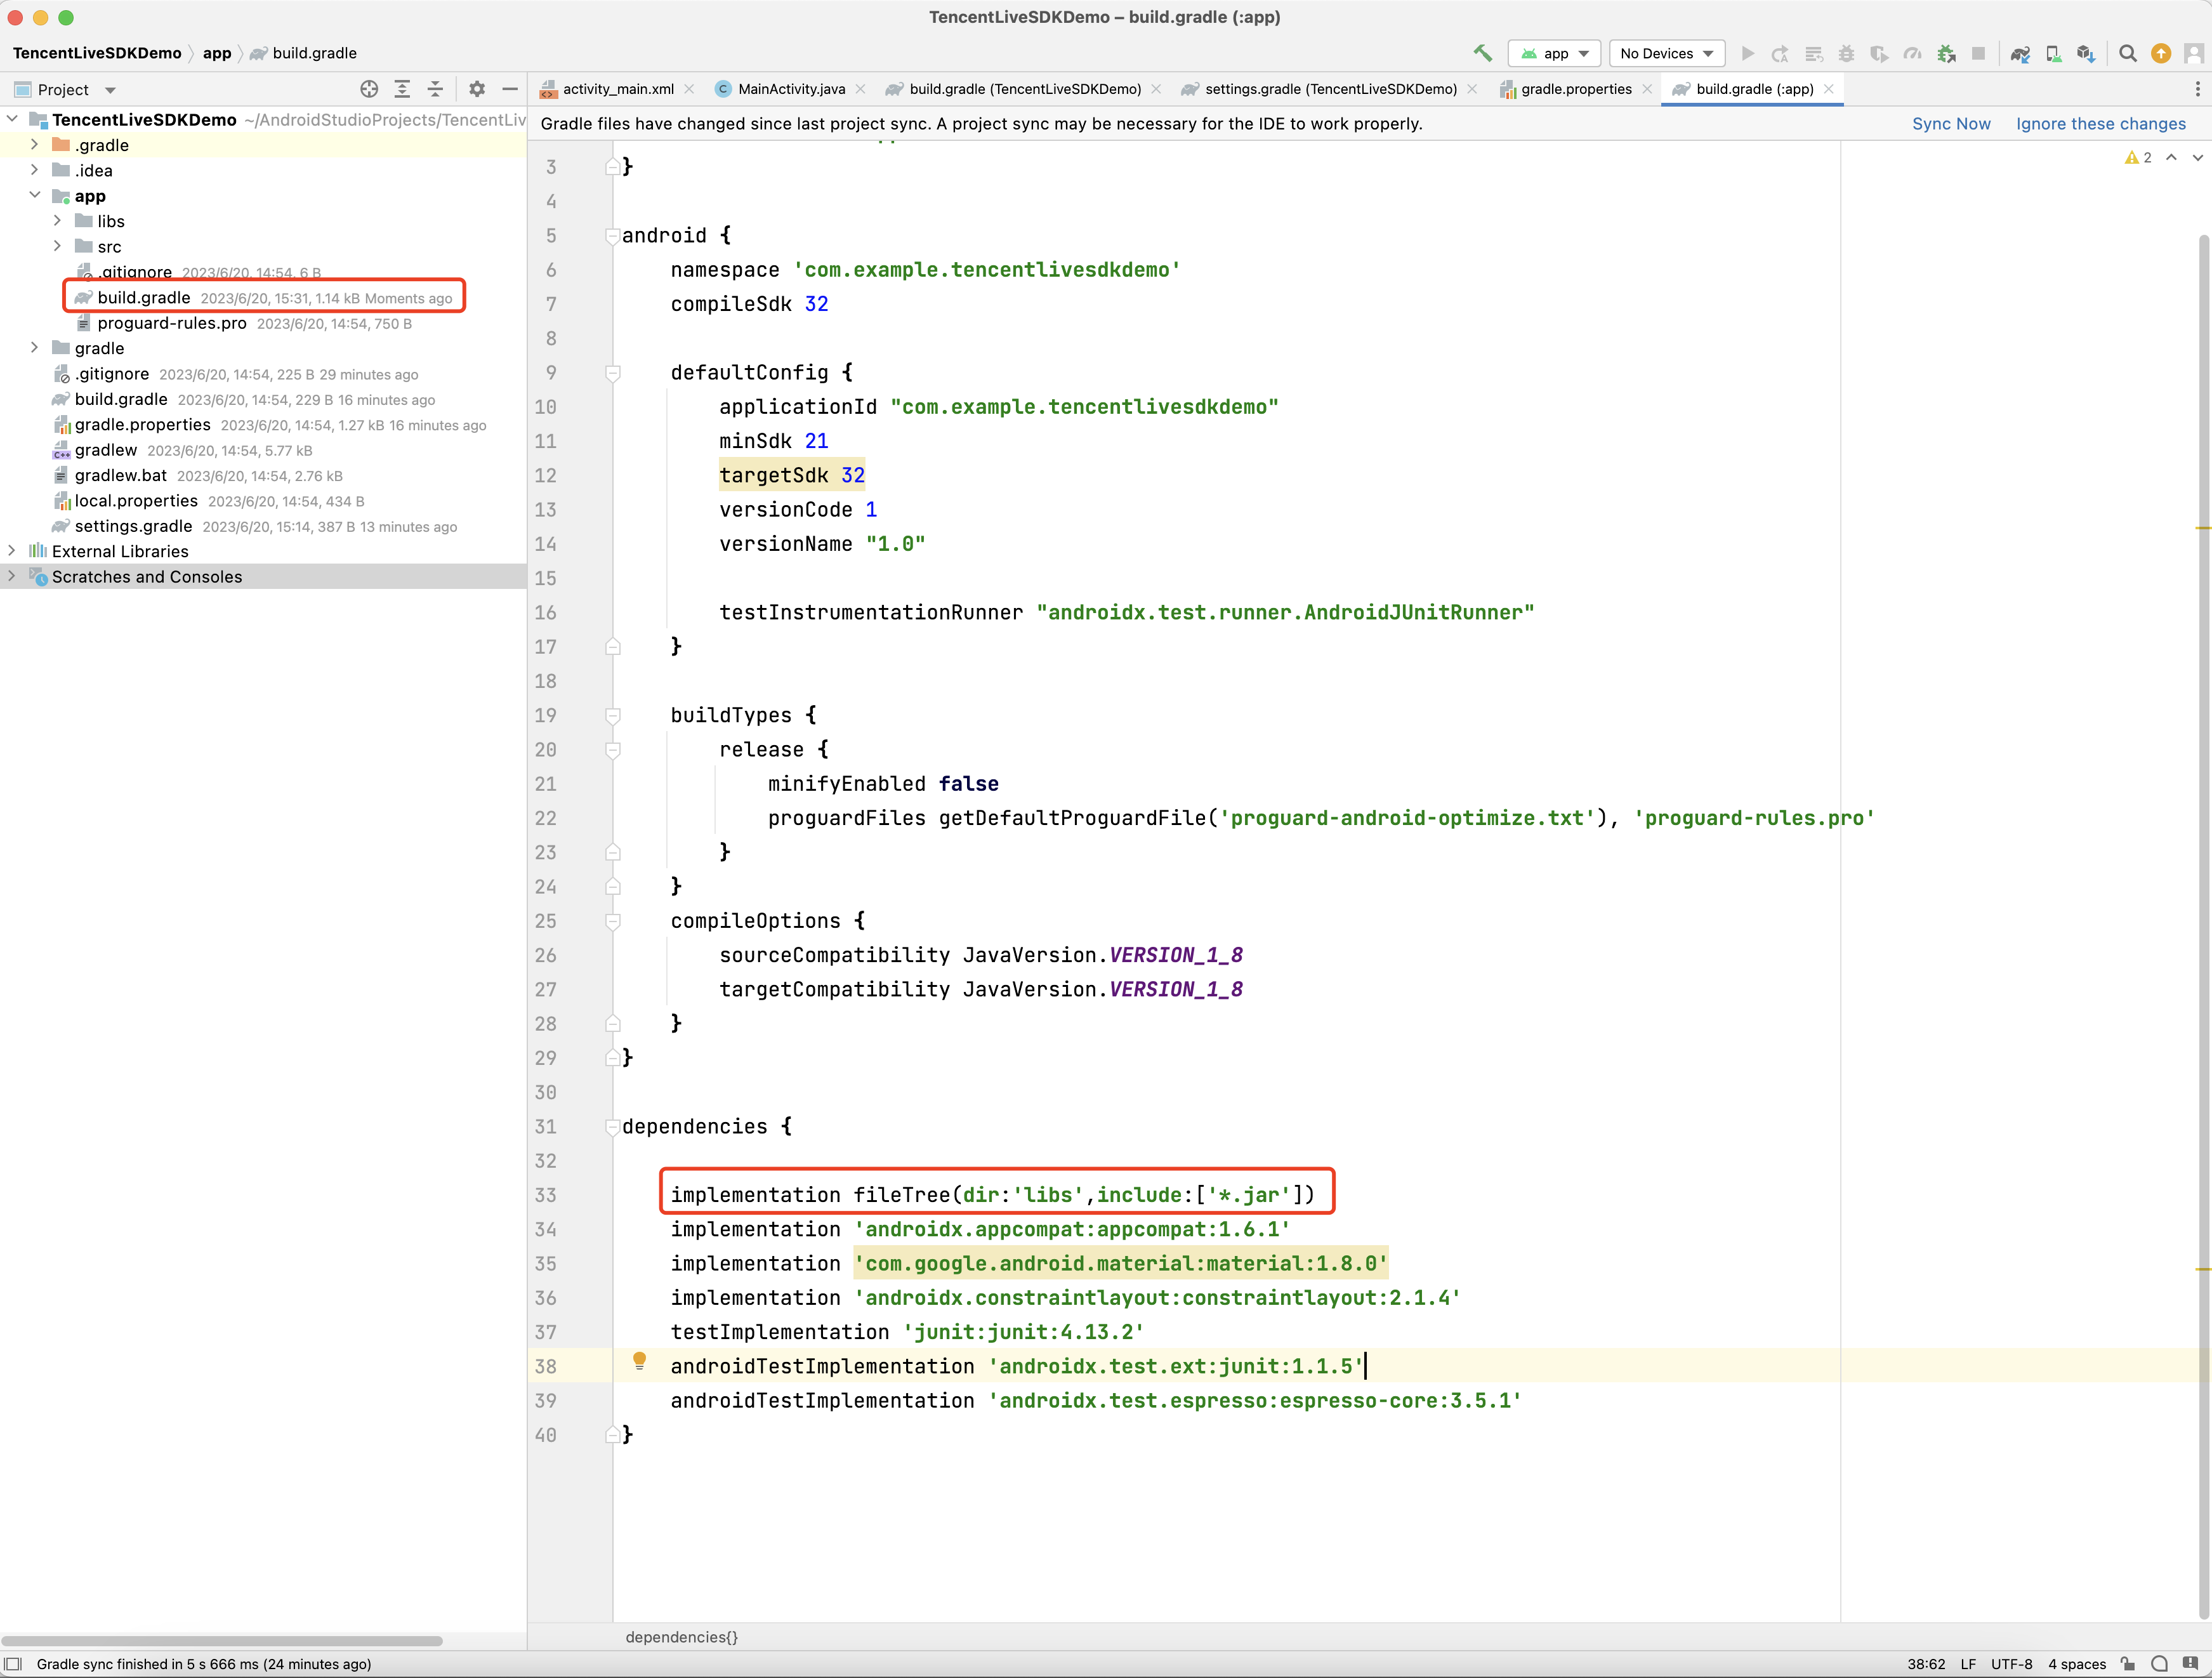
4. Add code that references the JAR library in app/build.gradle.
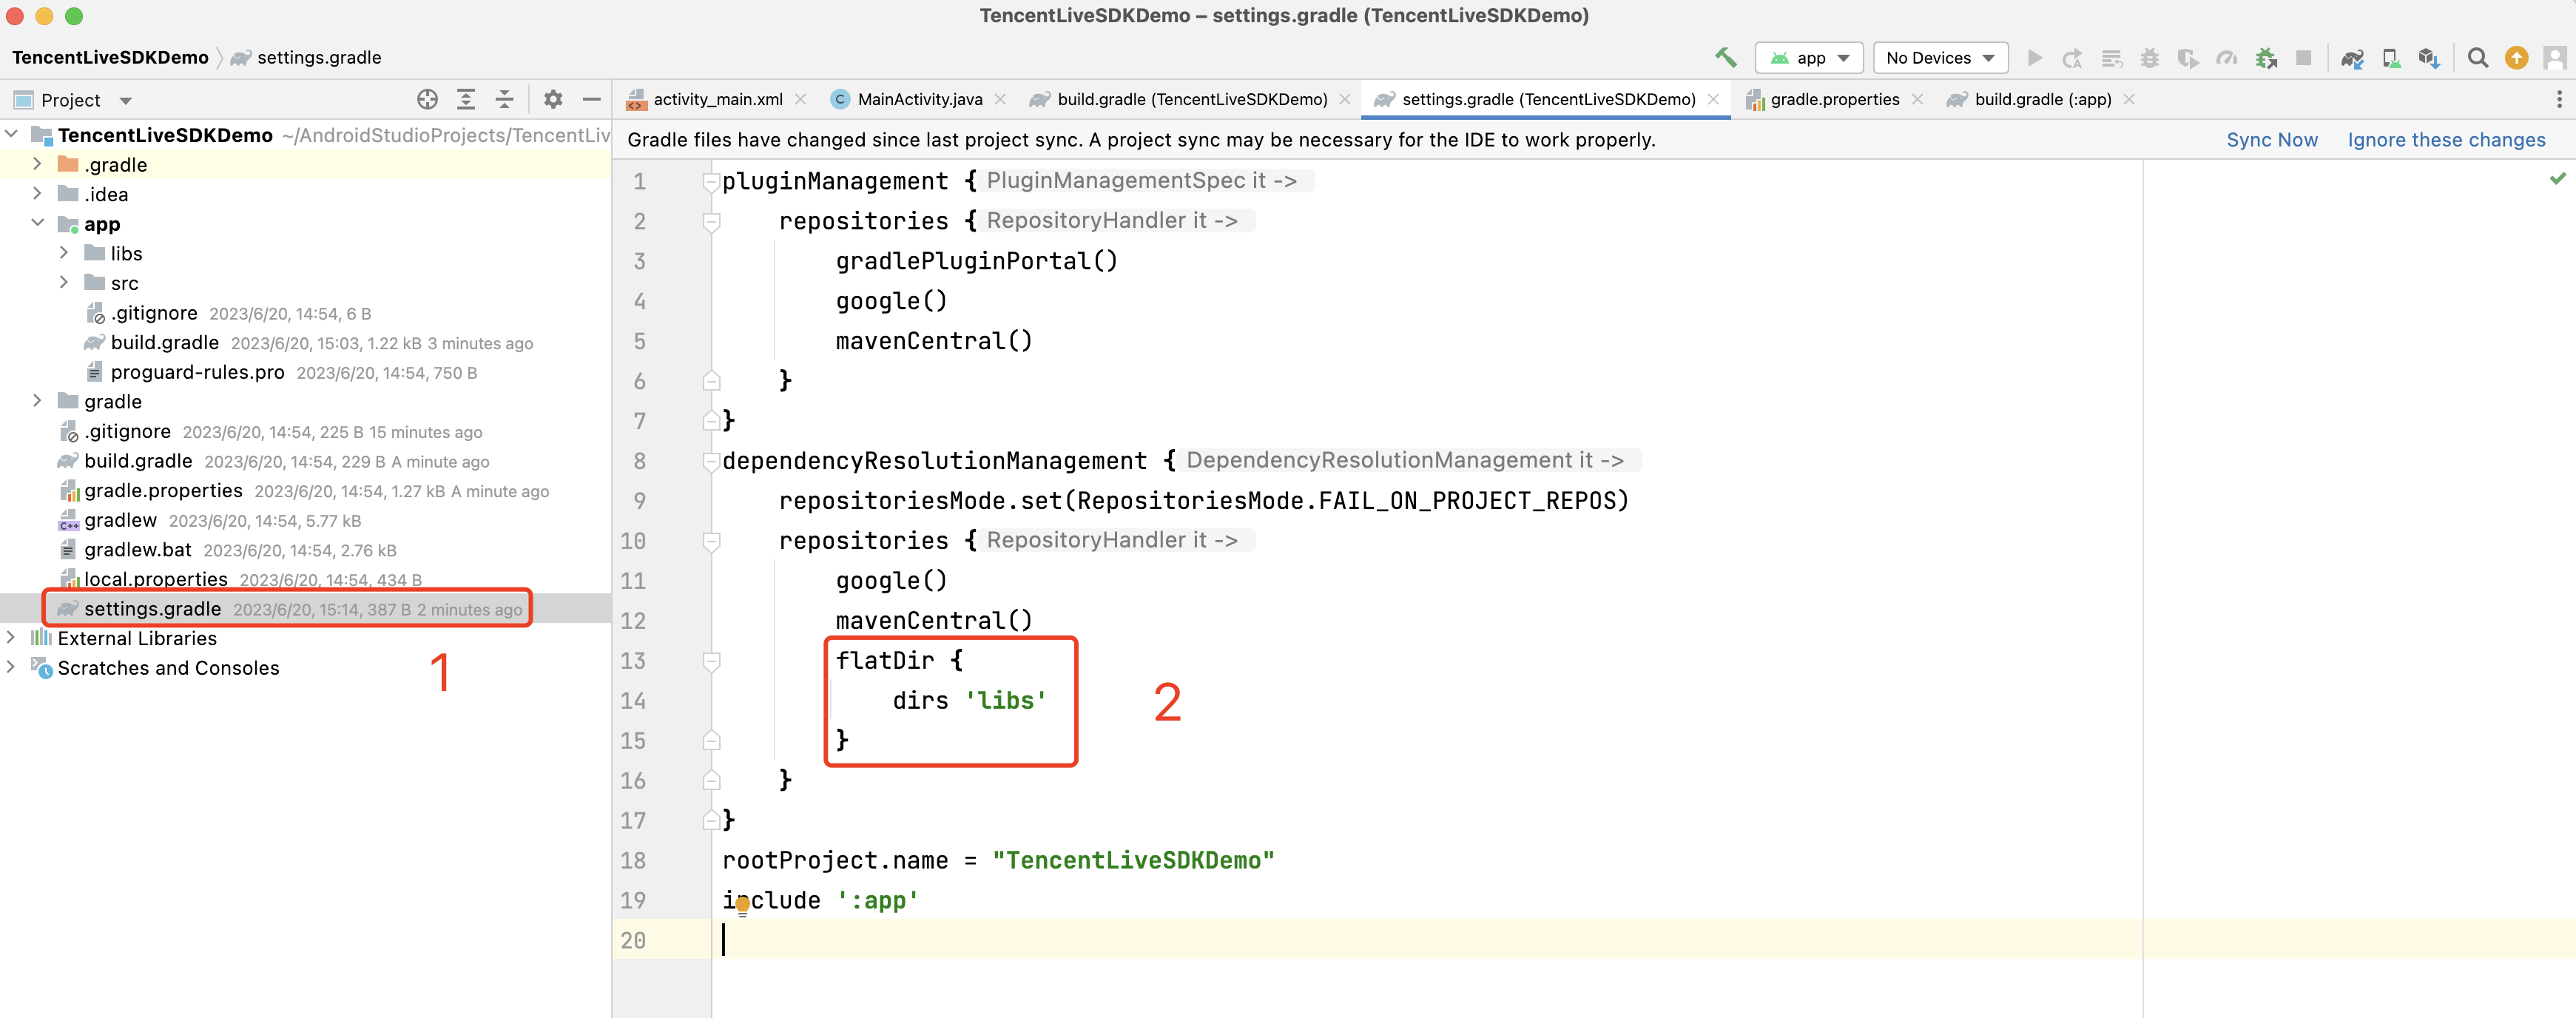
5. Add flatDir to build.gradle under the project’s root directory to specify the local path for the repository.
6. In app/build.gradle, add code that references the SO libraries.
7. In defaultConfig of app/build.gradle, specify the CPU architecture to be used by the application. Currently, LiteAVSDK supports armeabi-v7a, and arm64-v8a.
defaultConfig {
ndk {
abiFilters "armeabi-v7a", "arm64-v8a"
}
}
8. Click Sync Now to complete the integration.
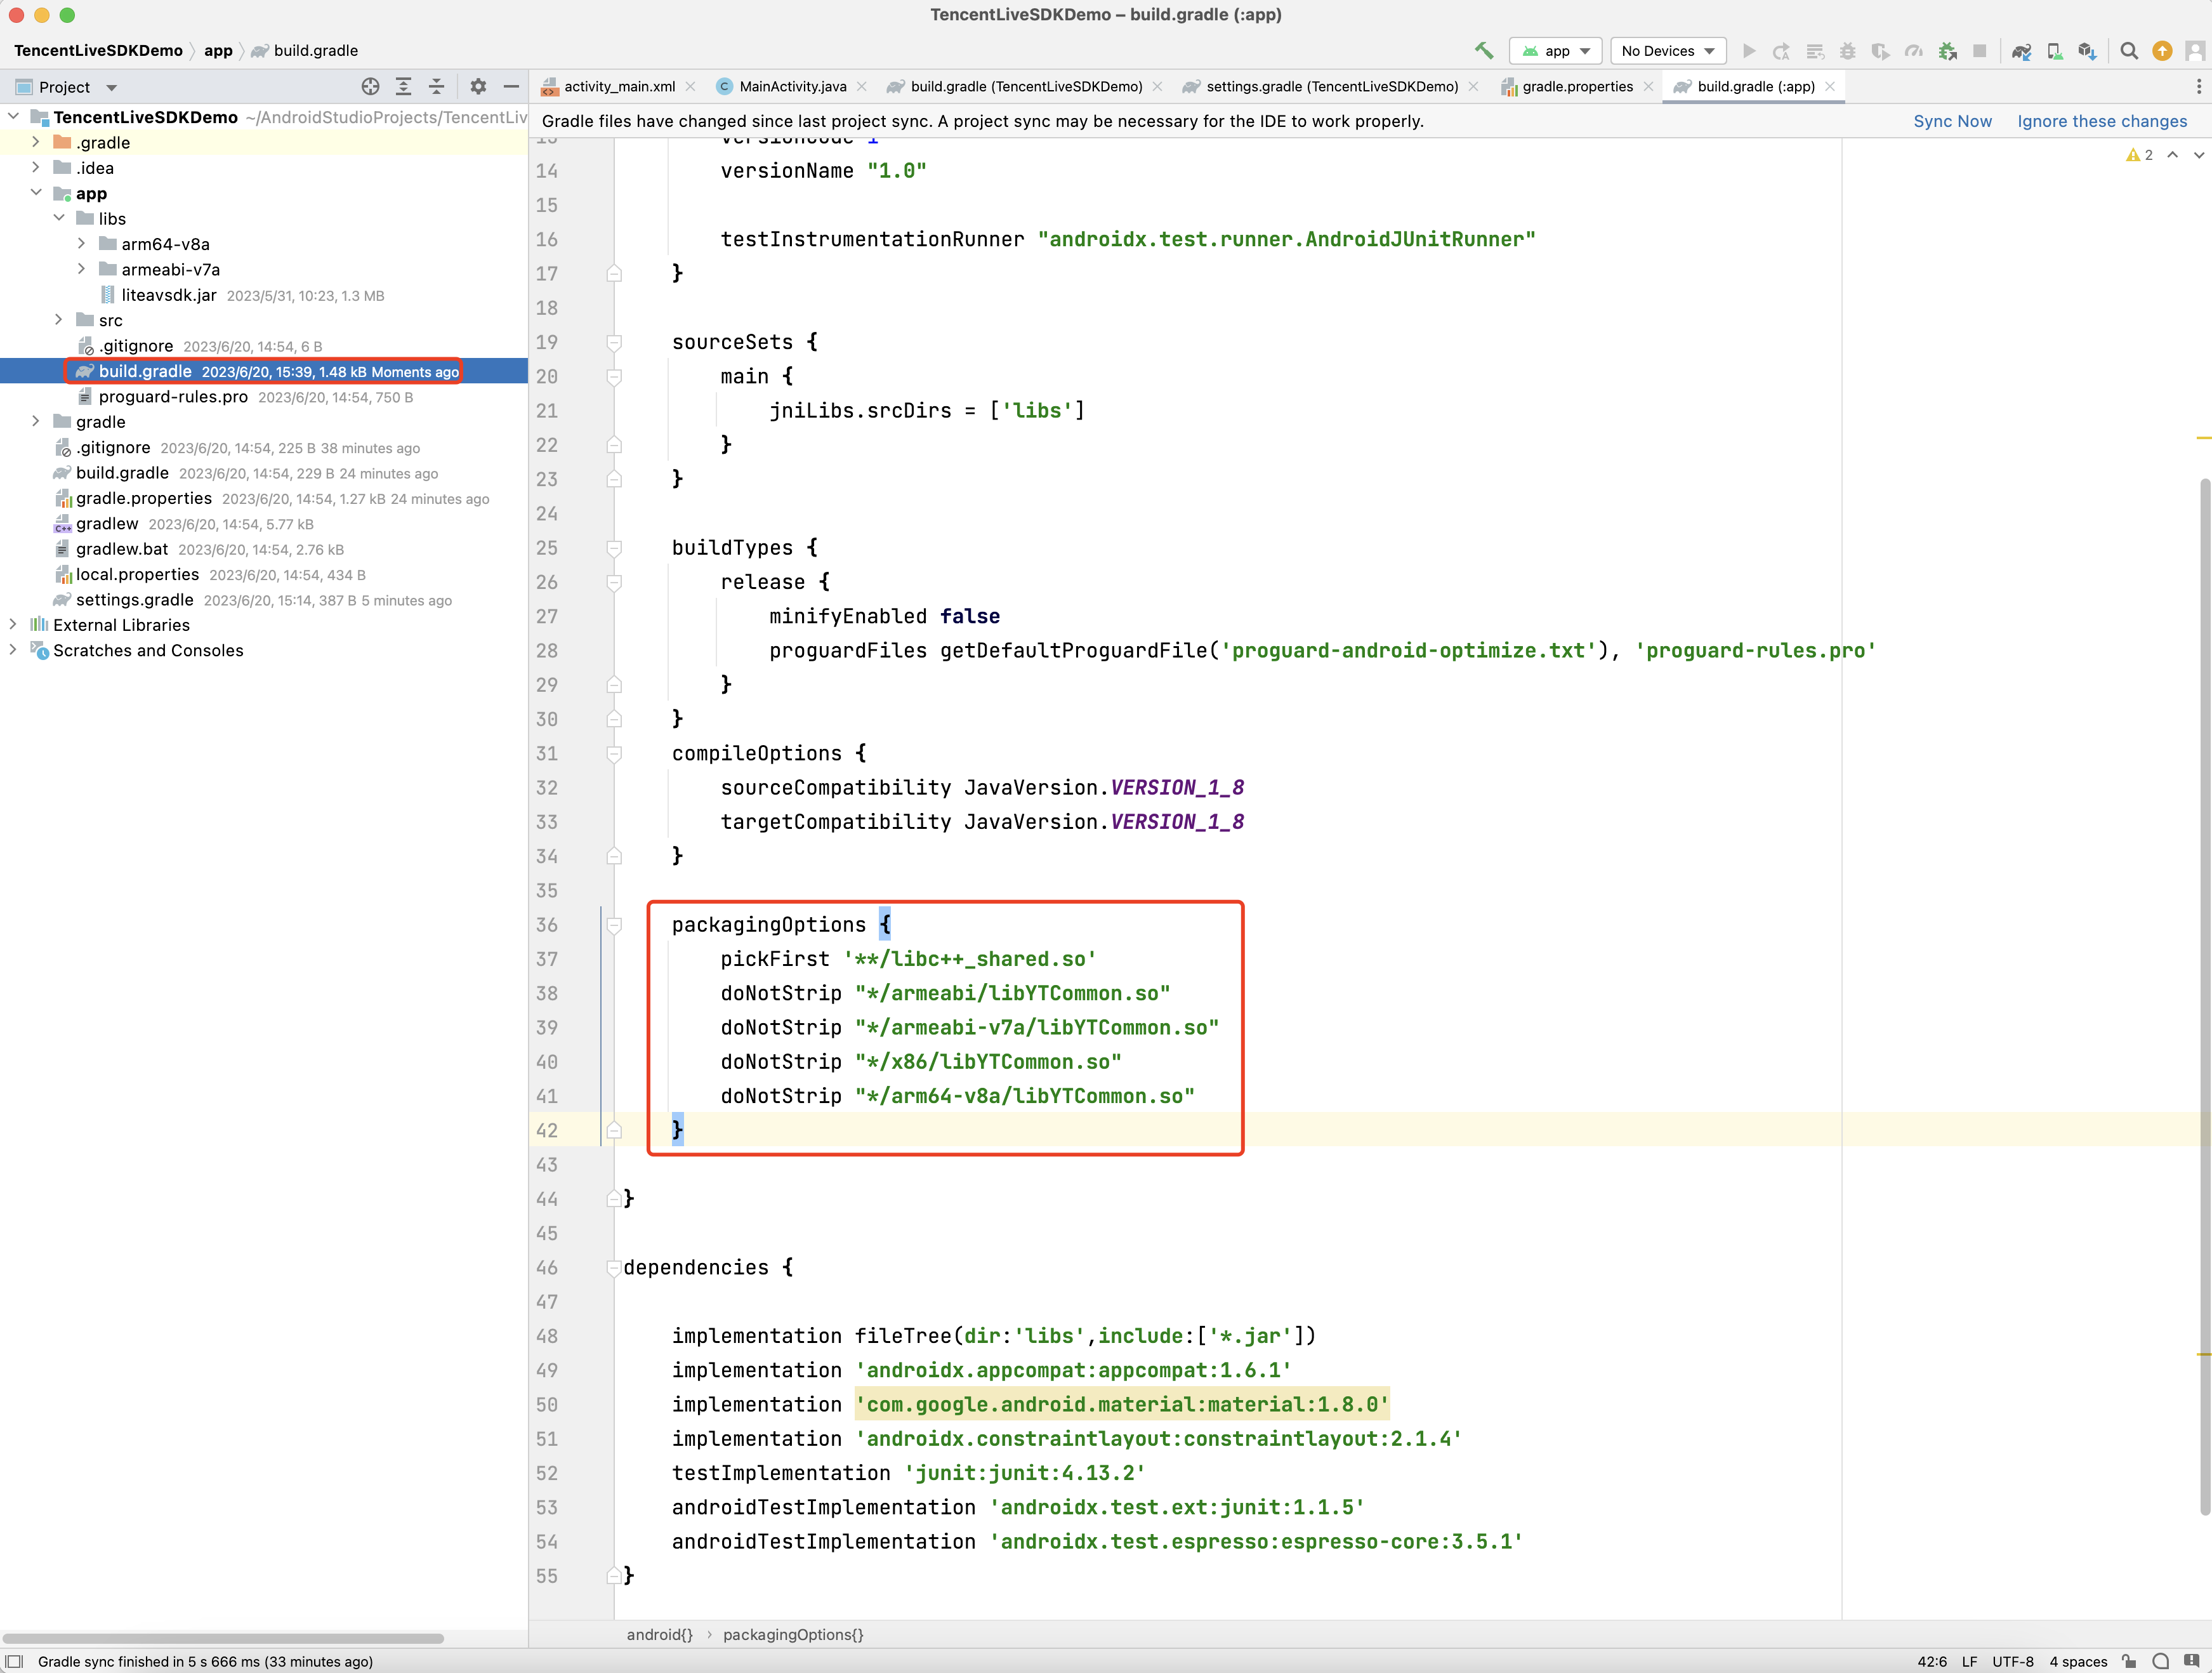
Setting Packaging Parameters
packagingOptions {
pickFirst '**/libc++_shared.so'
doNotStrip "*/armeabi/libYTCommon.so"
doNotStrip "*/armeabi-v7a/libYTCommon.so"
doNotStrip "*/x86/libYTCommon.so"
doNotStrip "*/arm64-v8a/libYTCommon.so"
}
Configuring Permissions
Configure permissions for your application in AndroidManifest.xml. LiteAVSDK needs the following permissions:
Click Get License to obtain a trial license. You will get two strings: a license URL and a decryption key.
Before you use the features of MLVB Enterprise Edition in your application, complete the following configurations (preferably in the application class).
publicclassMApplicationextendsApplication{
@Override
publicvoidonCreate(){
super.onCreate();
String licenceURL ="";// your licence url
String licenceKey ="";// your licence key
V2TXLivePremier.setEnvironment("GDPR");// set environment
Log.i(TAG,"onLicenceLoaded: result:"+ result +", reason:"+ reason);
}
});
}
}
Configuring Obfuscation Rules
In the proguard-rules.pro file, add LiteAVSDK classes to the "do not obfuscate" list.
-keep class com.tencent.** { *;}
FAQs
1. How to solve the crash problem when using the LiteAVSDK screen recording/screen sharing function on the Android side?
Please check the targetSdkVersion setting in the project first. If it is set to 29, then running Android 10 devices using screen recording and sharing will trigger a flashback problem. The reason is that the Android privacy policy has changed. The solution needs to start the foreground service and specify the type as mediaProjection. There is no need to call startScreenCapture in the Service.
2. How to solve the problem of symbol conflict between multiple SDKs of LiteAVSDK series such as live SDK/real-time audio/video/player integrated in the project?
If you integrate 2 or more LiteAVSDK products (live broadcast, player, TRTC, short video), there will be a library conflict problem when compiling, because some SDK underlying libraries have the same symbol files, it is recommended to integrate only one full-featured version of the SDK. Live broadcast, player, TRTC, and short video are all included in one SDK.For details, please refer to SDK Download.