Create Application
Download
포커스 모드
폰트 크기
This tutorial is to help you activate Tencent Cloud Contact Center.
Note:
Cloud Console: uses CAM, where you can use Console Account to login for application resource management: Create application, SIP Trunk Connection, Package Subscription, Recording Storage and Data Push
Management Panel: is for administrators and managers to monitor call records, view agent performance dashboards, and configure general settings for calls, IVRs, and agent accounts.
Agent Workstation: is for agents to make and receive calls.
Claim Freemium Package as New User
1. Log in to the Cloud Contact Center console.
Application Center > Voice. New users get a 14-day free trial of Cloud Contact Center core features after creating an application.
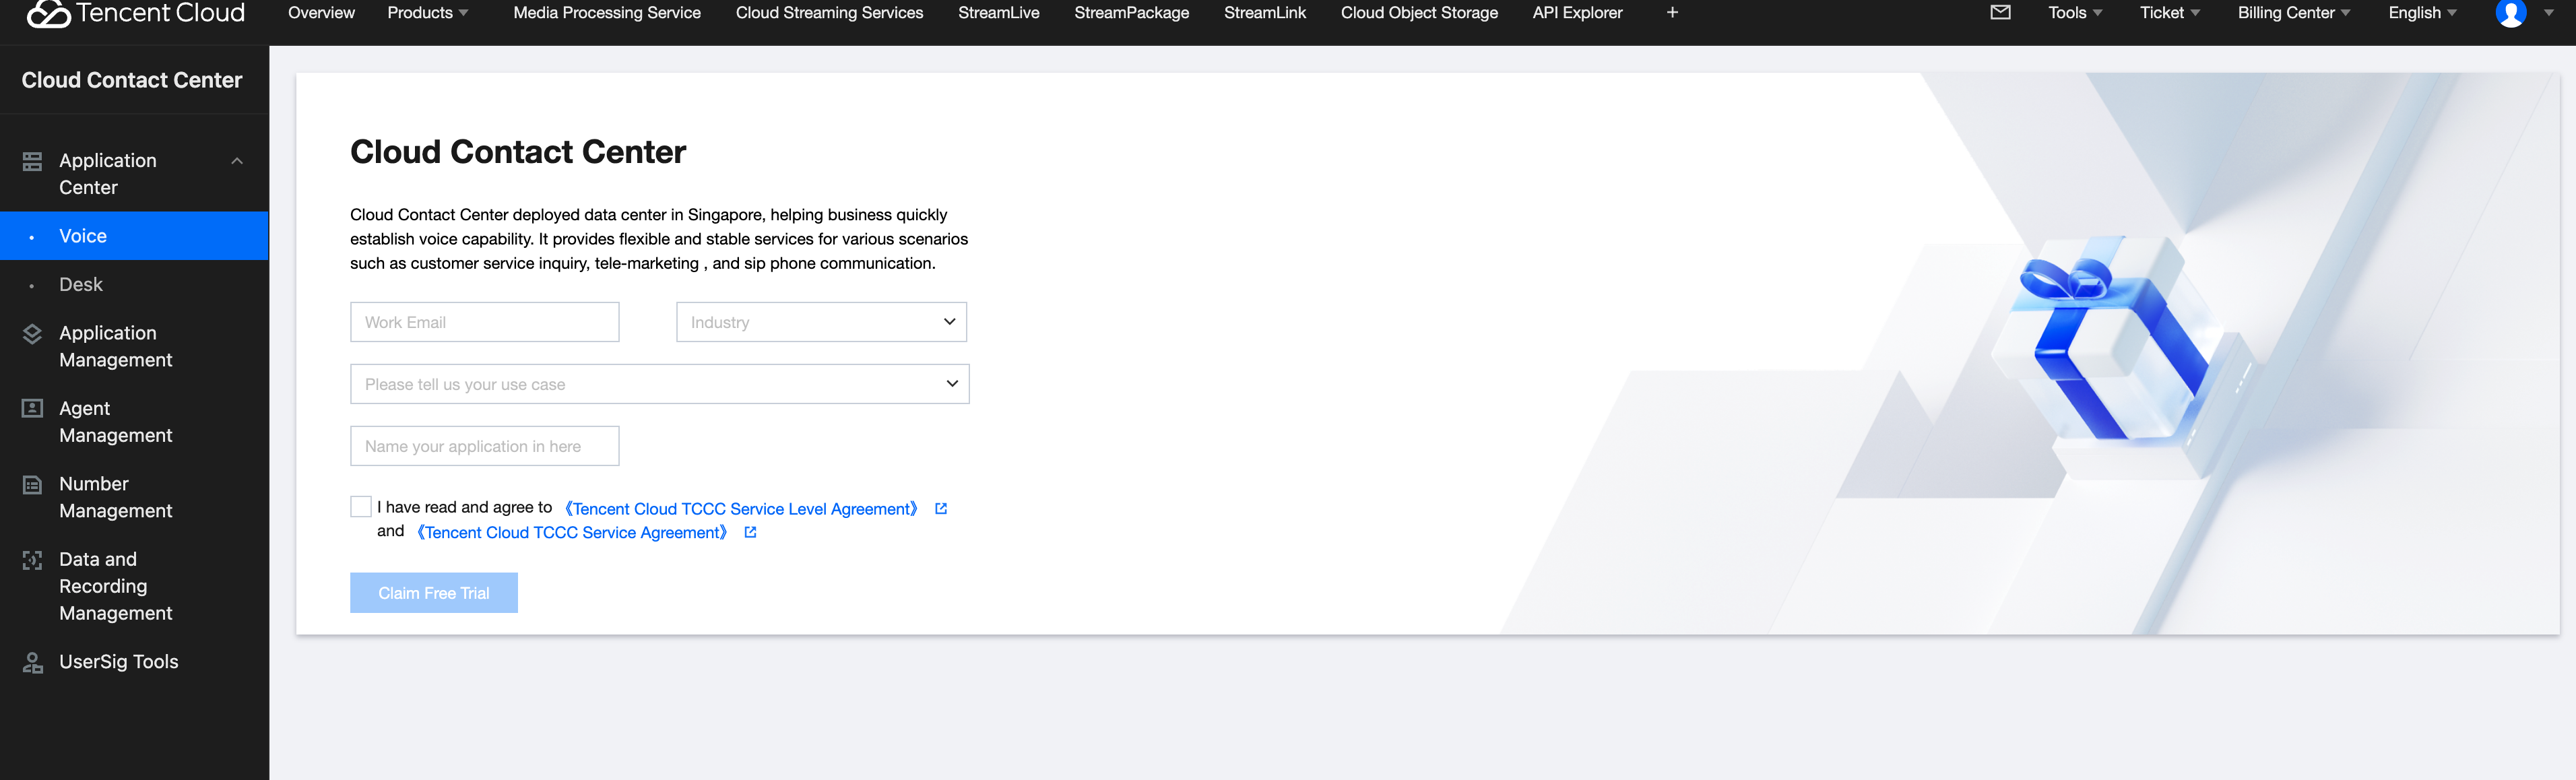
2. Our trial package includes 3 standard agent licenses. After creating an application and claiming the trial package, start configuring application, you can find SDKAppID and explore on available features.
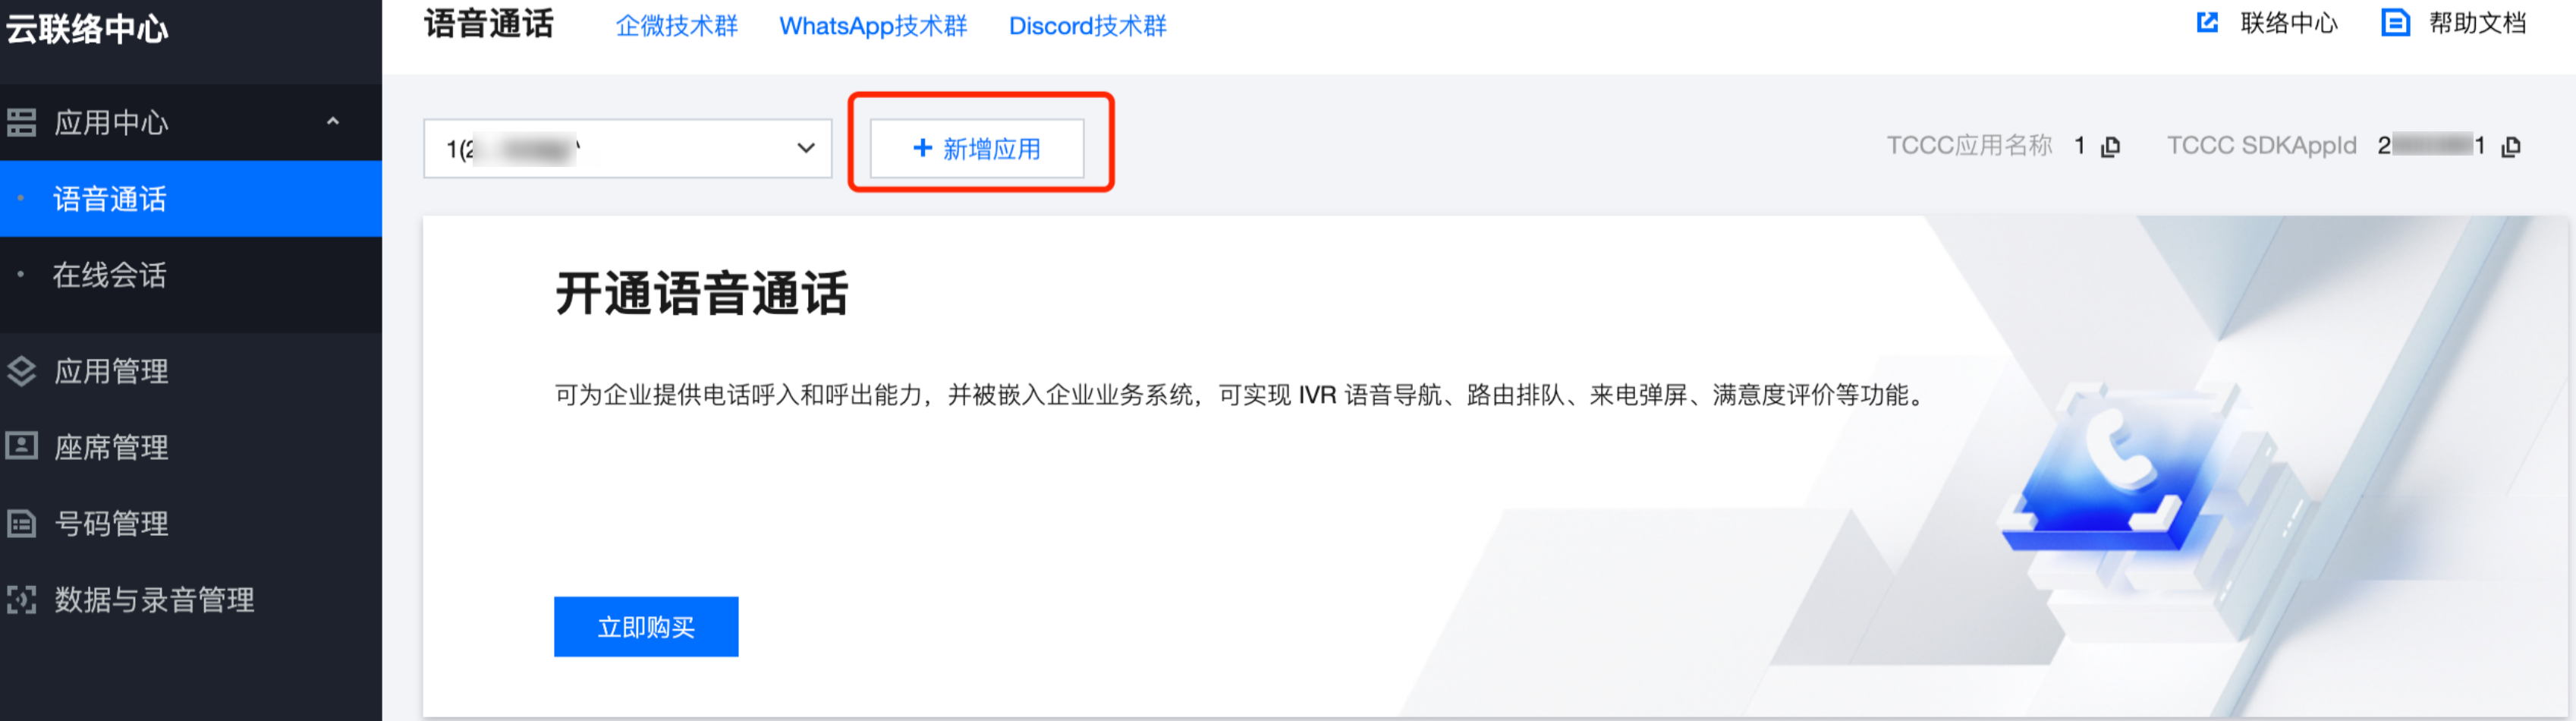
Create Application After Initial Setup
If you are not first time creating TCCC application, you can create additional one on Console as well.
1. Log in to the Cloud Contact Center console.
2. Click Add Application (SDKAppID).
3. Enter your application name in the dialog box, then click Create Now.
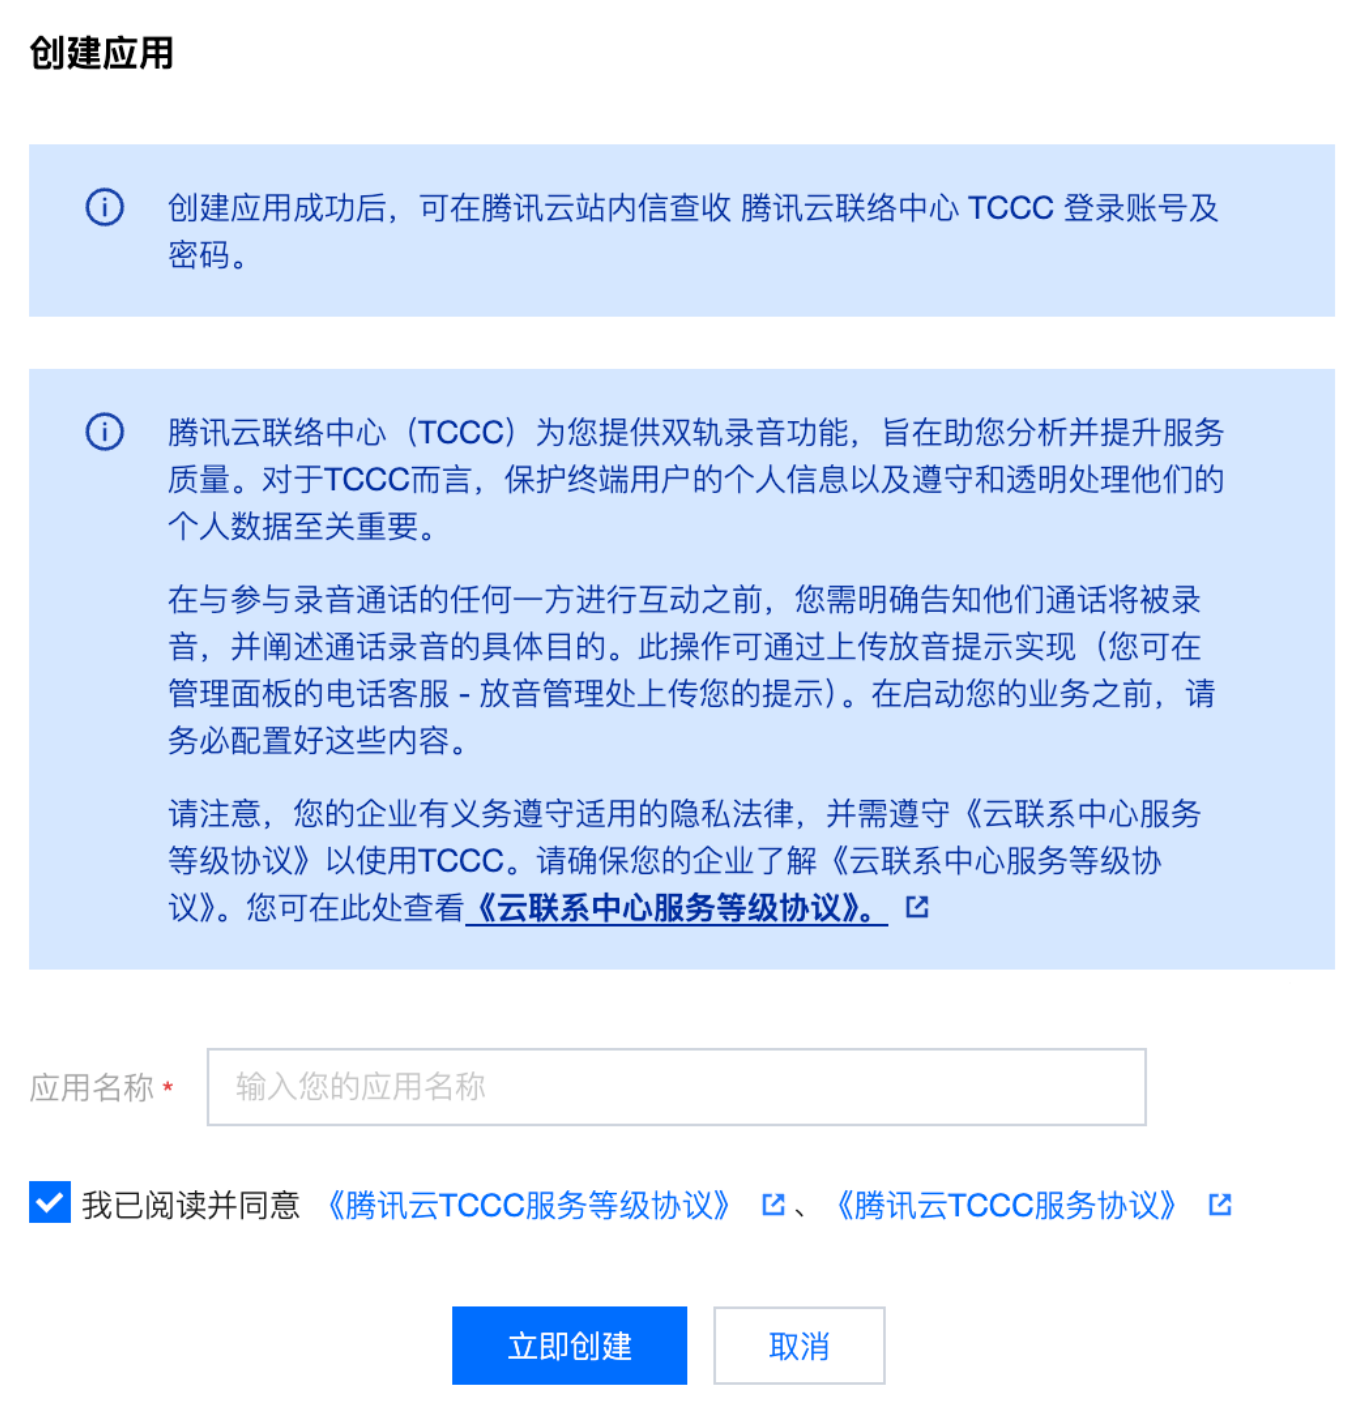
4. To view your new application detail (such as: SDKAppID), app settings (such as: Data push), and telephone number.
Next, obtain login account and password to log into the workbench for management and configurations.
Next: BYOC: SIP trunking
피드백