tencent cloud

Tencent Cloud Distributed Cache (Redis OSS-Compatible)

Release Notes and Announcements
Release Notes
Announcements
User Tutorial
Product Introduction
Overview
Product Strengths
Use Cases
Storage Engine
Product Series
Product Versions
Specifications and Performance
Read/Write Separation
Multi-AZ Deployment
Regions and AZs
Terms
Service Regions and Service Providers
Purchase Guide
Billing Overview
Pricing Center
Instance Purchasing
Renewal (Yearly/Monthly Subscription)
Refund (Yearly/Monthly Subscription)
Overdue Payments
Switching from Pay-as-You-Go to Yearly/Monthly Subscription
Getting Started
Quickly Creating an Instance
Connecting to Redis Instance
Operation Guide
Operation Overview
Connecting to a Database Instance
Managing Instances
Upgrade Instance
Management Node (Redis/ValKey Edition)
Multi-AZ Deployment Management
Backup and Restoration
Managing Accounts
Parameter Configuration
Slow Query
Access Management
Network and Security
Monitoring and Alarms
Event Management (Redis/ValKey Edition)
Data Migration
Global Replication for Redis Edition
Database Audit
Performance Optimization
Sentinel Mode
Development Guidelines
Naming Rules
Basic Usage Guidelines
Design Principles of Key and Value
Command Usage Guidelines
Design Principles of Client Programs
Connection Pool Configuration
Command Reference
Command Reference Overview
Redis Edition and Valkey Edition Command Compatibility
Version Command Usage Differences
Differences Between the Proxy Architecture and Direct Connection Mode
More Command Operations (Redis/Valkey Edition)
Memcached Edition Command Compatibility
Practical Tutorial
Building TencentDB for Redis® Client Monitoring Based on Spring Boot
Redis Client Connection Configuration Policy and Practice
Global SCAN Guide for Cluster Architecture
Eliminating Instances Securely
Hot Key and Big Key
AZ Migration Scheme
Troubleshooting
Connection Exception
Exception Analysis and Solution of Redisson Client Timeout Reconnection
Performance Troubleshooting and Fine-Tuning
API Documentation
History
Introduction
API Category
Making API Requests
Instance APIs
Parameter Management APIs
Other APIs
Backup and Restoration APIs
Region APIs
Monitoring and Management APIs
Log APIs
Data Types
Error Codes
FAQs
General
Connection and Login
Purchase
Service Agreement
Service Level Agreement
Terms of Service
Glossary
Contact Us

Editing Instance Tag

PDF
포커스 모드
폰트 크기
마지막 업데이트 시간: 2026-03-17 17:45:56

Overview

A tag consists of a tag key and value. It can be used to tag Tencent Cloud Distributed Cache instances. If you have multiple types of resources under your Tencent Cloud account which are correlated in many ways, and your resources are growing and becoming increasingly difficult to manage, you can use tags to group and categorize resources that serve the same purpose or are associated with each other. In this way, when performing daily Ops or troubleshooting, you can quickly search for resources and perform batch operations for more efficient Ops.

Billing Details

Tag is a free service provided by Tencent Cloud for your Tencent Cloud account. There are no additional charges, simply go to the Console to use this service.

Note

A tag consists of 1 tag key and 1 tag value (tagKey:tagValue).
Each resource can have 50 tags at most.
For each resource, each tag key can have only 1 value.

Prerequisites

You have created a Tencent Cloud Distributed Cache instance. For more information, see Creating Tencent Cloud Distributed Cache Instance.
The current tags of the instance need to be edited.

Directions

2. Above the Instance List on the right, select the region.
3. In the instance list, find the target instance.
4. Enter the Edit Tag page in any of the following ways:
In the Operation column of the target instance, select More > Edit Tag.
Click the target instance ID, go to the Configuration Info on the Instance Details page, and click

on the right side of Tag.
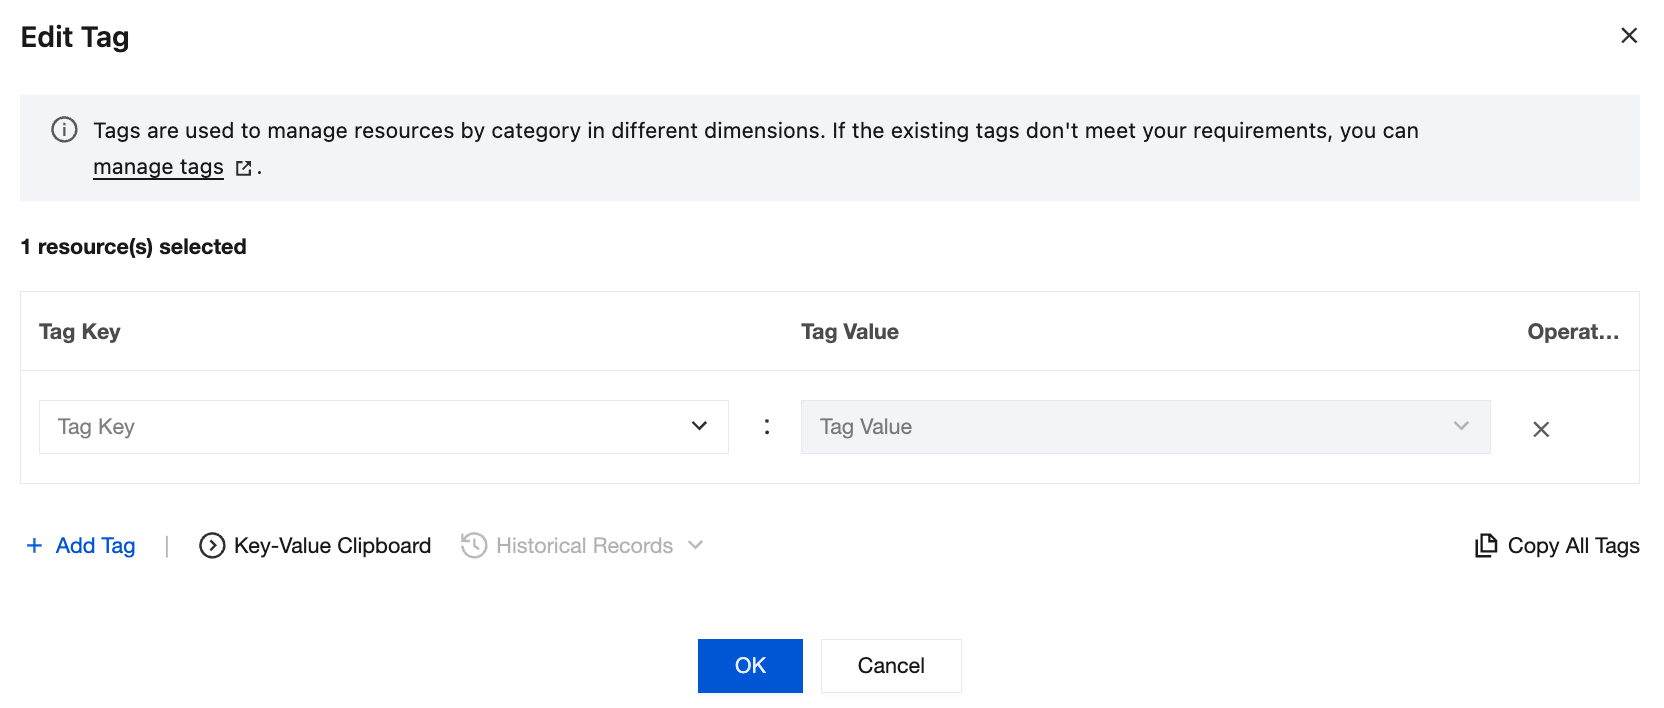
5. On the Edit Tag page, select an appropriate tag key from the Tag Key drop-down list and select the tag value from the Tag Value drop-down list.

6. (Optional) If existing tags don't meet your business requirements, perform the following operations:
6.1 In the top-right corner of the current page, click manage tags.
6.2 On the Tag page, click Create Tag.
6.3 On the Create Tag page, read the notes on tag configuration.
6.4 Set a new tag key in the Tag Key input box and enter the tag value in the Tag Value input box. The requirements for the tag key are as follows:
It can contain 1–127 characters.
It can contain letters and digits.
It can contain the following special symbols: plus sign, equal sign, underscore, hyphen, dot, colon, slash, @, parentheses, and brackets.
6.5 Click OK.
6.6 Go back to the Edit Tag page of the database instance. Click reload in the Tag Key drop-down list, select the created tag key, and select the tag value.
7. Click OK.

References

For more information on tag management, see Tag.

도움말 및 지원

문제 해결에 도움이 되었나요?

피드백