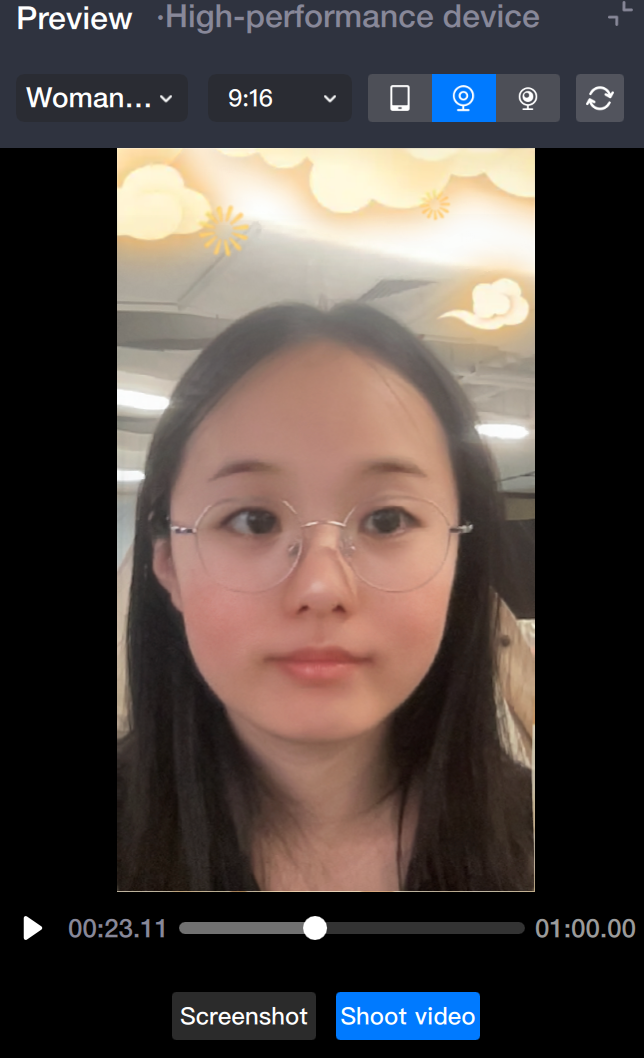
In Tencent Effect, different gameplay can be combined to achieve diversified gameplay. For example, background removal and GAN can be used at the same time, replacing the background of the video while also replacing the characters in the video with cartoon faces.
Basic Usage
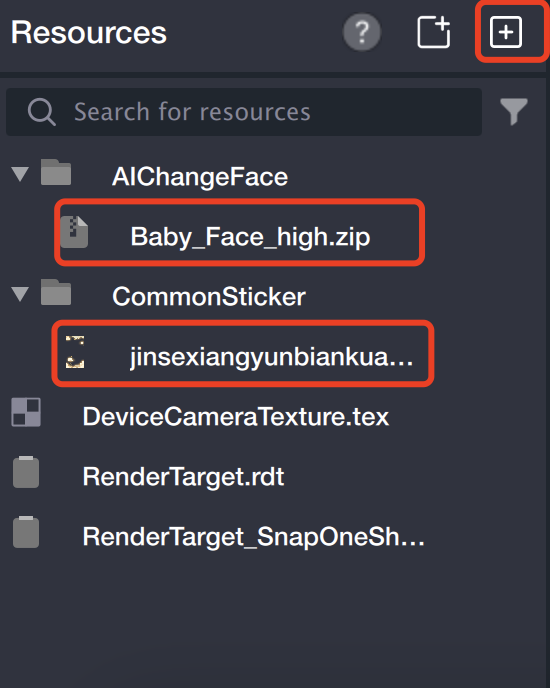
1. Import materials
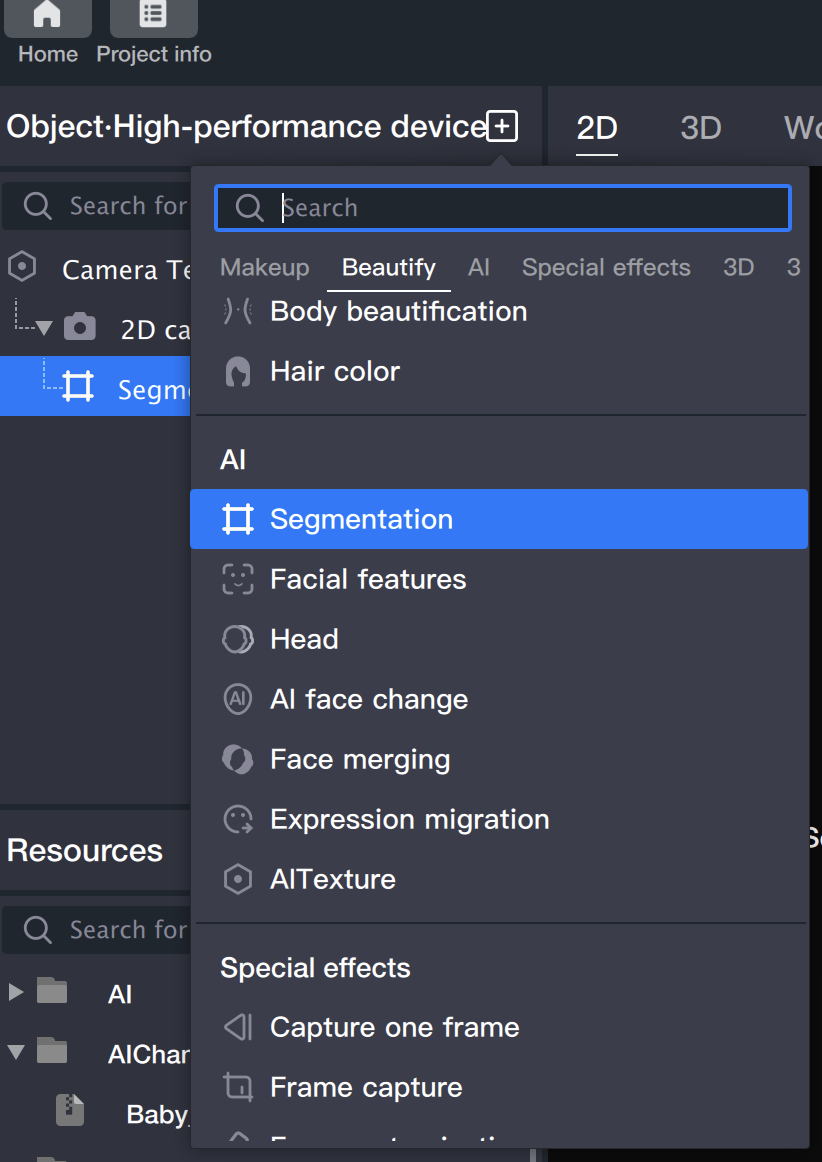
2. Create a segmentation object.
Add a "Segmentation" object in the object panel.
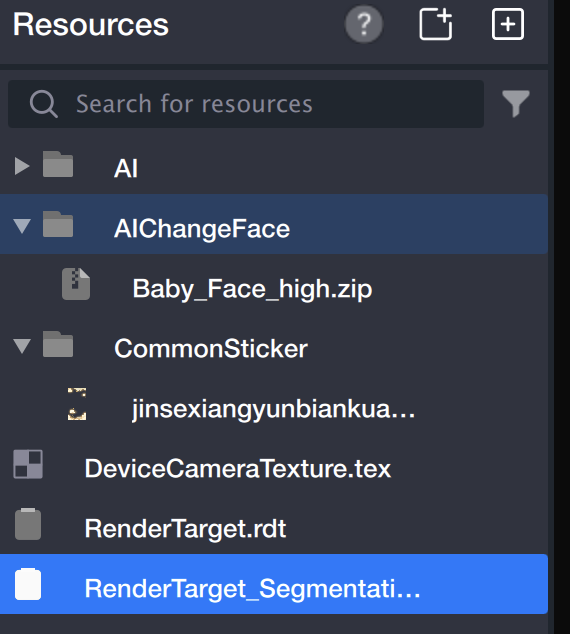
In the resource panel, a RenderTarget_Segmentation_1.rdt generated by the segmentation object appears.
3. Add background
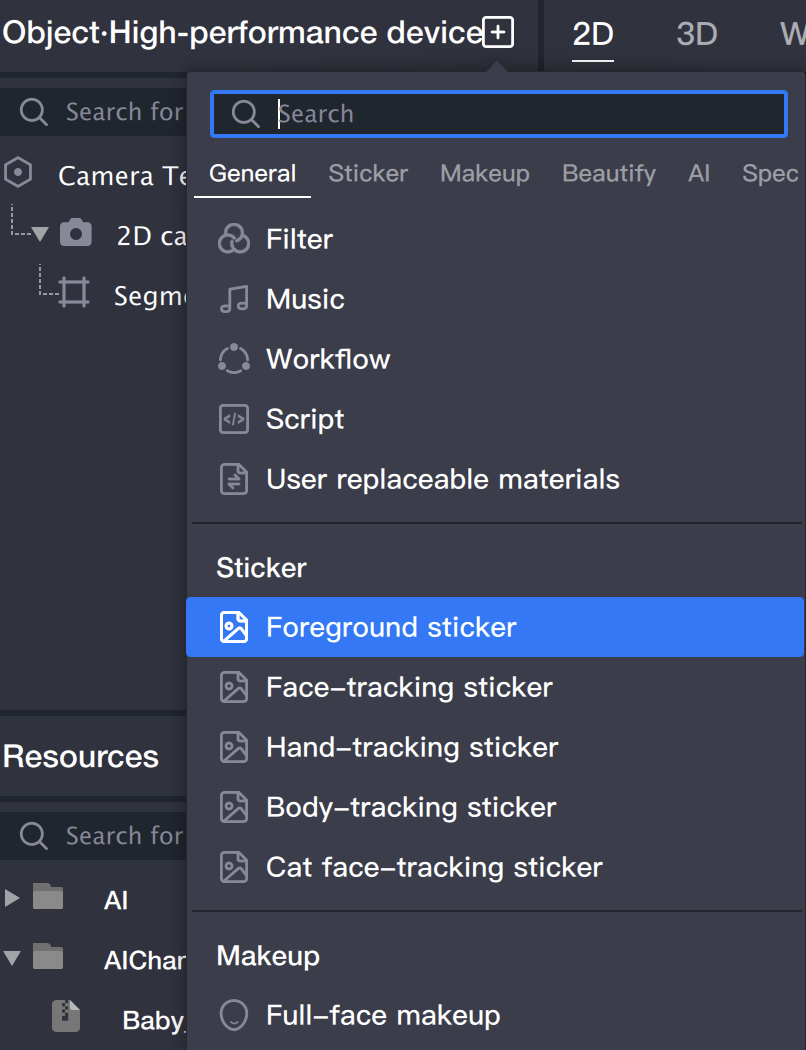
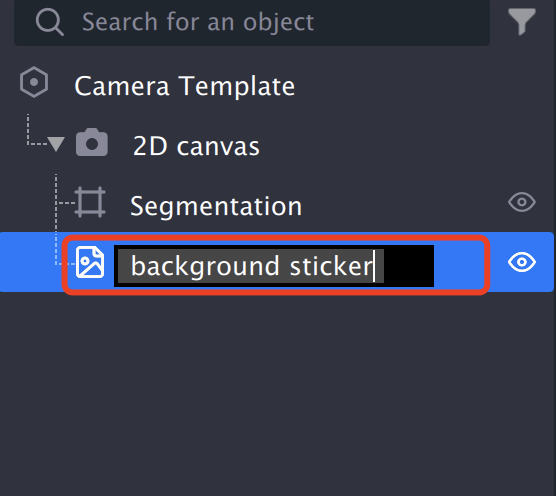
3.1 Add a "Foreground Sticker" in the object panel: This sticker will be used as the background.
3.2 Rename the "Foreground Sticker" to "Background" (to distinguish it from the foreground stickers added later).
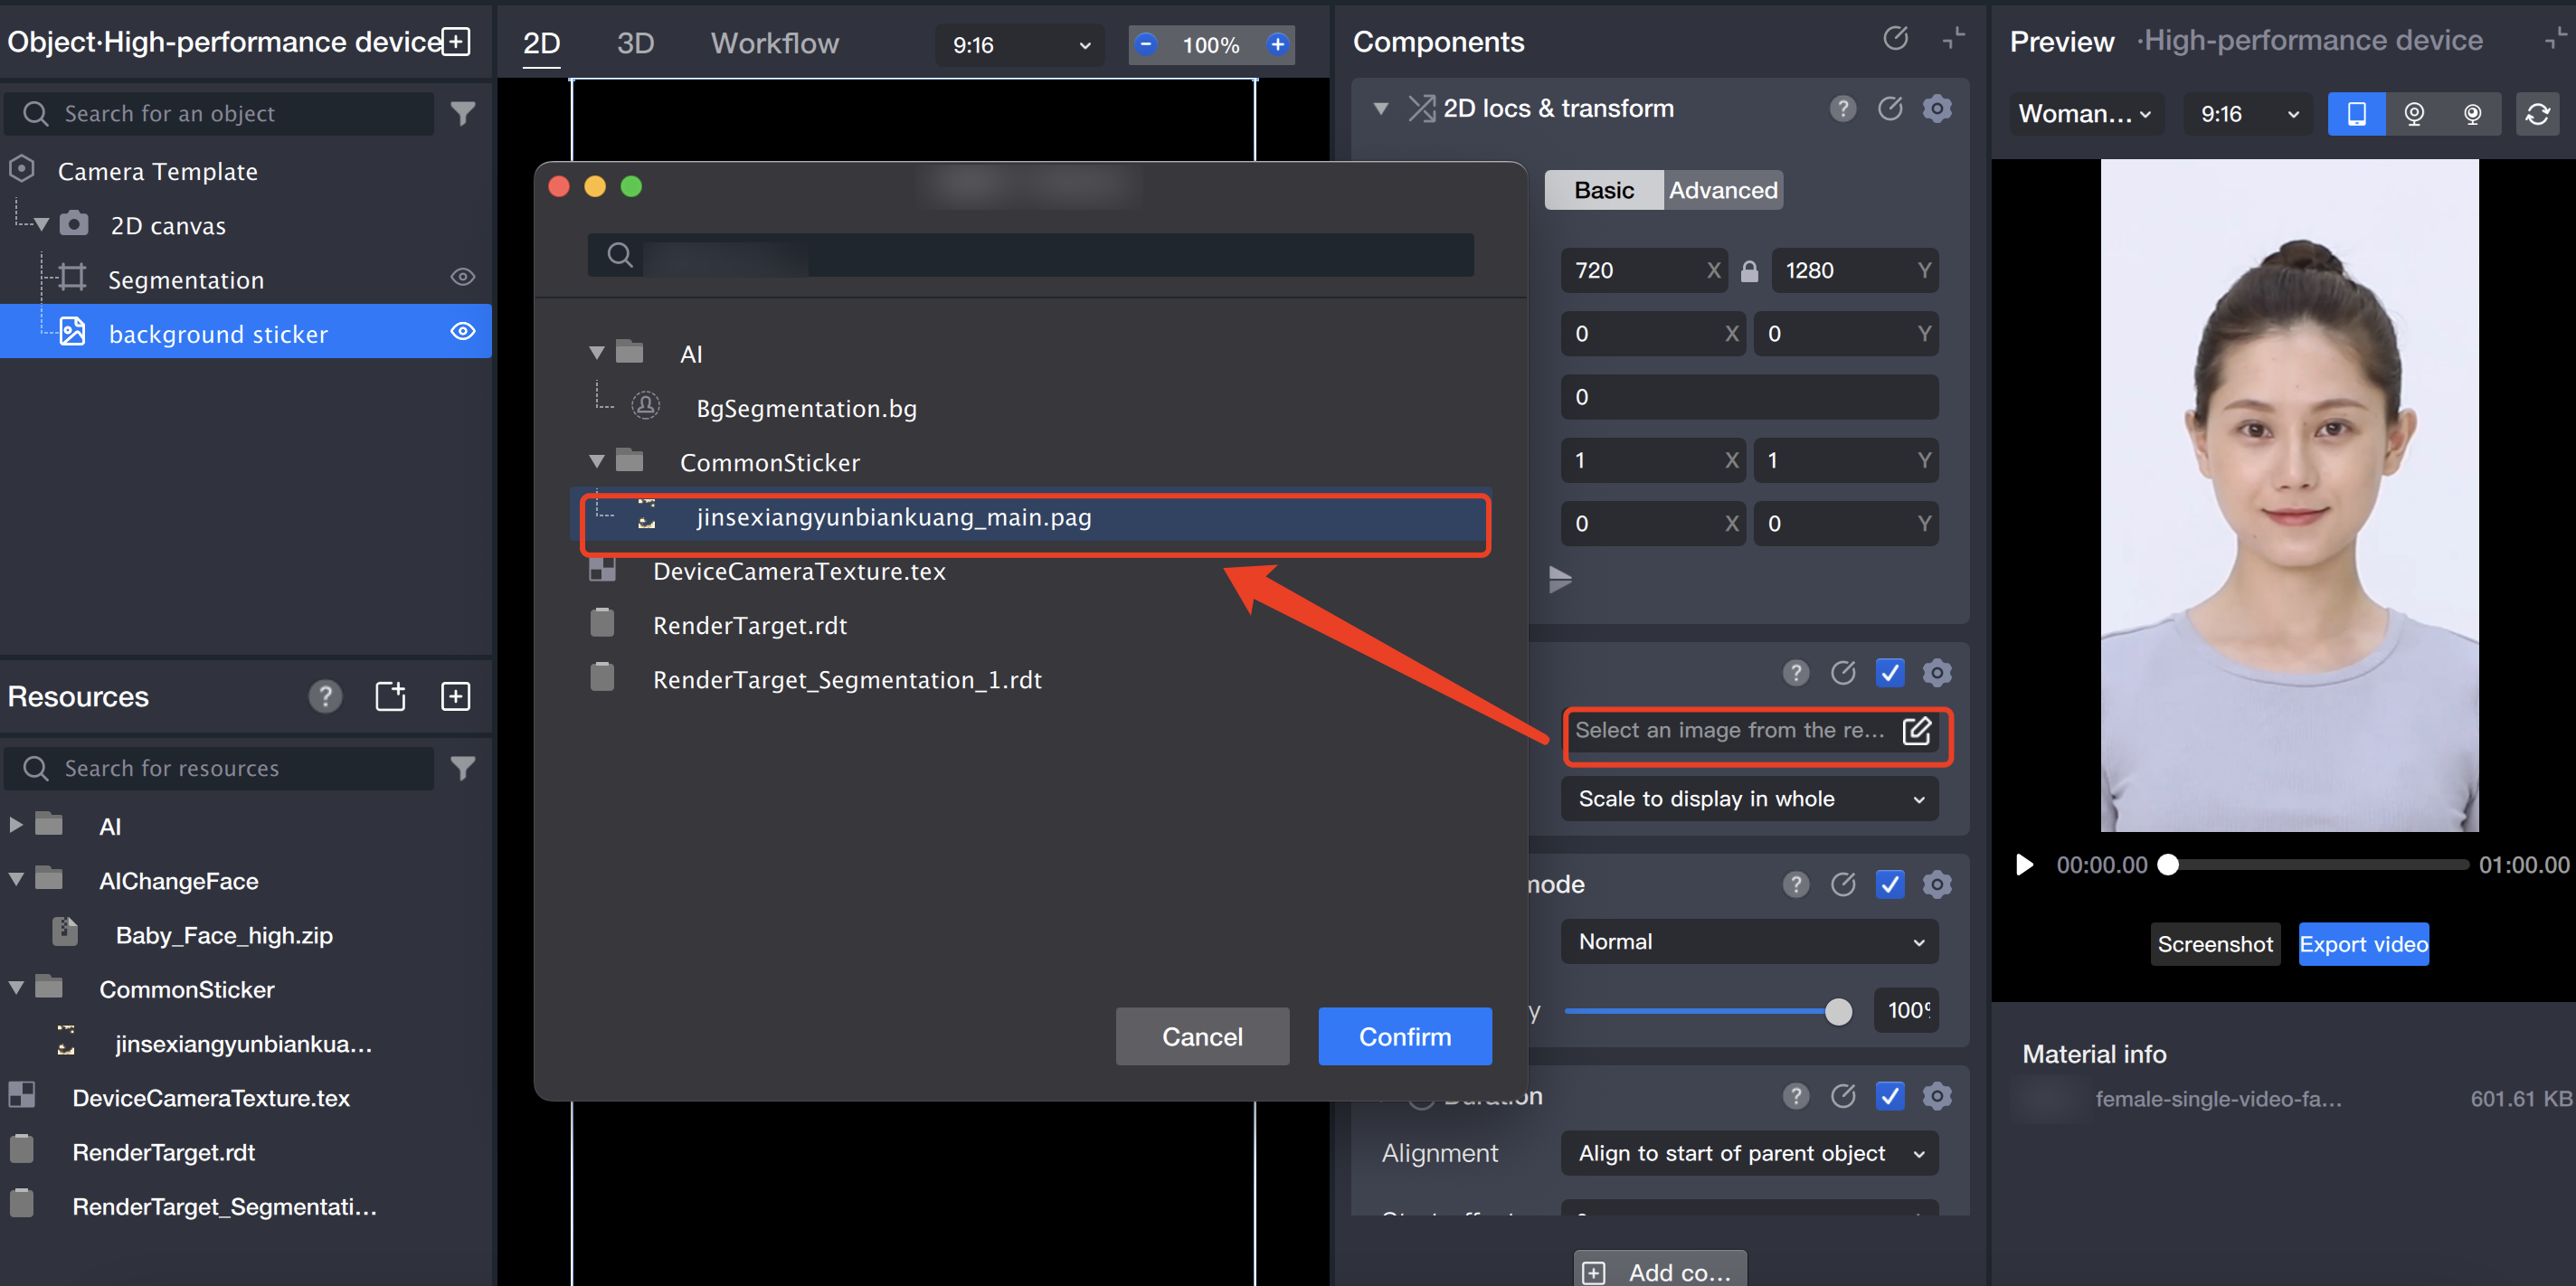
3.3 Select the image file in the component panel.
3.4 Adjust the resource to the appropriate size.
4. Add foreground
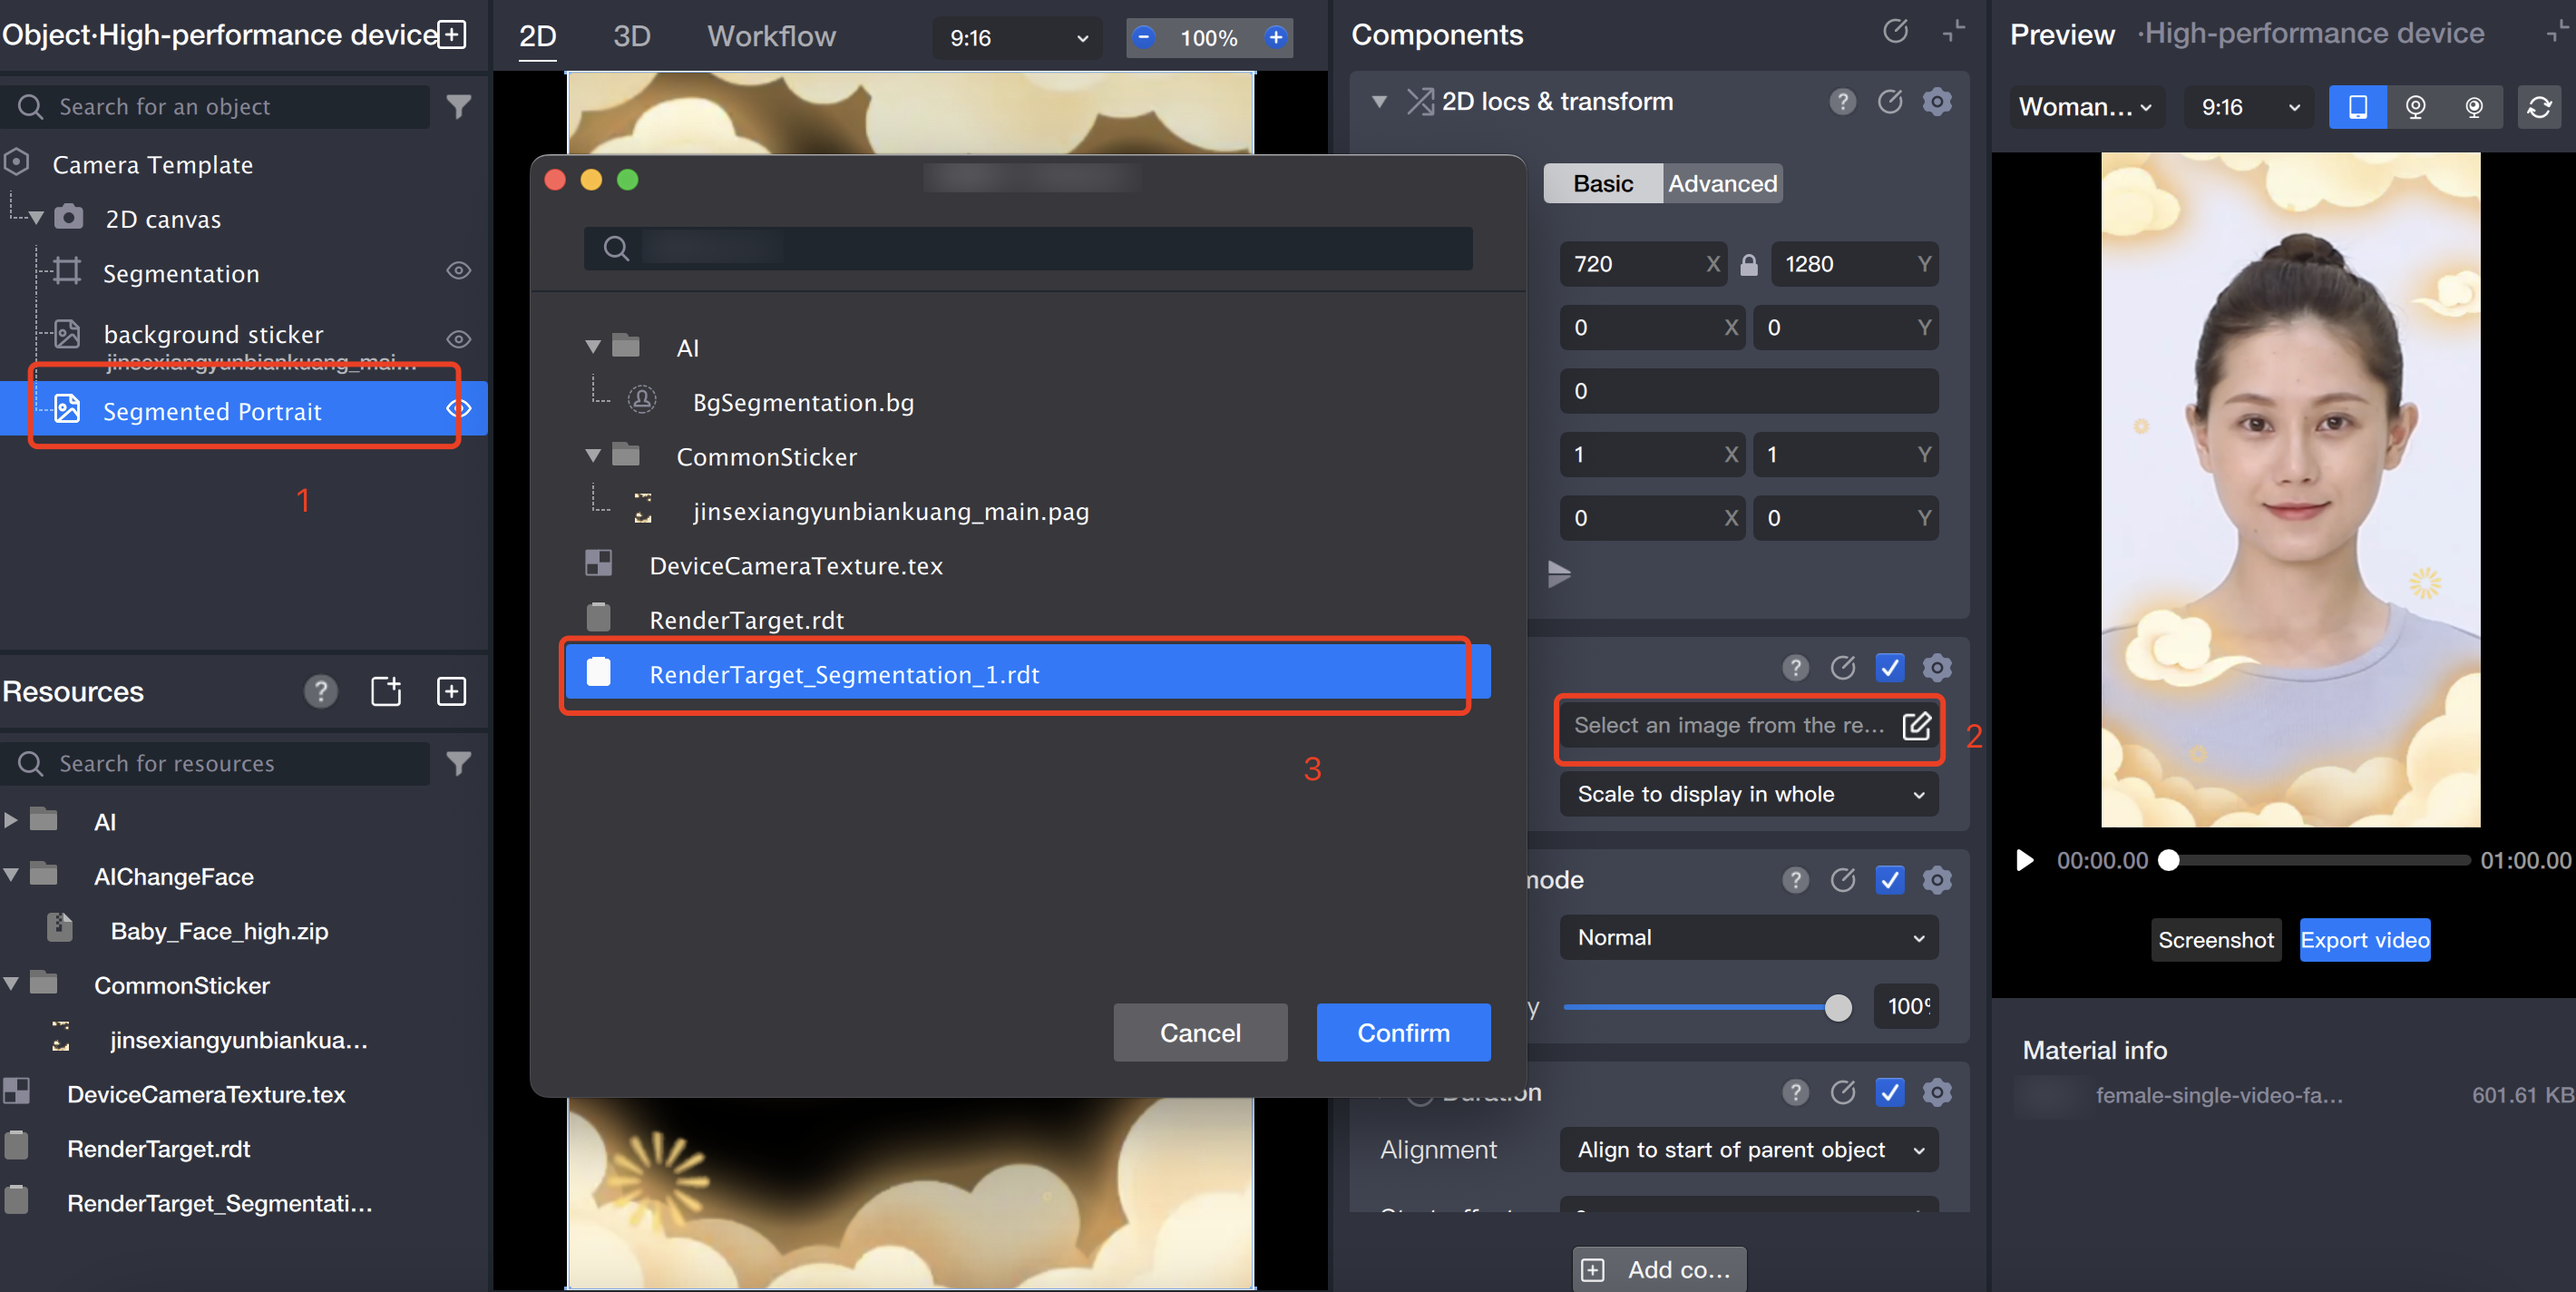
4.1 Add a "Foreground Sticker" in the object panel: Add the segmented portrait to a canvas.
4.2 Rename the "Foreground Sticker" to "Segmented Portrait".
4.3 In the component panel, select the image file for the "Foreground Sticker": Select the RenderTarget_Segmentation_1.rdt file generated when the segmentation object was created, which is the foreground showing the just segmented portrait.
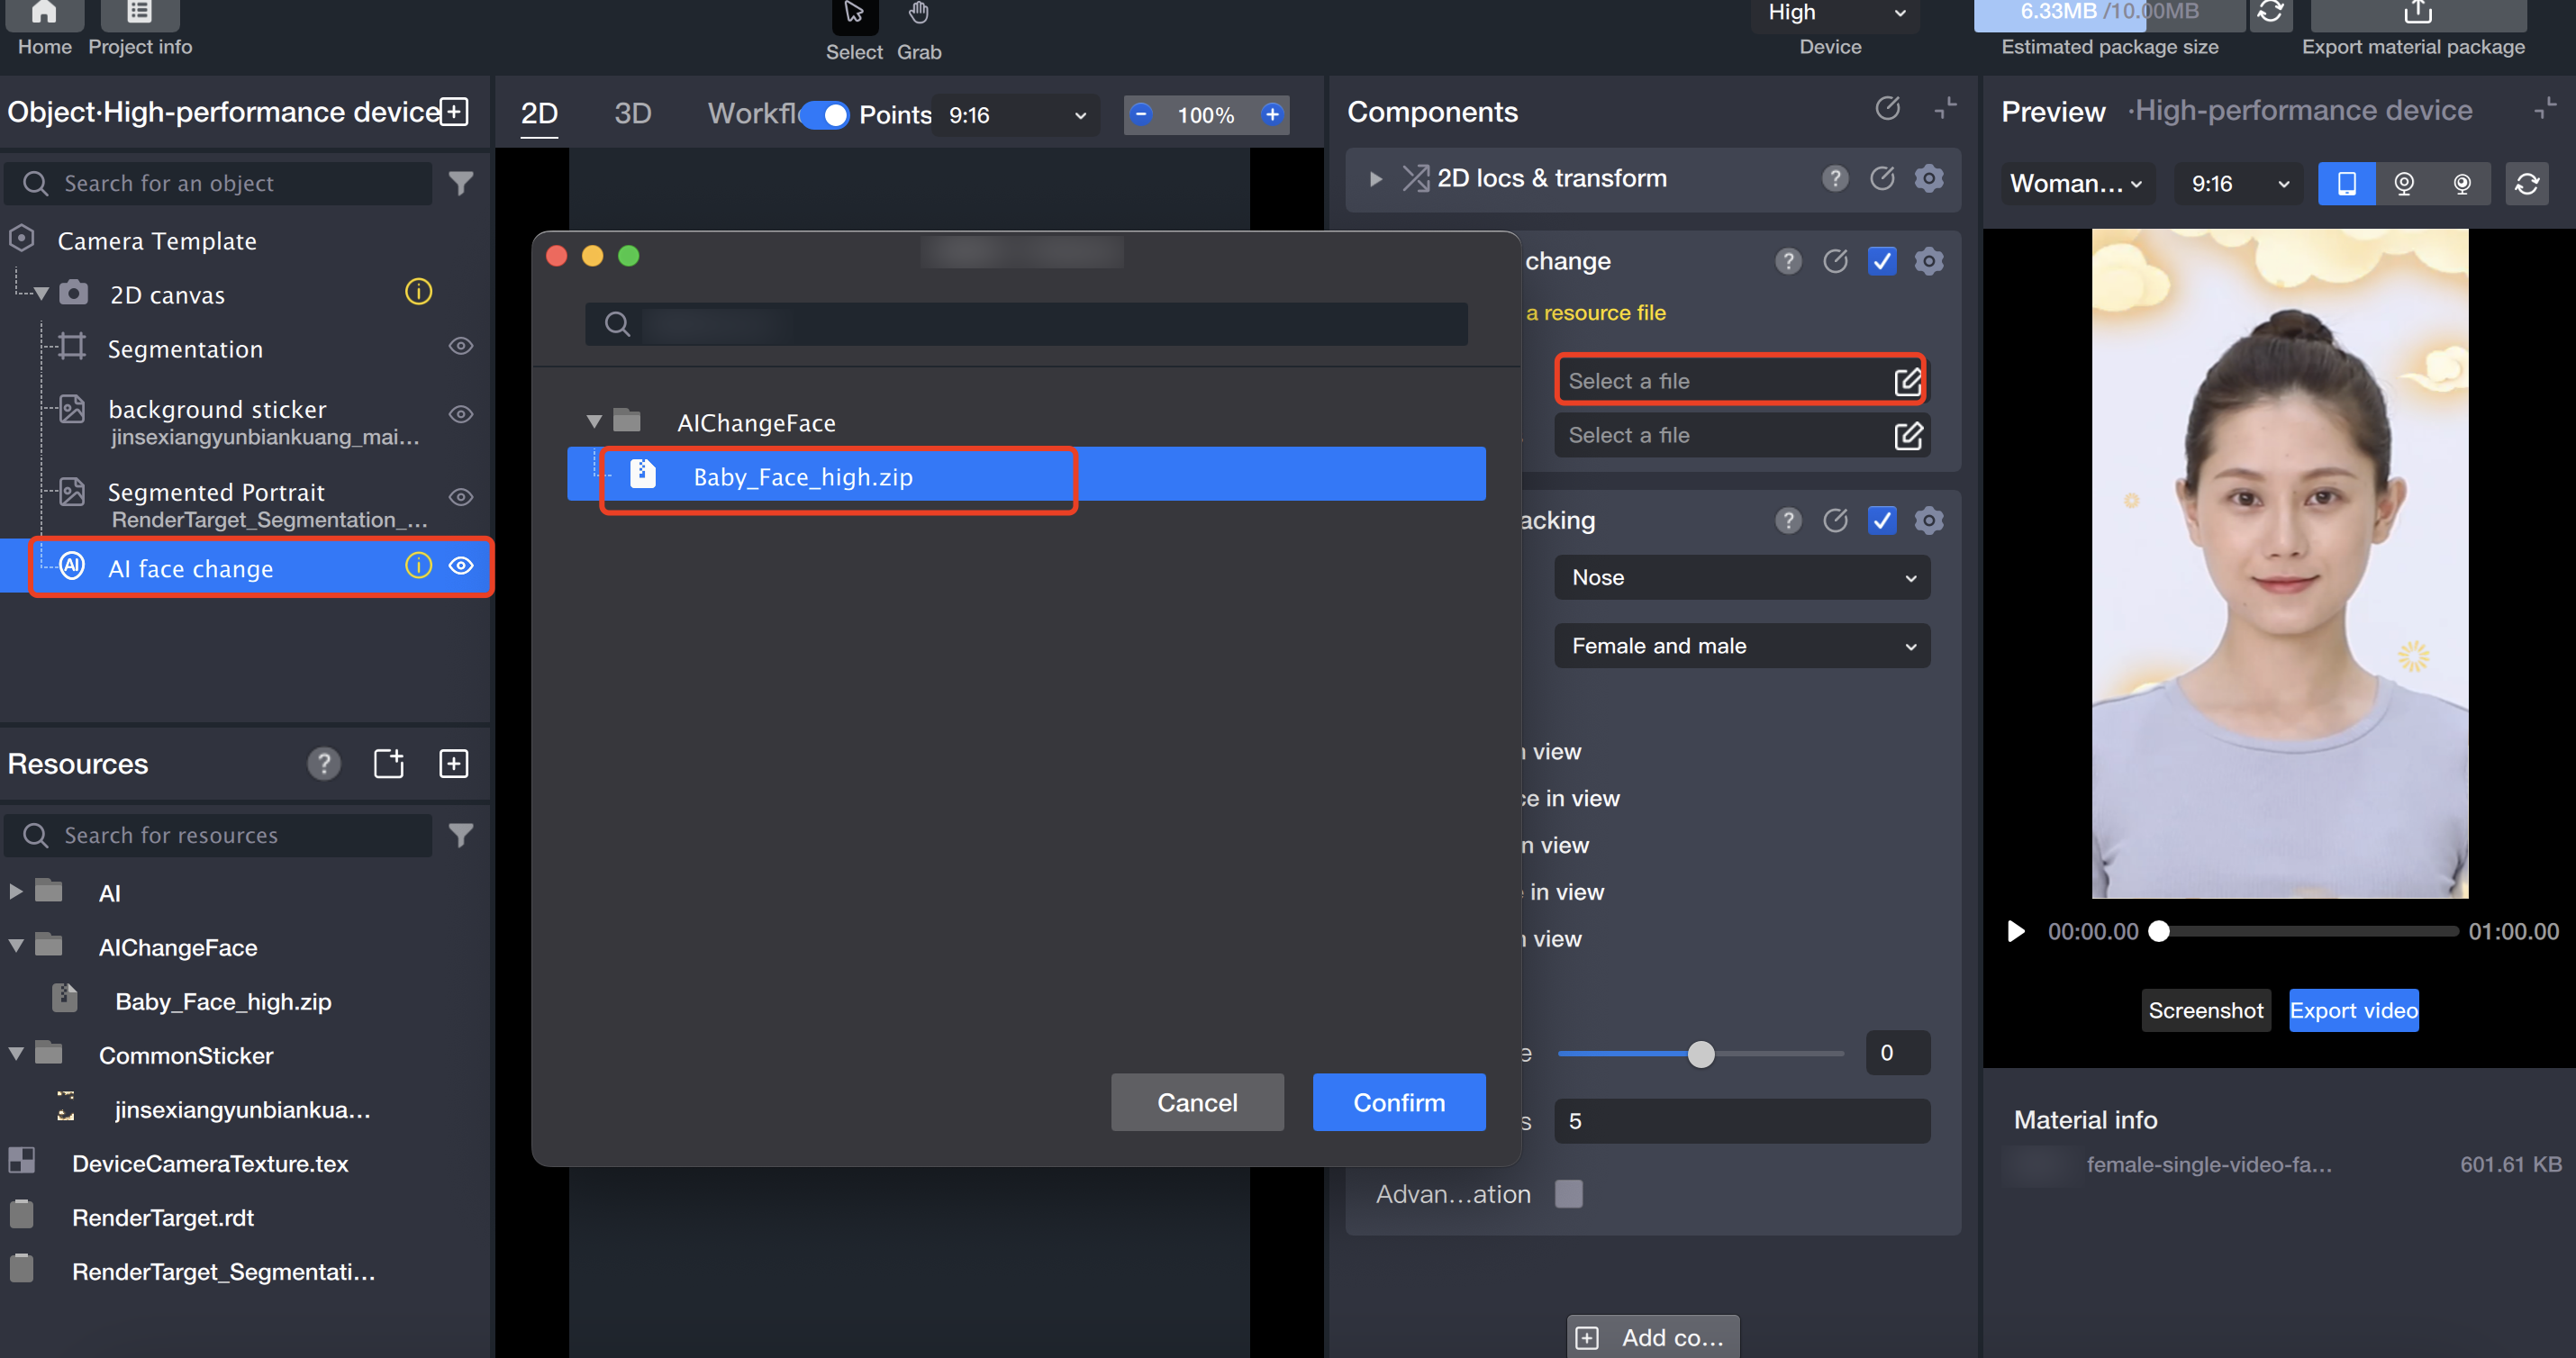
5. Add GAN
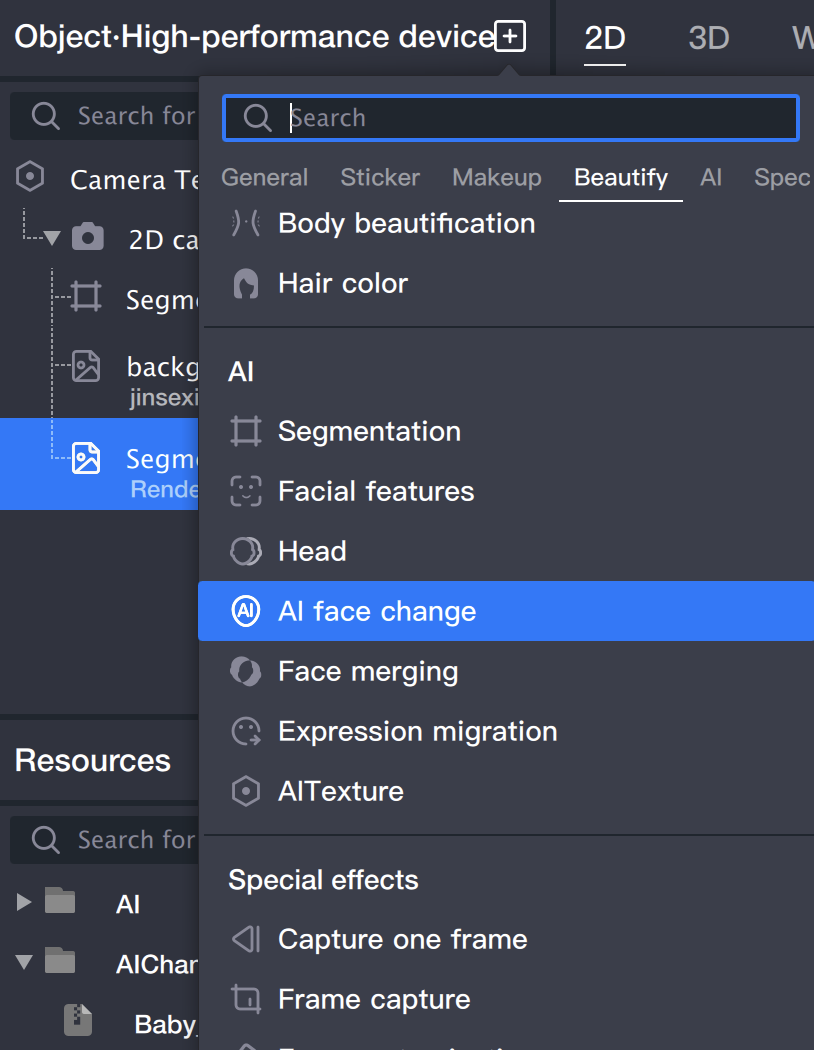
5.1 Add a "GAN" in the object panel.
5.2 In the component panel, import resources for the "GAN" object.