CloudBerry Explorer is a client tool for COS management. It can mount COS on Windows and other operating systems for you to easily access, move, and manage files in COS.
The following configuration process takes CloudBerry Explorer Windows v6.3 as an example. Note that the configuration process may vary by version.
1. Double-click the installation package and complete the installation as prompted.
2. Open the tool and double-click S3 Compatible.
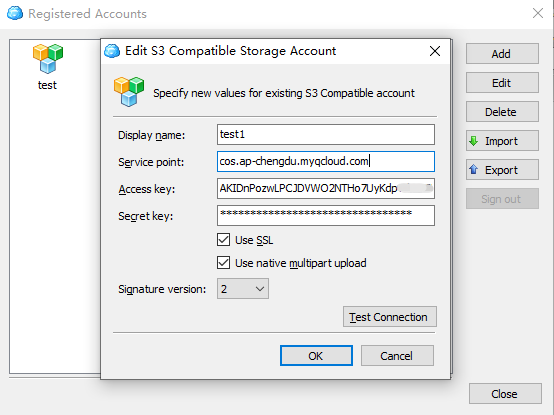
3. Configure the following information in the pop-up window, click Test Connection, and wait until the connection is successful.
The configuration items are as described below:
Display name: Enter a custom username.
Service point: The format is cos.<Region>.myqcloud.com; for example, to access a bucket in Chengdu region, enter cos.ap-chengdu.myqcloud.com. For applicable region abbreviations, see Regions and Access Endpoints.
Access key: Enter the SecretId, which can be created and obtained on the Manage API Key page.
Secret key: Enter the Secretkey, which can be created and obtained on the Manage API Key page.
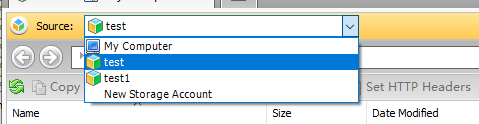
4. After adding the account information, select the configured username in Source to view the list of buckets under the username. At this point, the configuration is completed.
Managing COS File
Querying bucket list
Select the configured username in Source to view the list of buckets under the username.
Note:
With this operation, you can only view the buckets in the region configured by the Service point. To view buckets in other regions, click File > Edit Accounts, select a username, and change Service point to another region.
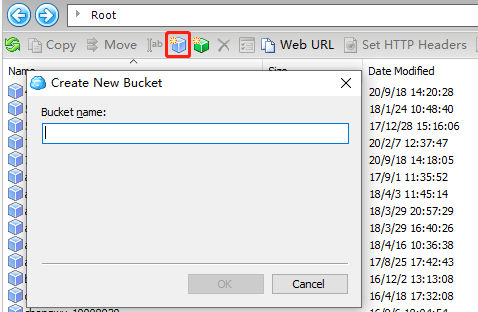
Creating a bucket
Click the icon as shown below, enter the full bucket name in the pop-up window such as examplebucket-1250000000, and click OK.
For bucket naming conventions, see Bucket Overview.
Deleting a bucket
Right-click the target bucket in the bucket list and select Delete in the context menu.
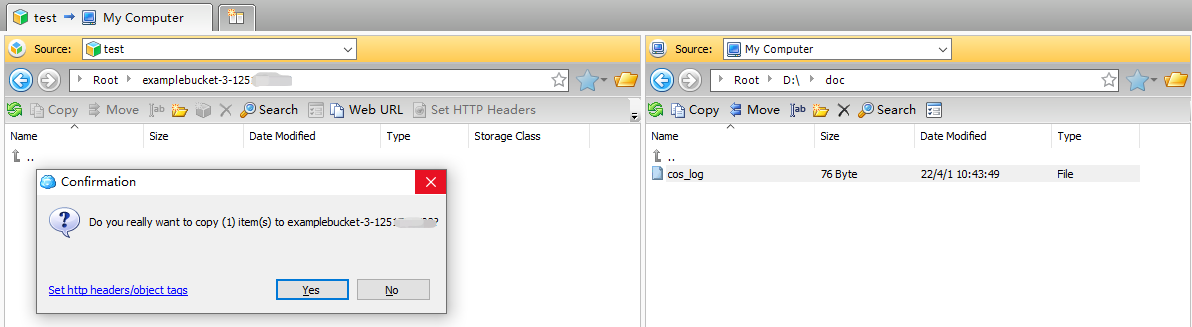
Uploading an object
In the bucket list, select the destination bucket or path, select the object to be uploaded on the local computer, and drag and drop it to window on the left.
Downloading an object
Select the target object in the window on the left and drag and drop it to a folder on the local computer on the right.
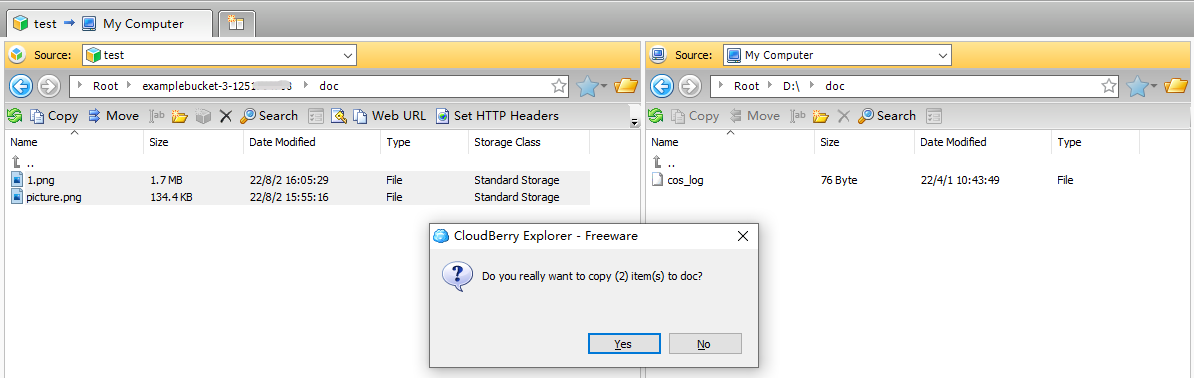
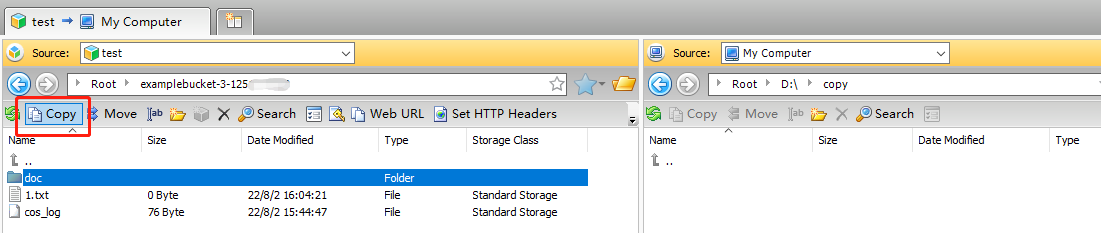
Copying an object
Select the destination path in the right window of the tool, right-click the target object in the left window, select Copy, and confirm in the pop-up window.
Renaming an object
Right-click the target object in the bucket, select Rename, and enter a new name.
Deleting an object
Right-click the target object in the bucket and select Delete.
Moving an object
Select the destination path in the right window of the tool, right-click the target object in the left window, select Move, and confirm in the pop-up window.
Other features
In addition to the above features, CloudBerry Explorer also allows you to set object ACLs, view object metadata, customize headers, and get object URLs.