Smart Highlight
Download
포커스 모드
폰트 크기
Intelligently identify wonderful content and automatically generate highlights to enhance your content influence by 10 times.
This document describes how to create, modify, and delete smart highlight templates through the console.
Points of Attention
After the template is successfully created, it can be associated with the push domain. It will take 5-10 minutes to take effect after successful association, and Smart Highlight will be triggered as soon as the associated domain successfully pushes data.
Template modifications, bindings, and unbindings only affect live streams updated thereafter. Ongoing live streams remain unaffected; to apply new rules, the ongoing stream must be interrupted and re-pushed.
Prerequisites for Use
The CSS service has been activated.
Creating Smart Highlight Template
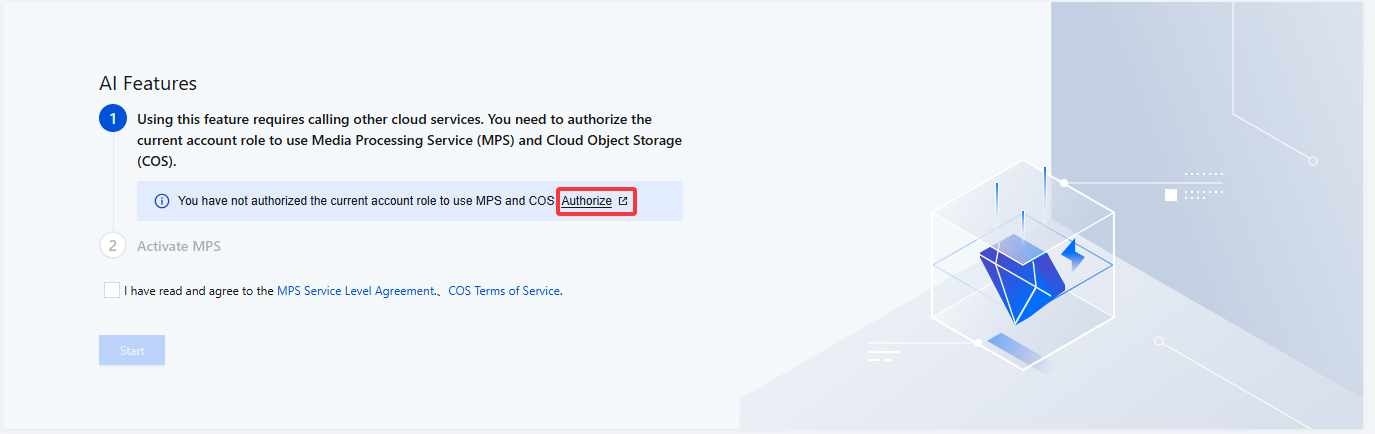
1. Log in to the CSS console. Choose Feature Configuration > AI Features > Smart Highlight.
Note:
To use Smart Highlight in the AI Features, you need to create a service role and authorize the current account role to use the Media Processing Service (MPS) and Cloud Object Storage (COS) products on first creation.
2. Click Authorize to enter the CAM role management page.
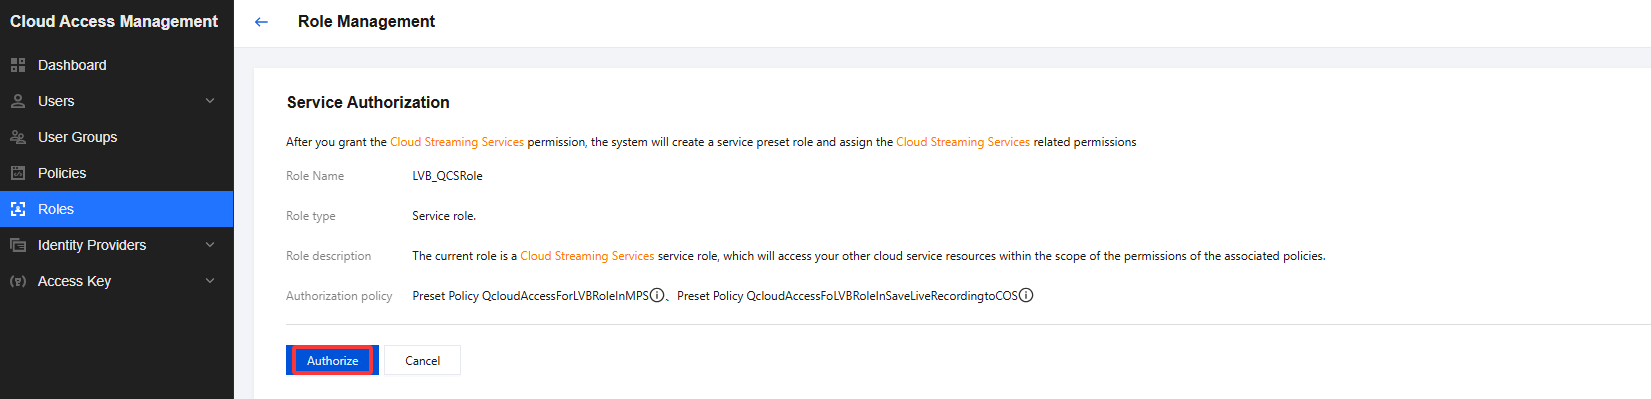
3. On the role management page, click Authorize. After completing identity verification, you can authorize Media Processing Service and Cloud Object Storage (COS) and use the Media Processing Service and Cloud Object Storage services normally.
4. After successful authorization, select the service agreement and click Start. The system will automatically activate the Media Processing Service product and Cloud Object Storage (COS), and will redirect you to the Smart Highlight management page.
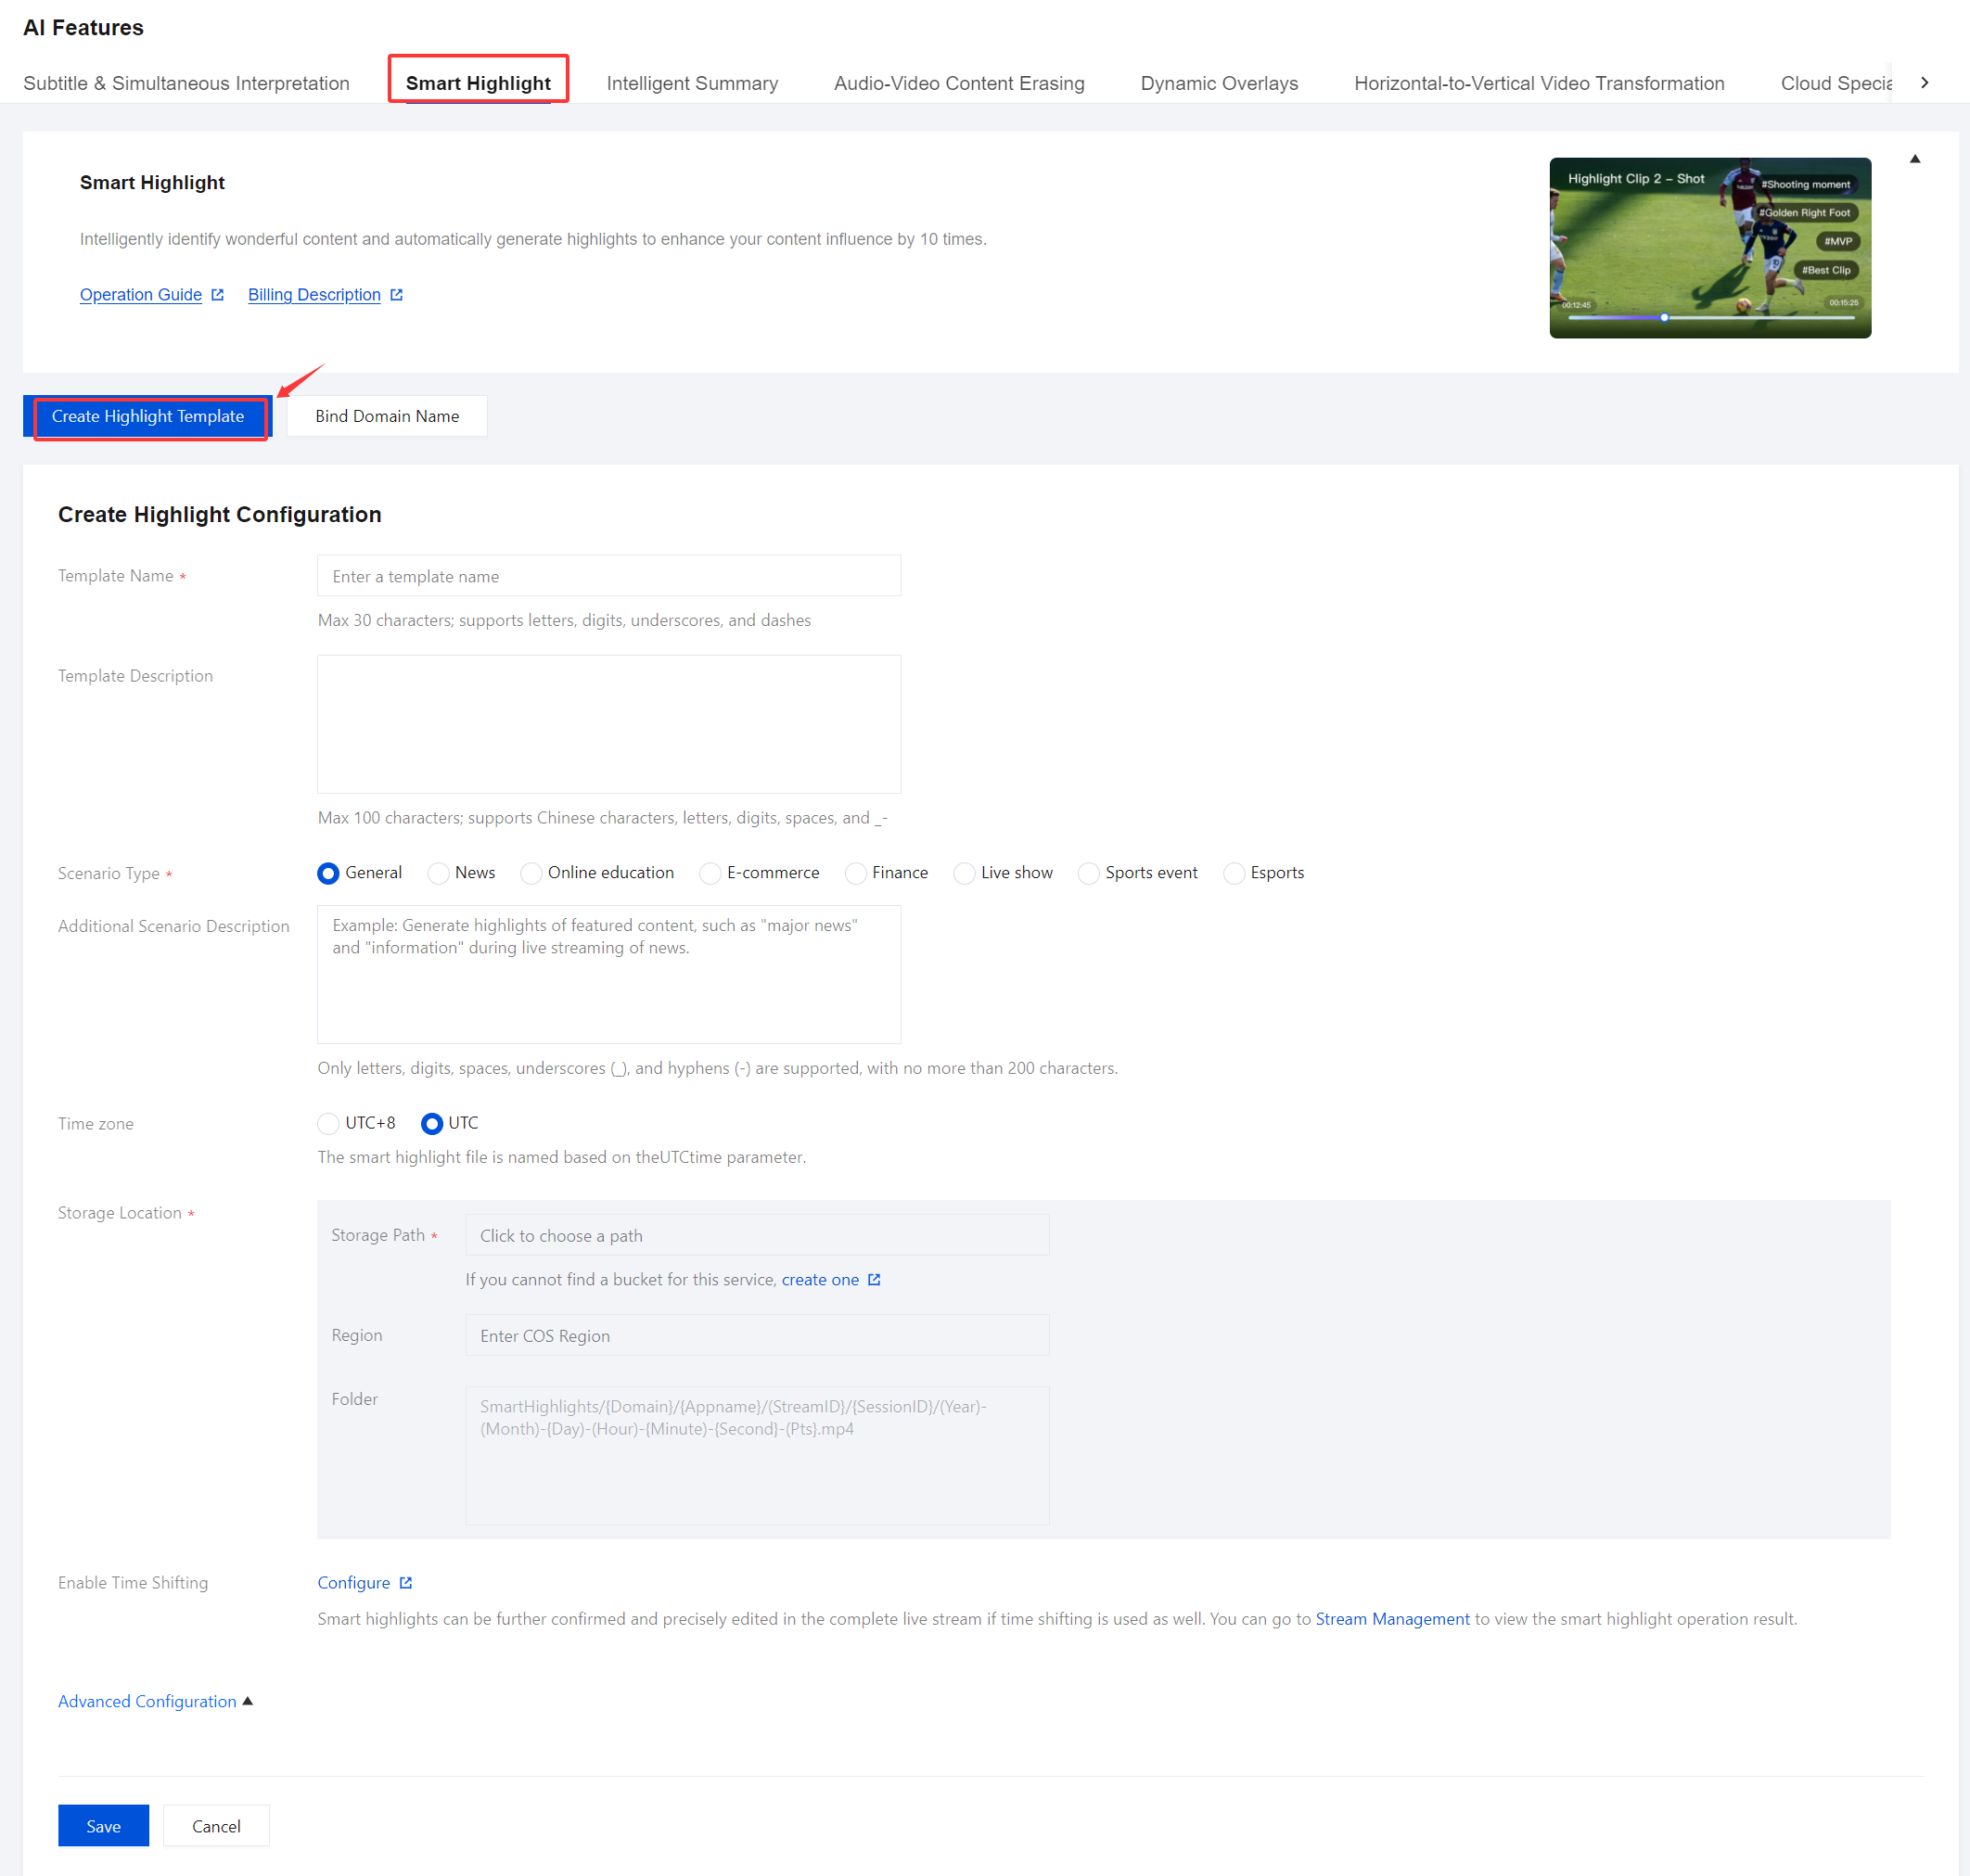
5. Click Create Highlight Template to enter the creation page, and configure it as follows:
Configuration Item | | Description |
Template Name | | Customizable (Max 30 characters; supports letters, digits, underscores, and dashes). |
Template Description | | Customizable (Max 100 characters; supports Chinese characters, letters, digits, spaces, and _-). |
Scenario Type | | Including General, News, Online Education, E-commerce, Finance, Live Streaming, Sports Events, and Esports. Please select according to your actual business requirements. |
Additional Scenario Description | | Customizable (Only letters, digits, spaces, underscores (_), and hyphens (-) are supported, with no more than 200 characters.). Example: Generate highlights of featured content, such as "major news" and "information" during live streaming of news. |
Time zone | | You can choose UTC+8 or UTC. When the time zone parameter is selected as UTC+8, the smart highlight file is named based on the UTC+8 time parameter. When the Time zone is selected as UTC, the smart highlight file is named based on the UTC time parameter. |
Storage Location | Storage Path | Select the COS Bucket that you have created and authorized in Cloud Object Storage. |
| Region | The Region field indicates the geographical location of the aforementioned Bucket and cannot be modified. |
| Folder | The default content of the folder is: SmartHighlights/{Domain}/{Appname}/(StreamID}/{SessionID}/(Year)-(Month)-{Day)-(Hour)-{Minute)-{Second}-(Pts}.mp4 |
Advanced Configuration item | Description |
Enable Time Shifting | Based on your business needs, you may choose to enable the Time Shifting feature. Smart highlights can be further confirmed and precisely edited in the complete live stream if time shifting is used as well. You can go to Stream Management to view the smart highlight operation result. |
Binding Smart Highlight Template
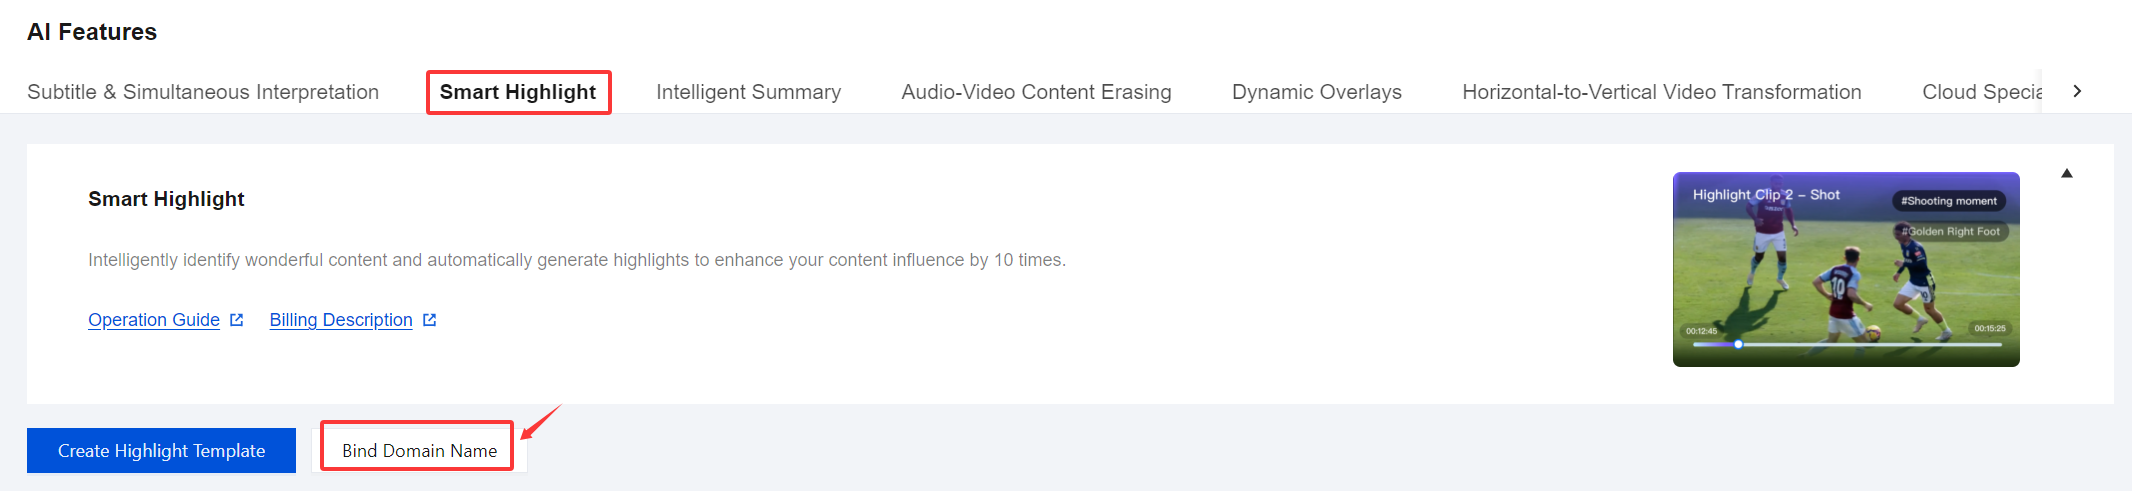
1. Log in to the CSS console. Choose Feature Configuration > AI Feature > Smart Highlight .
2. Bind a domain name in either of two ways:
Bind a domain to an existing template: Click Bind Domain Name in the top left.
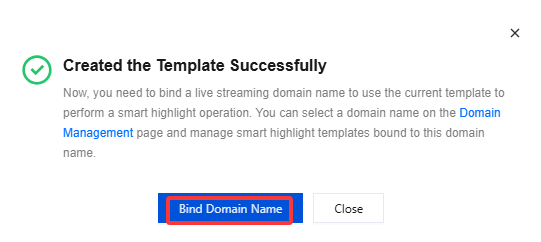
Bind a domain name after creating a smart highlight template: After the Smart Highlight Template is successfully created, click Bind Domain Name in the pop-up window.
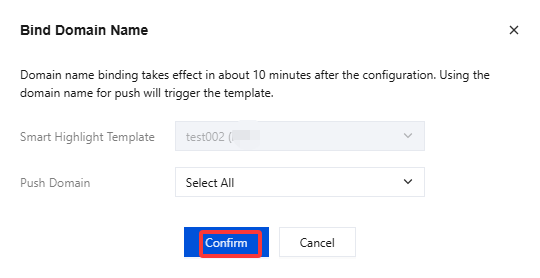
3. Select a smart highlight template and a push domain(Multiple push domain names can be bound simultaneously) in the domain binding window and then click Confirm.
Unbinding
1. Log in to the CSS console. Choose Feature Configuration > AI Feature > Smart Highlight .
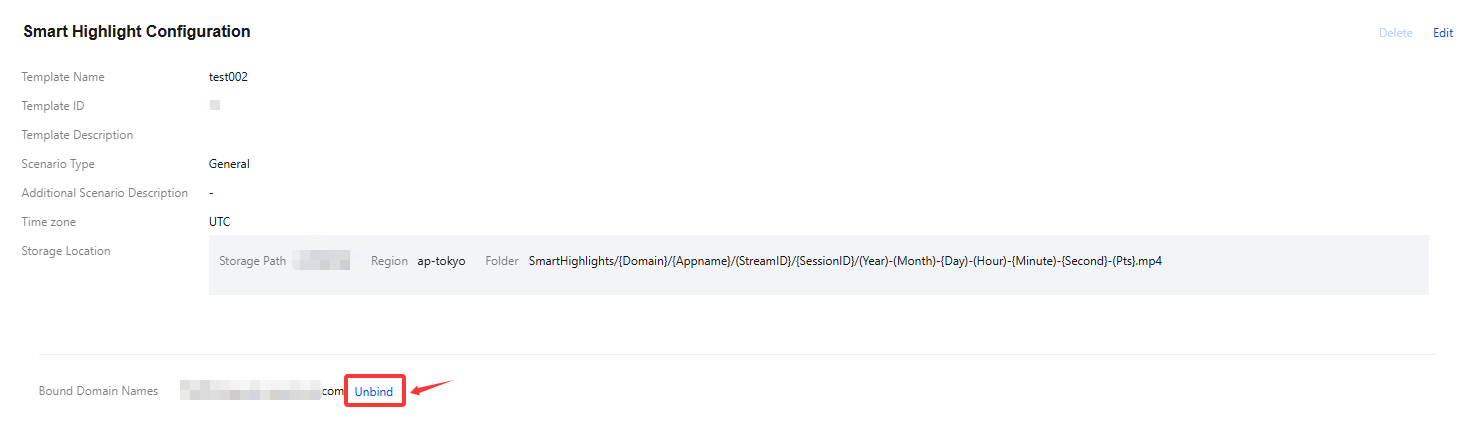
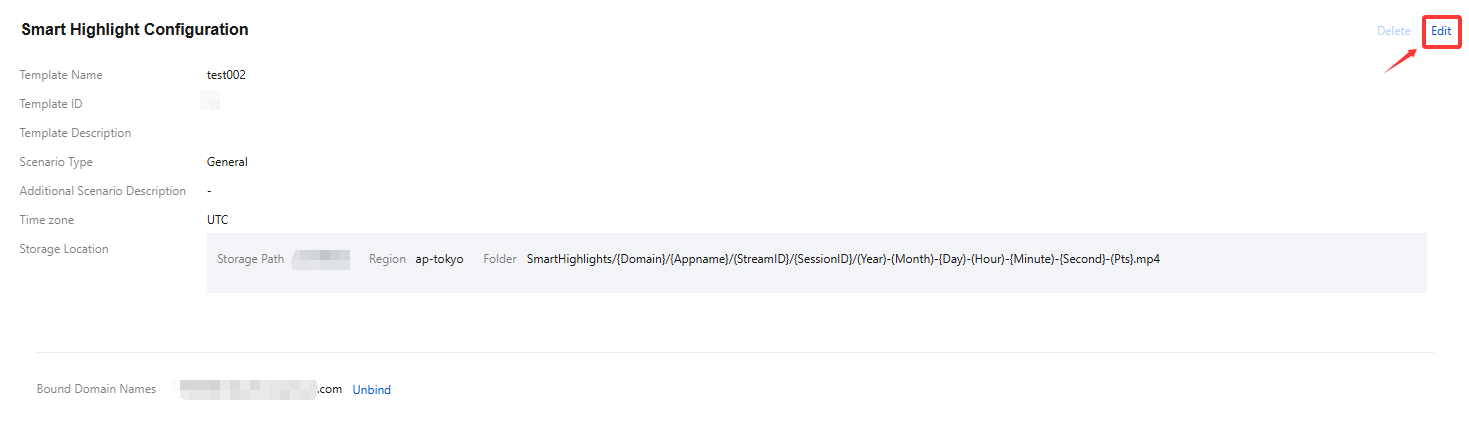
2. Select the smart highlight template associated with a domain name and click Unbind.
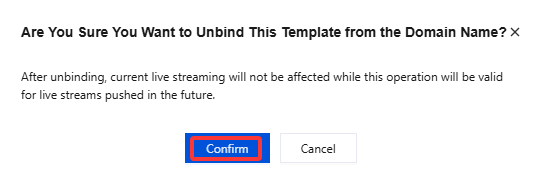
3. Confirm whether to unbind the current associated domain. Click Confirm to unbind it.
Modifying a Template
1. Log in to the CSS console. Choose Feature Configuration > AI Feature > Smart Highlight .
2. Select the successfully created smart highlight template and click Edit on the right to go to the template information modification page. Click Save to finish the modification.
Deleting a Template
Note:
If the template has already been associated, you must first unbind it before you proceed with the deletion process.
Note that a template cannot be restored after deleted. Be careful when performing operations.
1. Log in to the CSS console. Choose Feature Configuration > AI Feature > Smart Highlight .
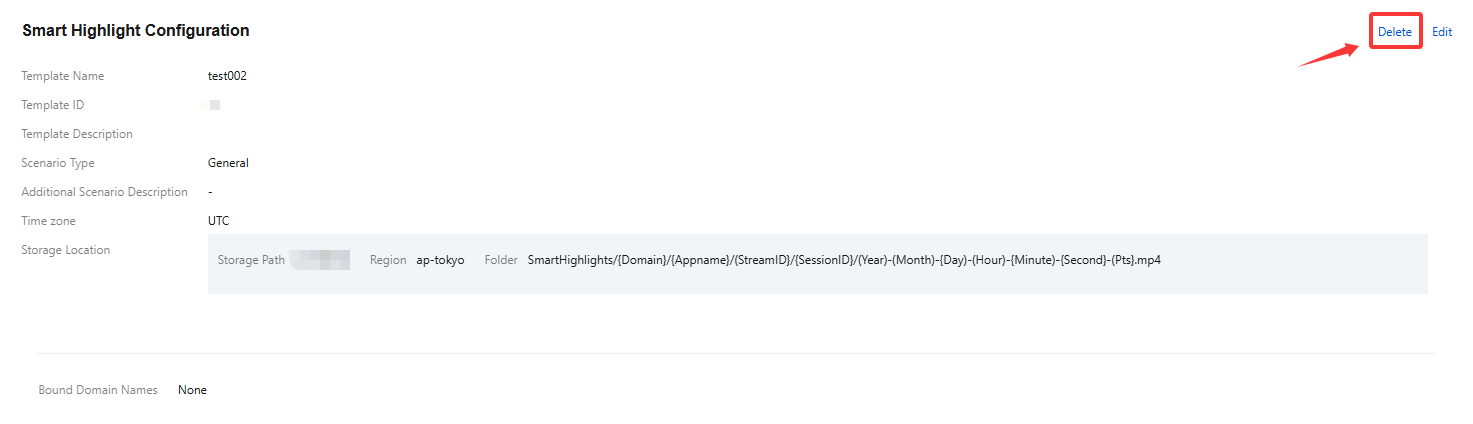
2. Select the target template (make sure it’s not bound to a domain), and click Delete.
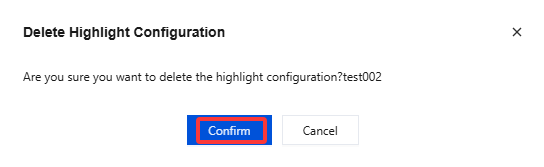
3. Confirm whether to delete the current smart highlight template, then click Confirm to successfully delete it.
More
You can also unbind and bind domains and smart highlight templates on the Domain Management page. For details, see Smart Highlight Configuration.
피드백